Can You Glue Down Hardwood Flooring? Yes – Here’s How to Do It Right
Yes, you can glue down hardwood flooring – it’s a standard, code-accepted installation method, but it only works reliably when the adhesive family matches the subfloor and the subfloor moisture is actually tested first, not eyeballed. Glue-down is the only way to install solid hardwood over a concrete slab (you can’t nail into concrete), and it’s a common choice for engineered hardwood over plywood in condos and multi-family buildings where sound transmission matters.
Where most DIY installs go wrong isn’t the gluing itself – it’s skipping the moisture test on the subfloor, using the wrong trowel notch for the adhesive’s coverage rate, or picking a rigid adhesive under a floating engineered floor that needs to flex. Below is what actually determines whether glue-down is the right call for your subfloor, how the adhesive types differ, and the specific moisture thresholds installers test for before they open a bucket – numbers most flooring guides leave out entirely.
Yes, You Can Glue Down Hardwood – If Your Subfloor Qualifies
Glue-down works over two subfloor types: concrete slabs and plywood or OSB subfloors. Over concrete, it’s not just an option – for solid hardwood it’s close to the only option, since there’s nothing to nail into. Over plywood, glue-down competes with nail-down and floating installation, and the choice usually comes down to noise control (glue deadens sound better than nailing) and how flat the subfloor already is, since adhesive won’t bridge gaps the way a nailed installation can tolerate.
Before buying adhesive, check your subfloor’s actual moisture content rather than assuming it’s dry enough because it looks fine. A bag of hardwood that goes down over a slab reading above the adhesive manufacturer’s moisture limit will cup or delaminate within months, and by then the adhesive has already voided its warranty.
Best Subfloor Moisture Check Before You Glue
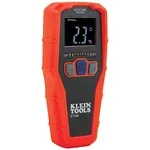 |
Klein Tools ET140 Pinless Moisture Meter – $49.97 Checks relative moisture in concrete, plywood, and the hardwood itself before you commit to an adhesive – the single test that prevents most glue-down failures.
|
Solid vs. Engineered: Which One Actually Gets Glued
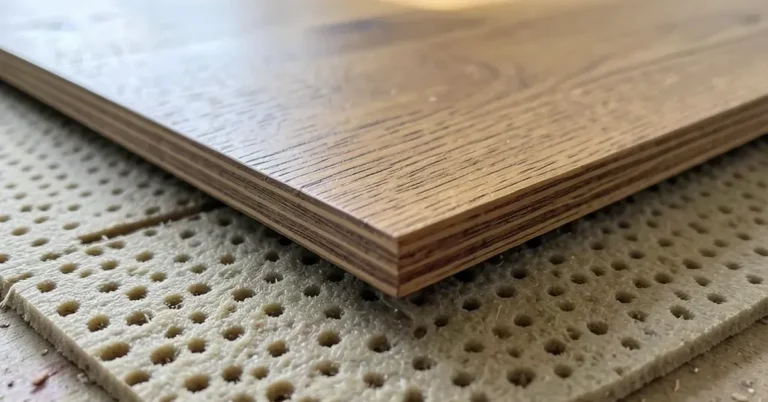
Solid hardwood is milled from a single piece of wood, generally 3/4″ thick, and can be sanded and refinished several times over its life. Over a wood subfloor it’s usually nailed or stapled; over concrete, gluing is the standard method since there’s no wood substrate to fasten into. Engineered hardwood is built from several layers of plywood topped with a real hardwood veneer, which makes it more dimensionally stable in humid rooms and basements – and it’s the more common choice for glue-down or floating installs over concrete because it tolerates minor slab moisture better than solid wood.
Oak, maple, and hickory are the most common species used in glue-down installs because their density holds up under the shear stress of a fully bonded floor. Softer woods like pine can be glued down too, but they dent more easily once the floor is in daily use, so they’re better suited to lower-traffic rooms.
Adhesive Types: Urethane, MS Polymer, and Pressure-Sensitive
Three adhesive families cover almost every glue-down job, and picking the wrong one is a common reason installs fail early:
- Urethane-based adhesives are the standard for solid hardwood over concrete. They cure into a rigid, high-strength bond, resist moisture well, and typically require mineral spirits for cleanup and tool care while wet.
- MS polymer (silane-modified) adhesives are a newer hybrid category that most flooring guides don’t mention. They combine urethane’s strength with more flexibility and lower odor, which makes them a better match under engineered floors that need some give, and many are moisture-cured with fewer VOC concerns than solvent-based urethanes.
- Pressure-sensitive adhesives stay tacky rather than curing rigid, which makes them the right choice for engineered click-lock or floating-style planks that still benefit from a glued-down feel, and they’re easier to remove later if you ever need to pull up a board.
Trowel notch size controls how much adhesive actually goes down and directly affects bond strength – too little glue under the plank is a leading cause of hollow-sounding spots later. A 3/16″ V-notch trowel is the common spec for solid strip flooring and typically covers roughly 60 to 80 square feet per gallon; engineered flooring over a flatter slab often uses a smaller 1/16″ square-notch trowel instead. Always check the adhesive’s own technical data sheet for its exact notch and coverage spec – it varies by product and by how flat your particular subfloor is.
The Subfloor Moisture Numbers Most Guides Skip
Every major adhesive manufacturer publishes a moisture ceiling, and testing against it – not just “the slab feels dry” – is what separates a floor that lasts from one that cups in its first humid summer. Two standardized tests cover concrete: the calcium chloride test (ASTM F1869), which most standard adhesives cap at 3 lbs of moisture vapor per 1,000 square feet per 24 hours, and the in-situ relative humidity probe test (ASTM F2170), where a typical ceiling is 75% RH, though some moisture-tolerant urethanes are rated for slabs as high as 90-95% RH. A new concrete pour needs roughly 30 days of cure time per inch of slab thickness before it’s even worth testing.
Over a plywood subfloor, the comparison that matters is between the subfloor’s moisture content and the hardwood’s own moisture content, both checked with a meter – ideally the wood should sit in the installation room for at least 48 to 72 hours to acclimate first. Most manufacturers want both readings under about 12% and within 2 to 4 percentage points of each other before the adhesive goes down; a bigger gap than that means the flooring is likely to expand or contract independently of the subfloor once it’s bonded.
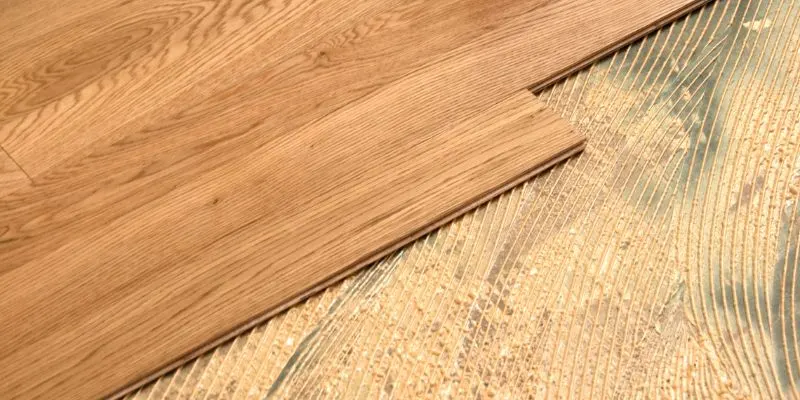
Step-by-Step: How the Glue-Down Installation Actually Goes
Once the subfloor passes its moisture check and the hardwood has acclimated, the installation itself follows a consistent sequence regardless of adhesive family:
- Snap chalk lines to establish a straight starting row and plan out the layout, including where cut planks will land at the walls.
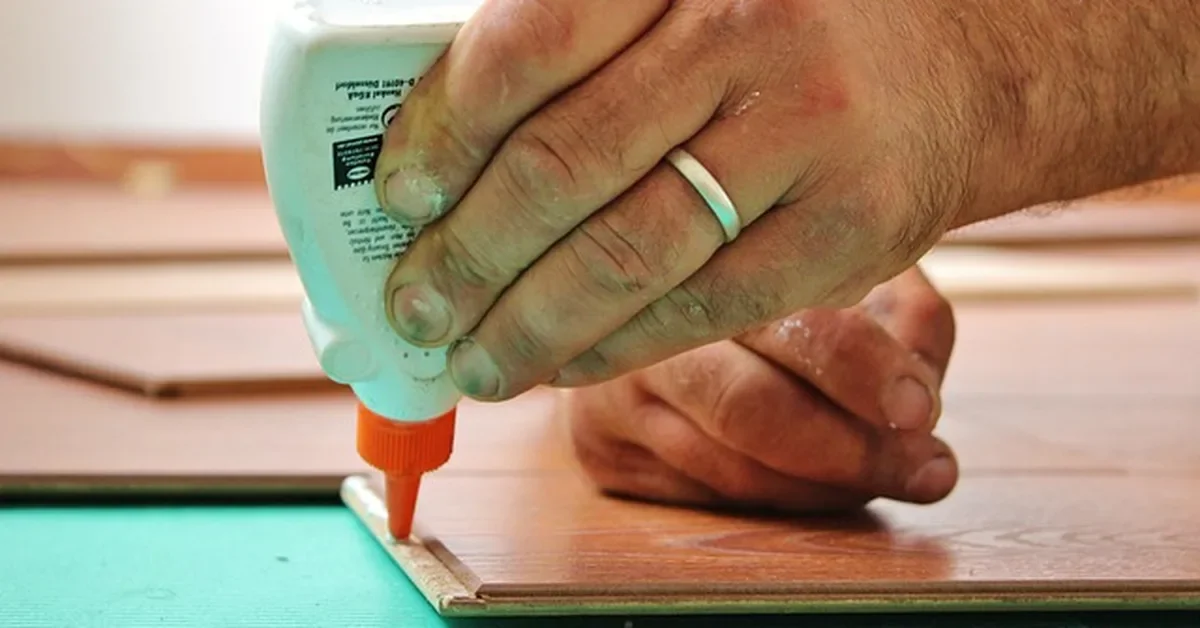
- Spread only as much adhesive as you can cover with flooring in 30-45 minutes – most urethanes and MS polymers start skinning over well before that, and pressing a plank into a skinned-over adhesive weakens the bond significantly.
- Set each plank into the wet adhesive and press firmly, working from the starting row outward, tapping tongue-and-groove joints snug with a tapping block rather than forcing them by hand.
- Check periodically with a straightedge that planks are staying flat as you go – adhesive that’s too thick can float a plank slightly proud of its neighbors.
- Weight or roll the floor with a floor roller once a section is down, per the adhesive manufacturer’s instructions, to force full contact between the plank and the ridges of adhesive.
Curing Time and Early Aftercare
Most glue-down adhesives reach walkable strength in 24 to 48 hours, but full cure – the point where the bond has reached its rated strength and the floor can handle furniture and heavy traffic without shifting – usually takes 5 to 7 days. Keep foot traffic light and hold off on moving in furniture or rolling appliances across the floor until the adhesive’s data sheet says it’s fully cured, not just dry to the touch.
- Use felt pads under furniture legs once the floor is cured – adhesive bond strength doesn’t protect the wood surface from scratches.
- Clean with a damp (not wet) mop; standing water can work into seams and affect the adhesive over time.
- Place mats at exterior entry points to cut down on grit that scratches the finish.
- Listen for hollow spots developing over the following months – caught early, a small void can be fixed with an injection adhesive kit rather than replacing the board.
Pros, Cons, and When to Call a Pro
A properly glued-down floor is quieter underfoot than a nailed one, handles moderate subfloor moisture better than a floating floor, and is the only realistic option for solid hardwood over concrete. The tradeoff shows up if something goes wrong later: repairing a single damaged board means drilling out the adhesive bond and prying up a plank that doesn’t want to move, which is more labor-intensive than pulling nails or unclicking a floating plank.
Call in a flooring professional if the subfloor moisture readings come back borderline (close to the adhesive’s rated limit rather than clearly under it), if the concrete slab isn’t flat within about 3/16″ over a 10-foot span, or if you’re covering a large open area where a mistake in adhesive coverage is expensive to fix across the whole room. For a single small room with a subfloor that tests clearly dry and flat, glue-down is a realistic DIY project for someone comfortable with basic flooring tools.
Frequently Asked Questions
Can hardwood flooring be glued down?
Yes. Gluing is a standard installation method for both solid and engineered hardwood, and it’s the primary method for solid hardwood over a concrete slab since there’s no wood substrate to nail into. The adhesive needs to match the subfloor type and pass the subfloor’s moisture test first.
What type of glue is best for hardwood floors?
Urethane adhesive is the standard choice for solid hardwood over concrete because it cures rigid and resists moisture well. MS polymer (silane-modified) adhesives are a newer, more flexible alternative that works well under engineered flooring, and pressure-sensitive adhesives suit floating or click-lock engineered planks. The right pick depends on your flooring type and subfloor, not a single universal answer.
Is gluing hardwood flooring better than nailing?
Neither is universally better – they suit different subfloors. Gluing is quieter and is required over concrete, while nailing is typically faster and cheaper over a wood subfloor and makes future board replacement easier. Choose based on your subfloor material rather than a general preference for one method.
How long does it take for glue to dry?
Most glue-down adhesives are walkable in 24 to 48 hours, but full cure – the point where the bond reaches its rated strength – typically takes 5 to 7 days. Check the specific adhesive’s technical data sheet, since cure time varies by product and by ambient humidity and temperature during installation.
Conclusion
Gluing down hardwood flooring is a proven, code-accepted method – the deciding factors are your subfloor type, its tested moisture level, and choosing an adhesive family that matches both. Test before you buy adhesive, match the trowel notch to the product’s coverage spec, and give the floor its full cure time before moving furniture back in. Get those three things right and a glued-down floor will outlast almost any other installation method on a concrete subfloor.
Sponsored / affiliate links. As an Amazon Associate I earn from qualifying purchases. I may earn additional commission from eligible campaigns.