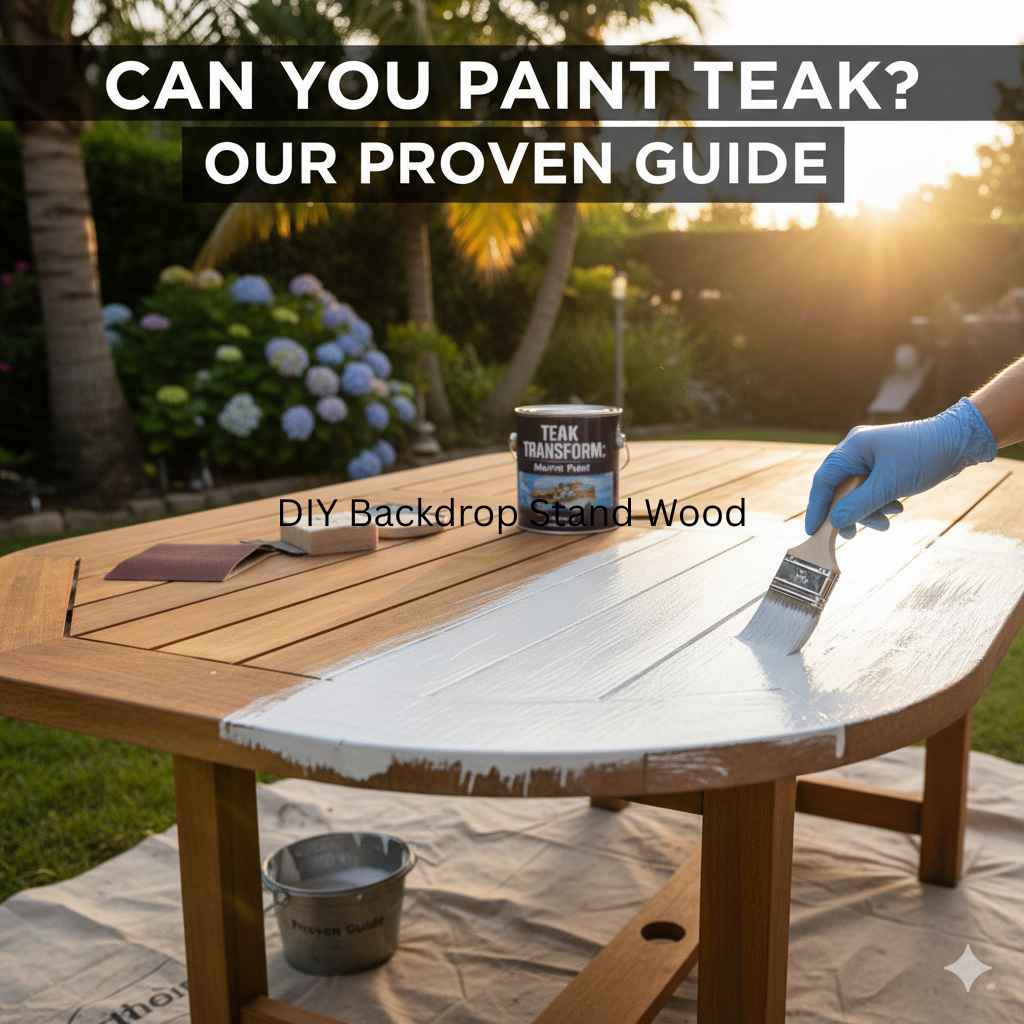
Can You Paint Teak: Our Proven Guide
Yes, you absolutely can paint teak wood! While teak is known for its natural beauty and weather resistance, painting it is a viable option to change its look or protect it further. Our proven guide will walk you through the simple, effective steps to achieve a durable and beautiful painted finish on your teak furniture or projects.
Teak wood is a dream for many homeowners and DIYers because it’s naturally gorgeous and tough against the elements. You might have a beloved teak piece, maybe a patio chair or a charming side table, that has seen better days or simply doesn’t match your current style. A common question that pops up is, “Can you paint teak?” The answer is a resounding yes!
Many people hesitate to paint teak, thinking they’ll ruin its natural charm or that it’s too difficult. But with the right preparation and materials, painting teak can give your piece a brand-new life and a fresh look that perfectly suits your space. It’s a fantastic way to refresh old furniture or customize new pieces without needing professional skills.
Don’t worry if you’re new to this. This guide is designed to make painting teak simple and stress-free. We’ll break down every step, from cleaning and prepping to applying the paint, ensuring you get a smooth, lasting finish. Get ready to transform your teak item into something you’ll love even more!
Why Paint Teak? A Fresh Perspective
Teak’s natural appeal is undeniable. Its rich color and beautiful grain are why many choose it for outdoor furniture, boat trim, and high-end projects like cabinetry. However, there are several great reasons why painting teak is a popular and effective choice:
- Aesthetic Makeover: Sometimes, the natural teak color just doesn’t fit with your home’s decor. Painting allows you to introduce new colors, from classic whites and grays to bold, vibrant hues, making your teak piece a statement that complements your style.
- Protection and Longevity: While teak is naturally resistant to decay and insects thanks to its high oil content, a good paint job adds an extra layer of protection. It shields the wood from UV rays, moisture, and physical wear, potentially extending its lifespan, especially in harsh environments.
- Hiding Imperfections: Over time, teak can develop minor scratches, dents, or discoloration. Painting is an excellent way to cover these imperfections, giving the piece a uniform and flawless appearance without extensive wood repair.
- Low-Maintenance Option: A well-painted teak surface can be easier to clean than bare wood. Most paints offer a smooth, wipeable finish perfect for furniture that sees frequent use or exposure to the outdoors.
- Creating a Cohesive Look: If you have a mix of wood types or existing painted furniture, painting your teak piece allows you to create a unified and coordinated look throughout your home or garden.
Can You Paint Teak? The Short Answer: Yes, with Proper Prep!
So, can you paint teak? Absolutely! The key to a successful paint job on teak, just like any wood, lies in thorough preparation. Teak has a natural oil content and a dense grain that can sometimes make paint adhesion a challenge if not prepared correctly. Skipping steps can lead to peeling, chipping, or a finish that just doesn’t look as good as you hoped.
But don’t let that deter you! With straightforward steps and the right mindset, you can achieve a beautiful, durable painted finish. We’re going to guide you through everything you need to know, ensuring your painted teak project is a success. Think of it as giving your teak a stylish new coat that’s both functional and beautiful.
Tools and Materials You’ll Need
Gathering the right tools and materials beforehand makes the whole process much smoother. You don’t need a professional workshop to paint teak; most items are readily available at your local hardware or home improvement store. Here’s a list to get you started:
Essential Tools:
- Safety glasses (always protect your eyes!)
- Face mask or respirator (for sanding and fumes)
- Gloves (to protect your hands)
- Sanding block or electric orbital sander
- Medium-grit sandpaper (e.g., 120-grit)
- Fine-grit sandpaper (e.g., 220-grit)
- Tack cloth or clean, lint-free rags
- Stiff brush or broom
- Paint scrapers (optional, for loose finishes)
- Paintbrushes (various sizes, good quality synthetic or natural bristles depending on paint type)
- Paint rollers (for larger, flat areas)
- Paint tray
- Drop cloths or plastic sheeting
Key Materials:
- Mild soap or detergent (like dish soap)
- Water
- Denatured alcohol or mineral spirits (for degreasing)
- Oil-based primer (specifically formulated for smooth or exotic woods)
- High-quality exterior or interior paint (e.g., acrylic latex, alkyd enamel)
- Wood filler (if needed for repairs)
- Caulk (if filling gaps)
- Stain blocking primer (optional, but recommended for darker teak)
The Proven Step-by-Step Guide to Painting Teak
Ready to dive in? Here’s our reliable method for painting teak. We’ll cover everything from initial cleaning to the final coat. Remember, patience is key, and taking your time with each step will ensure the best results.
Step 1: Clean the Teak Thoroughly
First impressions matter! Teak can accumulate dirt, grime, mildew, and old finishes. A deep clean is crucial for paint adhesion. For exterior furniture, a good washing is a great start. You can use a mild detergent and water solution. Scrub gently with a stiff brush or broom, working with the wood grain. Rinse thoroughly and let the wood dry completely, which might take a full day or two in humid conditions.
For stubborn dirt or mildew, you might need a dedicated wood cleaner or a diluted bleach solution (1 part bleach to 3 parts water). Always test in an inconspicuous area first. After washing with any cleaner, a thorough rinse is essential to remove all residue. Don’t underestimate this step; a clean surface is a sticky surface for your primer and paint.
Step 2: Inspect and Repair
Once clean and dry, carefully examine your teak piece for any damage. Look for cracks, gouges, deep scratches, or loose joints. Fill any voids with a good quality exterior wood filler. Apply it according to the product instructions, pressing it firmly into the damaged area. Once the filler is dry, sand it smooth so it’s level with the surrounding wood.
If there are any small gaps between boards or around hardware, you might want to seal them with exterior caulk. This prevents water from seeping into the wood and helps create a smooth, uniform surface for painting.
Step 3: Sanding for Adhesion
This is perhaps the most critical step for ensuring your paint sticks. Teak’s natural oils can resist paint. Sanding opens up the wood pores and removes any remaining surface contaminants, creating a better “tooth” for the primer to grip.
- Start with Medium Grit: Begin with 120-grit sandpaper. Whether you’re using a sanding block or an orbital sander, sand the entire surface of the teak in the direction of the wood grain. Apply even pressure. The goal here isn’t to remove a lot of wood but to scuff the surface and break through the natural oils.
- Move to Fine Grit: After the medium-grit sanding, switch to a 220-grit sandpaper. This step smooths out the scratches left by the coarser grit and prepares the wood for a perfectly smooth finish. Sand the entire piece again, always following the grain.
- Corners and Details: For detailed areas, corners, or curved surfaces, use folded sandpaper or a sanding sponge to ensure you reach every spot.
Step 4: Degrease and Clean Dust
After sanding, there will be a fine layer of wood dust. This must be removed completely. First, use a stiff brush or broom to sweep away the bulk of the dust. Then, use a vacuum cleaner with a brush attachment to get into crevices. For the final clean, wipe down the entire surface with a tack cloth. Go over it multiple times.
To truly ensure all oils and residue are gone, wipe the teak with denatured alcohol or mineral spirits on a clean, lint-free rag. The alcohol/spirits will help to degrease the wood effectively. Let this evaporate completely before moving on. This step is vital for oil-rich woods like teak.
Step 5: Apply a High-Quality Primer
A good primer is non-negotiable when painting teak. It acts as a bridge between the wood and the topcoat, ensuring better adhesion and a more uniform color. Because teak is oily, using a primer specifically designed for smooth or exotic hardwoods is highly recommended. These primers are formulated to block oils and provide superior adhesion.
Choosing the Right Primer: Look for an oil-based primer that contains stain blockers. These are excellent for teak because they seal in the wood’s natural oils, preventing them from bleeding through your paint color. For very dark teak, a stain-blocking primer is especially important. Brands like Benjamin Moore’s Fresh Start All Purpose Primer (046) or Zinsser B-I-N are often cited for their excellent adhesion and blocking properties on challenging woods. Always check the product’s suitability for exterior use if your project is for outdoors. A reputable source like Sherwin-Williams offers tips on proper surface preparation, which includes priming.
- Application: Apply a thin, even coat of primer. Use a quality paintbrush or roller. Avoid applying it too thickly, as this can lead to drips and an uneven finish.
- Drying Time: Allow the primer to dry completely. Follow the manufacturer’s recommended drying times. This is crucial; rushing this step can compromise the entire paint job.
- Light Sanding: Once the primer is dry, lightly sand the surface with very fine-grit sandpaper (220-grit or higher). This knocks down any imperfections and creates a perfectly smooth surface for your paint. Wipe away the dust with a tack cloth.
Step 6: Apply Your Topcoat Paint
Now for the fun part – applying the color! Choose a high-quality paint suitable for the environment your teak piece will be in (e.g., exterior-grade paint for outdoor furniture). Acrylic latex or alkyd enamel paints are good choices for durability and ease of cleanup.
Applying Multiple Thin Coats: It’s always better to apply multiple thin coats of paint than one thick coat. This provides a more durable, even, and professional-looking finish.
- First Coat: Apply the first coat of paint. Work in smooth, even strokes, again following the direction of the wood grain. Ensure you cover all areas thoroughly but avoid leaving puddles or drips.
- Drying: Let the first coat dry completely. Check the paint can for specific drying times. Re-coating times are important to follow.
- Second Coat: Once the first coat is dry, you can lightly sand the entire surface with very fine-grit sandpaper (240-grit or higher) if you notice any imperfections or raised grain. Wipe off all dust with a tack cloth. Apply the second coat of paint in the same manner as the first.
- Additional Coats: Depending on the color and type of paint, you may need a third coat for full coverage and opacity. Follow the same drying and light sanding steps between coats.
Step 7: Curing and Final Touches
Paint needs time to cure, which is when it hardens fully and reaches its maximum durability. This process can take several days to a few weeks, depending on the paint type and environmental conditions. Be gentle with your newly painted teak piece during this curing period.
After the final coat has thoroughly dried (not just the surface dry), you can reattach any hardware. If you’ve painted hardware, ensure it’s fully dry and cured before handling.
Protecting Your Painted Teak Long-Term
Once your teak is beautifully painted and fully cured, you’ll want to keep it looking its best. Here are some tips:
- Regular Cleaning: Mild soap and water are usually sufficient for cleaning. Avoid abrasive cleaners or harsh chemicals that could damage the paint.
- Inspect Periodically: Even with paint, it’s good to check for any signs of wear, chipping, or mildew. Address minor issues promptly before they become larger problems.
- Touch-Ups: Keep a small amount of your paint on hand for quick touch-ups if any small dings or scratches occur
- Consider a Top Coat (with caution): For exterior pieces, a clear, UV-resistant sealant might be considered, but this needs careful research. Some paints already have excellent UV protection. Adding a clear coat can sometimes yellow over time or affect the paint’s finish. Always test this on a scrap piece first or consult the paint manufacturer. The United States government’s Environmental Protection Agency (EPA) provides information on choosing environmentally friendly paints, which often have great durability.
Understanding Paint Types for Teak
| Paint Type | Pros | Cons | Best Use |
|---|---|---|---|
| Acrylic Latex (Exterior/Interior) | Flexible, durable, easy cleanup (water-based), good UV resistance, available in many colors, low VOC options. | Can be less durable than oil-based if not a high-quality product. | Excellent for most outdoor/indoor teak furniture, doors, trim. |
| Alkyd Enamel (Oil-Based) | Very durable, hard finish, excellent adhesion, smooth appearance, good for high-traffic areas. | Requires mineral spirits for cleanup, can have strong fumes, may become brittle over time, yellowing possible with lighter colors. | Trim, doors, furniture where a very hard, smooth finish is desired. |
| Chalk Paint | Minimal prep, matte finish, can create distressed look easily. | Requires a topcoat (wax or poly), less durable for heavy-use exteriors, can be more expensive. | Decorative indoor pieces, furniture where a vintage/distressed look is the goal. |
| Milk Paint | Authentic historical look, can chip naturally for a distressed effect. | Requires a topcoat, can be unpredictable, requires mixing. | Decorative pieces, antique restoration, creating a specific aged look. |
For most DIYers painting teak, a high-quality exterior acrylic latex paint or an exterior alkyd enamel will offer the best balance of durability, ease of use, and finish quality. Always use a primer specifically designed to block oils and adhere well to exotic hardwoods like teak.
Common Questions About Painting Teak
Q1: Can I paint over an old stain on teak?
Yes, but proper preparation is key. You’ll need to clean the wood thoroughly, sand it well to rough up the surface and remove any glossy finish, and then use a good quality stain-blocking primer. Ensure all dust is removed before priming.
Q2: Will the paint last on outdoor teak furniture?
With the right preparation, a good primer, and a high-quality exterior-grade paint, your painted teak furniture can last for many years. Regular cleaning and occasional touch-ups will help maintain its appearance and durability.
Q3: Does teak have to be sanded before painting?
Yes, absolutely. Teak’s natural oils and smooth surface mean paint won’t adhere well without sanding. Sanding opens up the wood’s pores and provides the necessary “tooth” for the primer and paint to grip effectively.
Q4: Are there special primers for teak?
It’s highly recommended to use a primer specifically formulated for exotic hardwoods or smooth surfaces. These primers are designed to block the natural oils present in teak, preventing them from bleeding through your topcoat and ensuring excellent adhesion.
Q5: How many coats of paint do I need?
Typically, two to three thin coats of paint are recommended for the best coverage and durability. Always allow each coat to dry thoroughly between applications and between sanding (if needed).
Q6: Can I paint teak without sanding if I use a bonding primer?
While some “bonding primers” claim to adhere to various surfaces, sanding is still the most reliable method for painting teak. Teak’s natural oils can make adhesion difficult even for bonding primers. Skipping sanding significantly increases the risk of peeling and a premature failure of the paint job. For lasting results, sanding is crucial.
Q7: How do I care for painted teak?
Painted teak furniture should be cleaned with mild soap and water. Avoid harsh chemicals or abrasive scrubbers. For outdoor furniture, consider bringing it indoors or covering it during harsh winter months to extend its life, though a good paint job offers substantial protection.