How to Fix Blotchy Wax on Chalk Paint (4 Fixes, No Sanding)
Blotchy wax on chalk paint almost always means too much wax went on before the last coat cured, or dark wax got rubbed in circles instead of straight, with-the-grain strokes. Left alone, the uneven film traps dust and yellows in patches within a season, and waxing over it just doubles the blotches. This guide covers a symptom-to-fix table, four repair methods from a polish coat to a full mineral-spirits strip, and how long to wait before you touch it again.
What Causes Blotchy Wax on Chalk Paint?
Best Chalk Paint Wax Pick
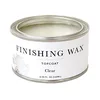
Jolie Clear Finishing Wax, 120ml
Odor-free, non-yellowing clear wax — the same type of product used for both the polish-coat fix (Method 2) and the required base coat under dark wax.
- Best for: fixing blotches and sealing chalk paint on furniture and cabinets
- Why we picked it: non-yellowing formula won’t discolor light or white chalk paint over time
- Main drawback: 120ml covers a small piece; larger furniture needs the 500ml size
Compare more chalk paint wax and tool options
 Option 1 BBTO Chalk Wax with Brush & Sealer, 7oz
|
 Option 2 Mister Rui Wax Brush Set, 3pc
|
 Option 3 Howard Chalk-Tique Dark Paste Wax
|
As an Amazon Associate we earn from qualifying purchases.
Blotchy wax has three common causes, and the fix is different for each one. Getting the cause right the first time saves you from re-waxing the same spot twice.
Too Much Wax, Not Enough Buffing Time
Paste and liquid wax both have a short working window — roughly 15 to 20 minutes — before they start to set up. If you apply a thick coat and don’t buff it out inside that window, the wax hardens unevenly and leaves cloudy, streaky patches instead of a clear film.
Dark Wax Applied in Circles Instead of Straight Strokes
Dark and colored waxes show every application mark because the pigment sits in the grain and any brush swirls. Rubbing dark wax in circular motions instead of long strokes with the wood grain is the single most common cause of visibly blotchy dark-wax finishes.
No Clear Wax Base Coat Under Dark Wax
Chalk paint is porous, so it absorbs wax unevenly straight out of the can. Applying dark wax directly onto bare chalk paint, with no clear wax base coat to even out absorption first, is what causes the dark, blotchy patches that look worse the longer they sit.
Match Your Symptom to the Fix
Use this table to identify which of the three causes above you’re dealing with, then jump to the matching method below.
| What You See | Likely Cause | Fix It With |
|---|---|---|
| Cloudy white haze or streaks | Wax applied too thick, not buffed within ~20 minutes | Method 1: Buff It Out |
| Dark smudges or swirl marks over an even base | Dark wax rubbed in circles instead of straight strokes | Method 2: Fresh Polish Coat |
| Sticky or tacky spots that never fully harden | Excess wax pooled in carvings or corners and never absorbed | Method 3: Mineral Spirits |
| Dark, uneven color over light chalk paint with no clear coat underneath | Dark wax applied with no clear wax base coat first | Method 4: Strip and Restart |
Tools and Materials You’ll Need
To fix blotchy wax on chalk paint, gather these before you start:
- Soft, lint-free cloths — old t-shirt material or cheesecloth works; anything with lint transfers fibers into the wax.
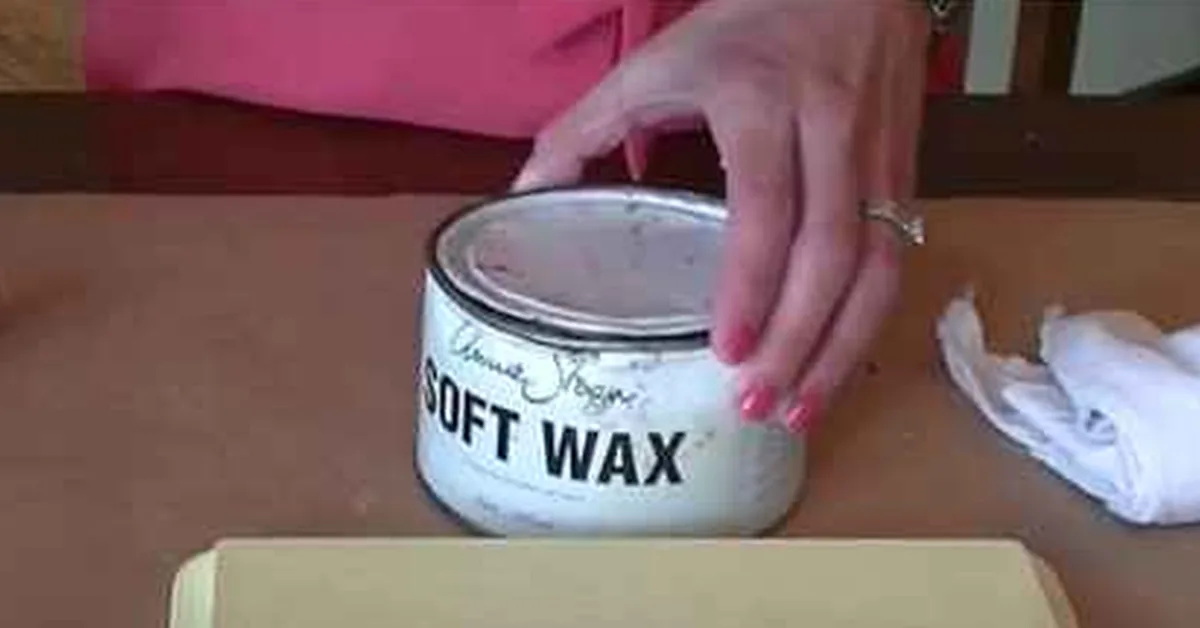
- Clear furniture wax — used both to fix blotches and as the required base coat under any dark wax.
- Dark or colored wax — only if your project calls for it; never apply straight onto bare chalk paint.
- A wax brush or buffing pad — gets into carvings and corners more evenly than a cloth alone.
- Mineral spirits — the standard solvent for removing set wax without stripping the paint underneath.
- 220-grit sandpaper — only needed for Method 4, if the piece has to be repainted.
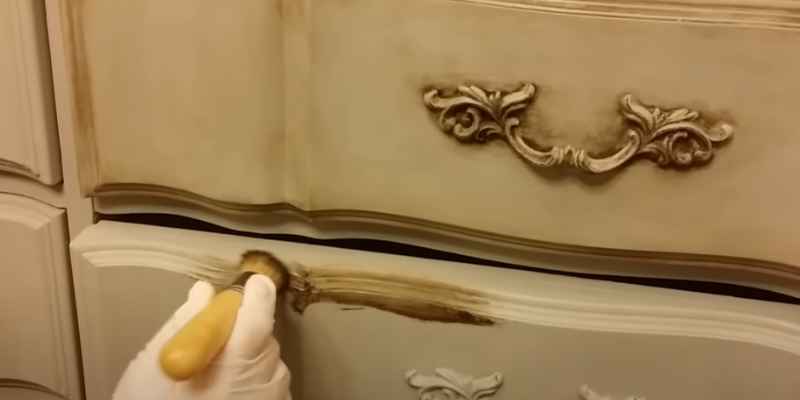
How to Fix Blotchy Wax on Chalk Paint (4 Methods)
Start with Method 1. Move down the list only if the blotches don’t clear — each method is more aggressive than the last.
Method 1: Buff It Out
Works for light haze and streaks caused by under-buffing. Fixes most cases in under 10 minutes with no extra product.
- Warm the cloth: Fold a clean, lint-free cloth into a pad and rub it briskly against itself for a few seconds to build a little heat.
- Buff in straight strokes: Work with the wood grain, not in circles, applying firm, even pressure over the hazy area.
- Check under raking light: Angle a lamp across the surface. If haze remains, move to Method 2 instead of buffing harder.
Method 2: Apply a Fresh Polish Coat
The fix for most blotchy chalk paint wax. A thin new coat of wax reactivates the oils in the layer underneath, which lets you redistribute and buff out the unevenness instead of removing anything.
- Load the cloth lightly: Dab a pea-sized amount of clear wax onto a clean cloth or wax brush — less than you think you need.
- Work the blotchy area first: Apply in thin, straight strokes directly over the patches, letting the new wax blend into the old.
- Extend into the surrounding area: Feather the wax outward a few inches past the blotch so the repair doesn’t create a visible line.
- Buff immediately: Don’t let this coat sit for more than 15 to 20 minutes before buffing it out with a clean cloth.
Method 3: Strip With Mineral Spirits
Use this when a fresh polish coat doesn’t fix it — usually sticky spots or dark blotches applied straight onto bare paint. Mineral spirits dissolve the wax without touching the chalk paint underneath.
- Test a hidden spot first: Dampen a cloth corner with mineral spirits and rub an inconspicuous area to confirm the paint holds up.
- Dampen, don’t soak: Wet a clean cloth lightly with mineral spirits and rub the blotchy area in straight strokes until the wax lifts off.
- Wipe with a dry cloth: Remove the dissolved wax residue immediately so it doesn’t redeposit as it dries.
- Let it flash off: Wait at least 30 minutes for the solvent smell and any dampness to fully clear before rewaxing.
- Reapply clear wax first: Always rewax with a thin clear coat before adding dark wax back over the same spot.
Method 4: Sand Back and Start Over
Reserve this for severe cases — deep, uneven color from dark wax applied directly onto bare chalk paint with no base coat, or wax that soaked in and won’t lift with solvent.
- Strip remaining wax: Repeat the mineral spirits pass from Method 3 across the whole piece, not just the worst spots.
- Scuff-sand: Lightly sand with 220-grit sandpaper to knock down any remaining wax residue and rough up the surface for new paint.
- Repaint the affected area: Apply a fresh coat of chalk paint, feathering it into the surrounding finish so there’s no visible edge.
- Wax in the correct order: Once the paint is fully dry, apply clear wax first, buff, then add dark wax only if you want it — never the reverse.
How Long to Wait Before Touching It Again
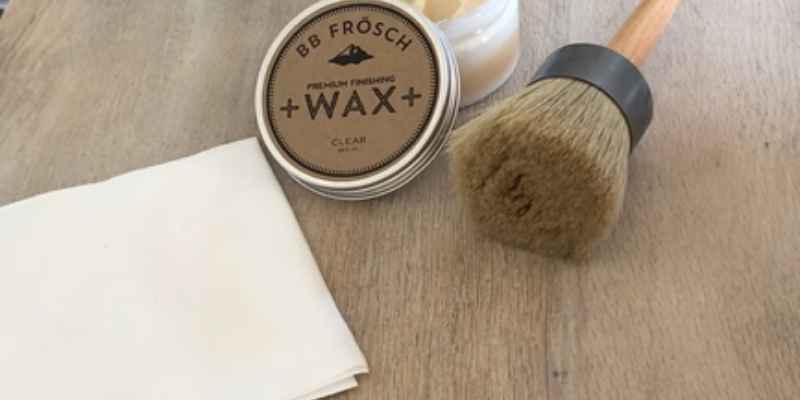
Give a fresh polish coat (Method 2) at least 20 to 30 minutes to firm up before judging the result under good light — wax looks hazier while it’s still soft. After a mineral spirits pass (Method 3), wait a full 30 minutes for the solvent to flash off before rewaxing. A newly waxed piece reaches its final hardness after about 24 hours, so avoid heavy use or stacking items on the surface until then.
How to Prevent Blotchy Wax Next Time
Three habits prevent almost every case of blotchy wax: apply thin coats, buff inside the working window, and always lay down clear wax before dark wax.
- Use less wax than feels right. A pea-sized amount per square foot is enough for a thin coat — you wipe off the excess anyway, so more product just means more to buff out unevenly.
- Work in sections you can finish in 20 minutes. Apply and buff one section of the piece before moving to the next, instead of waxing the whole surface and buffing it all at the end.
- Clear wax first, always. Chalk paint absorbs wax unevenly on its own; a clear base coat evens out that absorption so any dark or colored wax goes on consistently.
- Reapply on a schedule. Wax on frequently touched furniture (tabletops, dresser tops) typically needs a fresh coat every 3 to 6 months to keep protecting the paint underneath.
FAQ
Why does chalk paint wax look patchy after it dries?
Patchy wax almost always means the coat was applied too thick and wasn’t buffed within the 15 to 20 minute working window before it started to set. It can also happen when different areas of the chalk paint absorbed wax at different rates, which is common on pieces with no clear wax base coat.
How long should chalk paint wax dry before you buff it?
Buff within 15 to 20 minutes of applying wax, while it’s still slightly soft. If it hardens fully before you buff, buffing gets harder and streaking gets more likely. The wax reaches full cure and final hardness after about 24 hours.
Can you fix blotchy wax without stripping the whole piece?
Yes, in most cases. A fresh thin coat of clear wax buffed over the blotchy area (Method 2) fixes the majority of blotches without any stripping. Only sticky spots, dark blotches with no base coat, or wax that’s fully soaked in typically require mineral spirits or a full strip.
Can you repaint over waxed chalk paint if the fix doesn’t work?
Yes, but the wax has to come off first. New chalk paint won’t adhere to a waxed surface. Strip the wax with mineral spirits, lightly scuff-sand with 220-grit sandpaper, then repaint (Method 4) before waxing again in the correct order.
How often should you reapply wax on chalk-painted furniture?
Every 3 to 6 months for surfaces that get regular use, like tabletops and dresser tops. Decorative or low-touch pieces can go longer. Reapplying on schedule with thin coats is also the easiest way to avoid blotchiness from a heavy, one-time application.
Conclusion
Blotchy wax on chalk paint is almost always a buffing-window or layering problem, not a paint problem — match your symptom to the table above, start with the least aggressive fix, and lay clear wax down before any dark wax. For more on finishing painted furniture, see our full wood finishing guide, or if you’re dealing with wax buildup instead of blotches, see how to get wax off wood and how to remove wax from furniture.
Sponsored / affiliate links. As an Amazon Associate I earn from qualifying purchases. I may earn additional commission from eligible campaigns.