Can You Polish Engineered Hardwood Floors? What Actually Works
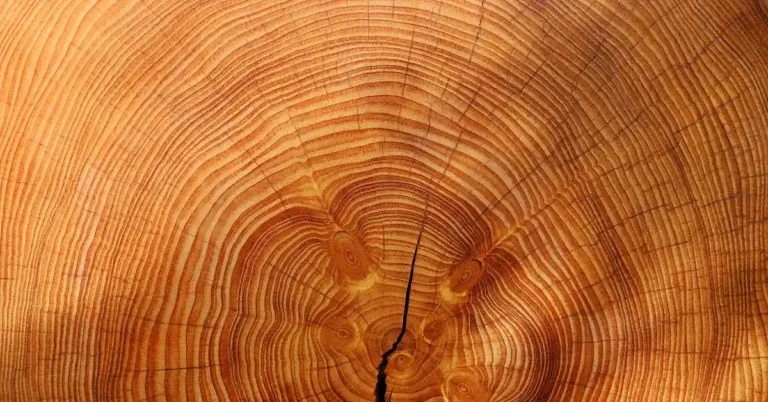
Yes, you can polish engineered hardwood floors, but not the way you’d polish solid hardwood. Engineered floors have a real hardwood layer on top – called the wear layer – that is often just 0.6mm to 6mm thick, sitting on a plywood or HDF core. That thin layer is exactly why the safest fix for a dull engineered floor is usually a surface-level polish or restorer matched to your finish, not the sanding and buffing approach that works fine on solid wood. Get the product or the method wrong and you can strip the finish, gum up the surface, or sand straight through to the core. Here’s how to tell what your floor can actually handle.
The Quick Answer: Yes, With One Big Caveat
Best Engineered-Floor Restorer Pick
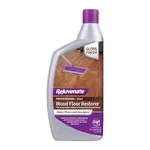 |
Rejuvenate Professional Wood Floor Restorer, 32 oz – $20.15 A water-based, one-coat restorer built for unwaxed, polyurethane-finished wood floors – exactly the surface-level fix engineered floors with a thin wear layer need instead of sanding.
|
Solid hardwood can be sanded down and refinished for decades because every board is wood all the way through. Engineered hardwood can’t take that same treatment more than a handful of times, if at all, because there’s only so much real wood on top before you hit the plywood or HDF core underneath. That’s not a flaw in engineered flooring – it’s just a different material with a different maintenance ceiling, and once you know where that ceiling is, polishing it safely is straightforward.
First, Confirm You Actually Have Engineered Hardwood
Before buying any polish, make sure the floor is genuinely engineered hardwood and not wood-look vinyl plank (LVP) or laminate, since those two are printed images over a synthetic or fiberboard core with no real wood layer at all – a wood polish won’t restore them, and sanding will destroy them instantly. The quickest check is to look at a cut edge, usually at a floor vent, doorway threshold, or a spot where a plank has been removed. Real engineered hardwood shows visible wood grain running through a solid top layer with a distinct glued seam below it. LVP and laminate show a thin printed pattern layer sitting on a uniform plastic or fiberboard core with no actual grain depth. If you’re at all unsure, a local flooring retailer can usually identify it from a photo of that cut edge in under a minute, and it’s worth the five-minute detour before you spend money on the wrong product.
Why the Wear Layer Sets the Real Limit
The wear layer is the slice of genuine hardwood glued to the top of the plywood or HDF core, and its thickness – not the brand, not the room, not how careful you are – is what decides whether your floor can be sanded and refinished or only surface-polished. Manufacturers cut this layer anywhere from about 0.6mm on budget products up to 6mm on premium lines, and the difference matters more than most buying guides make it sound:
- Around 1mm or less: can’t be sanded at all – a surface polish or recoat is your only option.
- About 2mm: typically good for one to two light sandings in its lifetime.
- About 3mm: usually handles two to three sandings.
- About 4mm: generally supports three to four sandings.
- 5 to 6mm: can often be sanded up to about five times, close to what a thinner solid-wood floor allows.
The National Wood Flooring Association’s own sand-and-finish guidelines put a hard floor under this: if the wear layer measures less than roughly 2.5mm (about 3/32 inch), it shouldn’t be sanded at all, since there isn’t enough real wood left to safely remove finish and re-level the surface without breaking through. If you don’t know your floor’s wear-layer spec, check the original product documentation or the manufacturer’s website by model number before anyone runs a sander over it – that one number determines which of the fixes below is actually safe for your floor.
Polishing vs. Sanding: Picking the Right Fix
“Polishing” and “refinishing” get used interchangeably online, but on an engineered floor they’re two very different jobs with two very different risk levels.
Polishing (Surface-Level, Low Risk)
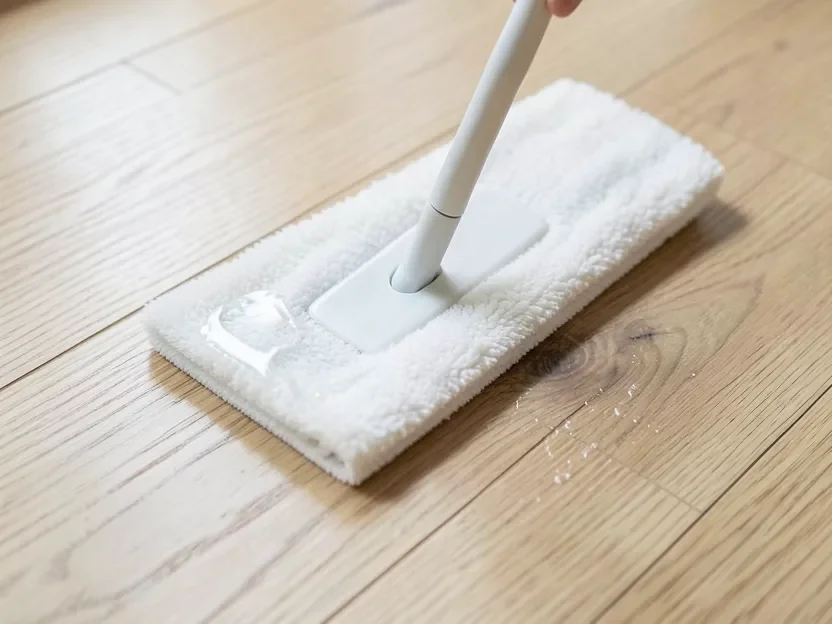
Polishing adds a fresh topical layer over the existing finish to rebuild shine and fill light scratches. It removes zero wood from the wear layer, which is why it’s the right move for any engineered floor – thin veneer or thick – as long as the product you use actually matches your floor’s finish type. This is what routine engineered hardwood care should lean on between deeper cleans.
Sanding and Refinishing (Removes Wood, Higher Risk)
Sanding strips off the old finish and a thin layer of the wood underneath it, then applies a new finish on bare wood. It genuinely resets deep scratches and stains that a polish can’t touch, but it also permanently uses up part of your limited wear layer every time it’s done. For a full breakdown of how many sandings different floor types can survive, see how many times you can refinish wood floors. If you’re unsure which one your floor needs, a polish is the safer place to start – you can always sand later if it’s not enough, but you can’t undo a sanding job on a floor that couldn’t afford it.
How to Polish an Engineered Hardwood Floor Safely
- Confirm your finish type first. Most engineered floors made in the last couple of decades have a factory polyurethane or aluminum-oxide finish, not a penetrating oil or wax finish. A water-based polish or restorer is made for the polyurethane kind – using it on an oil-finished floor won’t bond right, and it will look cloudy or streaky.
- Clean thoroughly before you polish anything. Sweep or vacuum, then damp-mop with a pH-neutral hardwood cleaner and let the floor dry completely. Any grit or residue left behind gets sealed under the polish and shows up as dullness or scratching later.
- Apply a thin, even coat with a microfiber applicator. Work in the direction of the wood grain, in small sections, following the product’s stated coverage rate – more product is not a better shine, it’s a tacky floor.
- Let it cure fully before walking on it. Most restorers need 30 to 60 minutes to dry to the touch and longer before furniture goes back – check the label, since curing time varies more between products than people expect.
- Keep up routine maintenance in between. A polish coat isn’t permanent; it wears with foot traffic. Pair it with the cleaning routine in our guide to cleaning hardwood floors and you’ll stretch the time between polish applications considerably.
Mistakes That Actually Damage Engineered Floors
Most of the damage we hear about didn’t come from polishing too often – it came from using the wrong product or method on a floor with almost no margin for error.
- Wax on a polyurethane finish. This is the single most common mistake. Wax doesn’t bond to a factory poly finish – it sits on top, builds up as a hazy, slippery film, and has to be stripped with solvents before any water-based product will work on the floor again.
- Sanding a floor with a sub-2.5mm wear layer. Even a “light” sanding pass can cut straight through a thin veneer into the core, which shows up as a discolored line or the core material itself becoming visible – and it can’t be reversed.
- Steam mops and soaking-wet mopping. Heat and standing water push moisture into the seams between planks, which can swell the core and lift the finish from underneath, regardless of how good the top-side polish looks.
- Oil soaps and silicone-based “shine” sprays. These leave a residue that keeps the next polish or finish coat from bonding properly, and it’s often the actual reason a floor looks streaky after a polish job that was otherwise done correctly.
- Skipping a test patch. Even a product rated for polyurethane finishes can react differently depending on the factory topcoat and how worn it already is. Test any new polish or restorer on an inconspicuous spot – inside a closet or under a rug – and let it cure fully before doing the whole room.
One more thing worth knowing: a polish coat is a maintenance layer, not a repair for structural damage. Deep gouges, water-warped planks, or spots where the wear layer has already worn through to the core need a professional assessment or plank replacement – no surface product fixes that, and trying to mask it with extra polish usually just makes the damaged spot more obvious once it dries.
Frequently Asked Questions
Can you polish engineered hardwood floors without sanding?
Yes – and for most engineered floors, that’s the recommended approach. A polish or restorer matched to your finish type rebuilds shine and fills light scratches without removing any of the wear layer, which is the only wood you have to work with.
How do I know if my engineered floor can be sanded?
Check the manufacturer’s spec sheet for your product’s wear-layer thickness in millimeters. As a general guideline from the National Wood Flooring Association, anything under about 2.5mm shouldn’t be sanded at all – a surface polish is the safer option.
Can I use regular wood floor wax on engineered hardwood?
Only if your floor has a penetrating oil finish, which is uncommon on engineered products. Most engineered floors have a factory polyurethane finish, and wax will sit on top as a hazy film instead of bonding – use a water-based polish made for polyurethane finishes instead.
Sponsored / affiliate links. As an Amazon Associate I earn from qualifying purchases. I may earn additional commission from eligible campaigns.