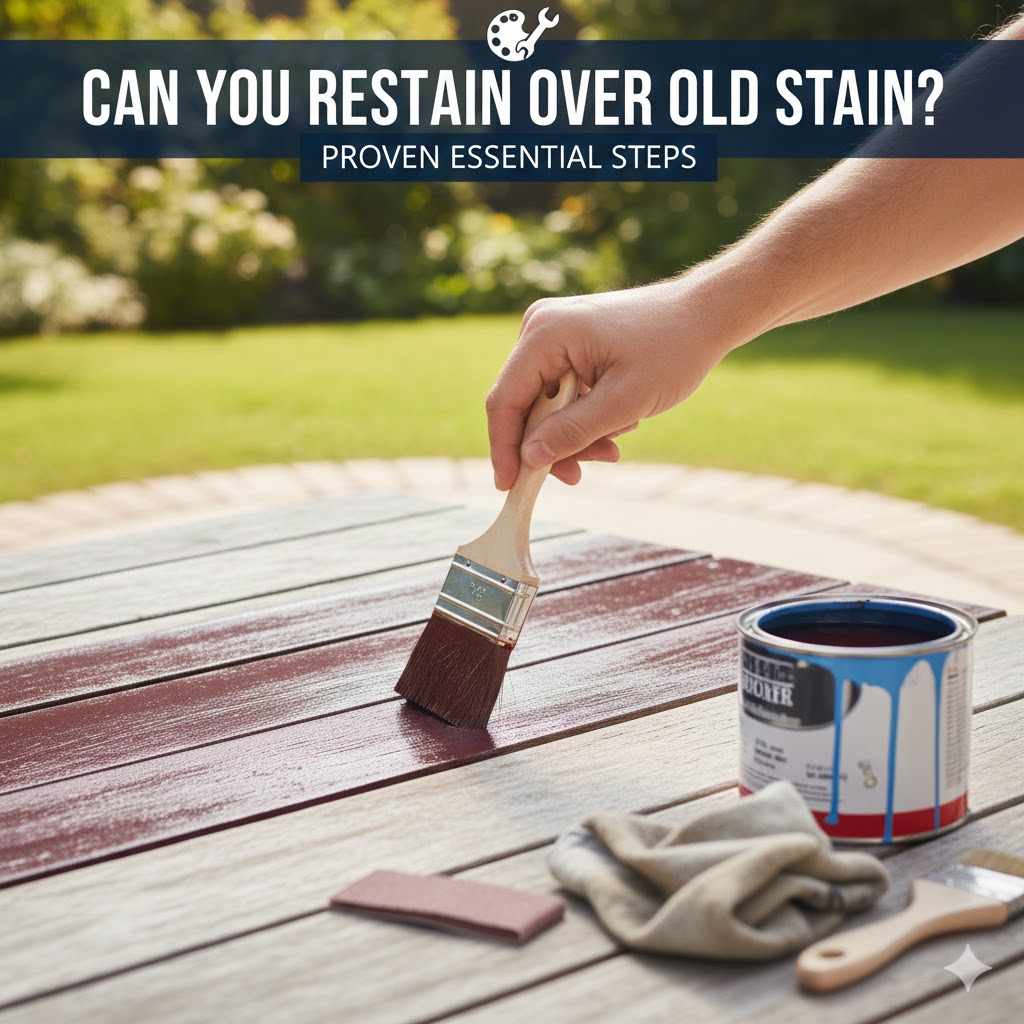
Can You Restain Over Old Stain? Proven Essential Steps
Yes, you can restain over an old stain, but it requires proper preparation. You must first remove the old protective topcoat (like polyurethane or varnish) and lightly sand the surface. For a significant color change or a darker stain, this method works well. However, staining a dark piece lighter requires completely stripping the old stain down to bare wood.
Hello, I’m Md Meraj! It’s a question I hear all the time in the workshop: “Can I just put a new stain over my old, tired-looking wood furniture?” Maybe you have a dining table that’s seen better days or a dresser with an outdated finish. You want to give it a fresh look without buying a new one.
The good news is that you absolutely can! It’s a wonderful way to breathe new life into your wooden treasures. But it’s not as simple as just slapping on a new color. There are a few crucial steps you need to follow to get a beautiful, lasting finish. Don’t worry—I’m here to guide you through every single one. Together, we’ll make that old piece look brand new again!
Why You Can’t Just Stain Over the Old Finish
Imagine trying to color a piece of paper that’s already been covered in clear plastic wrap. The marker would just sit on top, right? It wouldn’t soak into the paper. Staining wood works in a very similar way.
Most stained furniture has a protective clear coat on top, like polyurethane, varnish, or lacquer. This topcoat seals the wood pores to protect it from spills and scratches. If you try to apply new stain on top of this sealer, the stain has nowhere to go. It can’t penetrate the wood, so it will end up being a sticky, uneven mess that won’t dry properly.
To restain successfully, you must first deal with that old topcoat. Once it’s gone, the new stain can soak into the wood grain, giving you that rich, even color you’re looking for.

The Golden Rule of Restaining: Go Darker
Here’s a simple rule of thumb that will save you a lot of headaches: it’s almost always easier to stain wood a darker color than it currently is. If you have a light oak table and want to make it a deep walnut, you’re in luck! By scuffing up the surface and applying a dark stain, the new, darker pigments can effectively cover the old, lighter ones.
However, going from a dark color (like mahogany) to a light color (like golden oak) is a much bigger job. In that case, you can’t just apply a light stain over a dark one. You would need to completely strip the wood down to its bare, natural state. This is a lot more work, but it’s the only way to make a drastic light-to-dark change.
Tools and Materials You’ll Need
Getting your tools ready before you start makes the whole process smoother. You don’t need a professional workshop, just a few key items. Here is your shopping list:
- Safety Gear: Safety glasses, dust mask, and chemical-resistant gloves.
- Cleaning Supplies: A bucket, clean rags, and a mild soap or mineral spirits.
- Finish Removal:
- Medium-grit (120-150) and fine-grit (180-220) sandpaper.
- A sanding block or orbital sander.
- Optional: A chemical stripper, plastic scraper, and steel wool for heavy finishes.
- Staining Supplies:
- Your choice of wood stain (oil-based or water-based).
- Clean, lint-free rags or a foam brush for application.
- Finishing Supplies:
- A clear topcoat (polyurethane, varnish, or lacquer).
- A high-quality natural-bristle brush (for oil-based) or synthetic brush (for water-based).
Safety First! Your Pre-Project Checklist
Before we dive in, let’s talk about safety. Working with wood finishing products is fun, but it’s important to protect yourself. A little preparation goes a long way.
- Work in a Well-Ventilated Area: Open windows and doors, and use a fan to keep the air moving. If you’re working in a garage, open the main door. The fumes from strippers and stains can be strong.
- Protect Yourself (PPE): Always wear your safety glasses to protect your eyes from splashes and dust. A dust mask is essential when sanding. When using chemical strippers or oil-based products, wear chemical-resistant gloves.
- Handle Rags Carefully: Rags soaked with oil-based stain can be a fire hazard if not handled properly. After you’re done, don’t just bunch them up in the trash. Lay them flat on a concrete surface outside to dry completely before throwing them away. The National Fire Protection Association has great guidelines on how to safely dispose of oily rags.
Step-by-Step: How to Restain Your Wood Furniture
Ready to get started? Follow these steps, and you’ll be amazed at the results. Take your time, and enjoy the process of transforming your piece.
Step 1: Inspect and Prepare Your Workspace
First, take a close look at your furniture. Is it solid wood or a veneer (a thin layer of wood over a particleboard core)? If it’s a veneer, you need to be very gentle when sanding to avoid wearing through it. Cover your floor with a drop cloth to protect it from spills and dust.
Step 2: Clean the Surface Thoroughly
You can’t stain a dirty surface! Use a rag with a mixture of mild soap and water to wipe down the entire piece. For greasy or waxy buildup, use a cloth dampened with mineral spirits. This removes any grime, oils, or old furniture polish that could prevent the new stain from absorbing evenly. Let it dry completely.
Step 3: Remove the Old Topcoat
This is the most important step. You have two main options for removing that old, clear finish.
Option A: Sanding (Best for thin finishes)
If the existing finish is thin or worn, sanding might be all you need. Start with 150-grit sandpaper and sand the entire surface. This is called “scuff sanding.” Your goal isn’t to remove all the old stain, but to remove the shiny topcoat and rough up the surface so the new stain can adhere. Always sand in the direction of the wood grain. After sanding, wipe away all the dust with a clean, damp cloth.
Option B: Chemical Stripper (Best for thick finishes like polyurethane)
If your piece has a thick, durable finish, a chemical stripper will save you hours of sanding. Follow the product instructions carefully—this usually involves brushing on the stripper, letting it sit, and then scraping off the bubbly finish with a plastic scraper. Make sure you are in a very well-ventilated space when doing this. The EPA provides a list of safer chemical ingredients, which can help you choose a product. After stripping, you may need to neutralize the wood as per the product’s instructions and then do a light sanding.
| Method | Best For | Pros | Cons |
|---|---|---|---|
| Sanding | Thin finishes (lacquer, shellac) or preparing for a darker stain. |
|
|
| Chemical Stripper | Thick, stubborn finishes like polyurethane or multiple layers of paint/varnish. |
|
|
Step 4: The Final Sand
Whether you stripped or just sanded, your next step is a final, light sanding. Use fine-grit sandpaper (220-grit is perfect) and sand lightly over the entire piece, again moving with the grain. This smooths out any minor scratches and opens up the wood pores perfectly to accept the new stain. Wipe away every speck of dust with a tack cloth or a slightly damp rag. A dust-free surface is key to a flawless finish!
Step 5: Apply Your New Stain
Now for the fun part—adding color! Stir your stain well. Using a clean, lint-free rag, wipe the stain onto the wood, moving in the direction of the grain. Work in manageable sections. Let the stain sit for a few minutes (check the can for recommended times), then use a separate clean rag to wipe off any excess. The longer you let it sit, the darker the color will be. Wiping off the excess is crucial for an even finish.
Let the stain dry completely. This can take anywhere from 4 to 24 hours, depending on the type of stain and the humidity. Don’t rush this step!
Step 6: Protect Your Work with a Topcoat
Your piece looks great, but it’s not finished yet! The stain provides the color, but a topcoat provides the protection. Applying a topcoat like polyurethane will protect the wood from scratches, water rings, and everyday wear and tear.
Apply a thin, even layer of your chosen topcoat with a quality brush. Let it dry completely, then lightly sand it with very fine sandpaper (220-grit or higher). Wipe away the dust and apply a second coat. Two or three coats are usually perfect for a durable, beautiful finish.
What About Gel Stains or Polyshades?
You may have seen “one-step” products like gel stains or Polyshades (a mix of stain and polyurethane). These are designed to go over existing finishes with minimal prep.
Gel Stain: This is a thick stain that sits on top of the wood rather than soaking in. You can apply it over an old finish after a good cleaning and a light scuff sanding. It’s great for creating a dark, uniform look, but it can hide some of the wood grain.
Polyshades: This combines stain and a topcoat in one. While it seems like a time-saver, it can be very difficult to apply evenly. Any drips or brush marks will show up as darker spots. I generally recommend that beginners stick to staining and top-coating in separate steps for the best results.
| Product | How It Works | Best Use Case | Beginner Friendliness |
|---|---|---|---|
| Traditional Stain | Penetrates bare wood to color the grain. Requires a separate topcoat. | Achieving a rich, deep color that highlights natural wood grain. | High (with proper prep). |
| Gel Stain | Sits on top of the surface like a thin paint. Good for going much darker. | Staining non-wood surfaces or creating a very uniform color over an old finish. | Medium. Can be tricky to apply evenly without streaks. |
| Polyshades (Stain + Poly) | Applies color and a protective finish in one step. | Quick touch-ups on small projects where perfection isn’t the goal. | Low. Very difficult to get a streak-free, even finish. Not recommended for large surfaces. |
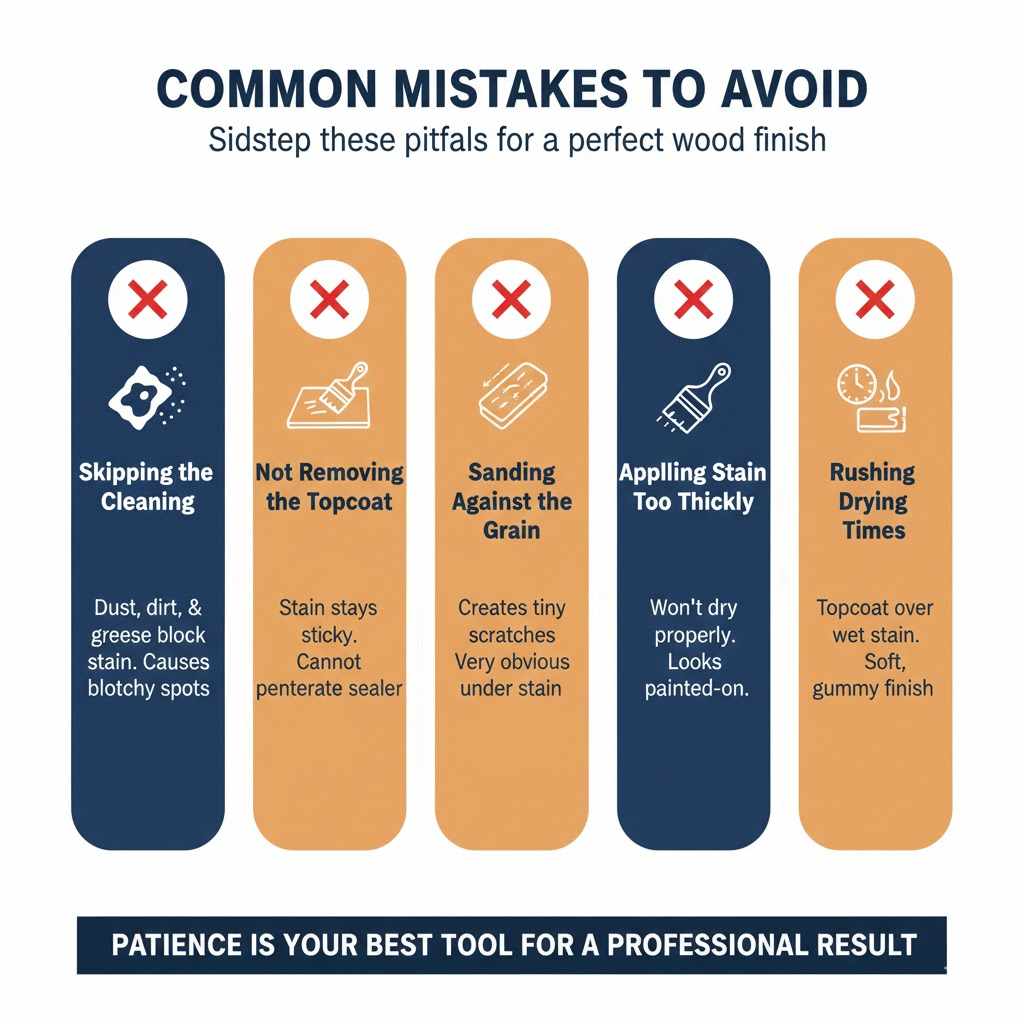
Common Mistakes to Avoid
We all make mistakes, but here are a few common ones you can easily sidestep:
- Skipping the Cleaning: Any dust, dirt, or grease will block the stain and cause blotchy spots.
- Not Removing the Topcoat: If the stain feels sticky after hours of drying, it’s likely because an old sealer was still on the wood.
- Sanding Against the Grain: This creates tiny scratches that become very obvious once you apply stain.
- Applying Stain Too Thickly: Remember to wipe off the excess! A heavy coat of stain won’t dry properly and will look painted on.
- Rushing the Drying Times: Applying a topcoat over stain that isn’t fully dry can lead to a soft, gummy finish that never hardens. Patience is your best tool.
Frequently Asked Questions (FAQ)
1. Can you stain over stain without sanding?
Generally, no. You need to at least scuff sand the surface. Sanding does two things: it removes the protective topcoat and it opens up the wood pores to accept the new stain. Without sanding, the new stain can’t penetrate and won’t adhere properly.
2. What happens if you apply stain over polyurethane?
The stain will not be absorbed by the wood. Polyurethane is a plastic-like sealant that blocks the wood pores. The stain will just sit on the surface, creating a sticky, uneven mess that will not dry correctly and can be easily wiped off.
3. How can I tell if the old finish is completely gone?
A good way to test this is to sprinkle a few drops of water on the wood after you’ve sanded or stripped it. If the water beads up, there is still some sealer left. If the water soaks in quickly and darkens the wood, the pores are open and ready for stain.
4. Can I go from a very dark stain to a light one?
This is very difficult and requires completely stripping the old finish and stain down to bare, natural wood using a combination of chemical strippers and extensive sanding. Even then, some dark pigment may remain deep in the grain. It’s a job best suited for more experienced woodworkers.
5. How long should I let the stain dry before applying polyurethane?
Always check the instructions on the stain can, as drying times vary. For oil-based stains, a safe bet is to wait at least 24 hours in a well-ventilated space. If it still feels oily or tacky, give it another 24 hours. Rushing this step is a common mistake that can ruin your project.
6. Is it better to use an oil-based or water-based stain?
Both have their pros and cons. Oil-based stains penetrate deeper, have a longer working time, and often give a richer color. Water-based stains dry much faster, have low odor, and are easy to clean up with soap and water. For beginners, oil-based can be more forgiving because it doesn’t dry as you’re working.
Your Beautifully Restained Piece
And there you have it! Restaining a piece of wood furniture is a fantastic project that can completely transform a room. It may seem like a lot of steps, but none of them are truly difficult. The key is to be patient and not to cut corners, especially on the prep work. Cleaning and removing the old finish are the foundation for a beautiful result.
By following this guide, you have the power to turn that dated, worn-out piece of furniture into a custom treasure that you can be proud of for years to come. So grab your tools, put on some music, and enjoy the satisfaction of giving your wood a wonderful new life. Happy finishing!