Cedar Shutter Ideas: 4 Real Exterior Styles to Try
The four cedar shutter styles that actually show up on real house exteriors are board-and-batten, louvered (plantation), raised-panel, and Bahama (Bermuda) shutters, and picking the right one comes down to your home’s architecture, not just what looks nice in a photo.
Cedar is a genuinely good material choice for exterior shutters. Western red cedar contains natural oils that resist rot and deter insects far better than pine or fir, which is why it’s also the standard pick for fences and outdoor siding. But cedar left unsealed outdoors will still gray and weather within a year or two, and one of the most common mistakes homeowners make with decorative shutters is sizing them too small — if you look at a lot of listing photos, plenty of houses have shutters that obviously couldn’t close over the window they’re next to. If you’re set on building your own, our guide to making cedar shutters covers the cut list and joinery.
Why Cedar Holds Up as an Exterior Shutter Material
Western red cedar’s natural resistance to rot and insects comes from compounds called thujaplicins in the heartwood, the same chemistry that makes cedar chests and closets moth-resistant. That’s a real, practical advantage for shutters, which spend their whole life exposed to rain, direct sun, and temperature swings that would rot untreated pine within a few seasons. Cedar is also light enough that a pair of full-size functional shutters doesn’t overload standard hinges the way a hardwood like oak would.
That resistance isn’t the same as maintenance-free, though. Left bare, cedar shutters will silver and gray from UV exposure within 12 to 24 months, and moisture that gets trapped between the shutter and the wall can eventually cause the wood to cup or crack. The fix is the same one we cover in detail on our cedar fence disadvantages page: a penetrating exterior stain and sealer, reapplied roughly every one to three years depending on sun exposure. Shutters facing full south or west sun will need it closer to the one-year mark; shutters on a shaded north wall can often stretch to three.
Best Cedar Shutter Sealer Pick
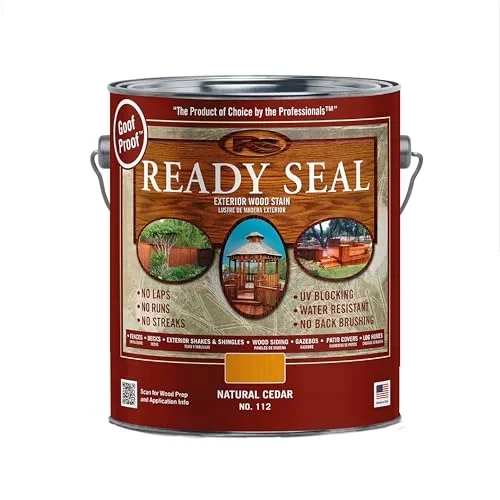 |
Ready Seal 112 Natural Cedar Stain & Sealer – $39.99 A one-coat penetrating stain and sealer that matches the natural cedar tone your shutters already have, so it protects without changing the look.
|
4 Cedar Shutter Styles That Actually Work on a House Exterior
Most “cedar shutter idea” roundups mix in indoor decor projects (headboards, room dividers, accent walls) that have nothing to do with choosing shutters for the outside of your house. These four are the styles you’ll actually see on real exteriors, and each one fits a different kind of architecture.
Board-and-Batten
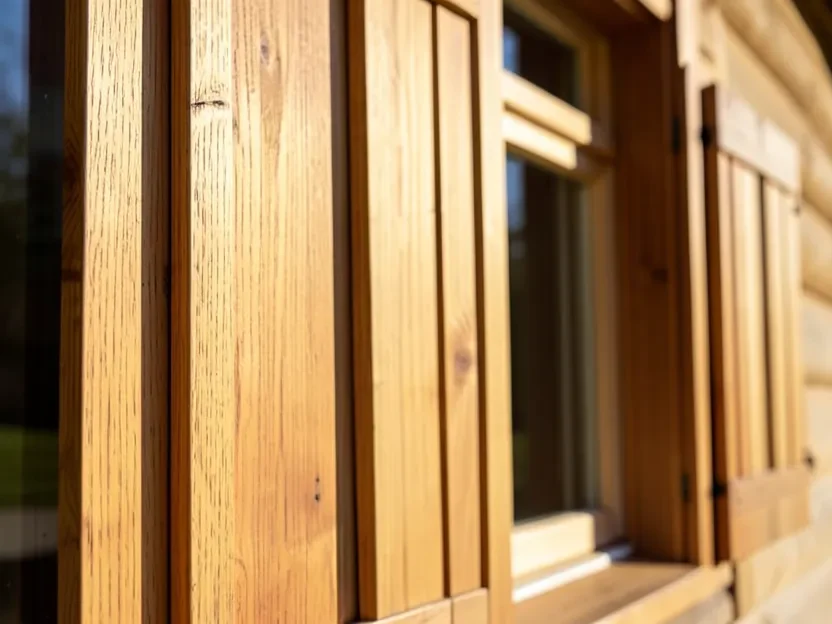
Board-and-batten is the most common cedar shutter style, and for good reason: it’s simple to build, holds up structurally, and reads as classic on nearly any home. Vertical boards are joined edge to edge and held together with horizontal or diagonal battens on the back (a Z-brace pattern is the traditional version). It’s the natural choice for farmhouse, ranch, and cottage-style homes, and it’s usually the cheapest style to build yourself since there’s no angled slat-cutting involved.
Louvered (Plantation) Shutters
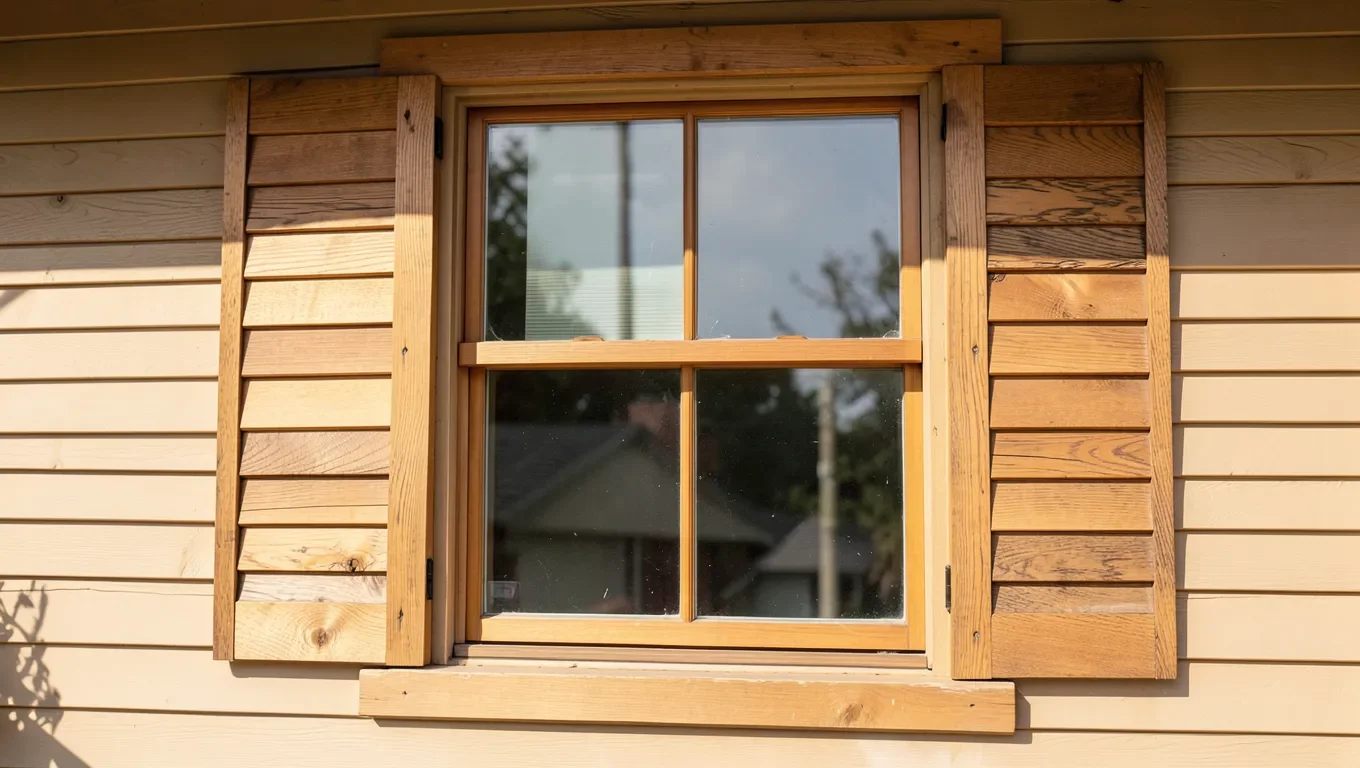
Louvered shutters — angled slats set into a frame — are the style most people picture when they hear “shutters.” They’re the traditional look on historic homes across the South, and they read as more formal and detailed than board-and-batten. On a functional pair, the angled slats actually let air through while blocking rain, which is why they were originally used as real storm and privacy protection before decorative shutters became the norm. Fixed (non-operable) louvered shutters are the version most commonly sold today, and they’re a good match for colonial, Georgian, and traditional Southern-style homes.
Raised-Panel Shutters
Raised-panel shutters use one or two solid panels with a beveled, raised center section, similar to a raised-panel door. They’re the most formal-looking of the four styles and tend to show up on Colonial, Georgian, and other symmetrical, traditional-style homes rather than farmhouses or cottages. Because the panel is solid wood rather than open slats, raised-panel shutters also block more light and sightline if they’re ever closed, which made them a more practical security option historically.
Bahama (Bermuda) Shutters
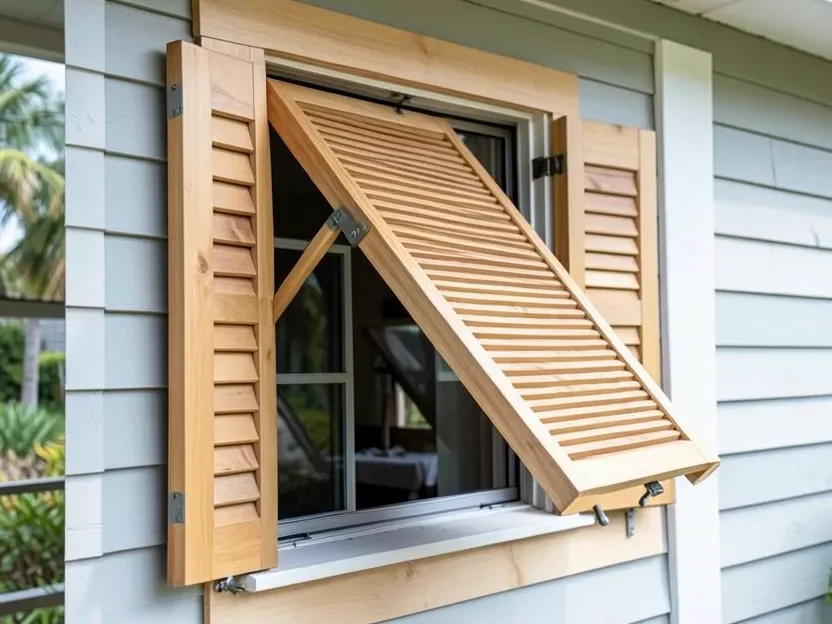
Bahama shutters, also called Bermuda shutters, are a single louvered panel hinged along the top of the window frame that props open and out at an angle using a hinged arm or bracket, rather than a pair mounted on either side. They originated as functional hurricane protection in the Caribbean and Florida — when a storm hits, you unhook the arm and the panel drops flush over the window. On a home that isn’t in a hurricane zone, they’re used purely for the look: a distinctive coastal, tropical style that board-and-batten or louvered pairs can’t replicate. They also double as a literal awning, shading the window from direct overhead sun.
The Sizing Mistake That Makes Decorative Shutters Look Off
Here’s the detail most cedar shutter articles skip entirely: sizing. Even on a home where the shutters are purely decorative and will never actually close, they should still be built to a size that looks like they could close over the window. That means each shutter’s width should be roughly half the window’s width (so a pair together would just about cover it), and the height should run close to the full height of the window opening, not stop short a foot above the sill.
Undersized decorative shutters are one of the most common exterior mistakes on real houses — a narrow pair mounted well outside the window frame, clearly too small to ever cover the glass, breaks the illusion and actually looks worse than having no shutters at all. Before you order or build, measure your actual window opening (width and height, not the trim) and size each shutter to roughly half that width. If your windows are an odd width, board-and-batten and Bahama styles are easier to custom-size than a mass-produced louvered pair.
Keeping Cedar Shutters Sealed and Weather-Ready
The same rot and insect resistance that makes cedar a good fence material (covered in our cedar fence disadvantages guide) applies to shutters, and so does the maintenance reality: cedar left bare outdoors will silver within a season or two, even though it isn’t rotting. A penetrating oil-based stain and sealer, reapplied every one to three years depending on sun exposure, is what keeps the color and protects the wood. Before resealing, clean the shutters with a soft brush and mild soap rather than a pressure washer, which can force water into the wood grain and joints.
Check hinges and mounting hardware at the same time you reseal. On functional shutters like Bahama panels, a rusted hinge or bracket is usually the first thing to fail, well before the cedar itself shows any damage. Stainless steel or hot-dip galvanized hardware holds up far longer outdoors than standard zinc-plated hardware, which will rust and stain the wood around the screw holes within a couple of years in a humid climate.
Frequently Asked Questions
What is the most common cedar shutter style?
Board-and-batten is the most common cedar shutter style on residential exteriors. It’s simple to build, structurally sturdy, and fits farmhouse, ranch, and cottage-style homes without looking out of place.
How often do cedar shutters need to be resealed?
Most cedar shutters need resealing every one to three years, depending on sun exposure. Shutters facing full south or west sun typically need it closer to the one-year mark, while shaded, north-facing shutters can often go closer to three years between coats.
What size should decorative cedar shutters be?
Each shutter should be sized to roughly half the width of the window, so that a pair mounted together would look like it could close over the glass. The shutter height should also run close to the full height of the window opening rather than stopping well short of it.
Are Bahama shutters just decorative, or do they actually work?
Bahama shutters can be fully functional. The panel hinges along the top of the window and props open at an angle with a hinged arm; in a storm, you unhook the arm and the panel drops flush over the window. Outside hurricane-prone regions, many homeowners install them purely for the coastal look, but the hardware still works the same way.
Cedar’s natural rot and insect resistance makes it a genuinely solid material for any of these four shutter styles, but it’s not a substitute for periodic sealing. Pick the style that actually matches your home’s architecture, size each shutter to at least half your window’s width, and reseal on a one-to-three-year schedule and cedar shutters will hold their color and structure for years.
Sponsored / affiliate links. As an Amazon Associate I earn from qualifying purchases. I may earn additional commission from eligible campaigns.