Cheap Wooden Bead Necklaces: Buy Smart or Make Your Own
Wooden bead necklaces get sold two very different ways online: overpriced pre-strung pieces at boutique prices, and bulk bags of loose, unfinished beads that cost a fraction as much once you string them yourself. There’s also a third option most buying guides skip entirely – turning or reaming your own beads from scrap dowel, which costs almost nothing if you already own a lathe or a rotary tool. This guide covers the actual cheapest way to buy them, how to make your own on a lathe, the one mistake that makes homemade or bargain-bin beads sit crooked on the string, and the finish you need if the necklace will touch skin for hours at a time.
The Actual Cheapest Way to Buy Wooden Bead Necklaces
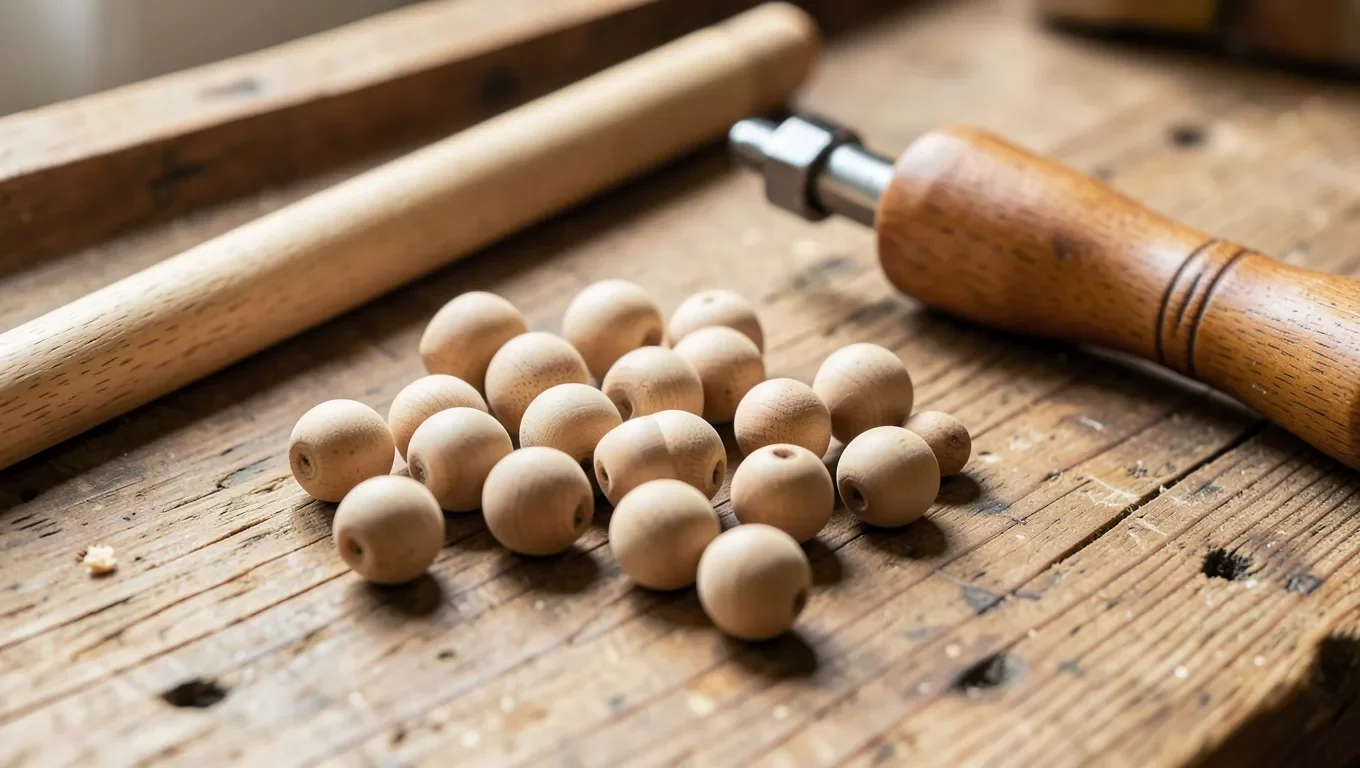
A finished, pre-strung wooden bead necklace marketed as “cheap” online usually still runs $12 to $20 for maybe 40 to 60 beads. A bag of 500 to 950 loose, unfinished natural wood beads in mixed sizes typically costs under $10 to $12 – and that’s enough material for several necklaces, bracelets, and keychains, not just one piece. Buying loose beads and stringing them yourself on leather cord, waxed cotton, or stretch elastic gets you a finished necklace for a couple of dollars in materials once you already have the beads, and you control the length, the bead order, and whether it’s a single strand or layered.
The catch with cheap bulk bead bags: the pre-drilled hole is rarely perfectly centered, and quality control on a $10 bag of a thousand beads is not going to be tight. That’s the one step that separates a necklace that hangs straight from one where every third bead visibly tilts sideways once it’s strung.
Best Bead-Hole Fix Pick
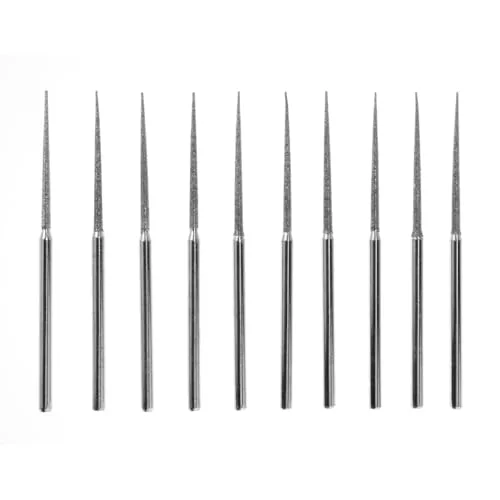 |
SE 10-Piece Diamond-Coated Tapered Bead Reamer Set – $9.99 Fixes the off-center or too-small holes that come in cheap bulk wood bead bags, by hand, in a couple of minutes per bead.
|
How to Turn Your Own Wooden Beads on a Lathe
If you already have a lathe, turning your own beads costs whatever scrap dowel or offcuts you have lying around. Start with a length of dowel a little longer than you need, mounted between centers or held in a chuck. Rough it round and true with a spindle gouge or skew if it isn’t already a clean cylinder, then mark bead widths along the blank with a pencil and the tip of a skew or parting tool.
A dedicated bead-turning jig makes the actual sphere shape consistent – it’s a small pivoting fixture that rides a bearing or pin against the spinning blank and swings the cutter through a true arc, so every bead comes out the same diameter without you eyeballing the curve freehand. If you don’t have one, you can still shape beads by eye with a skew or a small spindle gouge, rounding from the center of each marked section out toward both edges; it just takes more practice to get them looking uniform.
For the center hole, the cleanest approach is to drill it before turning: bore a hole down the length of the dowel first (a drill press with a fence keeps it straight), slide the blank onto a mandrel, and turn the beads with the hole already in place and centered on the lathe’s own axis. That sidesteps the off-center problem completely, since the hole was drilled on the same centerline the lathe is spinning around. Part each bead off with a thin parting tool once it’s shaped, then sand the parting-off nub by hand.
Reaming and Drilling: Getting the Hole Centered
If you’re working with pre-shaped wood ball blanks instead of a lathe, or fixing beads from a cheap bulk bag, an off-center hole is the single most common problem – and it’s the reason a homemade or budget necklace can look noticeably worse than a store-bought one even when the beads themselves are fine. A bead with a hole that isn’t centered doesn’t hang straight; it cocks to one side on the cord, and a whole strand of slightly-off beads reads as sloppy from across the room.
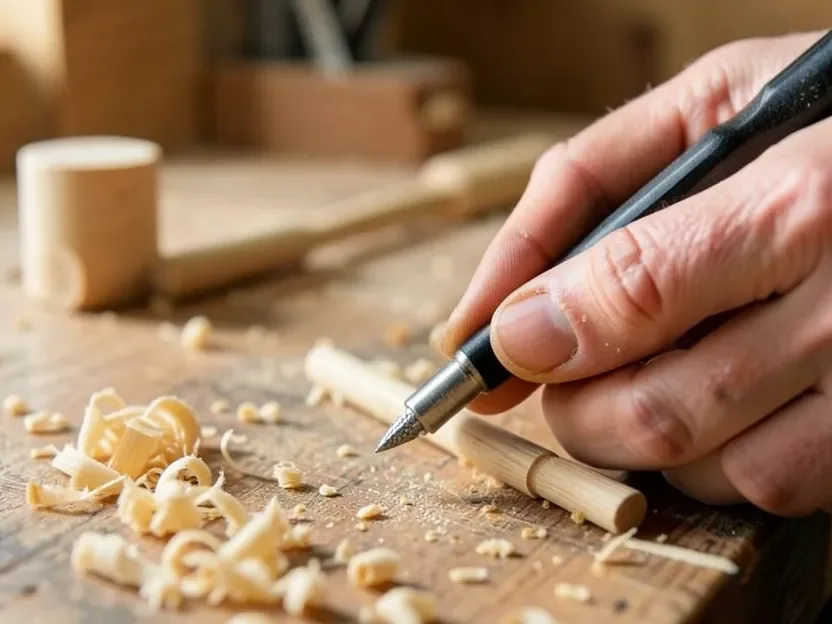
A tapered diamond-coated bead reamer fixes this without a drill press. Pad the bead in a scrap of leather or a folded cloth so the reamer doesn’t chip the surface as you work it, then ream from one face about halfway through, working the taper in a slow twisting motion rather than forcing it straight in. Flip the bead around and ream from the opposite face until the two holes meet in the true center. Reaming from both ends toward the middle – instead of drilling straight through from a single side – is what actually corrects an off-center starting hole, because you’re truing each half to the bead’s own geometry rather than following whatever direction the original drill bit wandered.
The same reamer also lets you enlarge a hole that’s too tight for your cord, or knock down a rough, splintery hole edge that would otherwise fray a leather or waxed-cotton cord over time.
Choosing a Food-Safe, Skin-Safe Finish
A bead necklace sits against skin for hours at a time, often in warm weather with some sweat contact – the same situation as a cutting board, just worn instead of set on a counter. That means the same rule applies: skip finishes built around solvents, like standard polyurethane or lacquer, and use something meant for skin or food contact instead. A food-grade mineral oil, or a beeswax-and-mineral-oil blend, seals the wood enough to resist moisture and body oils without leaving behind anything that can irritate skin during long wear. Full details on which finishes are actually food-safe versus which ones just get marketed that way are in our wood finishing guide.
Apply a thin coat, let it soak in for a few minutes, then wipe off the excess with a clean cloth before it’s strung – oiling beads after they’re already on the cord is messy and uneven by comparison. Let them dry fully (usually overnight) before wearing.
Styling Cheap Wooden Bead Necklaces
Wooden beads read as casual and earthy by nature, so they pair best with the same: linen, denim, and neutral or warm-toned outfits rather than formal wear. A single chunky strand works as a standalone statement piece, while smaller beads layer well with two or three strands of different lengths, or mixed with a thin metal chain. Both men and women wear them – the style shows up heavily in boho and hip-hop-influenced looks – so a natural, unstained wood tone is the safest choice if the necklace needs to work with more than one wardrobe.
Frequently Asked Questions
What’s the cheapest way to get a real wooden bead necklace?
Buy a bulk bag of loose, unfinished wood beads instead of a pre-strung necklace. A 500 to 950-piece bag typically costs under $10 to $12, enough for several necklaces once you string them yourself on leather cord or elastic.
Can I turn my own wood beads on a lathe?
Yes. Rough a dowel round, mark bead widths, shape each section with a skew or spindle gouge (or a bead-turning jig for consistent spheres), and part off with a thin parting tool. Drilling the center hole before turning keeps it centered on the lathe’s own axis.
Why do drilled wood beads sit crooked on the string?
The hole isn’t centered. This is common on cheap bulk-bag beads and pre-shaped ball blanks. A tapered bead reamer, worked from both faces toward the middle, corrects it by truing the hole to the bead’s actual center instead of following the original off-center drill path.
What finish is safe for wood beads that touch skin?
Use a food-grade mineral oil or a beeswax-and-mineral-oil blend, the same category of finish recommended for cutting boards. Avoid standard polyurethane or lacquer, which contain solvents that aren’t meant for prolonged skin contact.
Are wooden bead necklaces durable?
Yes, with basic care. Keep them away from prolonged water exposure, store them dry, and re-oil the beads occasionally if they were finished with mineral oil. Properly finished and stored, they last for years.
Can men wear wooden bead necklaces?
Yes, they’re unisex. Wooden bead necklaces are common in both boho and hip-hop-influenced men’s fashion, usually as a single chunky strand rather than layered strands.
Conclusion
The real budget option for wooden bead necklaces isn’t a marked-down pre-strung piece – it’s a bag of loose, unfinished beads plus a few dollars of cord, with a bead reamer on hand to true up any hole that isn’t centered. If you have a lathe, turning your own beads from scrap dowel costs even less. Either way, finish anything that will sit against skin with a food-safe mineral oil rather than a solvent-based topcoat, and the necklace will hold up as well as anything sold at a markup.
Sponsored / affiliate links. As an Amazon Associate I earn from qualifying purchases. I may earn additional commission from eligible campaigns.