Woodworking Projects for Kids: Fun and Easy DIY Ideas
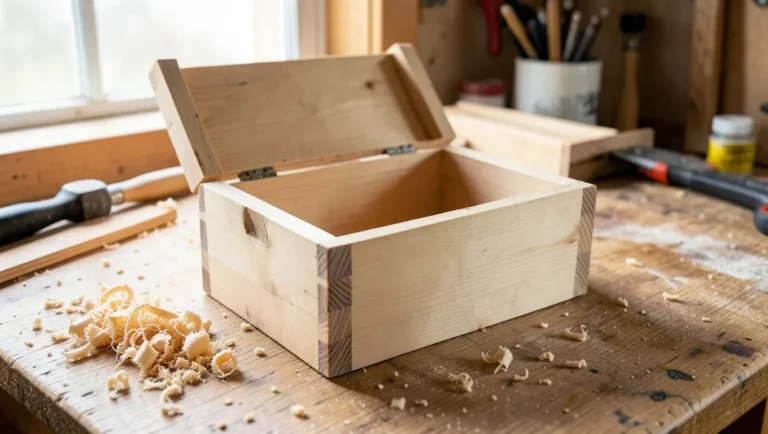
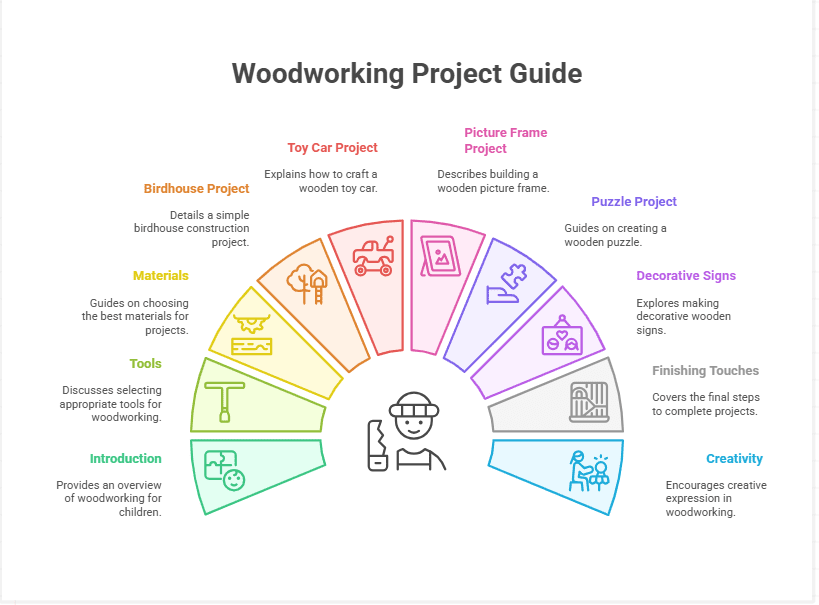
Woodworking projects for kids succeed with soft woods like pine, basswood, or poplar and hand tools — not power tools — sized to a child’s grip. Skip that setup and even a simple birdhouse (just six wood pieces cut and nailed together) becomes a splinter-and-supervision headache instead of a confidence builder. This guide walks through five real builds — birdhouse, toy car, picture frame, wooden puzzle, and decorative sign — with the exact tools and safety gear for each.
Introduction To Woodworking For Kids
Best Kids Woodworking Tool Set Pick
SHALL 26-Piece Kids Size Tool Set – $32.99
Includes a kid-sized hand saw, hammer, screwdriver, tape measure, and clamp — the exact starter tool list this guide recommends for the birdhouse, toy car, and picture frame builds.
- Best for: Kids age 6+ ready for supervised, real (not toy) tools
- Why we picked it: Matches the hand saw, hammer, sandpaper, and wood glue starter list this guide recommends, all sized down for small hands
- Main drawback: No wood or lumber included — you’ll still need to supply pine boards for the projects above
Compare more kids woodworking tool options
 Option 1 QeeHeng 38-Piece Kids Tool Set – $38.98
|
 Option 2 STANLEY Jr. Wooden Birdhouse Kit – $39.99
|
 Option 3 URASISTO 18-Piece Kids Tool Set – $26.99
|
As an Amazon Associate we earn from qualifying purchases.
Woodworking helps kids learn new skills. They use their hands and tools. This improves their hand-eye coordination. Kids also learn to follow instructions. This teaches them patience. They feel proud when they finish a project. It builds their confidence.
Always wear safety glasses. Keep fingers away from sharp tools. Make sure an adult is always supervising. Use tools that are the right size for kids. Work in a clean and organized space. Always follow the instructions on the tools and materials.
Choosing The Right Tools
Kids need simple tools for woodworking. A small hammer is easy to hold. A hand saw should be light and safe. Sandpaper helps smooth wood edges. Wood glue is great for joining pieces.
Other useful tools include a tape measure and a screwdriver. Paintbrushes can add color to projects. Clamps hold wood steady while working.
Plastic tools can be a good start. They are safe and easy to use. Pre-drilled holes make projects simpler. Soft wood is easier to cut and shape. Safety goggles protect eyes from dust and splinters.
Child-sized workbenches help kids work comfortably. Toolboxes keep tools organized. Bright colors on tools can make them fun to use.
Selecting The Best Materials
Softwoods like pine are easy to cut and shape. They are light and safe for kids. Hardwoods such as oak are strong but harder to work with. Plywood is another good choice. It is smooth and doesn’t break easily. Balsa wood is very light and soft. Perfect for small hands.
Bamboo is a great eco-friendly choice. It grows quickly and is strong. Cork is soft and safe for kids. Reclaimed wood can be used too. This is wood that has been used before. It helps the environment by reducing waste.
Simple Birdhouse Project
Creating a simple birdhouse is a fun woodworking project for kids. It teaches basic skills while fostering creativity. Perfect for beginners. Once this one is done, our free birdhouse plans by species has more cut lists to try next.
Materials Needed
- Wooden boards
- Hammer
- Nails
- Saw
- Paint
- Brush
Step-by-step Instructions
First, cut the wooden boards into pieces. You need six pieces. Two for the sides, one for the front, one for the back, one for the bottom, and one for the roof.
Next, hammer the pieces together. Start with the sides and bottom. Then add the front and back. Finally, attach the roof.
Once the birdhouse is built, paint it. Use a brush and choose colors you like. Let the paint dry completely.
Now your birdhouse is ready. Find a good spot and hang it. Birds will love their new home.
Crafting A Wooden Toy Car
Gather all items before starting. You will need a small wooden block, wooden wheels, nails, sandpaper, and paint. Also, prepare glue, a small hammer, and a pencil. Safety goggles are important too. Use a ruler for straight lines.
First, draw the car shape on the wood. Next, cut along the lines with a saw. Sand the edges to make them smooth. Attach the wheels using nails or glue. Make sure the wheels can spin. Paint the car in your favorite colors. Let it dry completely.
Building A Picture Frame
- Four pieces of wood
- Nails or screws
- Hammer or screwdriver
- Glue
- Sandpaper
- Paint or stain
- Brushes
Start by laying out the four pieces of wood. They should form a rectangle. Place the pieces together at the corners. Use nails or screws to secure them. Make sure each corner is tight.
Next, apply glue to the joints. This adds extra strength. Wait for the glue to dry. Use sandpaper to smooth the edges. This helps the frame look neat.
Finally, paint or stain the frame. Use brushes to apply evenly. Let the paint dry before using the frame. Enjoy your new picture frame!
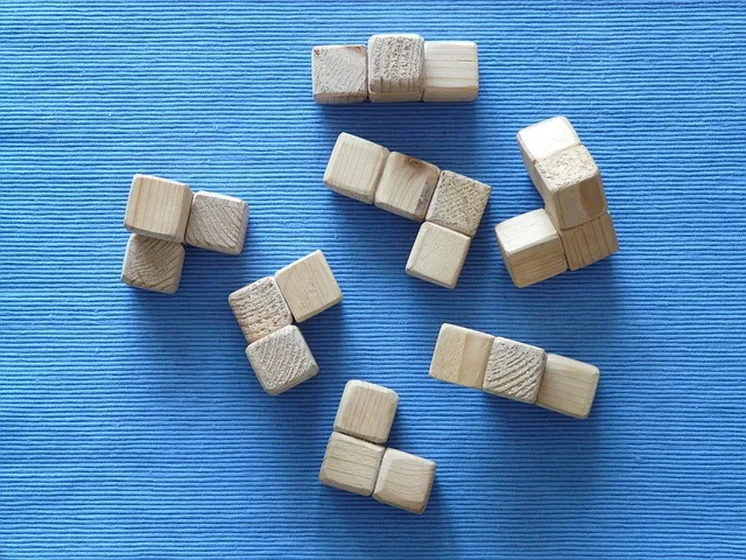
Creating A Wooden Puzzle
You will need some wooden pieces. Get different shapes and sizes. You also need sandpaper. This makes the wood smooth. Paint and brushes add color. Have a pencil and ruler. You will draw the shapes. Finally, glue is needed. It sticks the pieces together.
First, draw shapes on the wood. Use the pencil and ruler. Next, cut out the shapes. Be careful with the saw. Sand the edges smooth. Paint the shapes. Let them dry. Now, arrange the pieces. See how they fit. Glue the pieces together. Let the glue dry. Your puzzle is ready!
Decorative Wooden Signs
To make decorative wooden signs, you will need some basic materials. Gather wood pieces, paint, paintbrushes, and sandpaper. Also, you will need stencils, markers, and varnish. These items can be found at a craft store.
First, sand the wood to make it smooth. Then, decide on a design and draw it lightly with a pencil. Next, paint your design using the paint and paintbrushes. Let the paint dry completely. After that, use stencils and markers to add details. Finally, apply varnish to protect the paint. Let it dry and your sign is ready.
Finishing Touches
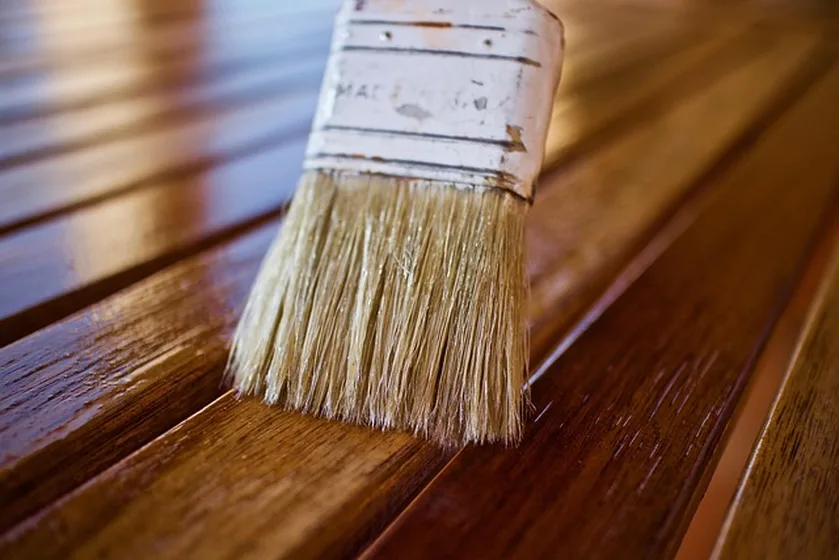
Painting and staining the wood can be fun. Kids can choose bright colors for painting. They can use brushes or sponges. It’s important to let the paint dry. Staining helps show the wood’s natural beauty. Use a cloth or brush for staining. Kids should wear gloves to protect their hands. Allow the stain to soak into the wood. Always work in a well-ventilated area. Staining can be done before or after painting. Both methods make wood look beautiful.
Sealing the wood is the final step. It protects the wood from damage. Use a clear sealant for this. Apply the sealant with a brush. Kids should wear masks to avoid breathing fumes. Let the sealant dry completely. Two coats are often better than one. This step makes the wood shiny and durable. Sealing keeps the wood looking new for a long time. Always work on a clean surface.
Encouraging Creativity
Kids love to add their own touch to things. Personalizing projects lets them feel proud. They can paint or draw on the wood. Stickers and stamps work well too. They can use bright colors to make it special.
Wood pieces can be shaped into fun designs. Names or initials can be carved. Small decorations can be glued on. This makes the project truly theirs.
Combining wood with other materials is fun. Fabric and yarn add texture. Kids can wrap yarn around the wood. They can glue fabric pieces on it.
Beads and buttons can be added too. Small stones make good decorations. This makes projects interesting. It also helps kids learn new skills.
Frequently Asked Questions
How To Introduce Kids To Woodworking?
Start with simple projects and basic tools. Teach safety rules clearly. Supervise closely and demonstrate techniques. Encourage creativity and patience. Make the experience fun.
What Is A Simple Woodwork Project?
A simple woodwork project could be building a birdhouse. It’s easy, requires basic tools, and uses minimal materials.
What’s The Easiest Thing To Make Out Of Wood?
A simple birdhouse is the easiest thing to make out of wood. It requires minimal tools and basic skills.
What Is The Best Wood For Kids Woodworking?
Pine, basswood, and poplar are the best woods for kids’ woodworking. They are soft, easy to work with, and safe.
Conclusion
Woodworking projects for kids offer fun and learning. These activities build confidence. Kids develop new skills while creating something unique. Safety is important, so always supervise them. Start with simple beginner-friendly projects and gradually increase difficulty. Encourage their creativity. Happy woodworking! As kids grow into teenagers and are ready for real tools and bigger builds, our woodworking projects for teens guide has age-appropriate next steps, from a first phone stand to a full outdoor chair — and our woodworking projects for adults roundup shows where the tool tiers go from there.
Sponsored / affiliate links. As an Amazon Associate I earn from qualifying purchases. I may earn additional commission from eligible campaigns.