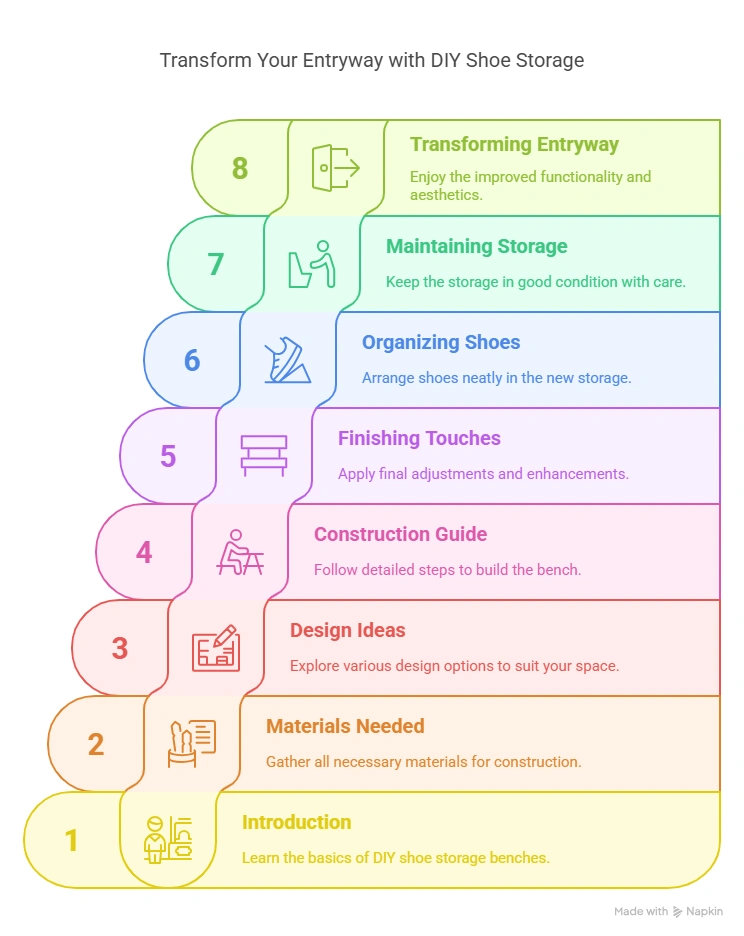
DIY Bench Shoe Storage: Transform Your Entryway Today
Are you tired of tripping over shoes scattered around your home? A DIY bench shoe storage solution might be the answer you need.
It’s practical, stylish, and can save you valuable space. Creating your own bench shoe storage can be a fun project. It allows you to customize the size and design to fit your home perfectly. You can select materials that match your decor and add personal touches.
Plus, you’ll feel a sense of accomplishment each time you use it. This project can help keep your shoes organized and your entryway tidy. Imagine the satisfaction of a neat, clutter-free space where every shoe has its place. Ready to get started? Let’s explore how to make your own DIY bench shoe storage.
Introduction To Diy Bench Shoe Storage
A DIY bench shoe storage is a fun project. It can save money. It also adds a personal touch to your home. You can make it any size or color you want. You can also choose the best materials. This way, you get a bench that fits your needs. A DIY project can be a great family activity. It also teaches valuable skills. Plus, you will feel proud of your work.
An organized entryway looks neat. It makes your home welcoming. It also saves time. You will always know where your shoes are. No more searching! An organized space can reduce stress. It also makes cleaning easier. Having a place for everything helps keep your home tidy. An entryway bench can also provide seating. You can sit while putting on or taking off shoes. It is practical and stylish.
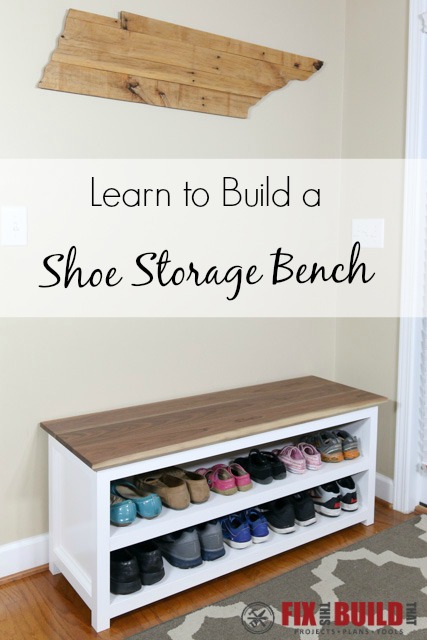
Credit: fixthisbuildthat.com
Materials Needed
You will need a saw, hammer, and nails. A tape measure is also important. A pencil helps mark wood. A drill and screws make the job easier. Sandpaper smooths rough edges. Safety goggles protect your eyes.
Pine is a popular choice. It is cheap and easy to work with. Oak is strong and durable. It can last for many years. Birch is light and smooth. It looks nice in any home.
Wood glue helps hold pieces together. Paint or stain adds color. A paintbrush or roller applies the finish. Wood filler can fix small gaps. A level ensures everything is straight. Clamps hold pieces in place while glue dries.
Design Ideas
A modern minimalist bench can look sleek. Use clean lines and neutral colors. White, black, or grey work well. Choose simple, smooth materials. Wood or metal can be a good choice. Add a cushion for comfort.
A rustic bench can feel warm. Use natural wood. Choose wood with knots and grains. Add some cozy cushions. Earthy colors work well. Think brown, beige, and green. Place a woven basket underneath for shoes.
A compact bench can save space. Use a narrow design. Add shelves under the seat. This can store many shoes. Use stackable baskets or boxes. Foldable benches can be a great option. They can be stored when not in use.
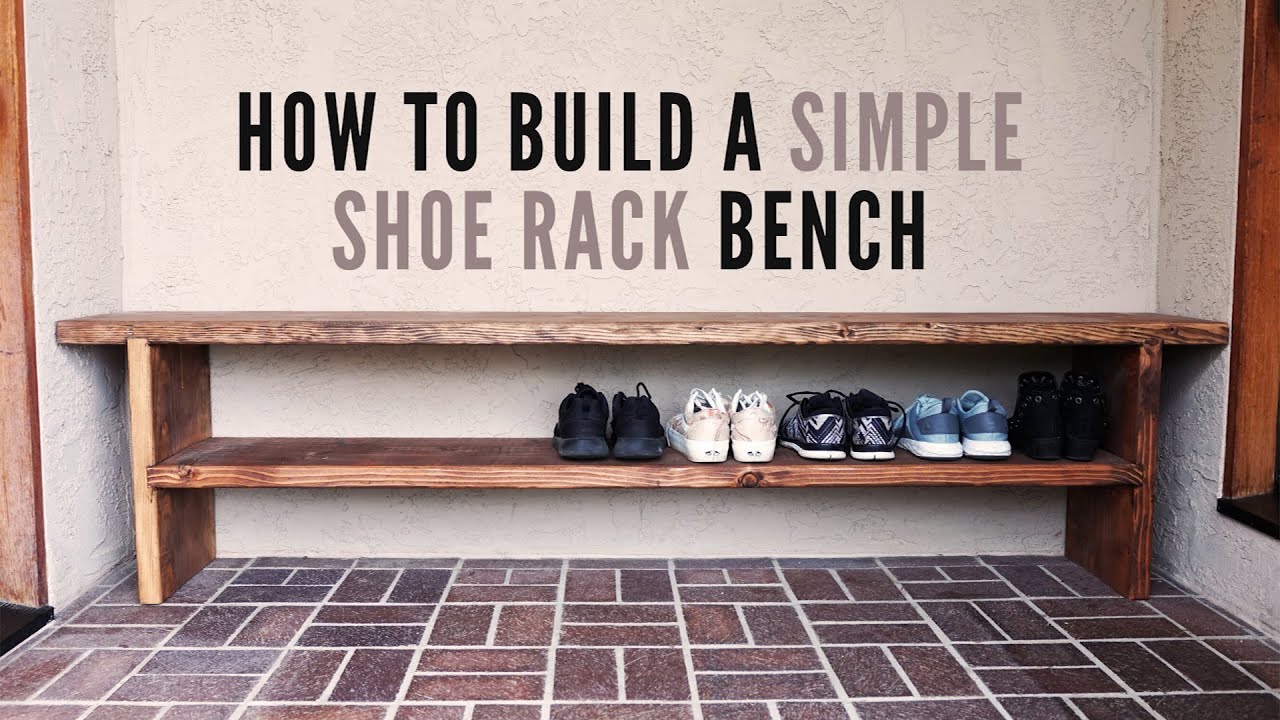
Credit: m.youtube.com
Step-by-step Construction Guide
First, measure the space for your bench. Use a tape measure. Mark the wood pieces with a pencil. Make straight lines. Next, cut the wood carefully. Use a saw. Ensure the pieces are smooth. Check the measurements twice.
Start by laying out the wood pieces. Connect them using screws. Use a drill to secure the screws. Make sure the frame is sturdy. Tighten the screws firmly. Check each corner for alignment.
Add shelves inside the frame. Place them evenly. Secure them with screws. Add compartments for shoes. Use small wood pieces. Attach them firmly. Ensure each compartment is stable. Check for gaps.
Finishing Touches
Start by sanding all the wood surfaces. Use fine-grit sandpaper for best results. Make sure every edge is smooth. This helps the paint or stain stick better. Sanding also prevents splinters. Take your time and check your work often.
Choose a paint or stain that you like. Apply a coat evenly on the wood. Let it dry completely. Adding a second coat can improve the finish. Use a brush for edges and a roller for flat areas. This gives your bench a clean look.
Cushions make the bench comfy. Pick a fabric that matches your decor. Measure the bench size to cut the fabric right. Attach the fabric with a staple gun. Make sure it is tight and smooth. Adding cushions can make your bench look stylish.
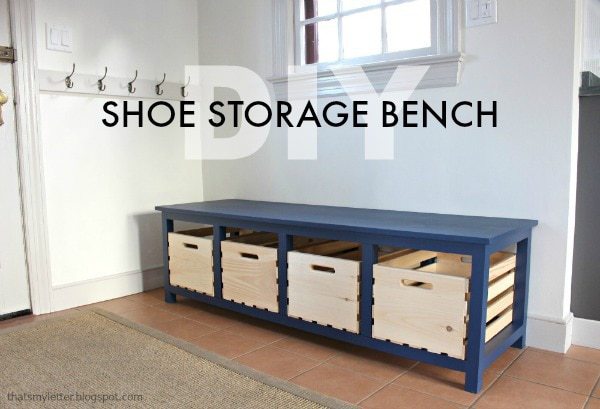
Credit: jaimecostiglio.com
Organizing Your Shoes
Sort shoes into groups. Casual shoes in one. Formal shoes in another. Sports shoes in a third. Seasonal shoes separate. Grouping helps find shoes easily.
Use bins for each shoe group. Clear bins are best. You can see shoes. Boxes with lids protect shoes. Stack bins neatly. Saves space. Keeps shoes tidy.
Labels help find shoes fast. Use sticky labels. Write shoe type on labels. Place labels on bins. For example, “Casual Shoes”. Label inside of bench compartments. Helps keep track.
Maintaining Your Bench Shoe Storage
Keep your bench shoe storage tidy with DIY solutions. Ensure shoes are neatly organized by using dividers and labels. Regularly clean the bench and check for any damages.
Cleaning Tips
Wipe your bench shoe storage often. Use a damp cloth. Remove dust and dirt. Avoid using harsh chemicals. They can damage the material. A mild soap solution works well. Dry the bench after cleaning.
Periodic Inspections
Check the bench regularly. Look for any signs of wear. Loose screws and broken parts need attention. Tighten screws as needed. Inspect the material for cracks. Fix small issues before they get worse.
Repair And Upkeep
Repair any damage quickly. Replace broken parts. Repaint or refinish the bench if needed. This keeps it looking new. Oil wooden parts to prevent drying. Regular upkeep ensures long-lasting use.
Transforming Your Entryway
Choose colors that match your bench. Add a small rug for warmth. Use simple wall art. Place a mirror above the bench. This makes the space feel larger. Consider a small plant for a touch of nature.
Hang hooks for coats and bags. Place a bowl for keys. Add a small lamp for soft light. Keep the area tidy and organized. A clean space is more inviting. Use a bench with storage to hide clutter.
Use baskets for shoes. Label them for easy access. Store seasonal items like hats and gloves. Keep things you use daily within reach. Add cushions for comfort. Choose materials that are easy to clean. Make every inch count.
Frequently Asked Questions
How To Build A Diy Bench Shoe Storage?
Building a DIY bench shoe storage involves measuring, cutting wood, assembling the bench, and adding storage compartments. Use screws for stability.
What Materials Are Needed For A Shoe Storage Bench?
You need wood, screws, a drill, a saw, sandpaper, and paint or stain. Choose durable materials.
Can I Customize My Shoe Storage Bench?
Yes, you can customize the size, compartments, and finish. Add cushions for extra comfort.
How Much Time Does It Take To Build?
It typically takes a weekend to build a shoe storage bench, depending on your experience and tools.
Conclusion
Creating your own bench shoe storage is practical and fun. You save money. You also customize it to fit your needs. This project keeps your space tidy and stylish. Remember, small steps lead to big changes. Enjoy your new, organized home!