Homemade Benches: Real Dimensions, Wood Choices, and How to Stop Wobble
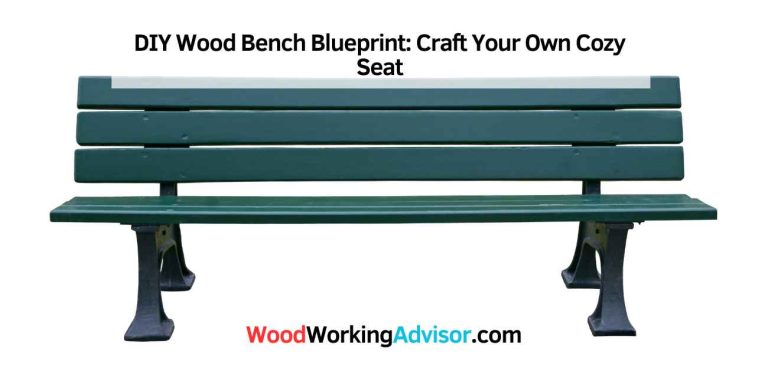
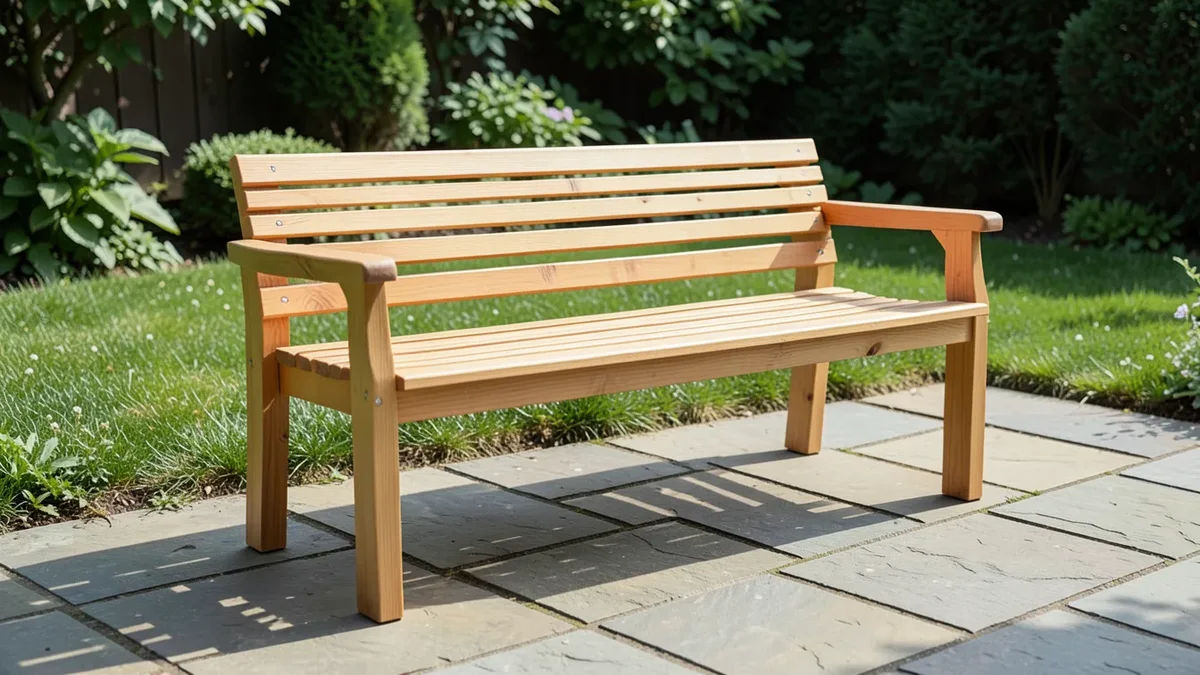
A solid homemade bench comes down to three things most tutorials gloss over: a seat height around 17-18 inches, a wood choice matched to where it’ll actually live, and cross-bracing to stop the wobble that ruins most first-time builds. Get those right and the rest — cutting, sanding, finishing — is straightforward weekend carpentry.
Building your own bench costs a fraction of a retail equivalent and lets you size it to the exact spot you have in mind, whether that’s a mudroom entry, a garden path, or extra seating at a dinner table. If you just want the fastest possible build with a single size and no bracing decisions, see our simple 2×4 bench plan instead. The building blocks are the same whether you’re making a simple backless bench or something with a full backrest: a rigid frame, a securely attached seat, and bracing that keeps the whole thing from racking side to side under weight.
Picking Wood For Where The Bench Will Live
RECOMMENDED FOR AN OUTDOOR BENCH
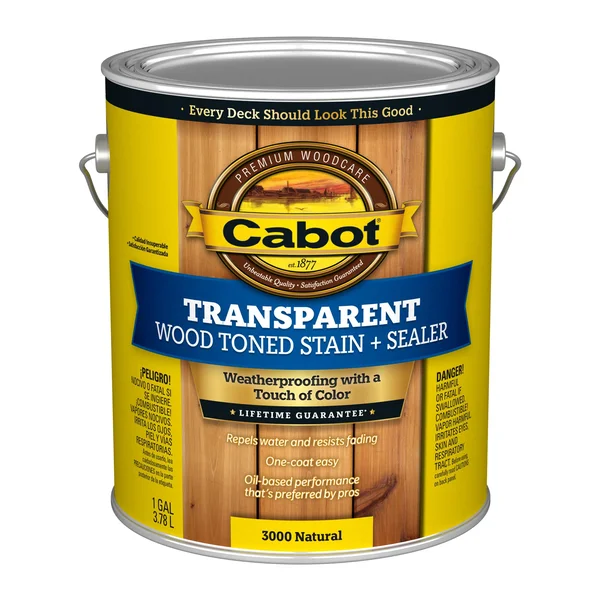 |
Cabot Wood Toned Stain + Sealer, Natural – $50 An interior finish won’t survive a season outdoors — this is an exterior-rated stain and sealer in one coat for a cedar, redwood, or pressure-treated bench.
|
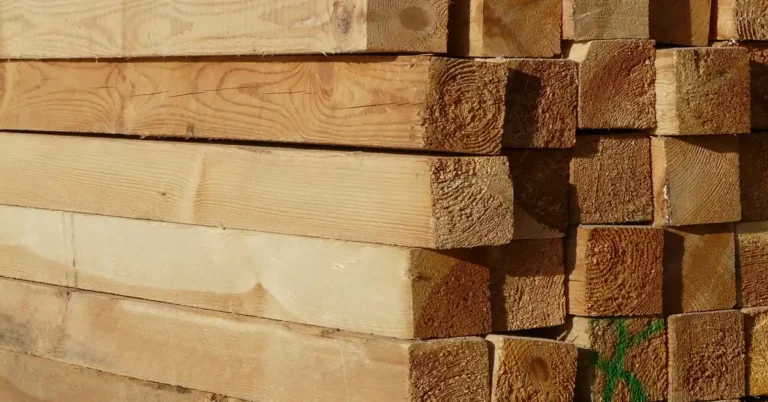
Where the bench sits should decide the wood, not the other way around. For outdoor use, cedar and redwood resist rot and insects on their own thanks to natural oils in the heartwood, and both weather to an attractive silver-gray if left unfinished. Pressure-treated pine costs less than either but needs a season to dry before it will accept stain evenly (see our guide on how long to wait before staining pressure-treated wood if you go this route). Teak is the premium outdoor option — extremely weather-resistant thanks to its natural oil content — but costs several times more than cedar for the same board footage.
Indoors, durability matters less than looks and cost. Oak and maple are both hard enough to shrug off years of daily use and take a finish evenly; pine is the budget choice but dents and scratches more easily. Reclaimed or pallet wood works too, but inspect every board for structural soundness first — a bench seat that looks fine but has internal rot or old fastener holes weakened by rust is a real safety issue, not just a cosmetic one.
| Setting | Good Wood Choices | Why |
|---|---|---|
| Outdoor, budget | Pressure-treated pine | Cheapest option; needs a drying period before finishing |
| Outdoor, mid-range | Cedar, redwood | Naturally rot- and insect-resistant, ages well unfinished |
| Outdoor, premium | Teak | Best weather resistance; highest cost |
| Indoor | Oak, maple, reclaimed hardwood | Durable, takes finish well, good looks |
Getting The Dimensions Right
A comfortable bench seat sits about 17 to 18 inches off the ground — the same range as a standard dining chair — and 15 to 18 inches deep front to back. Go much lower and it’s uncomfortable to stand up from; much higher and shorter people’s feet won’t reach the ground. If you’re adding a backrest, angle it back slightly (about 5 to 10 degrees from vertical) rather than building it perfectly upright, which reads as more comfortable than the math suggests it should.
Preparing Your Workspace
Set up in a clean, well-lit area with your tools laid out within reach before you start cutting — stopping mid-cut to search for a tool is a common source of mistakes and injuries alike. Wear eye protection and a dust mask whenever you’re cutting or sanding, and double-check that blades and bits are sharp and properly seated; a dull blade forces more pressure than a sharp one and is a bigger safety risk, not a smaller one.
Building A Frame That Won’t Wobble
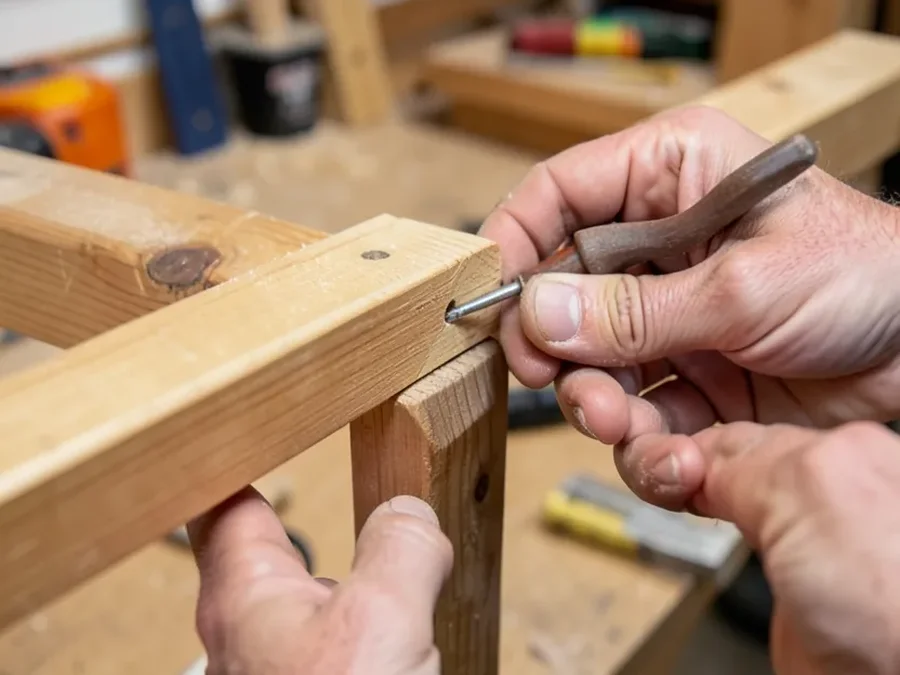
Measure and cut your legs and aprons (the horizontal pieces connecting the legs under the seat) first, checking every cut against your layout twice before assembling — a bench frame amplifies small measurement errors because every leg has to sit flat and even for the whole thing to be stable. Square each corner with a carpenter’s square as you dry-fit the pieces, then pre-drill and drive screws rather than nails at every joint — screws resist the racking forces a bench takes from people sitting down and standing up far better than nails do.
The step most tutorials skip: add a diagonal brace or a lower stretcher between the legs. A simple rectangular frame of legs and aprons can still rack side-to-side over time even with tight screwed joints, because a box shape has no inherent resistance to being pushed into a parallelogram. A stretcher running between the front and back legs near the bottom, or a diagonal brace in each corner, converts that box into a rigid triangle-based structure and is the single biggest difference between a bench that stays tight for years and one that starts wobbling within a season.
Attaching The Seat
Center the seat boards on the frame and mark screw locations before drilling — pre-drilling pilot holes prevents the wood from splitting, especially near board ends. Drive screws (or bolts, for a heavier seat) down through the seat into the apron below, checking that the seat sits flat with no rocking before final tightening. If you’re using multiple narrow boards rather than one wide slab, leave a small gap (about 1/8 inch) between them; outdoor wood expands and contracts with humidity, and boards installed tight against each other can cup or split as they swell.
Sanding And Finishing
Work through progressively finer sandpaper — 80 or 100 grit to knock down mill marks and rough cuts, then 150, then 220 for a finished feel — and always sand with the grain, not across it, to avoid visible scratches under a clear finish. For an outdoor bench, the finish matters more than the wood species: an exterior spar urethane or exterior oil with UV blockers will hold up far longer in direct sun than an interior product, which will yellow, peel, or fail within a single season outdoors. Cedar and redwood can also be left unfinished if you like the weathered gray look, since their natural oils provide some protection on their own — teak similarly holds up bare, though a teak-specific oil keeps the color from graying if that matters to you.
Maintaining Your Bench
Wipe the bench down periodically with mild soap and water, and let it dry fully before it sits under a cover, since trapped moisture is what causes rot and mold, not brief exposure to rain. Check screws and joints once or twice a year — wood movement from seasonal humidity changes can work fasteners loose even on a well-built frame — and re-tighten or re-drive anything that’s backed out. Plan to refresh an outdoor finish every one to two years depending on sun exposure; a finish that’s visibly graying, peeling, or no longer beading water has stopped protecting the wood underneath it.
Frequently Asked Questions
What Is The Best Material To Make A Bench Out Of?
For outdoor benches, cedar, redwood, or teak resist rot and weather without much maintenance. For indoor benches, oak or maple hold up to daily use and take a finish evenly.
What Kind Of Wood Is Best For A Bench?
It depends on the setting: cedar and redwood are the best balance of cost and weather resistance outdoors, teak is the premium outdoor option, and oak or maple are the standard choices indoors.
How Do You Build A DIY Garden Bench?
Cut legs and aprons to size, screw them into a square frame, add a diagonal brace or stretcher to stop side-to-side wobble, then attach the seat boards with pre-drilled screws. Finish with an exterior-rated stain or oil since interior finishes fail quickly outdoors.
Can I Build A DIY Bench From Pallet Wood?
Yes, but inspect every board first for rot, splitting, or old fastener holes weakened by rust before building with it — pallet wood is free or cheap, not automatically structurally sound.
Conclusion
A homemade bench that lasts comes down to matching the wood to its environment, keeping the seat around 17-18 inches high, and bracing the frame so it can’t rack side to side. None of that requires advanced tools or joinery — just a square frame, solid screws at every joint, and a finish rated for where the bench will actually sit.
Sponsored / affiliate links. As an Amazon Associate I earn from qualifying purchases. I may earn additional commission from eligible campaigns.