DIY Cooler Insulation: What Actually Keeps It Cold Longer
A cheap styrofoam cooler and a $300 rotomolded one aren’t actually that different on the inside — both rely on trapped air to slow heat transfer. The gap between them is usually one thing: how well the insulation is sealed and layered. Add a $20 sheet of rigid foam board or a layer of reflective foil in the right spot, and a bargain cooler can hold ice nearly as long as a premium one. This guide covers which materials actually work, why reflective foil alone often disappoints people, and how to insulate a cooler lid, walls, and seams step by step.
Radiant Heat vs. Conductive Heat: Why Your Insulation Choice Matters
Most DIY cooler guides tell you to “add insulation” without explaining that there are two different problems to solve. Rigid foam — polystyrene, polyurethane, or polyisocyanurate — slows conductive heat transfer: the steady creep of heat through a solid material toward the cold interior. Reflective foil (like Reflectix) works differently. It bounces back radiant heat, the kind coming directly from sunlight or a hot car trunk, but it does almost nothing to stop conduction once that heat is already inside the material touching your cooler. That’s the myth worth correcting: foil alone, with no bulk insulation behind it, will not make a bargain cooler perform like a $300 model — it needs a rigid foam layer doing the conductive work, with foil as a radiant supplement on outward-facing surfaces.
Best Reflective Insulation for Coolers
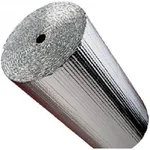 |
Reflectix Reflective Radiant Barrier Insulation Roll, 24" x 10’ – $17.77 The reflective-foil layer this guide recommends pairing with rigid foam board — wrap it around the outside of a cooler that sits in direct sun to block radiant heat.
|
Best Materials for DIY Cooler Insulation
For a retrofit project (lining a cooler you already own, rather than building one from scratch), three materials cover almost every case:
- Extruded polystyrene (XPS) rigid foam board — roughly R-5 per inch, easy to cut with a utility knife, and the same category of foam used in commercial cooler walls. Best for lining the interior walls and lid of a hard-sided cooler.
- Reflective foil / double-bubble foil (Reflectix) — reflects up to 97% of radiant heat hitting it. Best applied to the outside of a cooler that sits in direct sun, or as a thin supplemental layer over foam board.
- Closed-cell spray foam — fills irregular gaps and cavities (like the hollow walls of a cheap cooler shell) better than rigid board, but it’s messier and permanent once cured.
Skip open-cell foam, packing peanuts, and fiberglass batting for this project — all three absorb moisture from condensation and lose most of their insulating value once damp, which is exactly the environment inside a cooler full of ice.
Step-by-Step: Insulating an Existing Cooler
This works on a hard-sided cooler, an old ice chest, or even a wooden box you’re converting into a cooler.
- Measure the interior walls and lid separately — cooler interiors are rarely perfectly rectangular, so cut foam board panels for each wall individually rather than one folded piece.
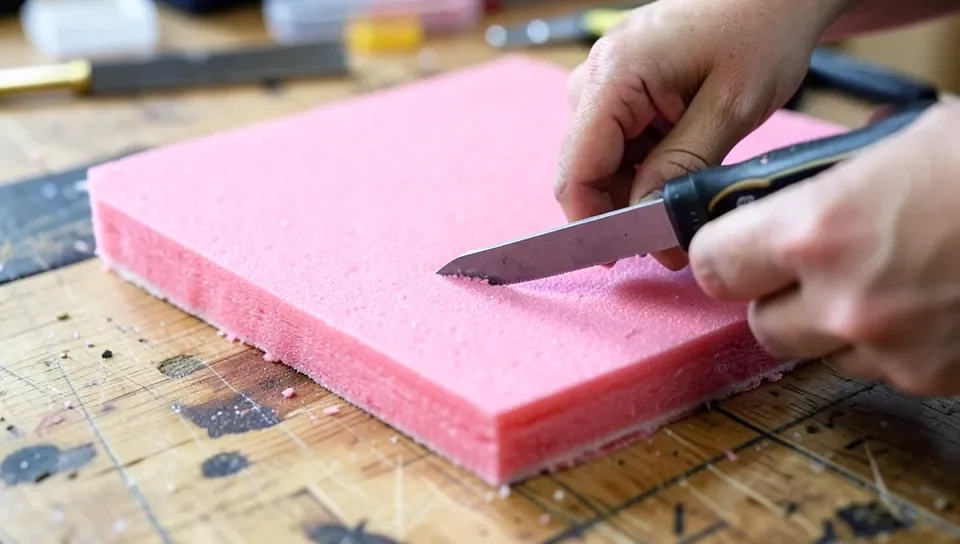
- Cut XPS foam board to size with a sharp utility knife and a straightedge; score and snap for thicker sheets rather than sawing, which tears the foam.
- Dry-fit every panel before gluing anything — foam board that’s even 1/8″ oversized will bow and crack when pressed into place.
- Adhere panels with a foam-safe construction adhesive (check the label — standard solvent-based adhesives and spray foam can dissolve polystyrene on contact).
- Seal every seam between panels with foil HVAC tape, not standard duct tape, which degrades and peels once it gets wet.
- Wrap the outside in reflective foil if the cooler will sit in direct sun for long stretches (a boat deck, a truck bed, a tailgate).
Insulating the Lid and Sealing Common Leak Points
The lid loses more heat than any single wall, mainly because factory gaskets on cheap coolers compress and stop sealing after a season or two. Check for leaks before adding any foam: run your hand along the seam on a hot day and feel for a cold draft escaping, or hold a lit incense stick near the seam and watch for the smoke pulling toward a gap. Common fixes, cheapest first:
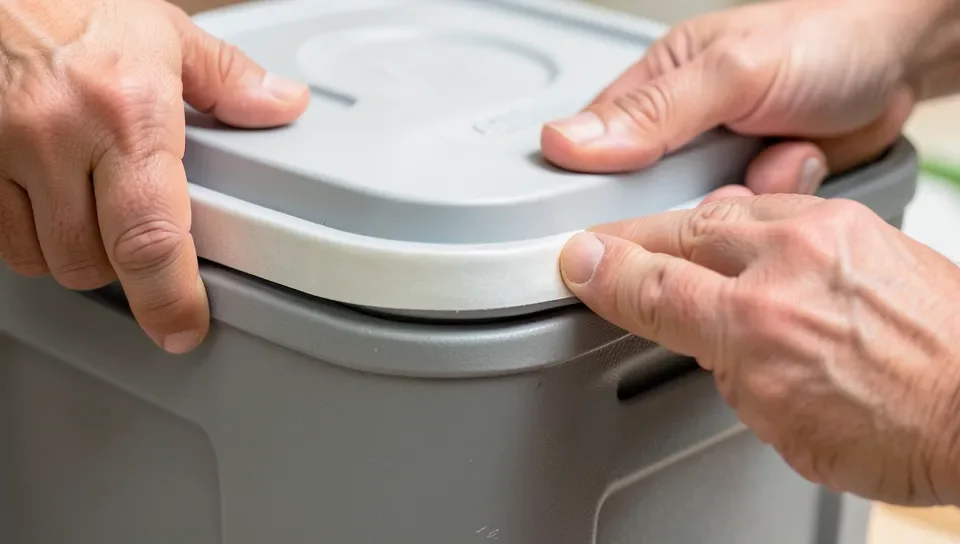
- Closed-cell foam weatherstripping tape around the lid rim — the same product used for door and window drafts, and the fastest fix for a lid that no longer seals tight.
- A foam board panel glued to the underside of the lid, cut slightly undersized so it doesn’t interfere with the latch or gasket.
- Replacing worn latches — a loose latch means the lid isn’t being pulled down tight enough to compress the gasket at all, no matter how much insulation you add.
Common Mistakes That Undo Good Insulation
A few habits quietly cancel out insulation work, even when the materials are right:
- Leaving the cooler in direct sun without shade or a reflective cover — insulation slows heat transfer, it doesn’t block it entirely; a cooler in full sun still absorbs heat through the lid over hours.
- Opening the lid frequently — each open-and-close cycle dumps the cold air layer sitting at the top and pulls in warm air; packing drinks separately from food reduces how often the main compartment needs to open.
- Skipping pre-chilling — ice spends its first few hours cooling the cooler’s own walls and contents down to temperature before it starts actually preserving cold; pre-chilling the cooler and its contents in a fridge or freezer first means the ice only has to maintain temperature, not lower it.
- Using loose ice cubes instead of block ice or frozen gel packs — cubes have more surface area and melt faster; block ice lasts substantially longer for the same volume.
If you’re building a cooler from raw lumber rather than retrofitting one you already own, the framing, hinge, and latch hardware side of that project is covered separately in our DIY wood cooler box build guide — this guide focuses specifically on the insulation layer itself, whichever cooler shell you’re starting from.
Frequently Asked Questions
What is the best insulation for a DIY cooler?
Rigid extruded polystyrene (XPS) foam board is the best all-around choice for lining a DIY cooler’s interior walls and lid — it resists moisture, holds its R-value even in a damp environment, and is easy to cut and glue into place. Reflective foil is a useful supplement on the outside for coolers that sit in direct sun, but it shouldn’t be the only insulation layer.
Does reflective foil alone keep a cooler cold?
Not on its own. Reflective foil blocks radiant heat — the heat coming directly from sunlight — but does little to stop conductive heat transfer through the cooler’s walls. For real performance gains, pair foil with a layer of rigid foam board, which handles the conductive side of the problem.
How do I insulate a cooler lid that no longer seals tight?
Start with closed-cell foam weatherstripping tape around the lid rim — it’s the cheapest fix and often solves the problem on its own if the gasket has just compressed with age. If the lid still doesn’t seal after that, check the latches; a loose latch won’t pull the lid down tight enough for any gasket or foam to compress properly.
Can I use spray foam insulation inside a cooler?
Closed-cell spray foam works well for filling irregular gaps or hollow cavities in a cooler’s shell, but it’s a one-way, permanent application — it will deform a thin plastic liner if you’re not careful with expansion room, and it can’t be removed or adjusted afterward the way a cut foam board panel can.
Sponsored / affiliate links. As an Amazon Associate I earn from qualifying purchases. I may earn additional commission from eligible campaigns.