Stand Alone Stocking Holder: How to Build One
Build a freestanding stocking holder by choosing one of three forms: a floor stand for about 4 to 6 stockings, a tabletop box for about 1 to 3, or a lantern-post for tight spaces, with a weighted base sized to the load. A weak base can tip, spill ornaments, and pull stockings to the floor. This guide shows how to choose the right design, size the base, and build a stable wooden holder without a mantel or wall drilling.
Why a freestanding stocking holder works
A stand alone holder solves the no-mantel problem without drilling into walls. The real design choice is stability, not decoration. A heavier, wider base resists tipping when stockings are filled, while a narrow or tall build can become top-heavy fast.
For sizing, use stocking length, hook height, and floor clearance together. The hooks should sit high enough that the stocking cuffs clear the base, but not so high that the post becomes a lever. If the stand will sit near a sofa or tree, keep the footprint compact without shrinking the base below what the load needs.
What you’ll need
- 2×4 lumber for a simple floor stand
- 4×4 post or newel post for a lantern-style upright
- 3/4-inch plywood for a base platform
- 1×4 or 2×6 lumber for a tabletop box-style frame
- Stocking hooks, robe hooks, or coat hooks
- 5/8-inch wood dowel or rod if you want one hanging bar for several stockings
- Pocket holes and pocket hole screws, or wood screws with pilot holes
- Wood glue
- Brad nails, if you are closing a box-style frame
- Sandpaper, filler, and a putty knife
- Paint or stain, plus primer if needed
- Drill/driver, saw, measuring tape, square, and clamp
Suggested lumber sizes and hardware
Ana White’s stocking stand uses 2×4 stock, five hooks, and a cut list with 32-inch, 10-1/2-inch, and 46-inch pieces; that plan is designed to hang stockings without a fireplace and is listed at about $20. One tabletop build uses a post with a hole near the top and a matching wood dowel, while another uses 2×6 and 1×4 stock with four hooks.
Stocking holder comparison table
| Build style | Footprint | Estimated material cost | Stability risk | Stocking capacity | Tool complexity | Best use case |
|---|---|---|---|---|---|---|
| 2×4 frame stand | Medium to wide | Low; about $20 is possible for a basic version | Low to moderate, depending on base width | 4 to 6 | Low | Families that need a floor stand with room to load several stockings |
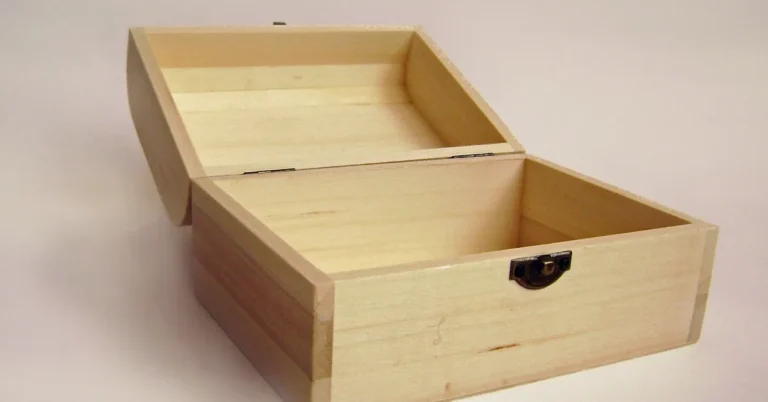
| Box-style tabletop holder | Small | Low to moderate | Moderate if the top is crowded | 1 to 3 | Moderate | Small spaces, apartment setups, and sideboard displays |
| Newel-post lantern stand | Small to medium | Moderate | Low if the base is weighted well | 1 to 4 | Moderate | Decorative display where a vertical post and lantern top fit the room |
Which build should you choose?
Choose a floor stand when you need more hook space and a wider base. Choose a tabletop box when the holder must sit on a console, bench, or buffet. Choose a lantern-post stand when you want a decorative upright and a smaller footprint, especially in a tight corner.
Say your family needs five stockings and the holder will sit on open floor space. A 2×4 frame with a broad base is the better match because the hooks can spread out and the lower center of gravity helps. If the holder will sit on a 12-inch-deep entry table, a box-style build keeps the load closer to the surface.
For renters or small spaces, a freestanding tabletop model avoids wall drilling and still gives you a stable display. If you want the look of a holiday lamp or post, the newel-post version works well when the base is weighted and the top stays centered over the footprint.
How do you build one?
- Cut the base parts to size, and keep the footprint wider than the post is tall enough to demand.
- Build the upright support from 2x4s, a newel post, or a 4×4 post, then trim it to suit stocking length and hook height.
- Attach the hook bar or top rail with screws and glue; predrill pilot holes so the end grain does not split.
- Add hooks, a dowel, or a rod, spacing them to match the number of stockings and keeping load points even.
- Sand, fill, and finish with paint or stain after the joints are stiff and the surfaces are smooth.
Step 1: cut the base parts
Start with a base platform wide enough to resist tipping when stockings are loaded. Plywood works well for a flat footprint, while 1×6 or 2×4 assemblies can add mass and a farmhouse look. If the stand will carry heavier stockings, make the base wider before making it taller.
Step 2: build the upright support
Set the vertical support square to the base and fasten it with screws and wood glue. Pocket holes can hide fasteners on a frame build, while a 4×4 or newel post can be screwed from below into the base platform. Screw length matters here; too short weakens the joint, too long can split the stock or poke through.
Step 3: attach the hook bar or top rail
Use a top rail if you want hooks spread across the face, or a dowel if you want one hanging bar for several stockings. H2OBungalow drills a 5/8-inch hole near the top and inserts a 5/8-inch wood dowel, which is useful when you want a clean horizontal support. Keep the bar centered so the weight does not drift to one side.
Step 4: add hooks, a dowel, or a rod
Install stocking hooks, robe hooks, or coat hooks based on family size. Five hooks fit a larger household, while four hooks suit a smaller tabletop build. If you are using one dowel, check that the rod diameter fits through the supports before finishing, then fasten it so it cannot roll or slide under load.
Step 5: sand, fill, and finish
Fill screw heads and visible gaps, then sand the entire piece before paint or stain. Black, white, stained wood, and metallic finishes all work, but they should go on after the rough spots are gone. Paint hides plywood edges well; stain gives a more natural look when the lumber grain is worth keeping visible.
How do you keep it stable?
Keep a floor stand from tipping by matching base width to post height and by placing hooks so the load sits over the center of the base. A heavy stocking on one end creates a turning force, so the farthest hook should not sit too far from the middle. Glue helps, but geometry does most of the work.
- Measure the post height and widen the base if the stand looks top-heavy.
- Shift hooks so the loaded stockings balance left to right.
- Add screws through the base into the upright, then add glue where the joint needs stiffness.
- Let the glue cure before loading the holder with stockings or gifts.
- Test for tipping before decorating by pressing lightly at the top in several directions.
A common first-timer mistake is hanging one full stocking on the outermost hook while the opposite side stays empty. The stand may still look level, but the center of gravity moves outward and the base can rock. Move that stocking closer to center or shift the hook spacing before adding more weight.
If that did not solve the wobble, add base mass next. A wider plywood pad, a deeper footprint, or a hidden ballast block can help more than extra finish or ornamental trim. Keep the added weight low, not high on the post.
Common mistakes
Too-small base footprint: a narrow base on a tall post creates a tipping hazard. Fix it by increasing base width before adding decorations.
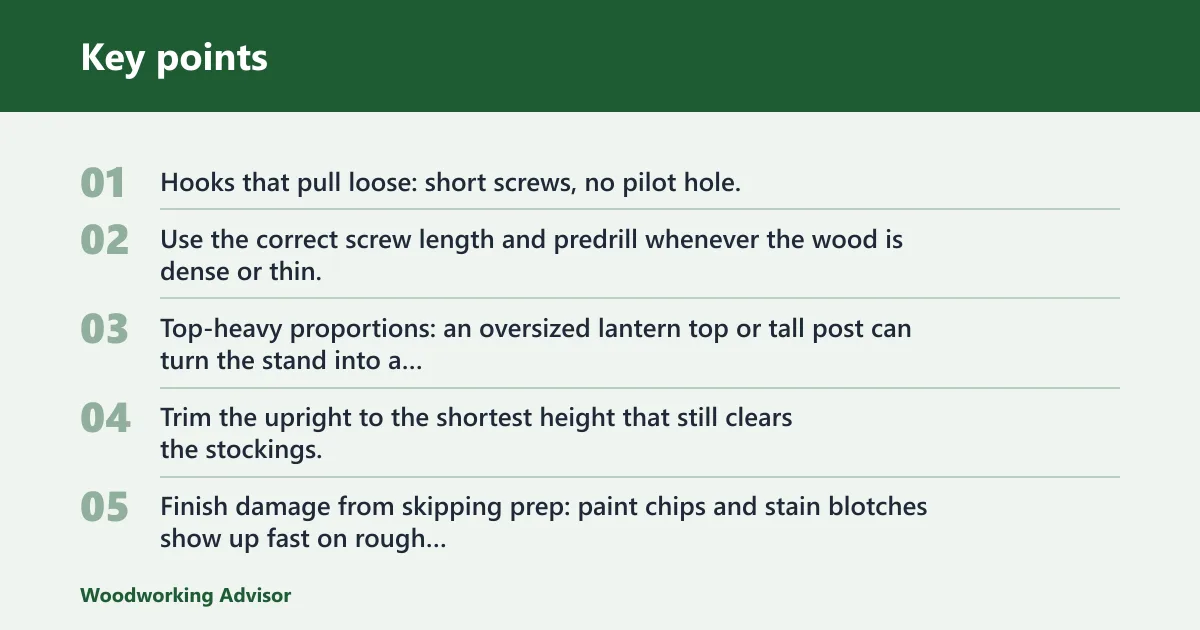
Hooks that pull loose: short screws, no pilot hole, or no glue can let hooks work free under repeated loading. Use the correct screw length and predrill whenever the wood is dense or thin.
Top-heavy proportions: an oversized lantern top or tall post can turn the stand into a lever. Trim the upright to the shortest height that still clears the stockings.
Finish damage from skipping prep: paint chips and stain blotches show up fast on rough edges. Sand, fill, then finish.
How do you make a stocking holder stand look decorative, not utilitarian?
Use the shape to do some of the work. A painted newel post with a lantern on top reads more like furniture than a utility stand, while a clean stained base and evenly spaced hooks gives a polished farmhouse look. Greenery, a solar lantern, or name tags can add holiday detail without weakening the frame.
Keep decorative parts light and low. Heavy accents at the top can undo the stability you built into the base. If the goal is a refined look, hide fasteners, clean up the edges, and choose one finish color instead of layering several competing details.
Frequently asked questions
How do you build a stand alone stocking holder from wood?
Build a base platform, fasten a vertical support, add a top rail or dowel, and install hooks for the stockings. Use screws and wood glue at the joints, then sand and finish after the structure is solid. The main goal is a weighted base that stays stable when loaded.
What size wood should I use for a free standing stocking holder?
Use 2x4s for a simple frame, a 4×4 or newel post for the upright, and 3/4-inch plywood for a wider base. For a tabletop version, 1×4 and 2×6 stock can work well. The right size depends on stocking count, post height, and how much floor space you have.
How do you keep a floor stand stocking holder from tipping over?
Make the base wider than you think you need, keep the hooks centered, and use fasteners that stiffen the upright joint. A low, broad footprint resists tipping much better than a narrow tall build. Test it empty first, then again with stockings loaded one by one.
Can I build a wooden stocking holder stand with just 2x4s?
Yes. A 2×4-only build can work well for a floor stand, especially if you use a broad base and keep the upright short enough for the load. Ana White’s version uses 2×4 stock and five hooks, which makes it a practical choice for a larger family display.
How many hooks do I need for a DIY Christmas stocking holder?
Match the hook count to the number of stockings you plan to hang. Four hooks can suit a smaller tabletop holder, while five hooks can suit a larger family setup. Leave enough spacing that cuffs do not crowd each other, since crowded hooks make the stand harder to balance.
What tools do I need to make a freestanding christmas stocking holder?
You need a saw, drill/driver, measuring tape, square, clamps, sandpaper, and a way to predrill pilot holes. Pocket holes are useful if you want hidden joinery. If you use a dowel top, a 5/8-inch bit is needed for the hole near the top of the post.
How much does a DIY stocking holder stand cost to build?
A simple build can stay low in cost if you use common lumber and basic hooks. Ana White lists about $20 for a 2×4 version with five hooks. Costs rise when you switch to a newel post, add decorative hardware, or buy plywood and finish supplies.
How much does a DIY stocking holder stand cost to build?
A basic 2×4 holder can be very inexpensive. The same source gives an estimated cost of about $20 for a version using 2×4 stock, five hooks, and 12 self-tapping wood screws. A tabletop box or newel-post lantern stand usually costs more because it uses a post, extra plywood, or more decorative hardware.
If you already have lumber and hooks on hand, the cost drops quickly. If you need a 4×4 or newel post, a dowel, and decorative hooks, expect the total to move into a higher material range than a plain 2×4 frame. Finishes add more if you need primer, filler, and paint.
Sponsored / affiliate links. As an Amazon Associate I earn from qualifying purchases. I may earn additional commission from eligible campaigns.