DIY Wood Wall Shelves: Transform Your Space with Style
DIY wood wall shelves add charm and functionality to any room. They offer a great way to showcase your favorite items.
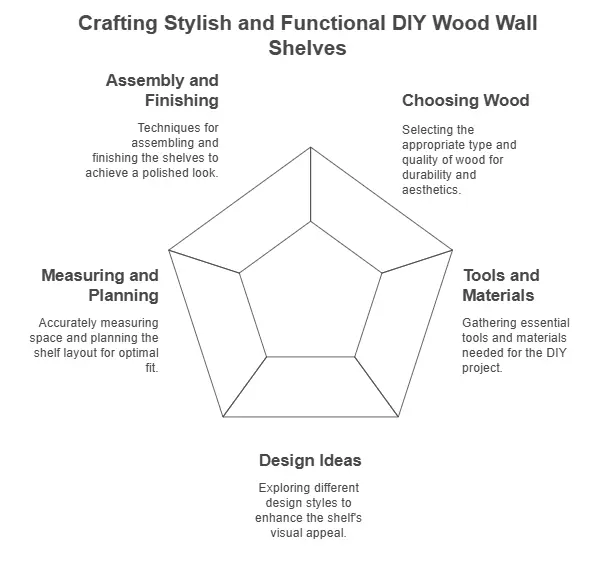
Are you looking for a fun and practical home project? DIY wood wall shelves might be the answer. These shelves not only help in organizing your space, but they also add a personal touch to your home decor. Whether you are a seasoned DIY enthusiast or a beginner, building your own wood shelves can be a rewarding experience.
With some basic tools and a bit of creativity, you can create beautiful, sturdy shelves that fit perfectly with your style. In this blog post, we will explore the benefits of DIY wood wall shelves and provide tips to get you started on your own project.
Choosing The Right Wood
Creating your own DIY wood wall shelves can be a fun and rewarding project. However, one of the most crucial steps in this process is choosing the right wood. The type of wood you select will affect the shelf’s durability, appearance, and cost. So, let’s dive into the basics of selecting the perfect wood for your project.
Types Of Wood
When it comes to wood types, you have a variety of options. Each type of wood has its own unique characteristics that can influence the final look and functionality of your shelves. Here are some common types:
- Pine: Pine is a softwood that is affordable and easy to work with. It has a light color and a fine grain, making it a popular choice for beginners.
- Oak: Oak is a hardwood known for its strength and durability. It has a distinctive grain pattern and a rich, warm color.
- Maple: Maple is another hardwood that is very strong and has a smooth, even texture. It’s great for a polished, modern look.
- Cherry: Cherry wood is prized for its beautiful reddish hue and smooth grain. It’s a bit more expensive but adds a touch of elegance.
Wood Quality
Not all wood is created equal, even within the same type. When selecting wood for your shelves, it’s important to consider the quality. Here are a few tips to ensure you get the best quality wood:
- Check for knots: While knots can add character, too many can weaken the wood and make it more difficult to work with.
- Look for straight boards: Warped or twisted boards can cause issues in assembly and affect the shelf’s stability.
- Inspect the grain: A tight, even grain is usually a sign of good quality wood. Avoid boards with cracks or splits.
- Consider the finish: If you plan to stain or paint the wood, choose a type that takes finishes well.
Choosing the right wood might seem daunting, but with these tips in mind, you’ll be well on your way to creating beautiful and functional DIY wood wall shelves. Remember, the key is to balance your budget with the desired look and durability of your project. Happy building!
Credit: www.thehandcraftedhaven.com
Essential Tools And Materials
Creating your own wood wall shelves can be a fun and fulfilling DIY project. To ensure success, having the right tools and materials is essential. In this section, we will go over the key items you will need to get started. Having a clear understanding of these essentials will make the process smooth and enjoyable.
Tools Needed
To build your wood wall shelves, you will need a few basic tools:
- Measuring tape
- Pencil
- Level
- Electric drill
- Screwdriver
- Hand saw or circular saw
- Sandpaper
- Stud finder
- Clamps
Materials List
Gathering the right materials is just as important as having the right tools. Here is a list of materials you will need:
- Wood planks
- Brackets
- Screws
- Wall anchors (if needed)
- Wood stain or paint
- Wood glue
- Brushes or rollers (for painting or staining)
By preparing these tools and materials, you set yourself up for a successful DIY project. It’s all about planning and having everything you need ready to go. Let’s dive into the process and create some beautiful wood wall shelves!
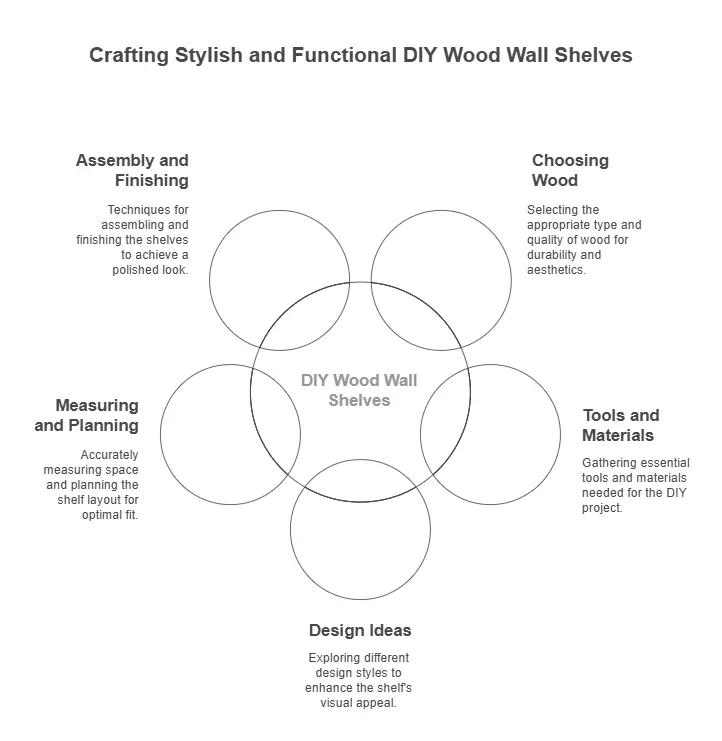
Design Ideas
So, you’re thinking about adding some flair to your home with DIY wood wall shelves? Fantastic idea! These shelves not only enhance your home’s aesthetics but also provide practical storage solutions. Let’s dive into some design ideas to inspire your next project. Whether you prefer a modern look or a rustic charm, we’ve got you covered. Below, you’ll find some exciting design ideas to get your creative juices flowing.
Modern Designs
Modern designs are all about clean lines and simplicity. Think sleek, minimalistic, and functional. Here’s how you can achieve that:
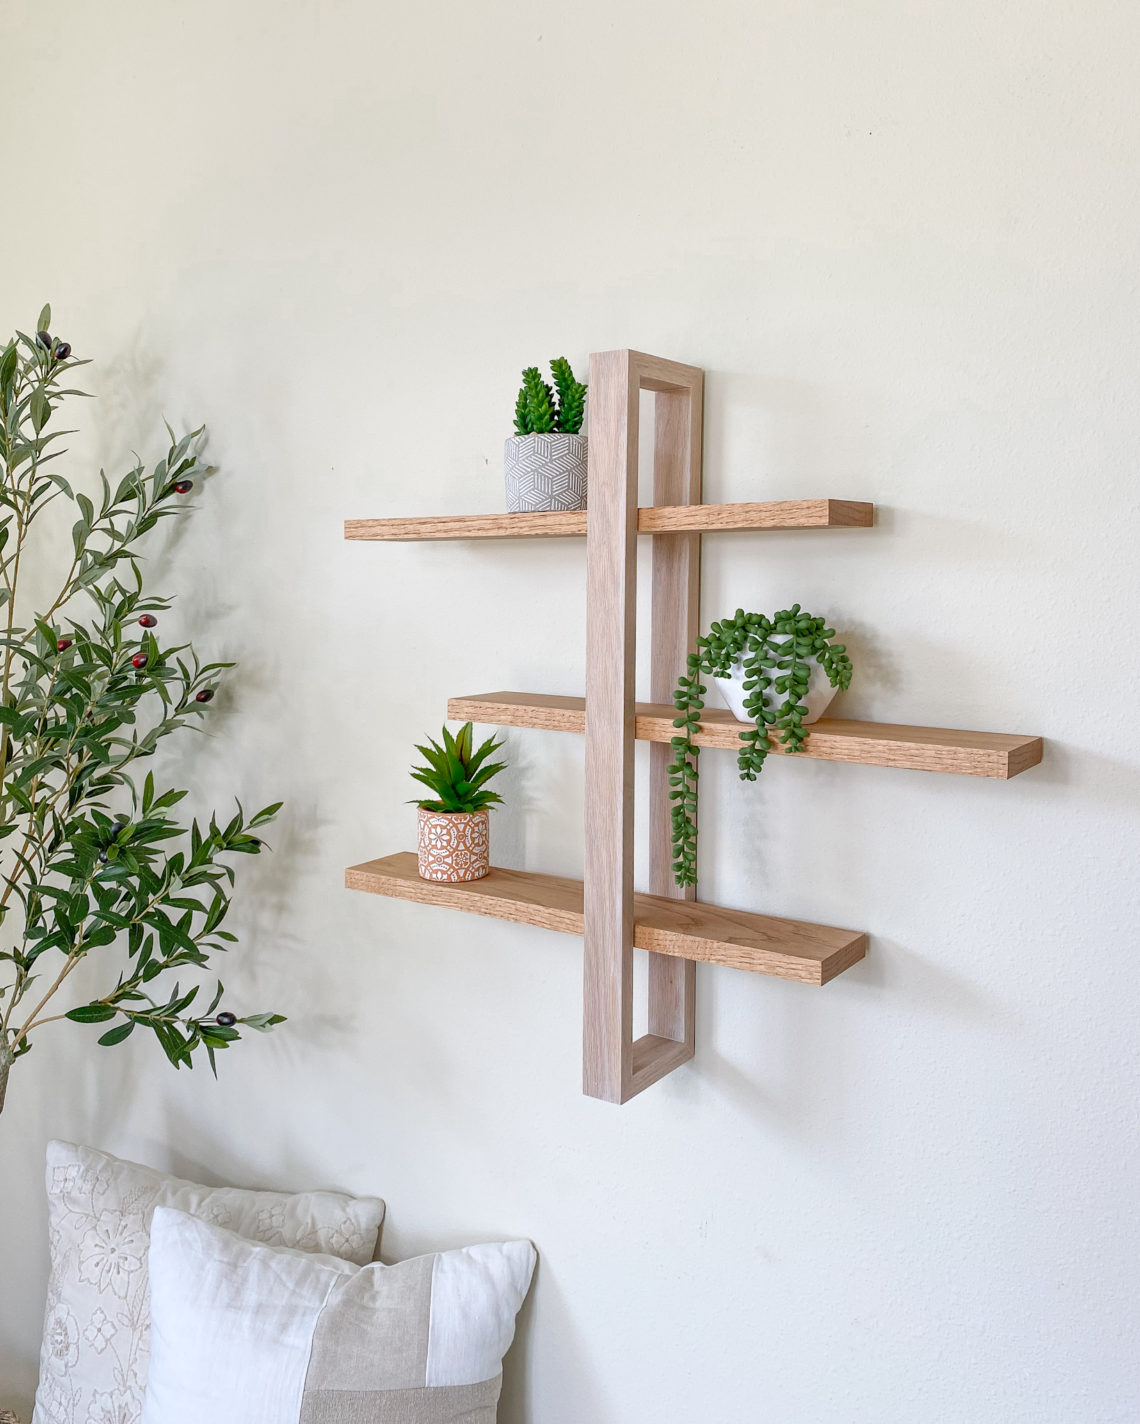
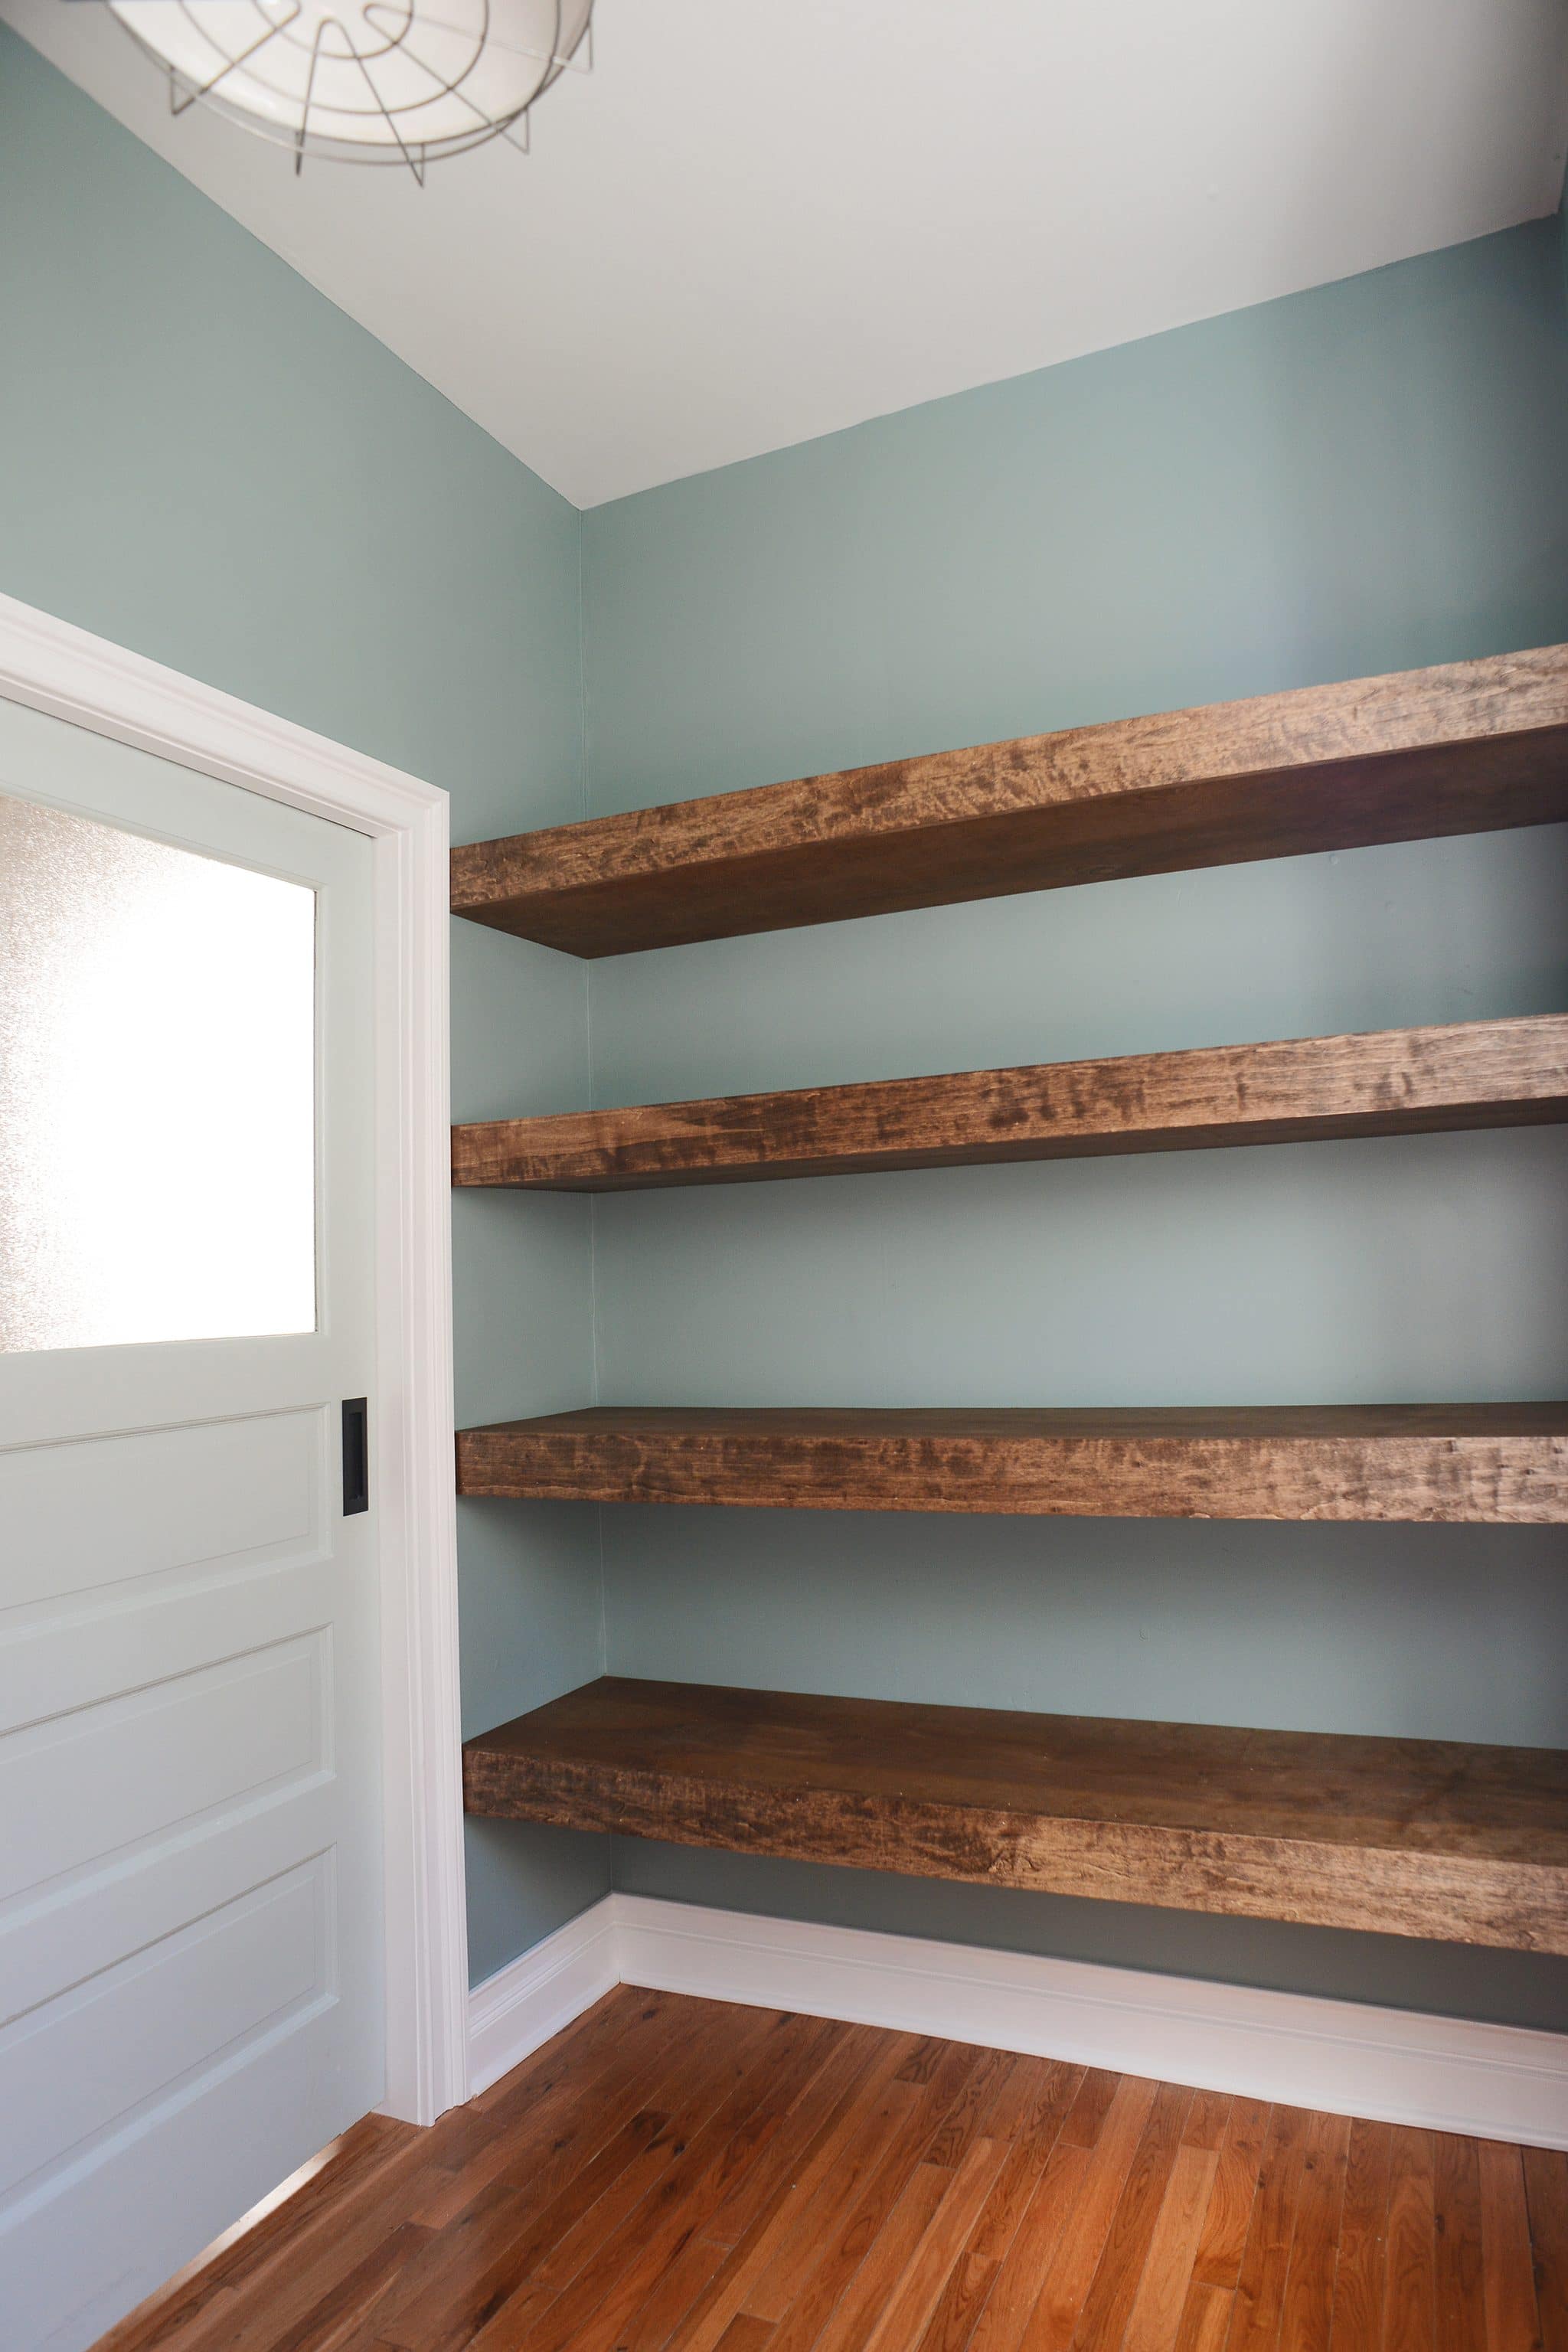
- Floating Shelves: These shelves give an illusion that they are floating on the wall without any visible support. They are perfect for a minimalist look.
- Geometric Shapes: Use hexagons, triangles, or other geometric shapes to create a unique and modern shelving unit. This is a fun way to add visual interest.
- Metal and Wood Combination: Pair wood with metal brackets or frames. This blend of materials adds a touch of industrial chic to your space.
Rustic Designs
If you love the charm of rustic designs, you’re in for a treat. Rustic wood shelves bring warmth and character to any room. Here’s how to nail that rustic look:
- Reclaimed Wood: Use reclaimed wood for your shelves. The natural imperfections in the wood add character and a story to your shelves.
- Farmhouse Brackets: Pair your wooden shelves with farmhouse-style metal brackets. This combination exudes a cozy, lived-in feel.
- Distressed Finish: Give your shelves a distressed finish to enhance the rustic vibe. You can achieve this by sanding the edges and using a weathered stain.
Choosing the right design for your DIY wood wall shelves can transform your space. Whether you opt for modern, rustic, or a blend of both, the key is to let your personal style shine through. Remember, the best part about DIY projects is that you get to create something uniquely yours. So, roll up your sleeves and get started! Happy crafting!
Measuring And Planning
Measuring and planning are crucial steps in creating your DIY wood wall shelves. Proper measurements ensure your shelves fit well and look great. Planning the layout helps you visualize the final result and make necessary adjustments.
Measuring The Space
Start by measuring the wall where you want to install the shelves. Use a tape measure to get the width, height, and depth. Ensure your measurements are accurate. Write them down for reference.
Check for any obstacles on the wall. This includes outlets, switches, or other fixtures. Note their positions so you can avoid them when planning your shelf layout.
Planning The Layout
Decide how many shelves you need. Think about what you will store on them. This will help you determine the spacing between each shelf.
Sketch a rough layout of your shelves on paper. This visual aid helps you see how the shelves will look. Adjust the spacing as needed to make it visually appealing.
Consider the height of each shelf. Ensure there is enough space between them for your items. Keep in mind the overall aesthetics of your room.
Cutting The Wood
Ready to create your own stunning wood wall shelves? The first step is cutting the wood. Let’s break it down into simple steps. Don’t worry! We’ll guide you through it with ease. Whether you’re a seasoned DIY enthusiast or just starting, these tips will help you get the perfect cut every time.
Safety Tips
Before you start, safety first! Cutting wood can be dangerous if you’re not careful. Here are some essential safety tips to keep in mind:
- Wear safety goggles: Protect your eyes from wood chips and dust.
- Use ear protection: Power tools can be loud. Protect your ears!
- Wear gloves: Keep your hands safe from splinters and rough surfaces.
- Work in a well-ventilated area: Dust can be harmful if inhaled. Ensure good airflow.
Cutting Techniques
Now that you’re all geared up, let’s talk about cutting techniques. The way you cut your wood can make a big difference in the final product. Here are some tips for making precise and clean cuts:
- Measure twice, cut once: Always double-check your measurements before cutting. It’s better to be sure than to waste wood.
- Use the right saw: For straight cuts, use a circular saw or a table saw. For curved cuts, a jigsaw works best.
- Secure the wood: Use clamps to hold the wood steady while you cut. This prevents mistakes and ensures a clean cut.
- Cut slowly and steadily: Rushing can lead to mistakes. Take your time and let the saw do the work.
Remember, practice makes perfect. Don’t be discouraged if your first few cuts aren’t perfect. With a little patience and practice, you’ll be cutting like a pro in no time.
| Tool | Best For |
|---|---|
| Circular Saw | Straight cuts |
| Jigsaw | Curved cuts |
| Table Saw | Precise straight cuts |
With these tips and techniques, you’re well on your way to creating beautiful wood wall shelves. Happy cutting!
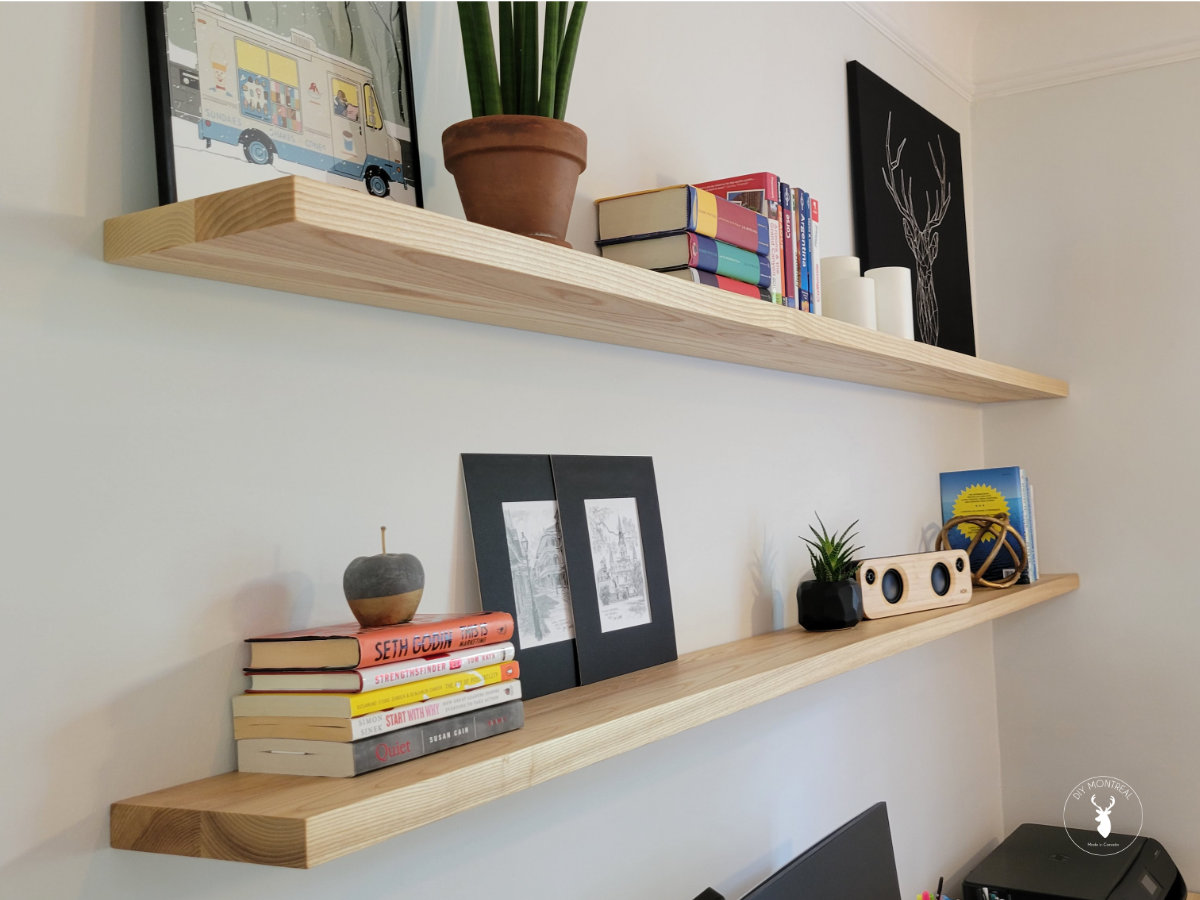
Credit: www.diymontreal.com
Assembling The Shelves
Assembling the shelves is a crucial step in creating your DIY wood wall shelves. The process involves connecting the wooden pieces securely. This ensures stability and longevity of your shelves. Below, we explore different methods to join the pieces together.
Joining Methods
There are several ways to join the wood pieces. Each method has its own benefits. Choose the one that suits your skill level and tools available.
Using Screws And Nails
Screws and nails are common for joining wood. They offer strong, reliable connections. Screws are easy to use and provide a tight fit. Nails are quicker to apply but may need extra support.
To use screws, pre-drill holes to prevent wood splitting. Then, drive the screws in using a screwdriver or drill. For nails, a hammer and some patience are required. Ensure the nails are driven in straight for the best hold.
Finishing Touches
You’ve built your DIY wood wall shelves, and they look amazing! But wait—there’s one last step to make them perfect: the finishing touches. This part is crucial because it can elevate your project from “good” to “wow!” Let’s dive into the essential steps to complete your shelves: sanding and smoothing, followed by staining and painting. These steps will not only make your shelves look polished but also ensure they are durable and long-lasting.
Sanding And Smoothing
Sanding is like the magic eraser for wood projects. It removes rough edges and splinters, making your shelves safe and smooth. Start with a coarse-grit sandpaper, around 80-grit, to remove any major imperfections. Then, work your way up to finer grits, such as 120-grit and 220-grit, to achieve a silky finish.
Use a sanding block or an electric sander for consistent pressure. Don’t forget to sand in the direction of the wood grain to avoid scratches. Once you’ve finished sanding, wipe the surface with a damp cloth to remove any dust. Trust me, this step is a game-changer!
Staining And Painting
Now comes the fun part—adding color to your shelves! Whether you prefer a natural wood look or a vibrant pop of color, staining and painting will help you achieve your desired finish. Here’s a simple guide:
- Staining: Choose a wood stain that suits your style. Apply the stain with a brush or a cloth, following the wood grain. Let it sit for a few minutes, then wipe off the excess with a clean cloth. Repeat if you want a darker shade. Allow the stain to dry completely before moving on.
- Painting: If you want a painted finish, start with a primer to ensure the paint adheres well. Once the primer is dry, apply your chosen paint color using a brush or a roller. For a smooth finish, apply two to three thin coats, allowing each coat to dry before adding the next.
After staining or painting, consider adding a clear topcoat to protect your work. This can be a polyurethane or a water-based finish, depending on your preference. It will give your shelves a professional look and keep them looking fresh for years to come.
There you have it! With these finishing touches, your DIY wood wall shelves will not only be functional but also a stylish addition to your space. Happy crafting!
Mounting The Shelves
Mounting your DIY wood wall shelves can be a bit tricky, but with the right guidance, you can easily turn a blank wall into a beautiful display. Whether you’re a seasoned DIY enthusiast or a beginner, this section will walk you through the process step-by-step. Let’s dive in!
Choosing The Right Brackets
First things first, you need to pick the right brackets. The choice of brackets plays a crucial role in the stability and aesthetics of your shelves.
- Material: Metal brackets are sturdy and can hold more weight. Wooden brackets blend well with the shelves but may support less weight.
- Style: Invisible brackets give a floating appearance, while decorative ones add to the shelf’s charm.
- Size: Ensure the bracket size matches the depth of your shelf for optimal support.
Remember, the brackets you choose should complement both the shelf and the overall design of your room. After all, it’s not just about functionality but also about making a style statement.
Installing On Different Wall Types
Not all walls are created equal. Depending on your wall type, the installation process will vary. Here’s a quick guide:
| Wall Type | Installation Tips |
|---|---|
| Drywall | Use drywall anchors to ensure a secure hold. Avoid overloading the shelves. |
| Concrete | Drill pilot holes with a masonry bit and use concrete anchors. |
| Brick | Similar to concrete, but make sure to drill into the mortar joints rather than the brick itself. |
When in doubt, consult with a local hardware store expert. They can provide advice specific to your wall type and help you choose the right tools and materials.
And there you have it! With a bit of patience and the right approach, you’ll have those shelves up in no time, ready to display your favorite books, plants, or knick-knacks. Happy DIY-ing!
Styling Your Shelves
Create stylish storage with DIY wood wall shelves. Perfect for any room, they add charm and functionality effortlessly. Customize them to suit your space and needs.
Creating DIY wood wall shelves adds charm to any room. But, the real magic happens when you style them. A well-styled shelf can transform a space, giving it personality and warmth. In this section, let’s dive into some tips and tricks for styling your shelves to perfection.
Decorative Items
Decorative items bring life to your shelves. Start with a mix of items. Use vases, framed photos, and small plants. Books also work well. Stack a few books horizontally. Place an item on top of the stack. This adds layers and depth.
Next, consider texture. Mix smooth and rough items. For instance, pair a sleek vase with a woven basket. This contrast keeps the eye interested. Colors matter too. Stick to a color scheme. This creates a cohesive look.
Organizing Tips
Organizing your shelves is key. Start with larger items. Place them at the bottom. This gives a strong base. Then, add medium-sized items. Finally, place smaller items at the top. This creates balance.
Group similar items together. For example, group candles with candles. This keeps things tidy. Use trays or boxes for small items. They help keep everything in place.
Remember to leave some empty space. Shelves need to breathe. Too many items can look cluttered. Aim for a mix of 70% items and 30% empty space. This balance looks pleasing to the eye.
Incorporate these tips and your DIY wood wall shelves will shine!
Credit: yellowbrickhome.com
Frequently Asked Questions
Is It Cheaper To Build Your Own Shelves?
Yes, building your own shelves is usually cheaper. You save on labor costs and can choose budget-friendly materials.
What Is The Best Wood For DIY Shelves?
Pine, plywood, and MDF are excellent choices for DIY shelves. They are affordable, easy to work with, and sturdy.
How Do You Make A Simple Wall Shelf?
To make a simple wall shelf, gather a wooden board, brackets, screws, and a drill. Measure and mark the wall. Attach the brackets to the wall, then secure the board on top. Ensure it is level.
Are Floating Shelves Out Of Style In 2024?
No, floating shelves are not out of style in 2024. They remain popular for their sleek, modern look.
Conclusion
Building DIY wood wall shelves can be a fun project. It adds charm and function to any room. You can personalize the design to fit your space. Basic tools and materials are all you need. Plus, it saves money compared to store-bought options.
Try creating your own shelves today. Enjoy the satisfaction of a job well done. Happy crafting!