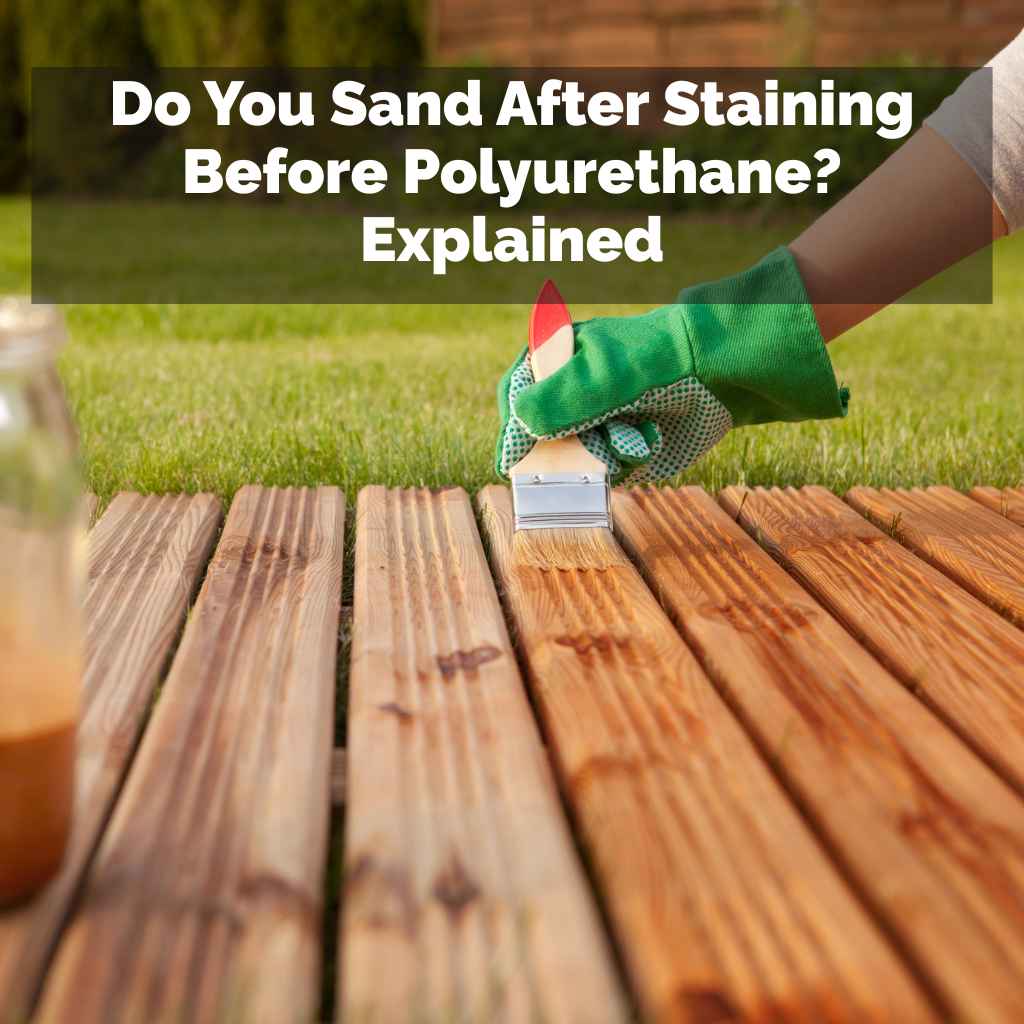
Do You Sand After Staining Before Polyurethane? Explained
Sometimes, finishing a wood project feels like a puzzle. You stain it, and it looks beautiful. Then comes the next step: polyurethane. But a question pops up, a little nagging doubt. Do you sand after staining, right before that protective coat? It’s a common pause point for many DIYers and seasoned woodworkers alike. You want that smooth, lasting finish, but you also don’t want to mess up the color you worked so hard to get. Let’s clear this up, step by step.
Generally, you do not need to sand after staining before applying polyurethane. Light sanding might be needed for specific issues like raised grain or dust, but a full sanding step is usually skipped. The main goal is to seal the stain and protect the wood.
The Sanding Question: What’s Really Happening?
Let’s dive into why this question comes up so often. When you stain wood, you’re adding color. It soaks into the wood fibers. Polyurethane is a clear protective finish. It sits on top of the wood and the stain. The goal is to seal and protect. Sanding after staining seems like it might make things smoother. But it can also lift the color you just applied. This is the core of the confusion. Most times, the wood is already smooth from sanding before you stained. So, adding another sanding step might not be helpful.
Think of it like painting. You wouldn’t sand the paint right after you put it on, hoping to make it smoother, unless there was a specific problem. You’d let it dry. Then, if you needed to fix a bump, you’d sand that one spot. It’s a bit like that with staining and polyurethane. The wood needs to be prepped well before you stain. That’s where most of the sanding happens. After staining, your focus shifts to sealing that color in.
My Own Staining Mishap: A Lesson Learned
I remember the first time I tried to stain a small table. I spent hours sanding it perfectly smooth. Then I applied the stain, and wow, the color was rich and deep. I was so proud. My next thought was, “Okay, now I need to make it super smooth for the polyurethane.” So, I grabbed some fine-grit sandpaper. I gently went over the stained surface. What happened? It looked duller. It took some of the stain off. My heart sank. I had to re-stain that section. That’s when I really learned that sanding after staining isn’t always the right move. It’s all about the preparation beforehand and the specific issue you’re trying to fix afterward.
Key Prep Steps Before Staining
Before you even think about stain, proper sanding is key.
- Start coarse: Use sandpaper like 80 or 100 grit for rough spots.
- Move finer: Work your way up through grits like 120, 150, and then 220.
- Go with the grain: Always sand in the direction of the wood grain.
- Clean up dust: A tack cloth is great for removing all fine dust before staining.
Why Some People Do Sand After Staining
Now, let’s be clear. There are situations where a light touch of sandpaper might be used after staining. These are usually for fixing specific problems, not as a standard step. One common issue is “raised grain.” This happens when moisture, like the stain itself, swells the wood fibers. The surface can feel a bit fuzzy or rough. In this case, a very light sanding with a fine grit (like 220 or 320) can knock down those raised fibers. You’d do this after the stain has dried fully.
Another reason might be dust. Even with careful work, tiny dust particles can settle on the wet stain. Once dry, these can feel like little bumps. A super-light pass with a tack cloth or a very fine sandpaper can remove these. But again, this is about fixing a problem, not a routine step. Using too coarse a grit here would be a mistake. It would remove the stain color.
When Light Sanding Might Be Okay
Use these only when needed, and with extreme care.
- Raised Grain: After stain dries, use 220 or 320 grit sandpaper very gently.
- Dust Specks: A light wipe with a tack cloth or a 400+ grit sandpaper can remove particles.
- Minor Imperfections: Small drips or uneven spots might need gentle sanding.
Always test first on an inconspicuous area or scrap wood. And always clean up dust thoroughly before the next coat.
The Role of Wood Type
The type of wood you’re working with also plays a role. Softwoods like pine can be more prone to raised grain. They absorb stain differently than hardwoods like oak or maple. With pine, you might find yourself more often needing to address raised grain after staining. Hardwoods are generally more stable. They tend to accept stain more evenly. This means they usually require less intervention after the initial stain application.
For example, if you’re staining a pine tabletop, you might get more fuzziness after the stain dries. A light pass with 220-grit sandpaper could be beneficial. But if you’re staining a maple cabinet door, it’s likely to stay smooth. You probably won’t need to sand it at all before the polyurethane.
Wood Type and Stain Behavior
Hardwoods (Oak, Maple, Cherry)
Pros: Dense, smooth grain, less prone to fuzziness. Stain looks rich and even.
Cons: Can be harder to work with, may need pre-stain conditioner.
Softwoods (Pine, Fir, Cedar)
Pros: Easier to sand, good for rustic looks. Absorbs stain deeply.
Cons: Can raise grain easily, may absorb stain unevenly without a conditioner.
Understanding the Polyurethane Layer
Polyurethane is your shield. It protects the wood and the stain from everyday wear, spills, and scratches. When you apply it, you’re building up layers. Each layer adds protection and depth to the finish. If the wood is already smooth from pre-stain sanding, the first coat of polyurethane will go on smoothly. It will fill in any minor pores.
If you sand after staining but before polyurethane, you risk sanding away some of the stain color. This is especially true if you use anything other than the finest grit sandpaper. The goal of polyurethane is to create a hard, protective shell. It doesn’t need a perfectly smooth surface underneath to adhere. It needs a clean, dry surface.
Polyurethane Basics
- Purpose: Protects wood from scratches, moisture, and wear.
- Types: Oil-based (amber tone, durable) and water-based (clear, quick dry).
- Application: Apply thin, even coats. Let each coat dry fully.
- Light Sanding Between Coats: This is a different scenario. Light sanding (400+ grit) between polyurethane coats helps adhesion and smooths imperfections. This is standard practice.
What Happens If You Skip Pre-Stain Sanding?
If you don’t sand properly before staining, the stain won’t go on evenly. It might look blotchy. Some areas will be darker than others. This is because the stain is sticking to rougher spots more. It’s like trying to paint a bumpy wall. The paint won’t lie flat. This is why the initial sanding is so critical.
So, if your wood isn’t smooth before you stain, it’s better to fix it then. Once the stain is on, you’ve committed to that color. Trying to smooth the wood afterwards without affecting the color is very tricky. You usually end up with a less vibrant, less even look. This is why the “prep is king” saying holds so true in woodworking.
The “Feel Test” After Staining
After your stain has dried completely, give the wood a good feel. Run your hand over the surface. Does it feel smooth, like silk? Or do you feel little bumps, fuzziness, or rough patches? This “feel test” is your best guide.
If it feels smooth enough, you’re likely good to go with the polyurethane. If you feel noticeable roughness, then consider a very light sanding. Use a fine-grit sandpaper (220 or higher). Gently sand in the direction of the grain. The goal is to smooth those specific rough spots, not to abrade the entire surface. Always wipe away the dust with a tack cloth after sanding.
The Post-Stain Feel Test
Smooth Surface: Proceed directly to polyurethane application. No sanding needed.
Slight Roughness/Fuzziness: Consider a very light sanding with 220 grit or higher. Focus only on the rough spots. Clean dust thoroughly.
Noticeable Bumps/Drips: Address these carefully. Light sanding might work. For drips, you might need to scrape gently before sanding.
Sanding Between Polyurethane Coats
This is where sanding is a very common and helpful step. After you apply the first coat of polyurethane, it will dry. Sometimes, tiny dust particles can settle on it. Or, the finish might not be perfectly smooth. To get a super-smooth final finish, you’ll often sand between coats of polyurethane.
For this, you’ll use very fine sandpaper, usually 320 or 400 grit. You’re not trying to remove the finish. You’re just lightly scuffing the surface. This helps the next coat of polyurethane bond better. It also knocks down any minor bumps or dust nibs. After sanding, always clean the surface thoroughly with a tack cloth before applying the next coat of polyurethane.
Sanding Between Poly Coats: The Right Way
This is a standard practice for a smooth, durable finish.
- When: After each coat of polyurethane has dried completely.
- What to Use: Fine-grit sandpaper (320-400 grit) or a synthetic steel wool (0000 grade).
- How: Sand lightly and evenly in the direction of the grain.
- Goal: To create a slightly dull surface for better adhesion of the next coat and to level minor imperfections.
- Clean Up: Crucial! Use a tack cloth or a damp (not wet) cloth to remove all dust.
Common Mistakes to Avoid
The biggest mistake is sanding too aggressively after staining. This can strip away your color. It can lead to a patchy, uneven look. Using sandpaper that’s too coarse is another common error. Always start with the finest grit you think you might need. It’s easier to go finer if needed than to fix damage.
Another mistake is not cleaning up dust properly. Sanding creates fine dust particles. If these aren’t removed before you apply polyurethane, they’ll get trapped in the finish. They’ll look like tiny bumps or specks under the clear coat. This ruins the smooth look you’re aiming for. Always use a tack cloth or a vacuum with a brush attachment. A slightly damp cloth can also work, but make sure it’s not too wet.
Quick Mistake Checklist
- Mistake: Sanding too hard after staining.
- Result: Color loss, blotchy finish.
- Mistake: Using coarse sandpaper.
- Result: Scratches, uneven color.
- Mistake: Not cleaning dust after sanding.
- Result: Bumps and specks in the finish.
- Mistake: Applying polyurethane too soon after stain.
- Result: Poor adhesion, finish failure.
Real-World Application: A Workbench Project
Imagine you’re building a workbench for your garage. You want it to be durable and look decent. You sand the plywood top with 120, then 220 grit sandpaper. Then you apply a dark walnut stain. After it dries for 24 hours, you run your hand over it. It feels pretty smooth. You might feel a few tiny fuzzy spots where the stain swelled the grain.
In this case, you’d take a clean rag and lightly wipe it down. You might even use a very fine sanding sponge (like 320 grit) just on those slightly fuzzy areas. Then, you’d vacuum all the dust and wipe it with a tack cloth. Now it’s ready for several coats of polyurethane. You wouldn’t dream of sanding the whole thing again with a coarse grit. That would be counterproductive.
What If the Stain Doesn’t Look Right?
Sometimes, the stain just doesn’t turn out how you expected. Maybe it’s too dark, too light, or blotchy. If this happens before you apply any polyurethane, you have a few options. If it’s blotchy, you might be able to re-stain it. But if it’s too dark, you might need a wood bleach to lighten it. If it’s too light, you can often apply another coat of stain.
If you’ve already applied a coat or two of polyurethane, fixing the stain color becomes much harder. You’d likely need to strip off the polyurethane first. This is why it’s so important to be happy with the stain color before you start the protective coating process. Taking your time here saves a lot of headaches later.
Stain Color Troubleshooting
Problem: Blotchy Stain
Cause: Uneven wood porosity, no pre-stain conditioner.
Solution (Before Poly): Re-stain, or use a glaze to even color. Consider a pre-stain wood conditioner next time.
Problem: Stain Too Dark
Cause: Stain soaked in too deeply.
Solution (Before Poly): Light sanding with fine grit (can remove some color). Or, use wood bleach. Next time, try a gel stain or a lighter stain.
When is it Okay to Skip Polyurethane?
Polyurethane is a protective finish. If your project won’t see much wear or moisture, you might get away without it. For example, purely decorative indoor items that are rarely touched might not need it. However, for most projects, especially furniture, tabletops, or anything that will be handled or exposed to daily life, polyurethane is essential.
Think about a picture frame. It gets dusty, but not handled much. A thin coat of varnish or even just a good paste wax might be enough. But a coffee table? That needs robust protection. Polyurethane provides that. It’s the armor that keeps your beautiful stained wood looking good for years.
The Takeaway: Preparation is Paramount
So, do you sand after staining before polyurethane? In most cases, the answer is no. The critical sanding happens before you apply the stain. This ensures the wood is smooth and ready to accept the color evenly. After staining, you only sand if there’s a specific problem like raised grain or dust specks, and you do it very gently with fine sandpaper.
Focus your efforts on thorough preparation before staining. Make sure your wood is perfectly smooth. Then, let the stain dry completely. Give it the feel test. If it feels good, go straight to polyurethane. Remember, sanding between polyurethane coats is different and is a standard step for a superior finish. Trust your process, and your wood will thank you for it.
Frequently Asked Questions
Do I need to sand after staining if I want a super smooth finish?
The smoothness comes from sanding before you stain. If the wood is smooth before staining, the stain will look smooth. After staining, you only sand very lightly for specific issues like raised grain. The final smoothness comes from sanding between coats of polyurethane.
What grit sandpaper should I use if I have to sand after staining?
If you must sand after staining, use very fine grit sandpaper. Start with 220 or 320 grit. For dusting or minor imperfections, you might even go up to 400 grit. The goal is to fix a specific problem gently, not to abrade the whole surface.
What’s the difference between sanding before stain and sanding after stain?
Sanding before stain prepares the wood for even color absorption. It makes the surface smooth. Sanding after stain is usually to fix issues like raised grain or dust. It’s a delicate process to avoid removing the stain color.
Can I use steel wool after staining?
You can use very fine grade steel wool (0000) for light scuffing, especially between coats of polyurethane. However, using steel wool right after staining could potentially lift the stain and leave behind fine steel wool fibers, which could rust. It’s generally safer to use fine-grit sandpaper or a synthetic steel wool alternative for post-stain touch-ups.
How long should I wait after staining before applying polyurethane?
This varies by stain type. Oil-based stains often need 24-72 hours to dry. Water-based stains can dry in a few hours. Always check the stain manufacturer’s instructions. It’s better to wait a bit longer to ensure the stain is fully dry and cured. This prevents issues like the polyurethane not adhering properly.
Will sanding after staining remove the color?
Yes, sanding after staining can remove the color, especially if you use a grit that’s too coarse or sand too aggressively. Stain penetrates the wood fibers. Sanding removes the top layer of wood, which includes the stain. This is why it’s crucial to only sand lightly and gently if absolutely necessary.
Final Thoughts on Your Finish
Achieving a beautiful, lasting finish on your wood projects is a journey. Understanding each step is key. The question of sanding after staining is a common hurdle. But by focusing on proper prep before you stain, and only using light touch-ups if needed after, you’re on the right track. Trust the process, and enjoy the satisfaction of a job well done.