
Easy, Proven How To Install Glass Block Window
Installing a glass block window in a wood frame is an achievable DIY project. This guide provides straightforward, step-by-step instructions to help you successfully frame, set, and seal your new glass block window, enhancing light and security in your home.
Hey there, fellow DIYers! Md Meraj here, your go-to mentor for making home projects feel less daunting and more doable. Today, we’re tackling a project that can dramatically brighten up a space and add a touch of unique charm: installing a glass block window. You know those beautiful, translucent blocks that let light stream in while offering privacy? They can seem a bit intimidating to install, especially in a standard wood frame. Many folks worry about breaking them or creating a leaky, unstable window. But don’t you worry! With the right steps and a bit of patience, you can absolutely install a glass block window yourself, and it’s easier than you might think. We’ll walk through everything, from preparing your opening to the final sealing, making sure you feel confident every step of the way. Let’s get this done!
Why Choose a Glass Block Window?
Glass block windows are a fantastic choice for many areas of your home. They’re not just about looks; they offer a blend of practicality and style that’s hard to beat. Think about those basements or bathrooms that could use more natural light without sacrificing privacy. Glass blocks are perfect for that! They’re also incredibly durable and secure, making them a great option for basement windows or areas where you want an extra layer of protection.
Here are some key benefits:
- Enhanced Natural Light: They diffuse sunlight beautifully, brightening rooms without harsh glare.
- Privacy: The translucent nature obscures direct views, perfect for bathrooms and basements.
- Security: Glass blocks are tough and difficult to break, adding a layer of security.
- Energy Efficiency: Many glass blocks have air pockets that can provide some insulation.
- Low Maintenance: Unlike traditional windows with frames that can rot or paint that peels, glass blocks are very low maintenance.
- Unique Aesthetics: They offer a distinct look that can enhance your home’s architectural style.
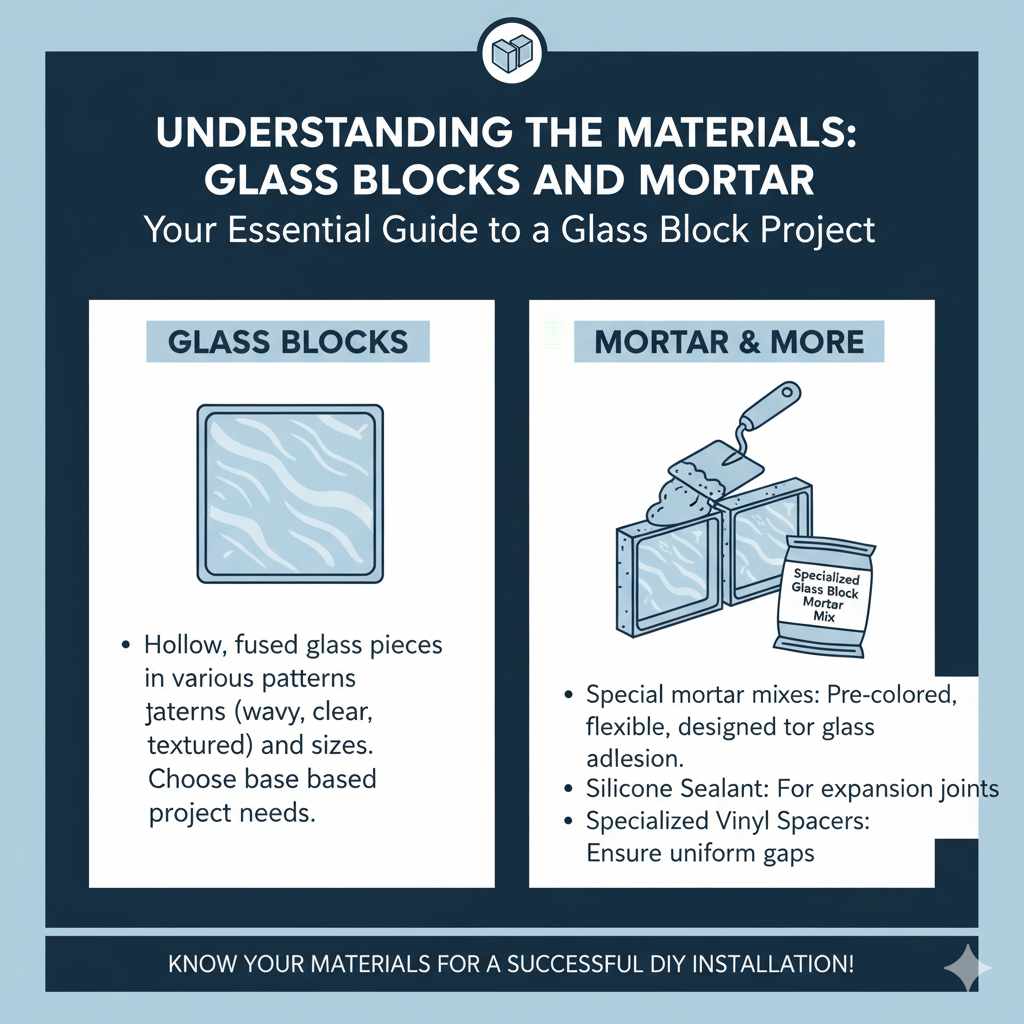
Understanding the Materials: Glass Blocks and Mortar
Before we dive into the “how-to,” let’s briefly chat about what you’ll be working with. Glass blocks themselves are pretty straightforward – they’re hollow blocks made of two fused pieces of glass. What’s important is choosing the right type for your project. They come in various patterns (like wavy, clear, or textured) and sizes. For a wood frame installation, you’ll typically be working with standard-sized blocks.
The “glue” that holds them together? Mortar. You won’t be using regular brick mortar here. Special mortar mixes are designed for glass block installations. These mixes are often pre-colored and formulated for flexibility and adhesion with glass. You might also use a silicone sealant or specialized vinyl spacers depending on the installation method you choose. We’ll cover the different kinds of systems that help make this DIY-friendly in a bit.
Tools and Materials You’ll Need
Gathering your tools and materials beforehand is key to a smooth project. It’s like prepping your ingredients before you start cooking – it saves time and frustration!
Essential Tools:
- Safety glasses (always wear these!)
- Work gloves
- Measuring tape
- Level (a long one is best)
- Trowel (pointing trowel or margin trowel)
- Bucket for mixing mortar
- Stirring stick or paddle mixer (for electric drill)
- Caulking gun (if using silicone sealant)
- Utility knife
- Rubber mallet
- Clean rags or sponges
- Pry bar (for removing existing window if necessary)
- Chisel and hammer (for cleaning up the frame)
- Optional: Power drill with mixing paddle, saw (if framing is needed)
Materials:
- Glass blocks (calculate carefully!)
- Glass block mortar mix
- Vinyl spacers (if using the mortar-and-spacer method)
- Silicone sealant (exterior grade)
- Wood for framing (if building a new frame or repairing an old one)
- Shims
- Sealant or primer for wood frame (optional, but recommended)
- Water (for mixing mortar)
Step-by-Step: Installing Your Glass Block Window
Let’s get down to business! We’ll focus on installing a glass block window into an existing or newly framed wood opening. This process involves preparing the space, setting the blocks, and sealing everything up to keep the weather out. Remember, patience is your best friend here. Take your time, and you’ll love the result!
Step 1: Prepare the Opening
First things first, we need a clean and solid opening to work with. If you’re replacing an old window:
- Carefully remove the old window and its frame. Use a pry bar and be gentle to avoid damaging the surrounding wall.
- Clean out any old caulk, debris, or loose material from the opening. You want a smooth, solid surface for your new window. A chisel and hammer can be helpful here. The National Association of the Remodeling Industry (NARI) offers great resources on safe window removal and preparation that could be useful.
If you’re creating a new opening or building a new frame:
- Measure your desired glass block window size and cut your wood framing pieces to fit. You’ll need a sturdy frame with a well-defined opening.
- Ensure the frame is square and level. Securely attach it to the existing wall structure.
- Apply a sealant or primer to the wood frame to protect it from moisture, especially if it will be exposed to exterior elements. Let it dry completely.
Crucial Tip: The opening should be slightly larger than your planned glass block panel to allow for shims and sealant. A gap of about 1/4 to 1/2 inch around the perimeter is usually sufficient.
Step 2: Plan Your Block Layout
Before mixing any mortar, lay out your glass blocks on a flat surface to visualize the final panel. This is also the perfect time to double-check your measurements. Count how many blocks you’ll need horizontally and vertically. Standard glass blocks often come in sizes like 6×6 inches or 8×8 inches. Factor in the space needed for mortar joints, which are typically 1/4 to 1/2 inch wide.
If you’re using vinyl spacers, arrange them between the blocks as you plan the layout. These spacers help maintain consistent joint widths and provide some support.
Step 3: Mix the Glass Block Mortar
Follow the manufacturer’s instructions on the mortar mix bag precisely. This is really important for strength and workability.
- Pour the recommended amount of clean water into your bucket.
- Add the dry mortar mix gradually, stirring as you go. You can use a mixing paddle attached to a drill for larger batches, or a sturdy stick for smaller ones.
- Mix until you achieve a consistency like peanut butter – thick enough to hold its shape but smooth enough to spread easily. Avoid making it too wet, as this weakens the mortar.
- Let the mortar “slake” (rest) for about 10 minutes, then remix it briefly. This allows the chemicals to fully activate.
Step 4: Apply Mortar and Start Laying the First Course
This is where the magic starts to happen! We build from the bottom up.
- Apply a generous layer of mortar (about 1/2 inch thick) to the bottom of the prepared opening or the bottom wood sill. Make sure it’s spread evenly.
- Place your first glass block onto the mortar bed. Gently tap it down with the rubber mallet and use your level to ensure it’s perfectly plumb (vertical) and level (horizontal). Adjust as needed.
- Apply mortar to the side of the first block and the back of the opening where the next block will go.
- Place the second block next to the first, again ensuring it’s plumb and level with its neighbor. Use vinyl spacers between the blocks if you’re using them to keep the joint consistent.
- Continue laying blocks for the first course, applying mortar between each block and to the back wall as you go. Keep checking with your level frequently.
Step 5: Continue Laying Subsequent Courses
Now we build upwards, course by course.
- Apply a layer of mortar to the top of the first course of blocks.
- Apply mortar to the sides of the new blocks you’re about to lay and the back wall.
- Carefully place the next block onto the mortar of the lower course and against the mortar on the back wall.
- Use your rubber mallet to tap the block into place and check for plumb and level. Ensure the mortar joints are consistent, using spacers if needed.
- Repeat this process for each block and each subsequent course. It’s a methodical process, but very satisfying as you see your window take shape.
Working with Wood Frames: When laying blocks against a wood frame, ensure a good bond with the wood. Apply mortar directly to the wood’s interior surface where the block will sit.
Step 6: Install Vertical and Horizontal Reinforcement (Optional but Recommended)
For added strength and to ensure longevity, especially for larger windows or in areas with seismic activity, consider reinforcement. This usually involves inserting a steel or vinyl tie bar into the mortar joints. These are typically placed horizontally every few courses and vertically at ends or at specified intervals.
The exact method will depend on the reinforcement product you use, but it generally involves laying a bead of mortar, placing the reinforcement bar, and then covering it with another layer of mortar and the next block. Consulting your specific glass block manufacturer’s guidelines or local building codes, such as those from the International Code Council (ICC), is a good idea for reinforcement requirements.
Step 7: Finishing the Mortar Joints
Once all blocks are in place and you’re satisfied with the alignment, it’s time to manage the mortar joints.
- As the mortar begins to set (it will start to firm up but is still workable), use your pointing trowel to gently smooth out the joints. You can create a slightly concave or flush finish, depending on your preference.
- Carefully remove any excess mortar that has squeezed out using your trowel and a damp sponge or rag.
- For a cleaner finish, you can use a tool called a concave jointer, or even the rounded end of a piece of pipe, to create a neat, rounded joint.
Step 8: Curing and Waterproofing
Mortar needs time to cure properly. This process hardens the mortar and gives your window exceptional strength. Follow the mortar manufacturer’s recommendations for curing time, which can be anywhere from 24 hours to several days, depending on humidity and temperature.
Once the mortar has cured sufficiently, you’ll need to seal the perimeter of the glass block window unit to the wood frame. This is critical for preventing water and air infiltration.
- Apply a bead of high-quality, exterior-grade silicone sealant around the entire perimeter where the glass block panel meets the wood frame.
- Use a caulk gun for an even application, and then smooth the bead with your finger or a sealing tool for a clean, watertight seal.
This final seal protects your work and ensures your new glass block window is both beautiful and functional for years to come.
Table: Glass Block Window Installation Checklist
To help you keep track, here’s a handy checklist:
| Task | Completed (✓) | Notes |
|---|---|---|
| Gather all tools and materials | Double-check quantities of glass blocks and mortar. | |
| Prepare opening (clean, square, plumb) | Ensure opening is slightly oversized for shims/sealant. | |
| Lay out glass blocks for layout planning | Verify size and count. | |
| Mix mortar according to instructions | Achieve peanut butter consistency. | |
| Lay first course of blocks | Check level and plumb frequently. | |
| Lay subsequent courses | Maintain consistent mortar joints. | |
| Install reinforcement (if used) | Follow product and code guidelines. | |
| Smooth and trim mortar joints | Remove excess mortar before it hardens. | |
| Allow mortar to cure | Refer to mortar manufacturer’s guide. | |
| Seal perimeter with silicone sealant | Ensure a watertight seal. |
Alternative Installation Methods: Pre-Assembled Panels
While the mortar-and-spacer method is classic and effective, you might also find pre-assembled glass block window panels. These come as a complete unit, often with a vinyl or metal frame already attached to the glass blocks, ready to be installed into your prepared opening.
Installing a pre-assembled panel is generally much simpler and faster than building a panel block by block. The process typically involves:
- Preparing the rough opening as described in Step 1.
- Applying a bead of sealant along the inside of the frame or opening.
- Setting the pre-assembled window unit into the opening.
- Shimming the unit to ensure it’s perfectly level and plumb.
- Fastening the frame to the rough opening as per the manufacturer’s instructions.
- Applying exterior caulk to seal the unit to the wall.
These panels can be a great option for those looking for a quicker and potentially easier DIY experience. You can often find these at specialized building supply stores or online retailers.
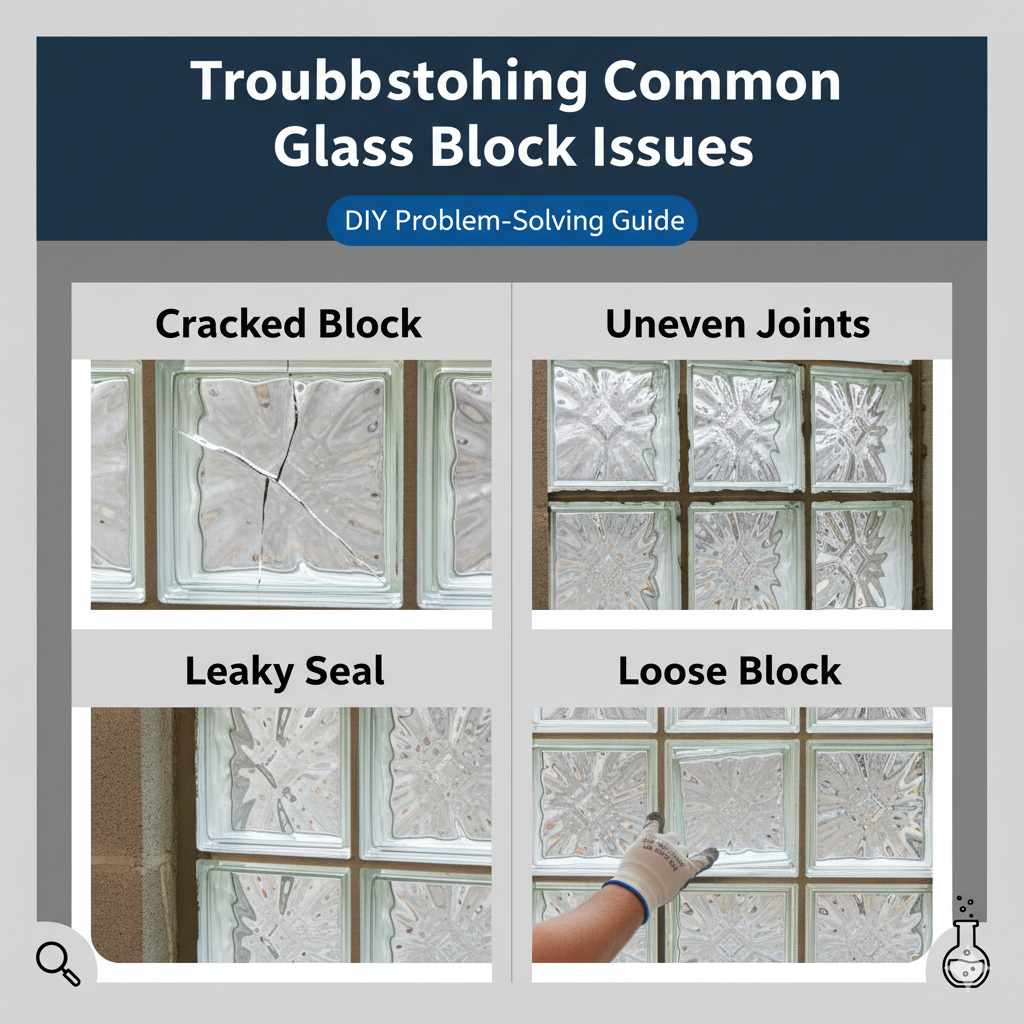
Troubleshooting Common Issues
Even with the best intentions, DIY projects can sometimes throw us a curveball. Here are a few common issues and how to handle them:
- Cracked Block: If you notice a crack during installation, carefully remove the block and replace it. Trying to mortar over a crack is unsafe. For a crack that appears after curing, it’s a more serious issue that might require professional assessment.
- Uneven Joints: If your joints are uneven, try to correct them while the mortar is still wet. Use your trowel to add or scrape away mortar. If the mortar has started to harden, you might need to carefully remove a few blocks and relay them.
- Leaky Seal: A leaky seal usually means the caulk job wasn’t thorough. After the caulk has cured, check for any gaps. You may need to reapply caulk to ensure a complete seal.
- Window Feels Loose: This often indicates insufficient mortar or poor adhesion. If caught early, you might be able to carefully chip away the mortar and re-set the blocks. If it’s a large section, it might require professional attention.
FAQ: Your Glass Block Window Questions Answered
Q1: How many glass blocks do I need for my window?
A1: Measure the width and height of your opening and divide by the size of one glass block plus the desired mortar joint width (typically 1/4 to 1/2 inch). For example, for an 8×8 block with a 1/2 inch joint, a 24-inch opening would need 3 blocks across (24 / (8 + 0.5) = ~4.7, so 4 or 5 depending on exact fit) and similarly for height. Always buy a few extra just in case!
Q2: Can I use regular mortar for glass blocks?
A2: No, it’s best to use specialized glass block mortar. Regular mortar is too coarse and can potentially damage the glass blocks or not adhere properly. The special mixes are formulated for glass and often have additives for flexibility and weather resistance.
Q3: How long does it take for the mortar to cure?
A3: Curing time varies based on the mortar type, temperature, and humidity. Most manufacturers recommend a minimum of 24 to 72 hours before significant stress is applied. Full strength can take weeks. Always check the product packaging for specific instructions.
Q4: Do I need to seal the glass blocks themselves?
A4: The glass blocks themselves do not need sealing. The crucial sealing is done around the perimeter of the entire glass block unit where it meets the window frame or wall to prevent water and air leaks.