How to Draw a Radius on Wood: Perfect Curves Every Time
To draw a radius on wood, anchor a compass or a string-and-pin trammel at the center point, then swing the pencil across the arc to trace the curve. A pivot point off by as little as 1/8 inch shows up as a visible flat spot once you cut the curve with a jigsaw, wasting the board. This guide covers picking the right wood, building a radius jig, sanding grits for a smooth edge, and fixing tear-out on the cut line.
Introduction To Crafting Perfect Curves On Wood
Best Radius Compass Pick
General Tools 523 Trammel Set – $34.79
Two hardened steel points and a fine adjusting screw give the precise pivot-point control the compass method in this guide depends on — swap in a pencil at the scribing point to trace the arc.
- Best for: Small-to-medium radii, the compass method covered above
- Why we picked it: Stainless steel points plus a fine-adjust screw hold an exact radius setting
- Main drawback: No beam included – needs a scrap strip of wood or a metal rule as the arm
Compare more radius-drawing tool options
 Option 1 Blue Fox Tools Trammel Head Set – $23.00
|
 Option 2 Taytools 468310 Large Trammel Set – $30.67
|
 Option 3 POWERTEC 37" Curve Ruler – $46.99
|
As an Amazon Associate we earn from qualifying purchases.
Creating a perfect curve on wood is essential for many projects. Precision ensures a clean and professional look. It also improves the functionality of the piece. Using the right tools makes this task easier and more accurate.
Here are some tools you’ll need for drawing a radius:
| Tool | Description |
|---|---|
| Compass | Helps draw circles and arcs with ease. |
| Ruler | Ensures straight lines and accurate measurements. |
| Jigsaw | Great for cutting curves in wood. |
| Sandpaper | Smooths edges and shapes curves. |
Gathering these tools will make drawing a radius much simpler. Practice using them to improve your skills. Enjoy the process and create beautiful wooden pieces!
Selecting The Right Wood
Choosing the right wood is key for curved designs. Some types of wood work better than others. Here are a few suitable options:
| Type of Wood | Characteristics |
|---|---|
| Birch | Strong, flexible, and easy to work with. |
| Pine | Lightweight, affordable, and bends well. |
| Maple | Durable and smooth finish, great for curves. |
| Mahogany | Rich color, stable, and easy to shape. |
Preparing the wood surface ensures a smooth outcome. Start by sanding the wood to remove rough spots. A clean surface helps tools glide easily. This makes drawing a radius much simpler. A good finish will improve your design.

Choosing Your Radius Size
Choosing the right radius size is very important. Several factors can affect your choice. Consider the type of project you are working on. The size of the wood piece also matters. Think about the tools you have available. Some tools may limit your radius options.
Using a radius chart can help a lot. These charts provide different radius sizes for various projects. They can show you what works best for your needs. Look at the chart carefully before making a decision. This will save you time and effort in the long run.
| Factor | Description |
|---|---|
| Project Type | Different projects require different radius sizes. |
| Wood Size | Larger pieces may need bigger radii. |
| Tools | Available tools can limit radius choices. |
Manual Methods For Drawing A Radius
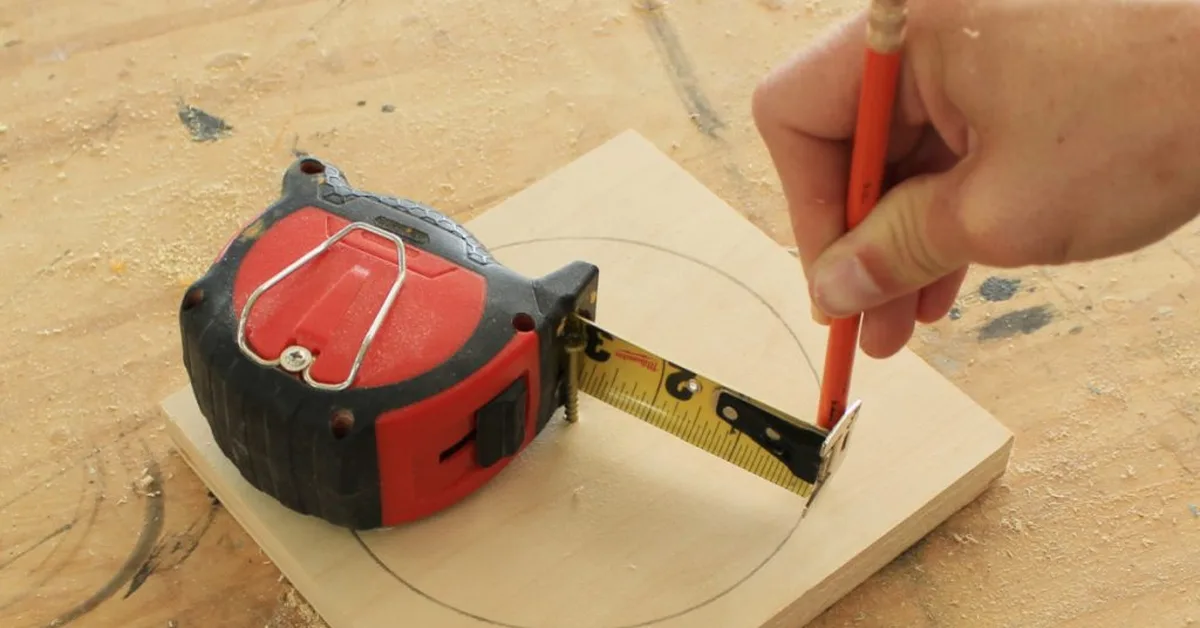
Using a compass is a great way to draw small radii on wood. First, place the compass point on the wood. Adjust the compass width to your desired radius. Then, simply rotate the compass to draw the curve. This method is quick and effective.
For larger radii, use string and pins. Start by measuring the radius you need. Tie one end of the string to a pin. Insert the pin into the wood as the center point. Hold the other end of the string taut and draw the curve. This technique allows for greater flexibility with size.
Using Radius Jigs For Precision
Radius jigs help create perfect curves on wood. Different types of radius jigs are available. Each type has unique features and uses.
| Type of Radius Jig | Features | Uses |
|---|---|---|
| Fixed Radius Jig | Simple design, set radius | Basic curves for furniture |
| Adjustable Radius Jig | Flexible, can change radius | Various projects and sizes |
| Circular Saw Jig | Attach to a saw, cuts circles | Making round shapes easily |
Setting up a radius jig is easy. First, secure the jig to the wood. Then, adjust to the desired radius. Make sure everything is tight and stable. This will ensure a clean and smooth cut.
Sanding And Smoothing Your Radius
Choosing the right sandpaper grit is crucial for a smooth finish. Start with a coarse grit like 80 to remove rough edges. Then, switch to a medium grit such as 120 for better smoothing. Finally, use a fine grit like 220 to achieve a polished look.
For even sanding, move the sandpaper in a circular motion. Keep the pressure light and consistent. Always check your work frequently to avoid over-sanding. Using a sanding block can help maintain even pressure. This technique ensures that your radius remains true and smooth.
Finishing Touches For A Professional Look
Applying a finish to your curved wood enhances its appearance and durability. Start by sanding the surface until smooth. Use fine-grit sandpaper for the best results. Clean off any dust with a damp cloth.
Choose a suitable finish, such as varnish or oil. Apply the finish evenly using a brush or cloth. Allow it to soak in and dry according to the manufacturer’s instructions.
To protect your workpiece, consider using a clear coat. This will shield the wood from scratches and moisture. Regularly check the finish and reapply as needed for continued protection.
Troubleshooting Common Issues
Wood tear-out happens during cutting. To prevent this, use a sharp blade. Always cut slowly and apply light pressure. Masking tape on the cut line can help. This tape holds the wood fibers together.
Adjusting for uneven curves is important too. Use a template to guide your cuts. A flexible ruler can create smooth curves. Always check your progress while cutting. This ensures a more accurate shape.
Frequently Asked Questions
How Do You Measure A Radius On Wood?
To measure a radius on wood, use a compass or a simple string method. First, secure one end of the compass or string at the center point. Then, mark the desired radius on the wood. This technique ensures an accurate and clean arc for your woodworking project.
What Tools Are Needed To Draw A Radius?
To draw a radius on wood, you need a compass or a flexible curve ruler. A square or straightedge can also help in aligning your measurements. Using these tools, you can easily create precise arcs and circles, enhancing the accuracy of your woodworking designs.
Can I Draw A Radius Without Special Tools?
Yes, you can draw a radius without special tools. Use a piece of string tied to a pencil as a makeshift compass. Simply secure one end of the string at the center point and use the other end to trace your desired radius.
It’s a simple and effective method!
What Is The Best Method For Large Radii?
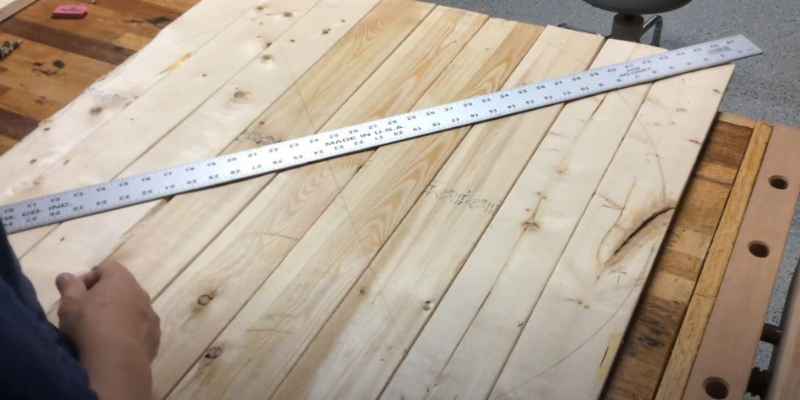
For large radii, using a long piece of wood or a flexible curve ruler is ideal. You can also use a large compass or a trammel to maintain accuracy. Ensure that the pivot point is stable, allowing you to create smooth arcs on larger pieces of wood effortlessly.
Conclusion
Drawing a radius on wood is a valuable skill for any DIY enthusiast. With the right tools and techniques, you can achieve precise results. Practice makes perfect, so don’t hesitate to try different methods. Soon, you’ll master this technique and elevate your woodworking projects to the next level.
Happy crafting!
Sponsored / affiliate links. As an Amazon Associate I earn from qualifying purchases. I may earn additional commission from eligible campaigns.