Folding Outfeed Table for a Table Saw: How to Choose, Build, or Install One
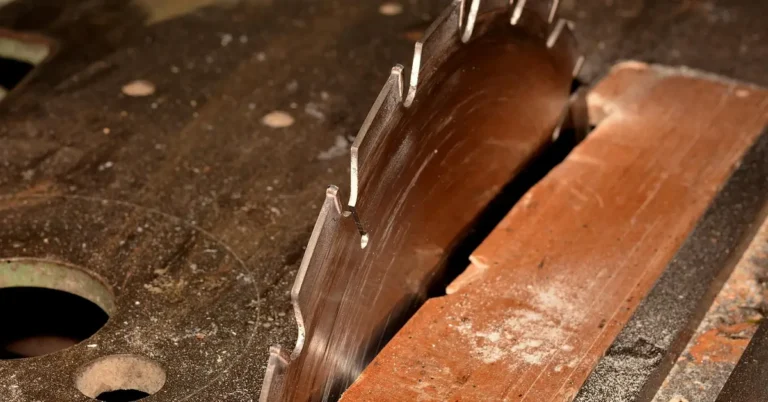
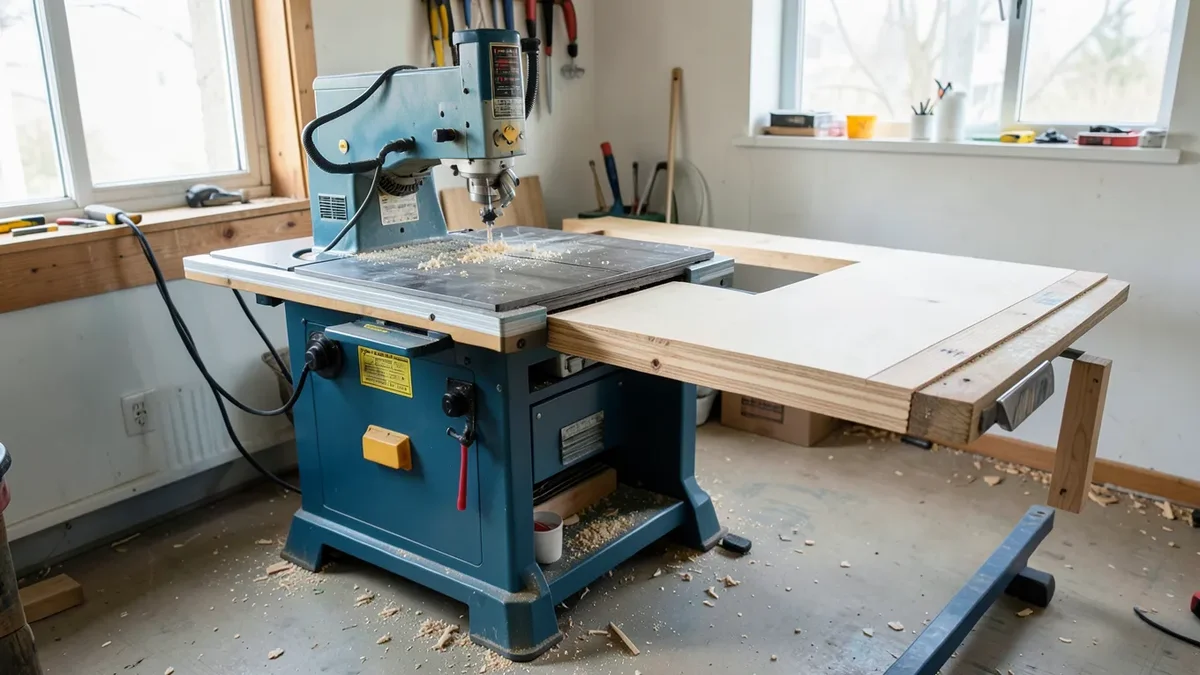
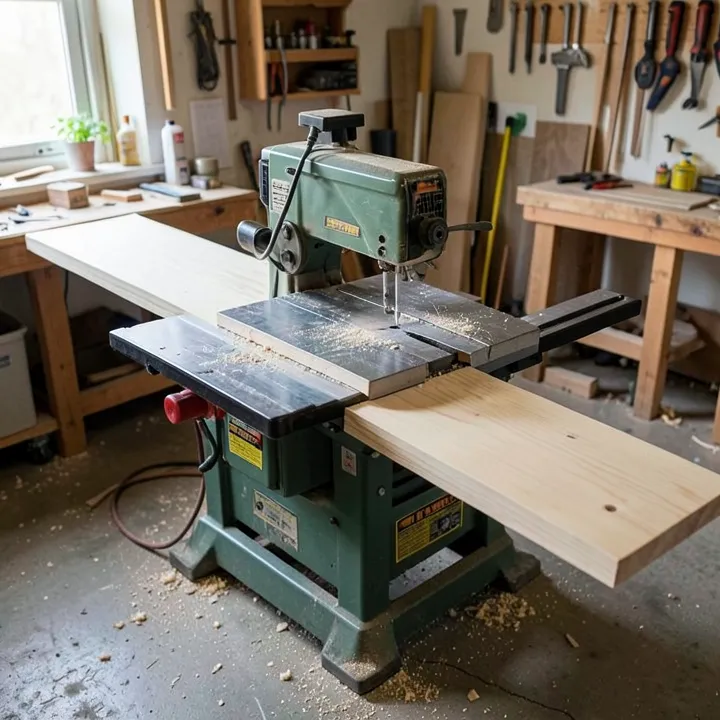
A folding outfeed table catches long boards and plywood sheets as they come off the back of a table saw, then folds flat against the saw or the wall when you’re done. It solves the biggest problem with cutting anything longer than about three feet alone: without support behind the blade, a long board tips, binds against the blade, or falls, which is both a safety risk and a good way to ruin a clean rip cut.
Why a Folding Outfeed Table Matters
Fastest Way To Add Outfeed Support
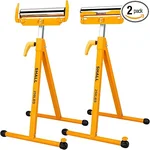 |
SHALL Folding Roller Stands, 2-Pack – $59.99 If you’re not ready to build or buy a full outfeed table, a pair of these gets you real support behind the blade the same afternoon.
|
Beyond preventing tip-overs, an outfeed table improves the accuracy of the cut itself: if a board can rock or drop as it clears the blade, it changes the angle of the cut right when precision matters most. A folding design gets you that support without permanently claiming floor space, which matters in any shop where the table saw shares a wall with a car, a workbench, or storage.
Store-Bought vs. DIY vs. Hybrid
Store-Bought Folding Outfeed Tables
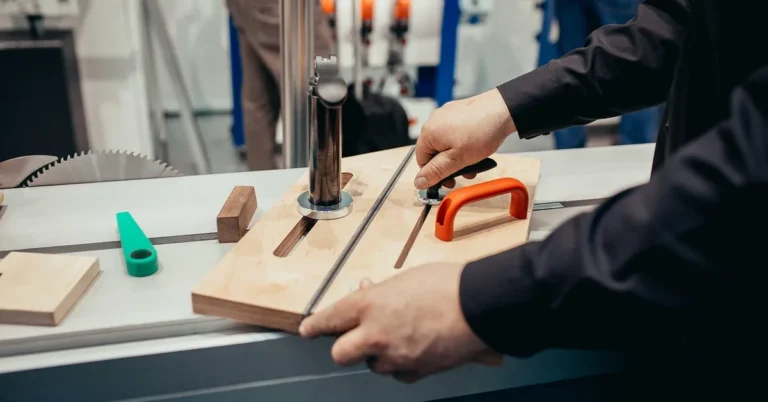
Brands like Rockler, Bora, and SawStop’s own accessory line sell folding outfeed tables that bolt to the back of the saw, usually with adjustable-height legs and a roller or ball-bearing top for sliding sheet goods. Expect to spend $100 to $400 depending on size and features. The advantage is fit and finish: these are engineered to lock at exactly saw height and fold with a gas-assisted or spring-loaded hinge, so setup is mostly following the included instructions.
DIY Folding Outfeed Tables
A shop-built version from plywood, construction lumber, and heavy-duty hinges typically runs $50 to $100 in materials and can be sized to match your exact saw. The tradeoff is time and a bit of trial and error getting the hinge placement and leg height right on the first attempt, but it’s a straightforward weekend project for anyone comfortable with basic measuring and assembly.
Hybrid Solutions
Some woodworkers combine a store-bought folding leg frame or workbench base with a custom plywood or MDF top cut to match their saw’s exact height. This splits the difference: you get a reliable folding mechanism without engineering one yourself, while still sizing the top to your specific shop layout.
How to Choose the Right One
- Size and height: Measure your saw’s table height and width first. The outfeed surface should sit flush with, or up to about 1/16″ below, the saw table so boards slide across the gap without catching. Make the outfeed table at least as wide as your saw’s table, wider if you regularly cut full sheets.
- Material: Steel or aluminum frames are durable but heavier to move; plywood is lighter, cheaper, and easier to size for a DIY build. Melamine-coated plywood or MDF gives a slicker surface for sliding sheet goods.
- Folding mechanism: Look for hinges or a leg-lock rated for the weight you’ll actually put on the table, not just the table’s own weight, and check that the lock holds firmly with no play once open.
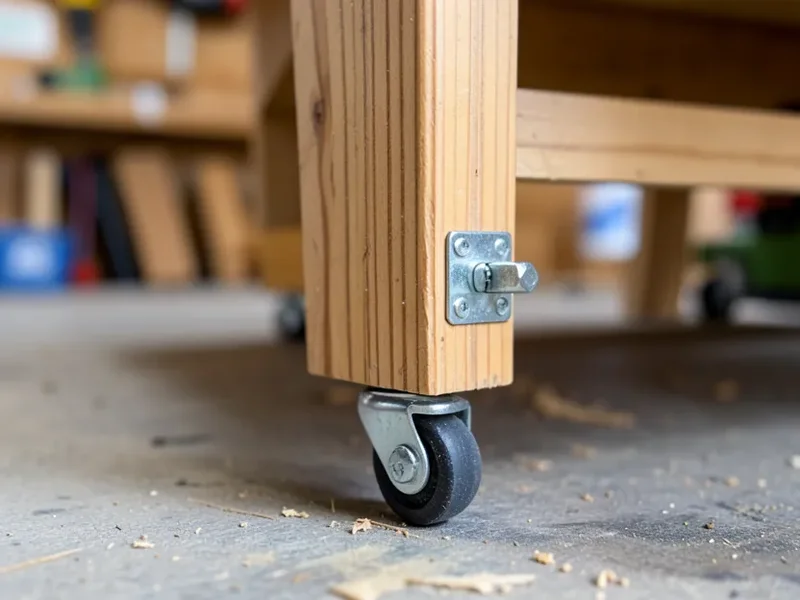
- Portability: Locking casters matter if you rearrange the shop often or need to roll the saw away from a wall to access the outfeed side.
- Weight capacity: A stack of full sheets of 3/4″ plywood can weigh 70+ lbs each. Check the stated capacity before assuming a table will hold multiple sheets at once.
If what you actually need is a base to hold the saw itself steady, rather than a catch surface behind it, that’s a different project. Our guide to building a table saw stand covers that separately.
Building a Basic Folding Outfeed Table
A simple version costs roughly $50-$75 in materials and fits most table saws with an afternoon of work.
Materials
- 3/4″ plywood, sized to your saw’s width by 24″-30″ deep for the top
- 2×4 lumber for the frame and legs (four 8′ lengths is usually enough)
- Two heavy-duty hinges rated for at least the table’s finished weight
- Four locking casters, 2″ or larger
- Wood screws (2″ and 3″) and wood glue
- Paint or polyurethane for finishing (optional)
Tools Needed
- Table saw or circular saw for rough cuts
- Drill/driver
- Clamps
- Level and measuring tape
- Square
Steps
- Measure the saw. Record the table height and width, and decide on the outfeed table’s finished dimensions—wide enough to catch full sheets if that’s a regular cut.
- Cut and sand the top. Cut the plywood to size and sand the surface smooth so it won’t mark or catch workpieces.
- Build the frame. Assemble a rectangular 2×4 frame for the underside of the top, gluing and screwing the corners square.
- Make the legs. Cut legs about 1″ shorter than the saw’s table height to account for caster height, and mount two of them on a folding hinge so they swing down and lock.
- Attach to the saw or wall. Mount hinges to the back edge of the saw’s frame (or a wall bracket, for a wall-mounted version) so the table folds up flush when not in use.
- Add casters. Mount locking casters to the legs for mobility, if the design calls for them.
- Level and test. Check the surface with a level against the saw table, shim as needed, then test by feeding a full sheet across the gap before trusting it with a real cut.
- Finish. Paint the frame and seal the top if you want extra durability against moisture and wear.
Take extra time on the measuring steps. A height mismatch of even 1/8″ between the saw table and the outfeed surface is enough to catch the trailing edge of a board mid-cut.
Installing a Store-Bought Model
- Unpack and inventory the parts against the included hardware list before starting assembly.
- Attach the mounting brackets to the back of the saw’s frame per the manufacturer’s instructions, aligning them with the saw table’s height.
- Adjust the legs using the adjustable feet until the outfeed surface reads level with the saw table.
- Test the fold and lock with a scrap piece of MDF or plywood before running a real project through it.
- Fine-tune the height to close any gap where thin offcuts could catch or drop through.
Most store-bought units install in under an hour. Keep the saw’s manual on hand to confirm its exact table dimensions, and check the outfeed table’s rated weight capacity if you regularly work with hardwood or thick sheet stock.
Maintenance
- Clear sawdust from hinges and tracks regularly—buildup there is what makes a folding mechanism start to bind.
- Recheck alignment every few months with a straightedge against the saw table; screws and bolts loosen with vibration over time.
- Lubricate moving hardware like hinges and rollers with a dry silicone spray rather than a heavy oil that attracts dust.
- Inspect the surface for wear. A plywood top that’s picked up dings or splinters after a year of use is worth sanding and resealing before it starts marking workpieces.
- Store it properly folded so hinges aren’t left under stress, and confirm wall brackets stay tight if it’s a wall-mounted design.
Common Problems and Fixes
- Gap between saw and table: A visible gap lets small cutoffs drop through and can catch thin stock. A thin strip of wood or a rubber transition strip across the gap solves it.
- Wobbly legs: Diagonal bracing between the legs and frame stiffens a table that flexes under load.
- Not enough room even folded: A wall-mounted, drop-down design frees more floor space than a leg-based table that folds against the saw.
- Height misalignment: Boards binding at the seam usually means the outfeed table is too high or too low. Adjustable feet or shims fix this without rebuilding the table.
Frequently Asked Questions
What Is the Ideal Height for a Folding Outfeed Table?
Flush with your table saw’s surface, or up to about 1/16″ lower so boards slide off the saw table onto the outfeed table without catching on a lip. Measure your specific saw’s table height rather than assuming a standard measurement, since it varies by model.
Can I Use a Folding Outfeed Table With a Portable Table Saw?
Yes, as long as the table’s mounting brackets or frame are compatible with your saw’s build, or you’re using a freestanding roller stand instead of one that bolts directly to the saw. Check the stated weight capacity too, since portable jobsite saws are lighter than cabinet saws and can shift under an unbalanced load.
How Much Weight Can a Folding Outfeed Table Hold?
It depends entirely on the build. A basic DIY plywood-and-2×4 table typically handles 100-150 lbs, while sturdier store-bought models are often rated for 250 lbs or more. Check the manufacturer’s spec sheet, or test a DIY build with scrap stock before loading it with a full sheet of hardwood plywood.
Are Folding Outfeed Tables Hard to Build for Beginners?
No. A basic version only needs a circular or table saw, a drill, and careful measuring—there’s no joinery more advanced than screwing a frame together square. Following a simple plan and double-checking your saw’s dimensions before cutting anything is the main thing that determines whether it fits right the first time.
Can a Folding Outfeed Table Double as a Workbench?
For light tasks like sanding or glue-ups, yes, if the frame is sturdy enough. For heavy pounding, clamping, or anything that puts sideways force on the legs, a dedicated workbench is the better tool—an outfeed table’s legs and hinges aren’t usually built for that kind of load.
Bottom Line
A folding outfeed table solves the real safety and accuracy problem of cutting long stock alone, without permanently giving up floor space. A store-bought model gets you there in under an hour for $100-$400; a DIY build costs less and takes a weekend, but lets you size it exactly to your saw and shop. Either way, matching the outfeed height to your saw’s table is the detail that determines whether it actually helps.
Sponsored / affiliate links. As an Amazon Associate I earn from qualifying purchases. I may earn additional commission from eligible campaigns.
 VEVOR Portable Table Saw Stand, 350 lbs Load Capacity, Rolling Foldable Table Saw with 8 Inches Rubber Wheels, Heavy Duty Construction, Easy Storage, Universal for Most Brands of Table Saws
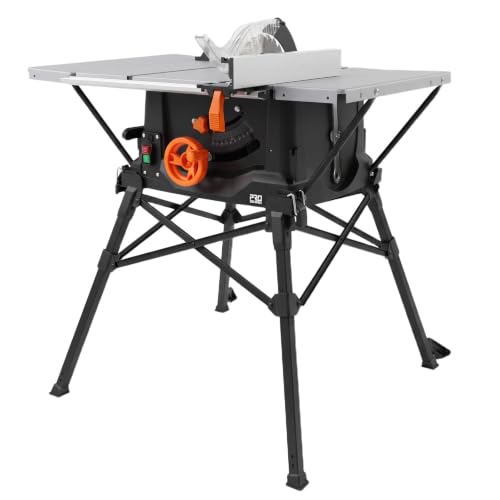 10-Inch Portable Table Saw with Folding Stand, 0-45° Bevel Cut, 15A 5000RPM, Adjustable Blade Height, Multifunctional Benchtop Wood Saw for DIY & Woodworking