10 Free Scroll Saw Patterns for Beginners (Real Sources)
Ten free, beginner-friendly scroll saw patterns and the sites that still actually offer them for free are below, along with the blade size that keeps each cut clean instead of splintered. Most “free pattern” roundups either bury dead links in the first paragraph or skip the blade question entirely, and a pattern cut with the wrong blade chips on the underside no matter how good the design is. This list sticks to project types with real free sources behind them, plus the blade numbers and wood picks each one actually needs.
Where to Actually Find Free Scroll Saw Patterns
Best Blade Pack For Pattern Cutting
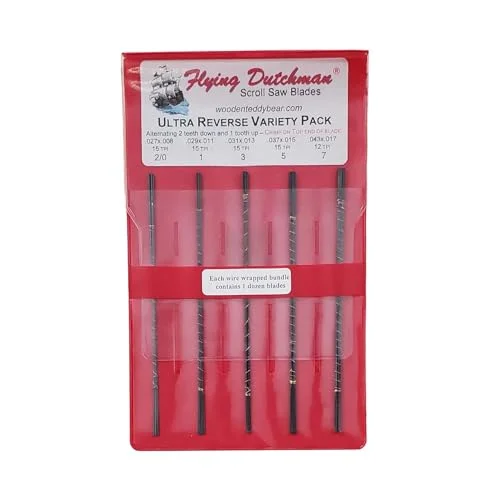 |
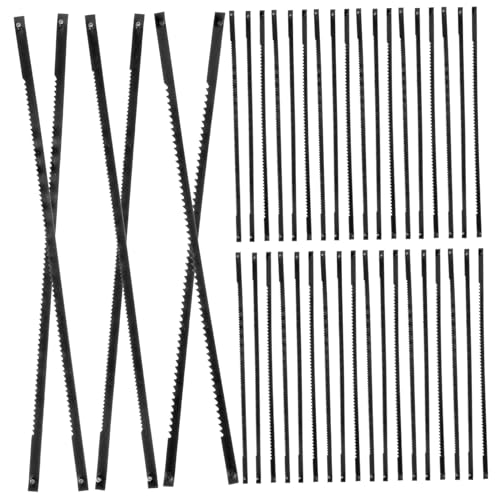
Flying Dutchman Ultra Reverse Variety Pack – $30.79 One dozen each of sizes #2/0, #1, #3, #5, and #7, exactly the range the patterns below need, so you’re never stuck using one blade for both tight curves and thick stock.
|
Four sites still keep genuinely free pattern libraries online, no email gate and no subscription required to download:
- Steve Good’s Scrollsaw Workshop – the largest free catalog on the web, over 5,000 patterns built up over two decades. Steve passed away in March 2026, so the catalog isn’t growing anymore, but everything already posted is still free to download at full resolution. We cover the full catalog and how to navigate it in our Steve Good patterns guide.
- Scroll Saw Artist (scrollsawartist.com) – a library organized by skill level, easy to browse by project type rather than hunting through a blog archive.
- CraftsmanSpace (craftsmanspace.com) – a plain, categorized list of free scroll saw and fretwork pattern downloads, no account needed.
- Northern Nester (northernnester.com) – 150+ free printable patterns split by difficulty, no payment wall on any of them.
SunCatcherStudio.com also has a large scroll saw section with SVG, PNG, and JPEG downloads across skill levels, though its server occasionally blocks automated traffic, so search for it directly rather than clicking through a link here. Bookmark two or three of these instead of just one. A site can go down for maintenance or reorganize its structure, and having a backup means a stalled project doesn’t sit for a week waiting on a single source.
10 Beginner Patterns Worth Cutting First
These are project categories, not a single fixed design, since the sites above each have their own versions of every one of these. Search the category name on any of the four sources and you’ll find several options to pick from.
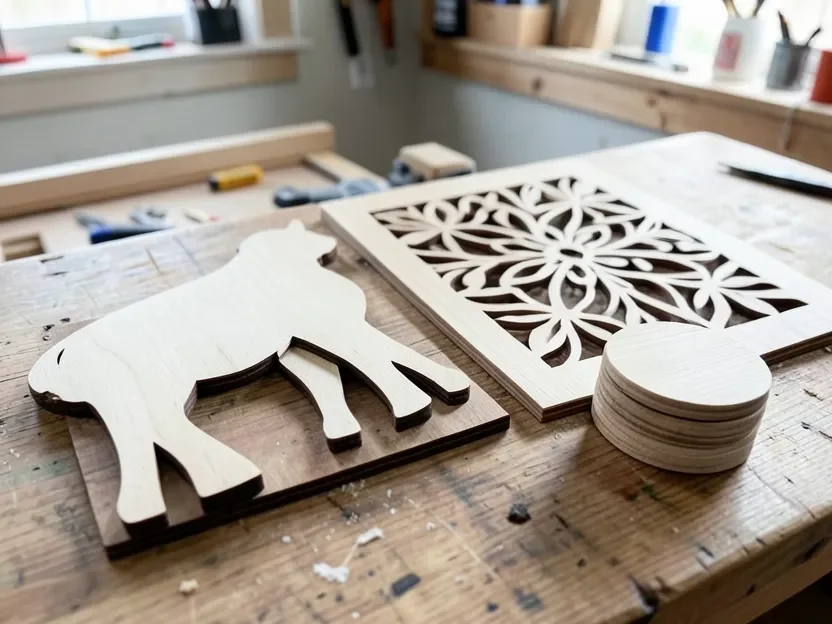
- Animal silhouettes. The easiest true starter project. Cut from 1/4-inch Baltic birch plywood with a #3 or #5 blade, a simple outline like a cat, dog, or bird takes 20 to 30 minutes and has almost no interior cuts to fumble.
- Layered wall art / floral panels. A single geometric or floral panel with interior negative space needs a fine #2/0 or #1 blade for the tight curves. Go slow on the inside cuts; rushing a floral pattern is the single most common way beginners snap a fine blade.
- Personalized name signs. Cursive, connected-letter fonts cut in one continuous pass and are actually easier for a beginner than block letters. Block letters need small “bridge” tabs left inside closed shapes like the center of an O or a B, or the center falls out mid-cut.
- Holiday ornaments. Thin stock, 1/8-inch plywood or basswood, with a #1 blade. Small and fast, which makes ornaments a good batch project for practicing the same cut ten times in an evening.
- Picture frames. Use 3/8 to 1/2-inch pine or oak so the frame has enough rigidity to hold a photo without warping. A #5 blade handles that thickness cleanly. Reinforce the corners with glue and a brad, not glue alone.
- Key and jewelry holders. Half-inch hardwood gives hooks and pegs something to bite into. Pilot-drill the hook holes before final assembly so the wood doesn’t split when you drive the hardware in.
- Coasters and trivets. Cut from 3/8-inch hardwood rounds. Seal with food-safe mineral oil or a food-safe polyurethane, not a standard interior varnish, since these will sit under drinks and hot dishes.
- Puzzle designs. Interlocking segmented cuts need one continuous entry cut with a fine blade, #2/0 or #1, so the kerf width stays identical all the way through. A blade change mid-cut is the usual reason puzzle pieces stop fitting.
- Garden stakes and plant markers. Use exterior-grade plywood or cedar with a #5 or #7 blade for the thicker stock, then finish with exterior-rated polyurethane or spar varnish, never an interior finish, since these live outside year-round.
- Segmented and layered 3D pieces. Stacking cut layers to build depth is a step up in difficulty and a different skill than a flat silhouette. If the first nine go well, our free 3D scroll saw patterns guide covers the segmentation technique and where to find layered designs.
Matching the Blade to the Pattern
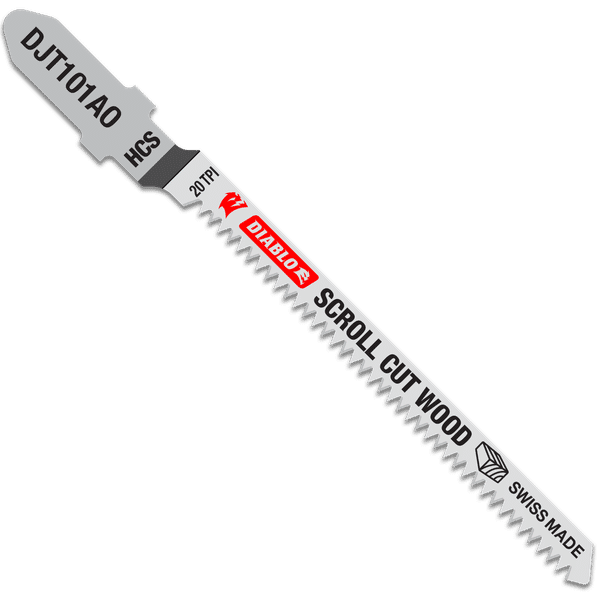
Scroll saw blades are numbered roughly from #2/0 (finest) up to #12 or higher (coarsest), and most pattern roundups skip this entirely, which is exactly why so many beginner cuts come out chipped. A #2/0 or #1 blade is for tight interior curves and detail work, the floral panel and the puzzle pieces above. A #3 or #5 blade is the general-purpose choice for silhouette work in 1/4-inch plywood. A #7 or higher is for thicker hardwood, 3/4-inch and up, or fast rough cuts where fine detail doesn’t matter, like a garden stake blank. Keeping one of each size on hand, rather than a single all-purpose blade, is the difference between a pattern that looks like the picture and one with torn edges on every curve.
Printing and Transferring a Pattern Without Ruining It
Print at 100% scale, not “fit to page,” and check the printed ruler mark on the pattern sheet against a real ruler before cutting anything. A pattern printed even 5% small throws off every hole and joint on a puzzle or a multi-piece design. Spray adhesive holds a pattern flat against the wood far better than tape for anything with fine interior cuts, since tape can lift at the edges mid-cut and let the paper shift. For the full walkthrough on scaling, transfer methods, and removing the paper afterward without tearing the surface, see our printable patterns guide.
Safety and Common Beginner Mistakes
- Skipping eye protection. Sawdust kicks up directly at eye level on a benchtop scroll saw. Goggles, not just safety glasses, block the side spray.
- Not checking blade tension. A properly tensioned blade gives a light, high-pitched “ping” when flicked with a fingernail, not a dull thud. A loose blade wanders off the line on curves.
- Rushing tight curves. Forcing the wood through a curve faster than the blade wants to cut is the most common cause of a snapped fine blade, especially on #2/0 and #1 sizes.
- Using one blade for every pattern. A #5 blade can technically cut a fine floral interior, but it tears the detail instead of following it cleanly. Match the blade to the pattern, not the other way around.
Can You Sell What You Make From a Free Pattern?
It depends on the specific site, and this is worth checking before selling finished pieces at a craft fair or online. Most free-pattern sites license the pattern file itself for personal, non-commercial use only, meaning printing and cutting it for yourself is fine but redistributing the file is not. Selling the physical piece you cut is a separate question from redistributing the pattern, and policies vary site to site, some explicitly allow selling finished work, others don’t address it at all. Read the specific terms on whichever site a pattern came from rather than assuming one site’s rules apply to all of them.
Once the basics above feel comfortable, our advanced scroll saw patterns guide covers fretwork, stack-cutting multiples, and portrait patterns for the next step up.
Frequently Asked Questions
What are free scroll saw patterns?
Free scroll saw patterns are downloadable, printable design templates that a woodworker traces or adheres onto a wood blank before cutting it out on a scroll saw. They’re typically distributed as PDF, SVG, PNG, or JPEG files.
Where can I find legitimate free scroll saw patterns?
Steve Good’s Scrollsaw Workshop, Scroll Saw Artist, CraftsmanSpace, and Northern Nester all host large libraries of genuinely free patterns with no email gate or subscription required. SunCatcherStudio.com also has a large free section.
What blade size should I use for scroll saw patterns?
Use a #2/0 or #1 blade for tight interior curves and fine detail, a #3 or #5 blade for general silhouette work in 1/4-inch plywood, and a #7 or higher for hardwood over 3/4-inch thick or fast rough cuts.
Can I sell items made from free scroll saw patterns?
It depends on the specific site’s license terms. Most allow personal use of the pattern file itself but restrict redistributing the file, while policies on selling the finished physical piece vary by site. Check the terms on the specific source before selling.
Are scroll saw patterns suitable for beginners?
Yes. Simple silhouettes, ornaments, and coasters are all beginner-friendly starting points. Match the blade size to the pattern’s detail level and the mistakes that trip up beginners, like snapped fine blades and torn interior curves, mostly go away.
Sponsored / affiliate links. As an Amazon Associate I earn from qualifying purchases. I may earn additional commission from eligible campaigns.