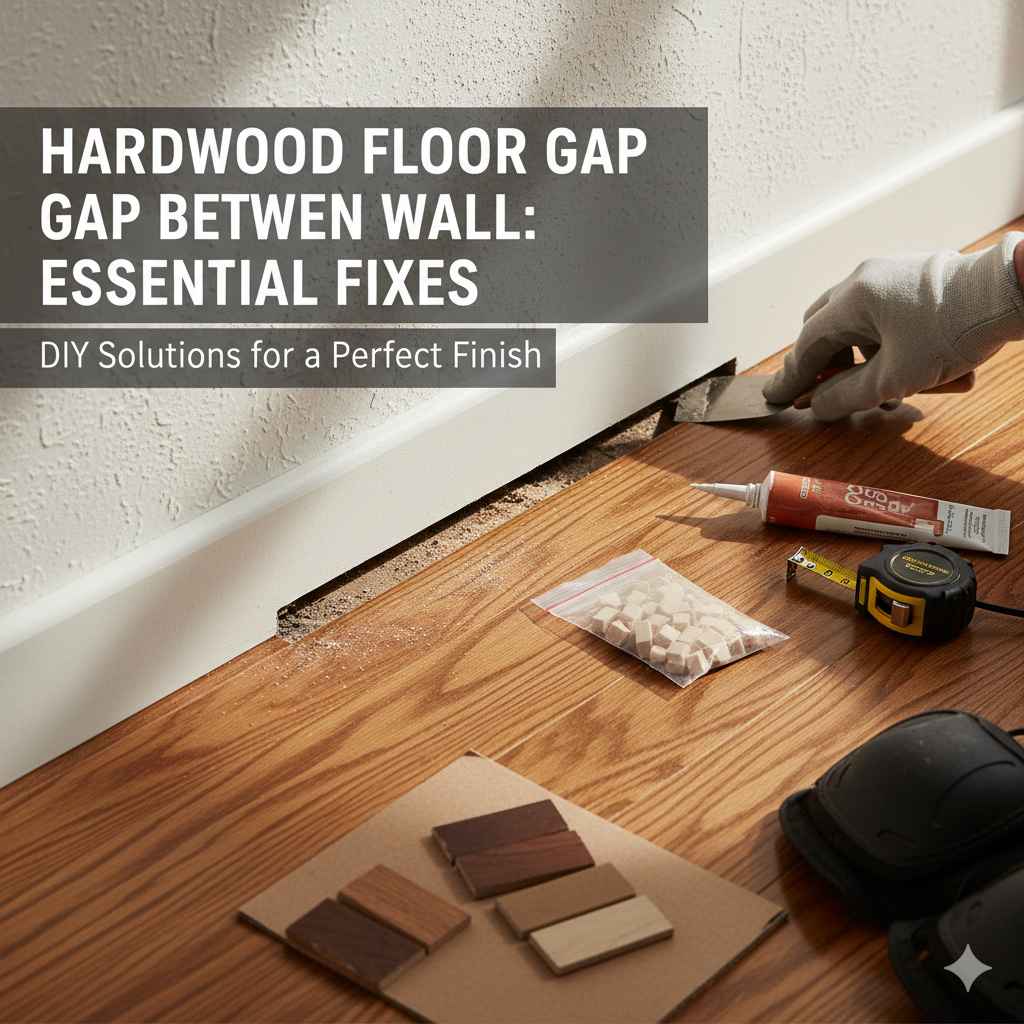
Hardwood Floor Gap Between Wall: Essential Fixes
A hardwood floor gap next to a wall is common due to wood’s natural expansion. This guide offers easy fixes to close these unsightly gaps, protecting your floors and improving your home’s look. We’ll cover simple DIY solutions to keep your wood floors beautiful and your home cozy.
Hey there, DIY friends! Md Meraj here. It’s a common sight in many homes: that little gap that appears between your beautiful hardwood floors and the wall. It can look a bit unfinished, letting in dust, and sometimes even feel a little drafty. But don’t worry! This happens because wood is a natural material, and it expands and contracts with changes in temperature and humidity. It’s totally normal, and more importantly, it’s something you can fix yourself. With a few simple tools and a little patience, you can easily address these gaps, making your floors look fantastic again. Let’s dive into how we can tackle this common home improvement task together, step by step, so you can feel confident in bringing a polished look to your home!
We’ll go over why these gaps happen, the tools you’ll need, and a few different methods to fill them. By the end of this, you’ll have your hardwood floors looking snug and seamless against your walls!
Why Do Wood Floors Have Gaps Next to Walls?
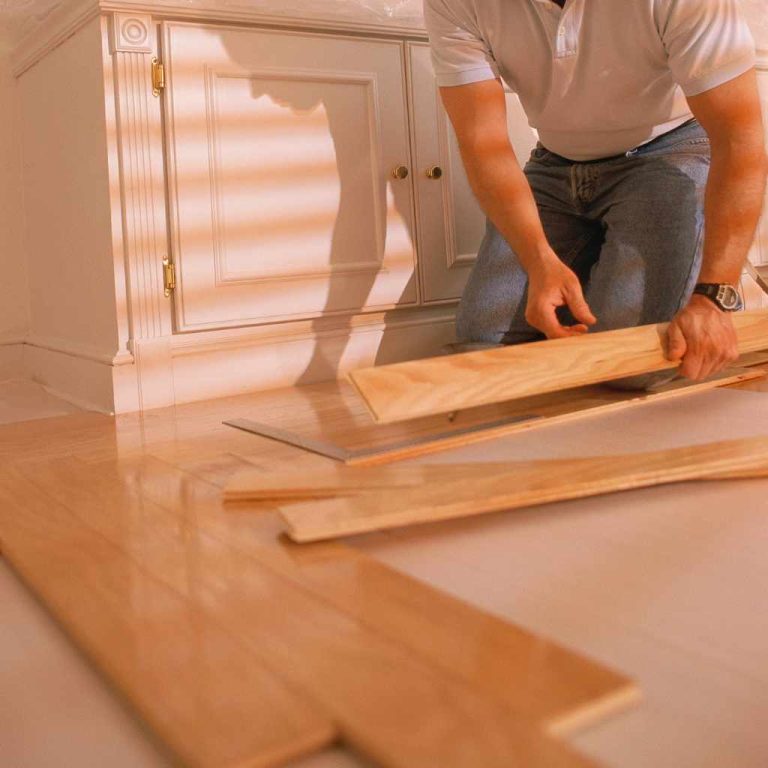
Think of your hardwood floors like a living thing. Wood naturally breathes, meaning it absorbs moisture from the air and then releases it. When the humidity goes up, like in the summer or a steamy bathroom, the wood planks absorb a bit of moisture and swell. When the humidity drops, like in the winter when your heating system is running, the wood releases that moisture and shrinks.
This constant cycle of expansion and contraction can push the floorboards outwards. Since the floor needs somewhere to go, it presses against the walls. To prevent the floor from buckling upwards (called “cupping” or “crowning”), installers intentionally leave a small gap around the perimeter of the room. This gap is usually hidden by the baseboards or quarter-round molding. So, that gap is actually a good thing – it’s there to protect your floor!
However, sometimes this gap can become larger than intended, or the molding might have shifted, exposing it. This is where our DIY fixes come in. We want to close that gap to maintain the aesthetic appeal and prevent dust bunnies from making a home there.
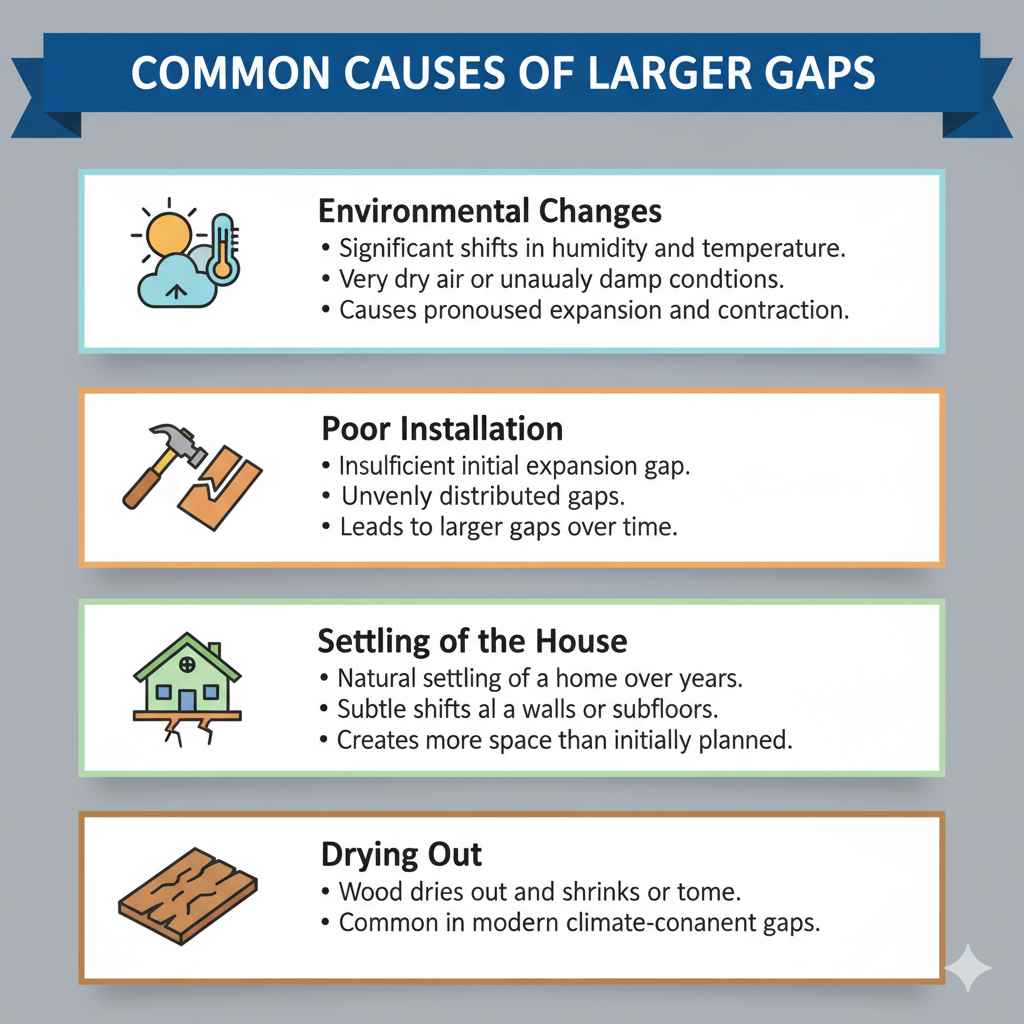
Common Causes of Larger Gaps
- Environmental Changes: Significant shifts in humidity and temperature are the primary culprits. Very dry air or unusually damp conditions can cause more pronounced expansion and contraction.
- Poor Installation: If the initial expansion gap wasn’t sufficient or was unevenly distributed, it might lead to larger gaps appearing over time.
- Settling of the House: Sometimes, the natural settling of a home over years can subtly shift walls or subfloors, creating more space than initially planned.
- Drying Out: Wood can dry out and shrink significantly over time, especially in modern, climate-controlled homes, leading to permanent gaps that don’t close back up.
Gathering Your Tools and Materials
Before we start fixing, let’s make sure we have everything we need. Having the right tools makes the job smoother and safer. Here’s a list of common items for filling those gaps. The specific tools might vary slightly based on the method you choose.
Essential Tools:
- Safety Glasses: Always protect your eyes!
- Gloves: To keep your hands clean and protected.
- Putty Knife or Scraper: For cleaning out loose debris.
- Caulk Gun: If you’re using a caulk-based filler.
- Vacuum Cleaner or Broom: For a clean workspace.
- Painter’s Tape: To protect surrounding surfaces.
Materials for Filling the Gap:
- Wood Filler: Available in many colors to match your floor.
- Caulk (Paintable Acrylic Latex): Specifically designed for gaps and trim.
- Rope or Burlap Strips: For a traditional method.
- Wood Glue: To secure rope or for minor gap filling.
- Scrap Wood Shims: For precise gap filling.
- Sandpaper (Medium and Fine Grit): For smoothing.
- Paint or Stain (to match floor): For touch-ups if needed.
Beginner-Friendly Fixes for Hardwood Floor Gaps
Let’s explore some approachable ways to fix those spaces between your floor and wall. We’ll start with the easiest methods and move to slightly more involved ones.
Method 1: Using Wood Filler or Caulk
This is one of the simplest and most effective ways to fill small to medium gaps. Wood filler is great for slightly larger imperfections, while paintable caulk is perfect for thinner, more consistent gaps.
Step-by-Step Guide:
- Clean the Gap: First, use a putty knife or scraper to gently remove any loose debris, dust, or old filler from the gap. You want a clean surface for the new filler to adhere to. A vacuum cleaner is perfect for sucking out remaining dust.
- Test the Color (Wood Filler): If using wood filler, it’s crucial to get a color match. Most fillers come in natural wood tones. You can buy sample sizes or dab a bit onto a scrap piece of wood and let it dry to see the true color. Sometimes, mixing two colors can give you a closer match. A good resource for understanding wood colors is The Wood Database, though focus on common flooring types like oak or maple.
- Apply the Filler/Caulk:
- For Wood Filler: Squeeze a small amount of wood filler onto a clean putty knife. Press it firmly into the gap, slightly overfilling it. The filler will shrink a little as it dries. Work in sections if the gap is long.
- For Caulk: Cut the tip of the caulk tube at a 45-degree angle, making a small opening. Puncture the inner seal. Place the tip into the gap and apply steady pressure to the caulk gun, filling the gap evenly. If the gap is very thin, you might only need a bead of caulk.
- Smooth the Surface:
- For Wood Filler: While the filler is still wet, use your putty knife to smooth it flush with the floor and wall. Aim for a smooth transition.
- For Caulk: After applying, you can wet your finger (or a damp cloth) and run it lightly over the caulk bead to smooth it and remove any excess. This gives it a clean, professional look.
- Allow to Dry: Let the wood filler or caulk dry completely according to the manufacturer’s instructions. This can take anywhere from a few hours to overnight.
- Sand and Finish (Wood Filler Only): Once the wood filler is fully dry, lightly sand the area with medium-grit sandpaper, followed by fine-grit sandpaper, until it’s perfectly smooth and flush with the floor. If you sanded too aggressively or the color isn’t quite right, you can apply a thin coat of stain or paint to match your floor.
- Caulk Finishing: For paintable caulk, once dry, you can paint over it to match your baseboards or wall color for a seamless finish. If filled against the wall trim, this paint step is usually necessary.
Method 2: The Rope or Burlap Trick
This is a clever, old-school method that works well for slightly wider gaps where filler might crack or be too costly. It uses pliable material to fill the void.
Step-by-Step Guide:
- Clean the Gap: As always, start by cleaning out any dust and debris from the gap.
- Prepare the Rope/Burlap: Cut pieces of natural fiber rope (like cotton or jute) or strips of burlap that are long enough to span the gap. The thickness should be slightly more than the gap’s width so it fits snugly.
- Apply Wood Glue (Optional but Recommended): You can dip one end of the rope/burlap into wood glue. This helps it adhere better and provides some stability.
- Hammer the Rope/Burlap into Place: Using a hammer and a blunt-ended tool (like a screwdriver shaft or even the handle of your hammer), carefully tap and push the rope or burlap deep into the gap. You want to pack it in tightly so it fills the space completely. The goal is to create a snug, consistent filling.
- Trim Excess: Once the gap is adequately filled, use a sharp utility knife or scissors to carefully trim any excess rope or burlap that sticks out, making it flush with the floor surface.
- Apply Wood Filler (Optional): For a smoother finish, you can apply a thin layer of wood filler over the packed rope/burlap. This will cover the fibers and create a uniform surface. Let it dry, then lightly sand.
- Stain or Paint: If you used wood filler over the top, sand it smooth and then match the color with stain or paint.
This method is particularly effective because the rope/burlap can flex slightly with the wood, reducing the chance of the filler cracking over time.
Method 3: Using Wood Shims for Wider Gaps
If you have a significant gap, a standard shim can be a beefier solution. This method requires a bit more precision but is very effective for larger voids.
Step-by-Step Guide:
- Measure the Gap: Carefully measure the width and depth of the gap you need to fill.
- Select and Prepare Shims: Purchase thin, solid wood shims (not the composite type used for framing). You might need to carefully rip them lengthwise with a table saw (or ask a lumberyard to do it) to get pieces that are the right thickness for your gap. Alternatively, you can use multiple thin shims layered together.
- Cut to Fit: Cut the shim pieces to the exact length of the gap. You want a snug fit.
- Apply Wood Glue: Apply a generous amount of wood glue to the shim piece(s) and also into the gap itself.
- Insert the Shim: Carefully tap the glued shim into the gap using a hammer. Ensure it’s seated firmly and as flush as possible with the floor surface. If using multiple shims, layer them and tap them in firmly.
- Clamp (Optional): For very tight fits, you can use a clamp to hold the shim in place while the glue dries.
- Trim and Sand: Once the glue is completely dry, use a sharp utility knife or a oscillating multi-tool with a flush-cut blade to trim any excess shim material that protrudes. Then, sand the area smooth with medium and fine-grit sandpaper.
- Finish: Stain or paint the shimmed area to match your existing floor.
Safety First During the Process
No matter which method you choose, safety is paramount. Woodworking, even simple DIY projects, comes with risks. Always remember:
- Wear Eye Protection: Dust, debris, and even stray bits of filler can fly. Safety glasses are a must.
- Use Sharp Tools Carefully: Knives, hammers, and sanding tools can cause injury if not handled properly. Keep your fingers clear of the cutting or hammering path.
- Ventilation: If you’re using strong glues or stains, ensure the area is well-ventilated. Open windows or use fans.
- Read Product Labels: Always follow the manufacturer’s safety and usage instructions for any adhesives, fillers, or finishes.
Preventing Future Gaps: Maintenance Tips
Once you’ve fixed those gaps, you’ll want to keep them from coming back. Here are a few maintenance tips:
- Control Humidity: This is the most important factor! Use a dehumidifier in humid months and a humidifier in dry months to maintain a stable humidity level. Aim for a consistent range, typically between 35% and 55%, which is comfortable for both your floors and your family. Resources like the EPA’s Indoor Air Quality site offer great general advice on controlling your home’s environment.
- Avoid Excess Moisture: Wipe up spills immediately. Don’t let pets’ water bowls sit on the wood floor. Use mats at entryways to catch water from shoes.
- Regular Cleaning: Dust and dirt can get trapped in gaps, but also can scratch your floor’s finish. Sweep or vacuum regularly with a soft brush attachment.
- Inspect Baseboards and Trim: Occasionally check if your baseboards or quarter-round molding are still securely attached. A loose piece can expose the gap.
Understanding Wood Movement
To help visualize how humidity affects your floors, consider this simplified chart. Remember, these are approximate values and can vary by wood species:
| Environmental Condition | Wood Reaction | Resulting Gap Effect |
|---|---|---|
| High Humidity (Summer, Steamy Room) | Wood planks absorb moisture and expand. | Planks push outwards. Gaps might appear to close or become tighter near walls. |
| Low Humidity (Winter Heating) | Wood releases moisture and shrinks. | Planks pull inwards, potentially exposing or widening gaps near walls. |
| Stable Humidity | Minimal expansion/contraction. | Gaps remain consistent or very small. |
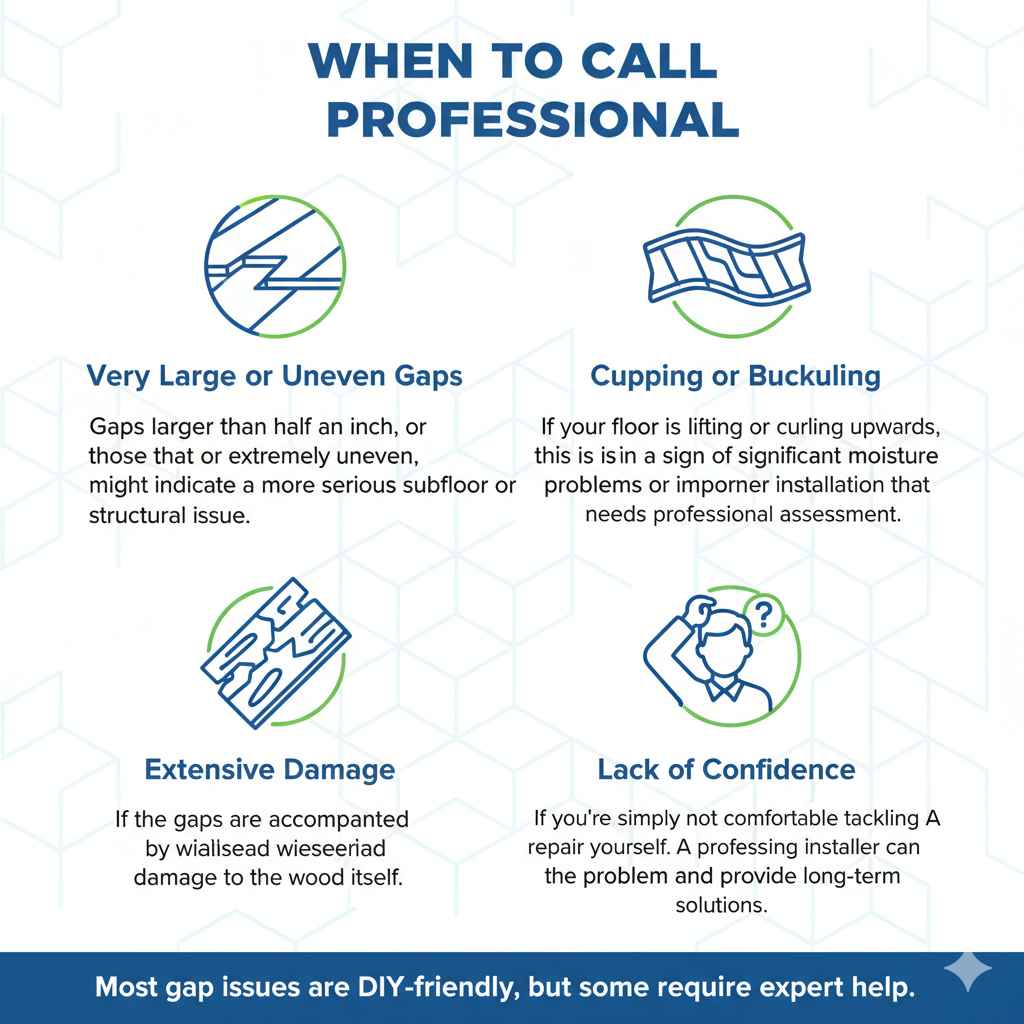
When to Call a Professional
While most gap issues are DIY-friendly, there are times when it’s best to call in the experts:
- Very Large or Uneven Gaps: Gaps larger than half an inch, or those that are extremely uneven, might indicate a more serious subfloor or structural issue.
- Cupping or Buckling: If your floor is lifting or curling upwards, this is a sign of significant moisture problems or improper installation that needs professional assessment.
- Extensive Damage: If the gaps are accompanied by widespread damage to the wood itself.
- Lack of Confidence: If you’re simply not comfortable tackling the repair yourself. A professional flooring installer can assess the problem and provide long-term solutions.
Frequently Asked Questions (FAQ)
Q1: How wide of a gap can I fill with wood filler?
A: For typical wood fillers, it’s best to use them for gaps up to about 1/4 inch wide. For larger gaps, you might need to apply multiple thin layers, allowing each to dry, or consider a more robust method like using shims or specialized gap fillers that are designed for wider spaces.
Q2: Can I paint over wood filler or caulk?
A: Yes, most wood fillers and paintable acrylic latex caulks are designed to be painted or stained. Always check the product label before purchasing to ensure it’s suitable for finishing. For wood filler, make sure it’s completely dry and sanded smooth for the best paint adhesion.
Q3: Will filling the gap affect my floor’s ability to expand and contract?
A: The expansion gaps at the perimeter are designed to be hidden by molding. When you fill a small gap between the floor and the wall, you are essentially making the molding fit more snugly. As long as you aren’t forcing wood directly against the wall or creating a situation where the floor is tightly wedged, a properly filled small gap (especially with flexible caulk or rope) shouldn’t prevent normal, minor wood movement.