Homemade DIY Tool Storage: 9 Space-Saving Ideas That Actually Hold Up
A cluttered workbench costs you more than time. Every minute spent digging through a junk drawer for a 10mm socket is a minute you’re not building anything. The fix isn’t buying a $400 tool chest – it’s matching the storage method to how you actually work, using materials most of us already have lying around a garage.
Below are the methods that hold up over years of real shop use, not just a weekend of looking tidy – plus the actual dimensions and hardware you need so the project doesn’t fall off the wall six months in.
Start With an Honest Inventory
Best Pegboard Starter Kit
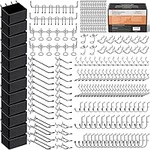 |
INCLY 278-Piece Pegboard Accessories Kit – $21.99 Fits standard 1/4-inch or 1/8-inch pegboard and includes bins for small hardware, not just hooks – covers most of the layout ideas below in one order.
|
Before cutting a single board, pull every tool out of drawers, buckets, and that one coffee can and lay them on the floor. Sort into three piles: tools used weekly, tools used a few times a year, and tools you haven’t touched since you bought them. This isn’t busywork – it decides layout. Weekly tools (tape measure, pencil, cordless drill, combination square) need to be within arm’s reach of your main work surface. Seasonal tools (post-hole digger, paint sprayer, extension ladder hardware) can live on a top shelf or in a bin against the back wall. Anything in the third pile is worth reconsidering – a tool you haven’t used in two years is either wrong for your projects or a duplicate of something else you own.
Pegboard and French Cleats: the Two Systems That Actually Hold Up
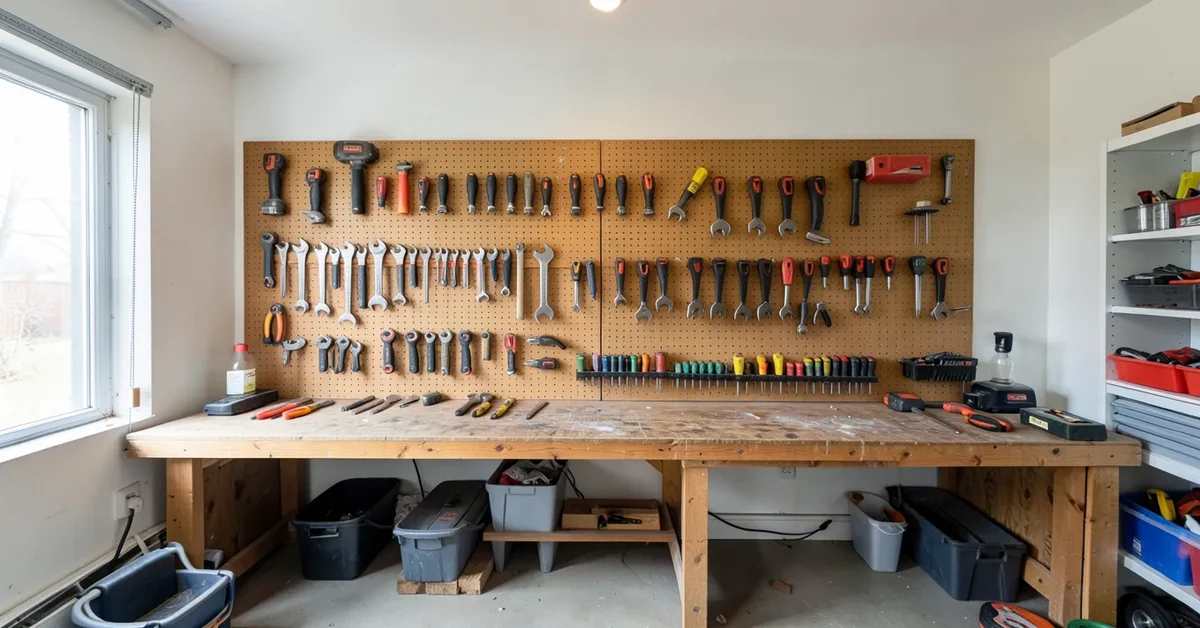
Standard pegboard uses 1/4-inch holes spaced 1 inch apart on center – that spacing matters because it’s what every off-the-shelf hook is sized for. Mount the panel at least 1 inch off the wall (use furring strips or spacers) so hooks have clearance to seat fully; a pegboard screwed flat against drywall won’t let the hooks lock in, and they’ll pop off under load. A standard 1/8-inch hardboard pegboard holds light hand tools fine, but for hammers, drills, or anything over a couple of pounds, use the thicker 1/4-inch tempered version.
French cleats are the better system if you want to rearrange storage often, because the whole tool holder lifts off the wall instead of just the tool. A cleat is two strips of 3/4-inch plywood ripped at a 45-degree angle on a table saw – one strip screws to the wall (bevel facing up and out), the matching strip screws to the back of a shelf, bin holder, or tool caddy (bevel facing down and in). Hang the wall strip into studs every 16 inches, not just into drywall anchors; a loaded cleat rail carries real weight. Once the wall cleat is up, you can build individual holders for specific tools – a drill caddy, a clamp rack, a router base – and swap them in and out without touching a screw.
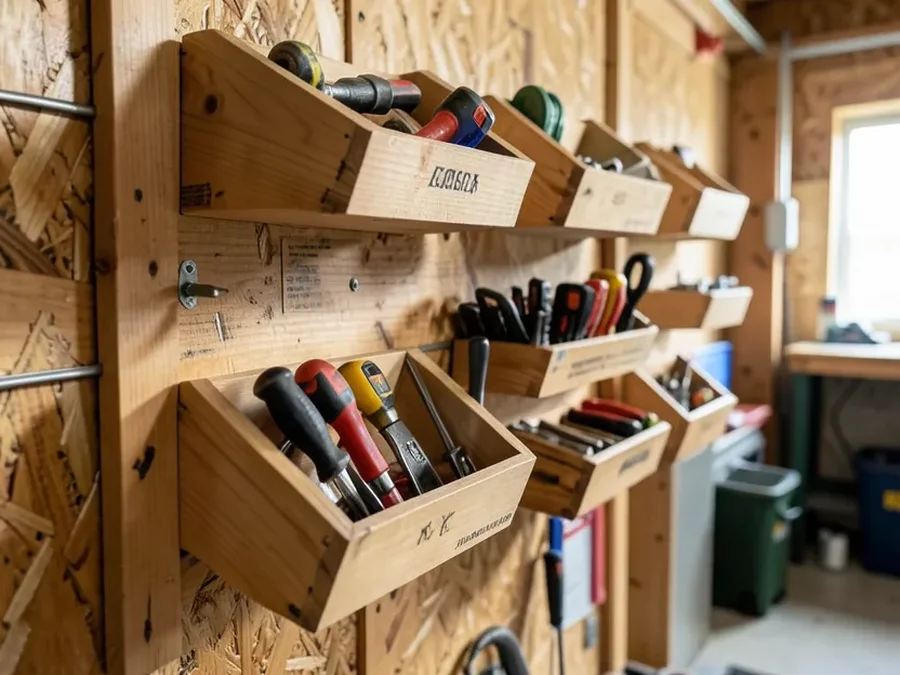
Magnetic tool strips are worth adding alongside either system, but only for steel tools – they won’t hold aluminum levels or brass fittings. A 24-inch magnetic strip mounted at eye level next to your bench keeps screwdrivers, chisels, and wrenches visible and grabbable with one hand, which matters more than it sounds like once you’re mid-project with glue setting.
Repurposing What You Already Own
Mason jars mounted lid-first under a shelf are still one of the best ways to store loose hardware – screw the metal lid to the underside of the shelf, then thread the jar up into it. You see the contents through the glass, and the jar twists off without needing to reach behind anything. For bulkier items, an old kitchen cabinet hung on the wall (studs, not drywall anchors, if it’s holding anything heavier than screws) turns into closed tool storage that keeps dust off blades and bits.
A length of rain gutter screwed horizontally to a wall makes a surprisingly good clamp rack – bar clamps hang by their heads and don’t roll around on a shelf. PVC pipe cut into short lengths and zip-tied together in a bundle works well for long-handled tools like levels and squares that don’t stack cleanly anywhere else.
Building Simple Shelves and a Shadow Board
For open shelving, 3/4-inch plywood or a solid 2×10 will span 32 inches between brackets without sagging under normal tool weight; anything wider needs a center support. Use shelf brackets rated for at least 50 lbs if you’re storing anything with a motor in it. If you’d rather build something from scratch and want project-specific plans and material lists, our woodworking projects for adults guide has several shelf and cabinet builds sized for a one-car garage.
A shadow board takes the pegboard idea one step further: trace the outline of each tool onto a painted plywood backing, then cut a thin strip of foam or paint the silhouette a contrasting color. When a tool is missing, the empty outline tells you at a glance – no more finishing a project and wondering if you left a chisel on the truck bed. It takes an evening to build but pays for itself the first time you’re missing a tool before a job.
Portable and Mobile Storage
A hard-sided toolbox still beats a tote for anything you’re driving to a job site – it protects tools from drops and keeps them dry in a truck bed. Totes and canvas bags are lighter and better for a fixed set of tools you carry into a house (a bag of finish carpentry tools, for example), since the open pockets make it faster to see what’s inside.
A tool roll is worth making for chisels, files, and anything with an edge you don’t want banging around loose. Use canvas or heavy denim, sew pockets sized to each tool with about half an inch of slack, and add a strap to tie it closed. Rolled up, it takes a fraction of the space of a box and the tools stay separated so edges don’t dull each other.
Keeping It Organized Long-Term
The system only works if putting a tool back takes less effort than leaving it out. Build that in from the start: hooks and outlines should be positioned so returning a tool is a one-handed motion, not a two-step process. Do a five-minute reset at the end of each project, not a deep clean once a month – clutter compounds fast, and a five-minute habit is far easier to keep than a weekend cleanout you keep postponing.
Check hooks and cleats for wear every few months, especially anything holding rotating tools like drills or sanders – the added vibration loosens screws faster than static storage. Toss or repair broken tools instead of storing them; a cracked chisel handle or a drill with a frayed cord takes up space and creates a safety problem later.
Safety Considerations
Store anything with an exposed edge – chisels, hand saws, utility knives – with the edge facing down or against the wall, and add a sheath or blade guard where you can. Keep sharp and power tools out of reach of small children; a locking cabinet or a top shelf is worth the extra step. Fasten every wall-mounted shelf, cleat rail, or cabinet into studs, not just drywall anchors – a loaded shelf that pulls out of the wall is a real injury risk, not a hypothetical one. If you store paint, solvents, or fuel for power equipment, keep them away from any ignition source (a water heater pilot light counts) and off the floor where a spill spreads fastest.
Frequently Asked Questions
What is a cheap alternative to a tool box?
A lidded plastic storage bin or a repurposed milk crate works for hand tools you don’t need protected from moisture. For anything you’re transporting in a vehicle, a used ammo can (widely sold secondhand and at surplus stores) is a cheap, rugged, weatherproof option that costs a fraction of a branded toolbox.
How do you store power tools DIY-style?
Keep power tools in their original cases when possible – the foam inserts protect against drops and keep bits and chucks together. If you’ve lost the case, a shallow shelf at chest height with each tool’s cord wrapped and tucked works well, and a French cleat caddy sized to the tool’s base keeps corded tools from tipping.
How do you store tools without a tool box?
Pegboard with peg-lock hooks, a French cleat wall, and magnetic strips for steel tools cover most hand-tool storage without a single box. Small hardware goes in wall-mounted mason jars or a labeled bin system instead of loose in a drawer.
How do you organize tools in a small garage?
Go vertical first – wall-mounted pegboard and shelving free up floor space a rolling cart or standing cabinet would eat. Store seasonal items (holiday decorations, ladders) overhead on a ceiling rack, keep weekly tools within arm’s reach of your main work area, and leave a clear walking path down the center so the garage still functions as a garage.
Conclusion
The best tool storage system is the one you’ll actually use after the novelty wears off – which usually means matching the method to your real habits rather than copying a Pinterest-perfect garage. Start with one wall of pegboard or a single French cleat rail, get the mounting right (studs, correct spacing, hooks that lock), and expand from there as you figure out what you reach for most.
Sponsored / affiliate links. As an Amazon Associate I earn from qualifying purchases. I may earn additional commission from eligible campaigns.