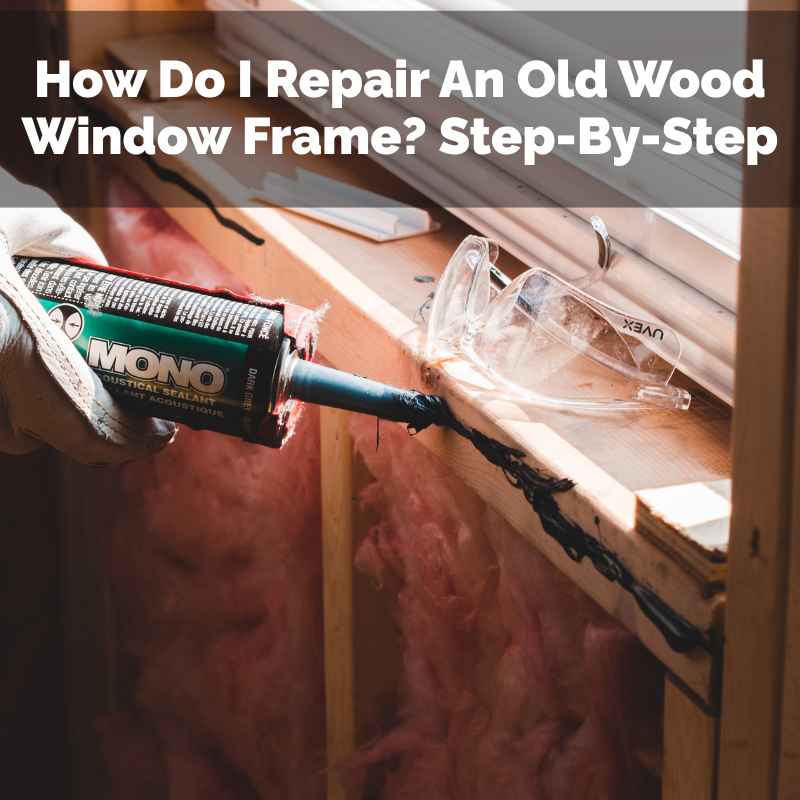
How Do I Repair an Old Wood Window Frame? Step-by-Step
Repairing an old wood window frame means assessing what you’re actually dealing with — rot, a crack, or a loose joint each need a different fix — then preparing the area, filling or consolidating, sanding, and resealing. It takes patience, but it’s genuinely achievable for most common damage without replacing the whole frame.
Why Old Wood Frames Fail
For Rot & Structural Damage
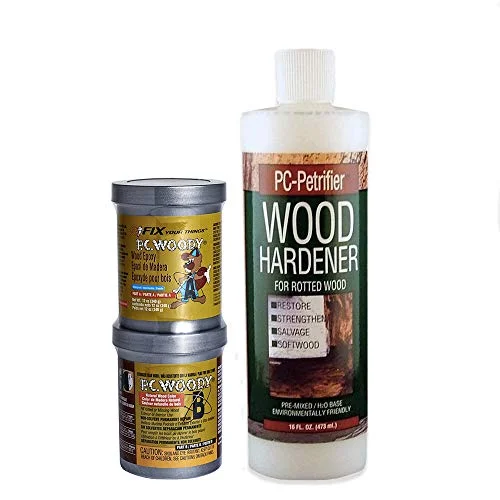 |
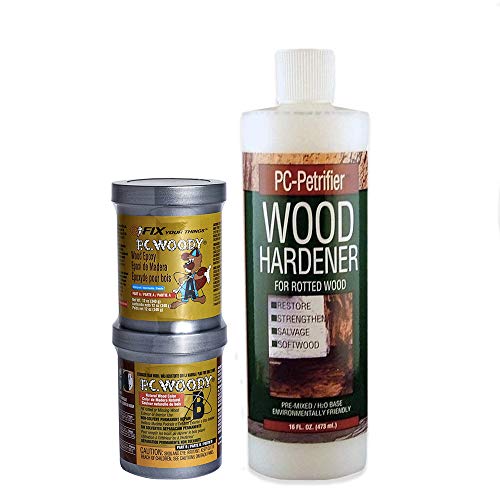
PC-Woody Epoxy Paste + PC-Petrifier Hardener Kit – $23.59 The consolidator-then-filler combo this guide walks through, in one kit — the liquid hardener soaks into softened wood fibers first, then the epoxy paste fills and rebuilds the shape.
|
Old wood window frames are durable by design, but four things wear them down over time. Wood rot sets in when moisture sits against the wood long enough for fungi to break down the fibers — the wood turns soft and crumbly, often with dark discoloration and a musty smell. Cracks form as the wood expands and contracts with temperature and humidity swings. Joints loosen as old glue fails and nails work themselves loose, leaving a wobbly frame and drafts. And peeling paint exposes bare wood to moisture, which is often what starts the rot in the first place. Each has its own fix, covered below.
Step 1: Assess the Damage
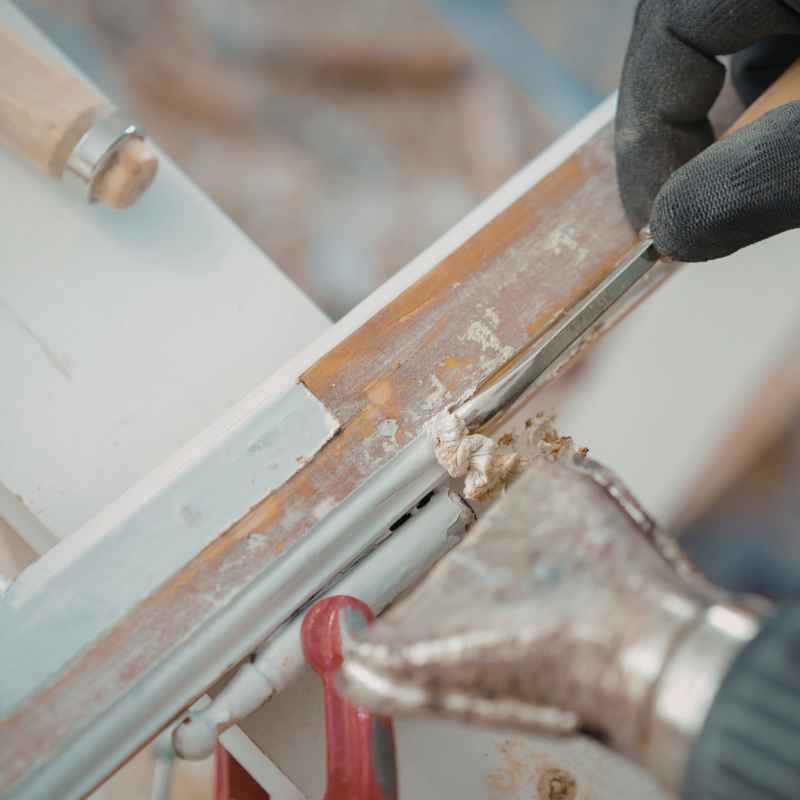
Before buying materials, probe the wood with a screwdriver or awl, focusing on the bottom of the frame and around the sill — the areas that collect the most moisture. If the tool sinks in easily, that’s rot; if it meets firm resistance, the wood is sound. Check cracks for depth (surface-only vs. running deep into the grain), wiggle the frame to feel for loose joints, and note where paint has chipped or peeled. A quick sketch marking what needs work makes the actual repair faster and keeps you from missing a spot.
Tools & Materials
- Safety glasses and gloves
- Stiff brush and sandpaper (multiple grits)
- Screwdriver or awl (for probing)
- Putty knives (a couple of sizes)
- Wood filler (small cosmetic damage) or an epoxy consolidator + filler system (rot/structural damage)
- Wood glue and clamps (for cracks and loose joints)
- Primer and paint, or a wood sealer/varnish for a natural finish
Step 2: Prepare the Area
Filler and epoxy only bond well to a clean, stable surface, so this step isn’t optional. Scrape off loose paint gently with a scraper or wire brush. If there’s rot, dig it all out with a chisel — keep going until you hit solid wood, even though it feels like you’re making the damage bigger. Brush and vacuum out the dust, and let the area dry fully before filling (a fan or an open window on a dry day works). For cracks, cutting a shallow V-groove along the split with a utility knife gives glue or filler a better surface to grip.
Step 3: Repair Rot or Holes
Minor damage generally just needs a quality paste wood filler. For real rot or structural softness, an epoxy system does more: first a liquid consolidator soaks into and hardens the remaining weakened fibers, then a two-part epoxy filler rebuilds the missing wood on top. Mix only what you can use before it sets, press it firmly into the damage with a putty knife to avoid trapped air, and overfill slightly — sanding down excess is much easier than adding more later. For deep holes, build up in layers, letting each cure partially before the next, which helps prevent shrinkage. Let the final layer cure fully before sanding; rushing this step is the most common reason a repair fails early.
Step 4: Fix Cracks and Loose Joints
Small, tight cracks just need a flexible filler or wood glue worked in. For a crack running through the wood, work glue into the gap and clamp the two sides tightly together until it cures, wiping away squeeze-out as you go. A wider crack that’s hard to clamp takes filler instead — force it in completely with a putty knife. For a loose joint, pull the pieces back together, glue the gap, and clamp; if a joint is fully broken, a small bracket on an unseen inside face can reinforce it without changing the frame’s appearance.
Step 5: Sand, Prime, and Paint or Seal
Once everything has fully cured, sand the repair flush with the surrounding wood — start with a coarser grit to level it, then work up to fine for a smooth finish that blends into the original profile. Prime bare wood before painting to seal it against moisture; if you’re going for a natural look instead, a wood sealer or varnish protects the repair the same way. This finish coat is what actually keeps moisture out long-term, so don’t skip it even if the repair looks done underneath.
When to Call a Professional Instead
If rot has spread deep into structural elements, or the frame is severely warped and compromised, DIY filler and epoxy won’t hold — that’s a replacement job. See our guide on how to measure old wood windows for replacement for getting accurate dimensions if you go that route. If your home was built before 1978, also assume the paint contains lead until tested: sanding or scraping it without lead-safe precautions (a respirator, containment, and proper cleanup, or an EPA-certified professional) creates a real health hazard, not just a repair inconvenience.
Preventing the Next Repair
- Check frames yearly for new cracks, peeling paint, or soft spots
- Touch up paint before it fails completely — a small touch-up now beats a full repaint later
- Confirm the sill slopes slightly away from the house so water runs off instead of pooling
- Ventilate in humid weather to keep moisture from sitting against the wood
Frequently Asked Questions
Can I really fix a rotten wood window frame myself?
Yes, for most common damage. Small to moderate rot responds well to wood filler or an epoxy consolidator-and-filler system. It takes patience and the right materials, but it’s a genuinely achievable DIY project; only extensive structural damage typically needs a professional.
What’s the difference between wood filler and epoxy for a window frame?
Wood filler is a paste for minor cosmetic damage — small holes, dents, superficial cracks — and is easy to sand and paint. An epoxy system adds a liquid consolidator that hardens weakened wood fibers before you apply a strong, non-shrinking filler, making it the better choice for real rot or structural repairs.
What if my window frame has lead paint?
If your home was built before 1978, assume the paint contains lead until tested. Wear a respirator and gloves, use lead-safe sanding and containment methods, and consider an EPA-certified professional for any large-scale removal rather than sanding it yourself without precautions.
Conclusion
Most old wood window frame damage — rot, cracks, loose joints, peeling paint — is genuinely fixable without a full replacement, as long as you match the repair to the actual damage: filler for cosmetic issues, an epoxy consolidator system for real rot, glue and clamps for cracks and joints. Prep thoroughly, let every stage cure fully, and seal the finished repair, and it’ll hold for years.
Sponsored / affiliate links. As an Amazon Associate I earn from qualifying purchases. I may earn additional commission from eligible campaigns.