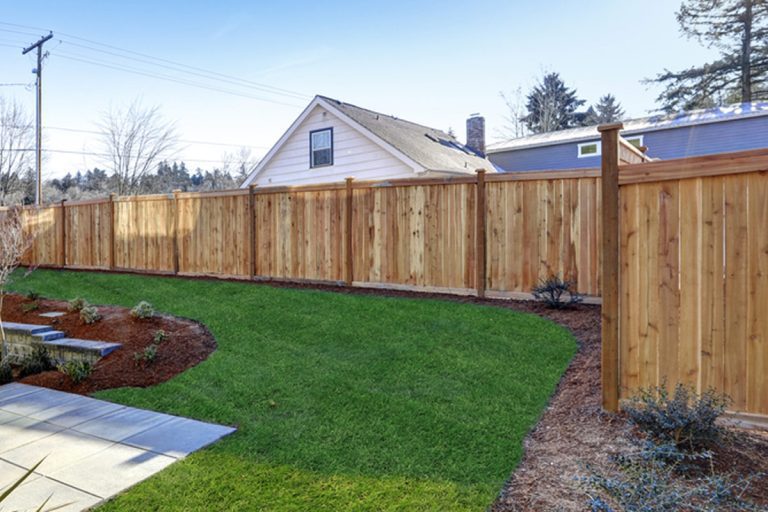
How Do You Know If Cedar is Dry Enough to Stain: Expert Tips
Cedar is dry enough to stain once its moisture content reads around 15% or lower on a moisture meter, which is the most reliable way to check. Staining too early traps moisture under the finish and causes peeling; staining wood that’s over-dried and cracking doesn’t hold stain evenly either. A meter is the accurate method, but color, touch, and a simple water test are useful backup checks when you don’t have one handy.
Checking Moisture Content the Right Way
Skip the Guesswork
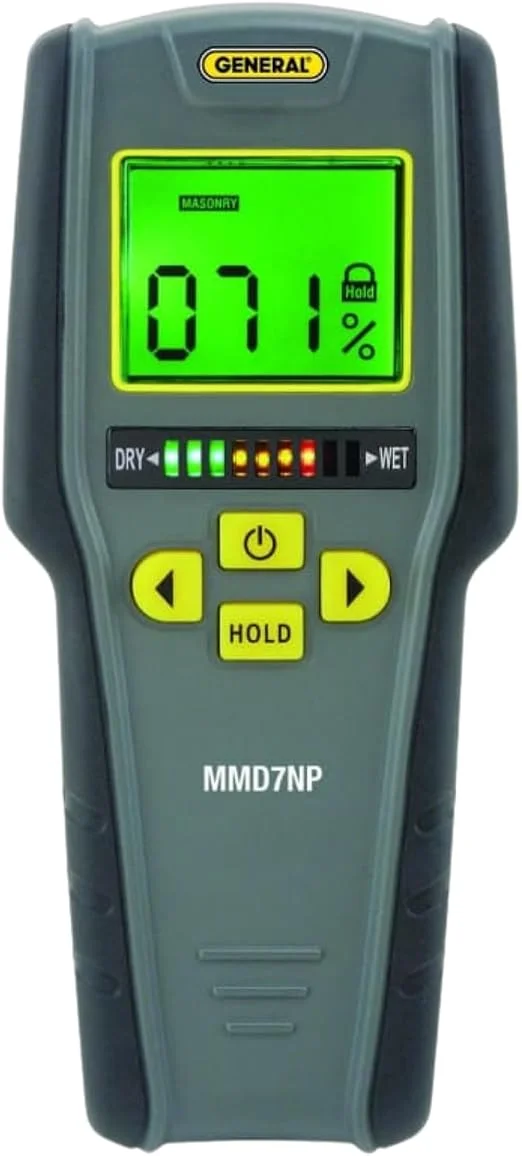 |
General Tools MMD7NP Pinless Digital Moisture Meter Pinless means no holes left in the wood – just press it flat against the surface for a reading.
|
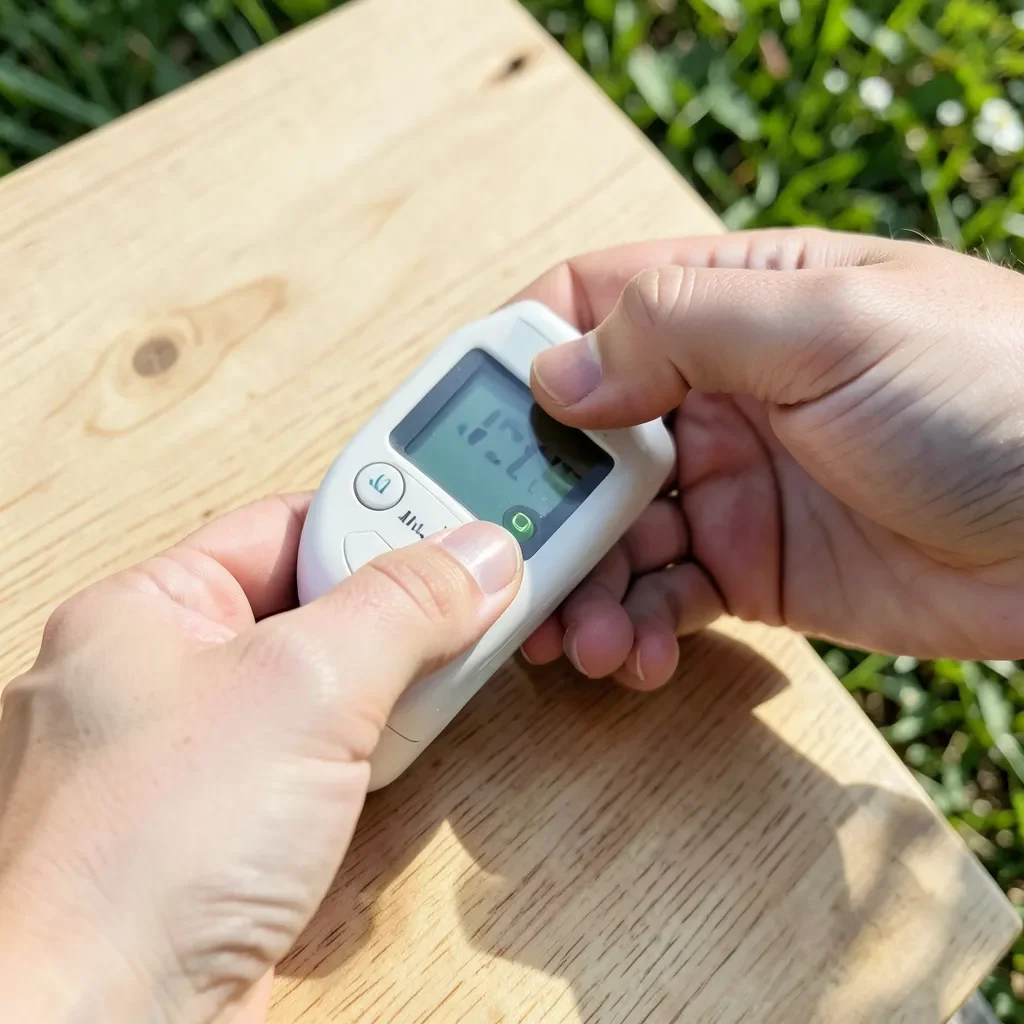
Press the meter flat against the wood and take readings at several spots, not just one – moisture content genuinely varies across a board, especially near the ends or in shaded, low-airflow areas that dry more slowly than the rest. A reading of 15% or below is the general target for staining cedar; readings much lower than 10-12% aren’t a problem for staining (unlike the outdated idea that there’s a strict minimum), though extremely dry, cracked wood can absorb stain unevenly right along those crack lines and split areas.
Signs Cedar Is Ready Without a Meter
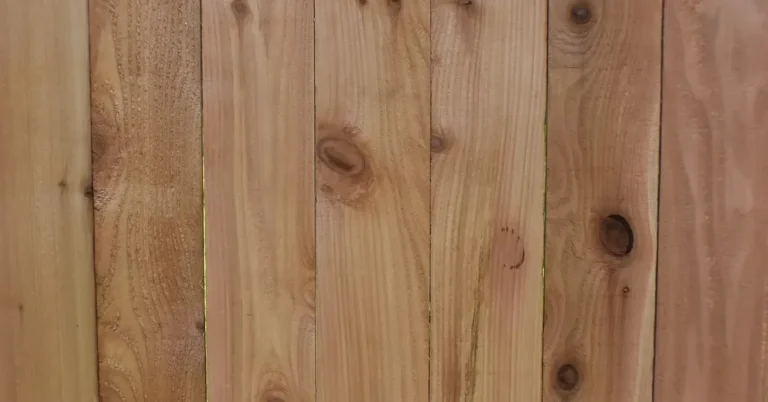
- Color: Wet cedar looks darker and glossier; as it dries, it lightens to a more uniform, matte tone. Uneven, blotchy color usually means uneven moisture underneath.
- Touch: Dry cedar feels cool but not damp, and doesn’t leave moisture on your hand after a firm press. If a light fingernail press leaves a dent that doesn’t spring back, the wood likely still has too much moisture.
- Water bead test: Drip a few drops of water on the surface. If it soaks in within a minute or two, the wood is dry and porous enough to accept stain. If water beads up and sits on the surface, the wood is either still wet or has residual finish/mill glaze blocking absorption.
These checks are useful confirmation, but a meter reading is the only one that gives an actual number rather than a judgment call – worth the investment if staining cedar is a recurring project rather than a one-time job.
How Weather Affects Drying Time
Cedar dries best between roughly 50°F and 90°F with moderate humidity. Below 50°F, drying slows dramatically since cold air holds less moisture and evaporation rates drop; above 90°F, especially with direct sun, the surface can dry much faster than the interior, which risks surface checking (small cracks) before the wood is actually dry all the way through. Humidity above roughly 60-70% slows drying significantly regardless of temperature, since the air is already close to saturated and can’t pull much additional moisture from the wood. Check the extended forecast before starting, not just the day you plan to stain – a dry day sandwiched between rainy ones won’t be enough for the wood to actually reach target moisture content.
How Long Cedar Actually Takes to Dry
The honest answer depends entirely on the starting point, and this is where a lot of advice gets confusing by conflating very different scenarios:
- Freshly cut, green cedar: Six months to a year to air-dry to a stainable moisture content, depending on thickness, stacking with spacers for airflow, and climate.
- Kiln-dried cedar from a lumberyard: Already at a low moisture content when purchased; ready to stain as soon as it’s acclimated to the local humidity for a few days after delivery.
- Already-installed cedar that got rained on or was recently pressure-washed: Typically 48-72 hours of dry weather is enough for the surface to shed that recent moisture and be ready to stain again – this is a completely different situation from drying green lumber, and the two shouldn’t be confused.
Mill Glaze: The Other Reason New Cedar Won’t Take Stain
Brand-new cedar boards, even ones that are technically dry, sometimes resist stain absorption for a completely different reason: mill glaze. Planing at a lumber mill generates heat that can burnish and partially seal the wood’s surface, leaving a glassy-smooth layer that beads water and blocks stain the same way an over-wet board would – which is why the water-bead test above is genuinely useful even on wood you already know, from a meter reading, is technically dry. Mill glaze isn’t a moisture problem at all, so waiting longer won’t fix it. Light sanding with 80-120 grit removes the glazed surface layer and lets the stain penetrate normally; this is a real, separate step from checking dryness, not a substitute for it. Pressure-washed cedar can develop a milder version of the same effect if the wood surface gets “burnished” by high water pressure, which is one more reason to test with water beading rather than assuming a recently cleaned board is automatically ready.
Common Mistakes When Judging Dryness
Rushing the process is the most common mistake – staining before the wood is actually ready traps moisture under the finish, which shows up later as peeling, bubbling, or a blotchy appearance. Staining on a humid, overcast day, even if the wood itself tested dry that morning, is a closely related mistake: humidity in the air slows the stain’s own cure time and can affect how evenly it sets. Checking only one spot on a large project is another common error – a deck can easily have a shaded corner reading 10 points higher than a sun-exposed section, and staining the whole thing based on one reading risks an uneven, patchy-looking result once the stain has fully cured.
Speeding Up Drying Without Damaging the Wood
Stacking lumber with thin spacers (called stickers) between each board is the single biggest factor in even, reasonably fast air drying – it lets air circulate on every surface instead of just the top and bottom of a solid stack, where the middle boards can stay damp for months longer than the outer ones. Keeping the stack off the ground on a pallet or blocks, and under a roof or tarp that covers the top without wrapping the sides, protects against rain while still allowing airflow. A fan aimed across a stack speeds drying further in still, humid conditions, though it won’t substitute for genuinely dry, low-humidity weather.
What doesn’t help, and can actively cause problems: wrapping green lumber in plastic to “protect” it from weather, which traps moisture and promotes mold rather than drying anything, and forcing dry heat directly onto lumber outside of an actual kiln, which dries the surface much faster than the interior and causes the same surface-checking problem as staining in intense heat.
Preparing the Surface Once It’s Dry
Once moisture content checks out, lightly sand the surface to open the grain and help the stain absorb evenly, then clean off all dust with a soft brush or vacuum – dust left on the surface gets trapped under the stain. Oil-based stains penetrate deeper into cedar’s open grain; water-based stains dry faster and clean up easier but sit slightly more on the surface. Always test the chosen stain on an inconspicuous scrap or hidden area first, since cedar’s natural color varies board to board and can shift the final stain color more than expected, especially between heartwood and the paler sapwood sometimes present on the same board.
Frequently Asked Questions
How can you tell if cedar is dry?
A moisture meter reading of around 15% or below is the reliable method. Without one, look for a lighter, more uniform color, a surface that feels cool but not damp, and water that soaks in rather than beading on top.
What happens if you stain wet cedar?
Moisture gets trapped under the stain film, which typically shows up later as peeling, bubbling, or blotchy, uneven color as the trapped moisture tries to escape.
How long should cedar dry before staining?
It depends on the starting point: 6 months to a year for freshly cut green lumber, just a few days to acclimate for kiln-dried lumber, or 48-72 hours of dry weather for already-installed cedar that recently got rained on or pressure-washed.
What is the best moisture content for staining cedar?
Around 15% or below is the general target. There’s no strict minimum on the low end – wood that’s drier than that stains fine, as long as it isn’t so dry it’s actively cracking.
Conclusion
A moisture meter reading at or below 15%, confirmed at multiple spots on the project, is the most reliable way to know cedar is ready to stain. Color, touch, and the water-bead test are solid backups when a meter isn’t handy, but none of them replace checking the actual forecast and giving the wood the real time it needs – which varies enormously depending on whether it’s freshly milled or simply recently wet.
Sponsored / affiliate links. As an Amazon Associate I earn from qualifying purchases. I may earn additional commission from eligible campaigns.