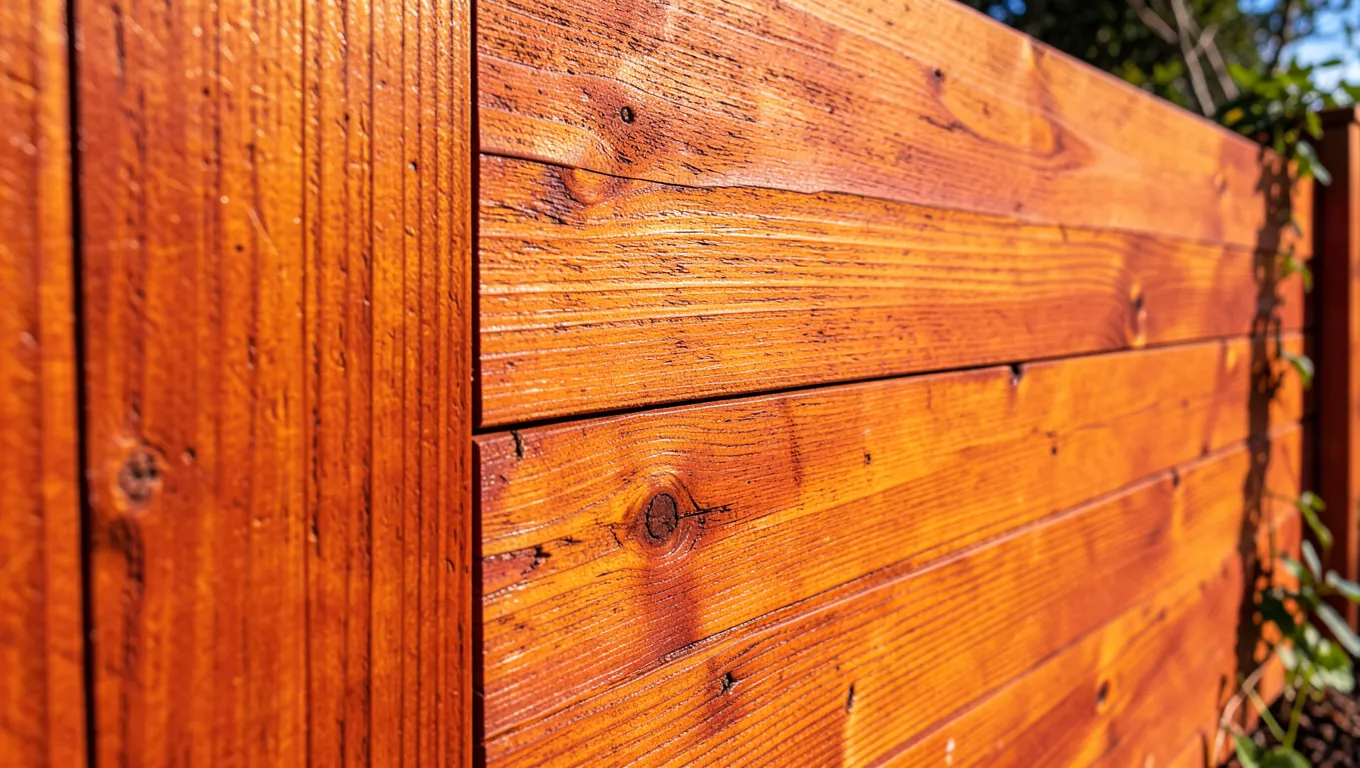
Can Cedar Be Stained Right Away? It Depends on the Stain
It depends on the product, not just the wood. Freshly milled cedar carries natural oils and a compressed surface layer (often called mill glaze) that resist stain absorption, and a generic oil stain will usually perform better if you let new cedar weather for several weeks first. But a growing number of stains – including penetrating oil sealers formulated specifically for new wood – are designed to go on fresh cedar right away. The one number that actually matters more than any calendar wait is moisture content: cedar should read below roughly 15-19% on a moisture meter before any stain goes on, regardless of how long it’s been sitting.
Preparation Of Cedar
Formulated For New Wood
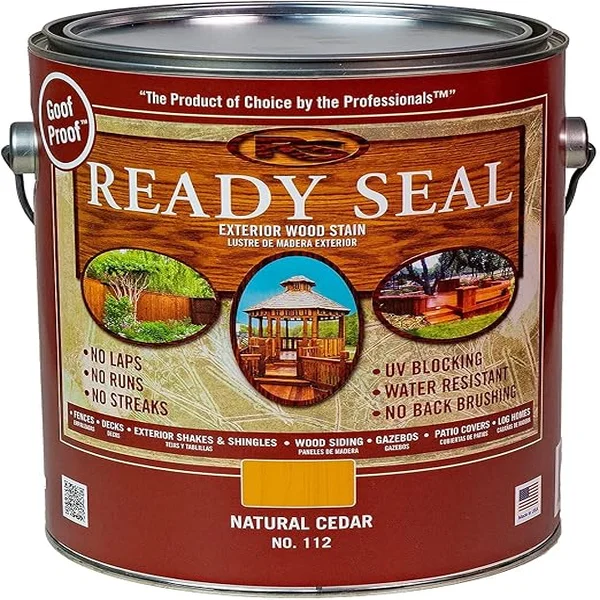 |
Ready Seal Natural Cedar Stain & Sealer, 1 Gal – $42.98 One of the few stains actually rated for application straight onto new wood, without waiting out a weathering period first.
|
Whichever stain you choose, the surface prep is the same. Clean the cedar to remove dirt, mill dust, and any surface grime – a mild soap-and-water mix and a soft brush handles most of it, followed by a thorough rinse and full drying time before moving on. If the wood has any rough or fuzzy spots, a light sanding with fine-grit sandpaper along the grain smooths them out and helps the stain absorb evenly; clear off the resulting dust with a tack cloth or vacuum before staining.
Choosing The Right Stain
Oil-based stains penetrate deepest and tend to hold up longest, which is why most stains genuinely rated for immediate use on new wood (including the pick above) are oil-based. Water-based stains clean up easier and dry faster, but generally need the wood’s surface a bit more open to bond well – they’re often a better fit for wood that’s already weathered some. Gel stains sit on the surface rather than soaking in, which makes them a solid choice for vertical surfaces where a thinner stain would just run. Solid color stains behave more like paint, hiding the grain entirely while still protecting the wood underneath – a real option if you want color consistency over the natural grain look.
Weather matters as much as the product itself. Stains cure best in warm, dry conditions; high humidity slows drying and can trap moisture under the film. Check the wood’s actual condition before you commit – older, previously-finished wood usually needs cleaning and possibly stripping first, while new wood needs the moisture-content check described above. Color is a real functional choice too, not just aesthetic: darker stains hide surface imperfections and blend repairs better, while lighter stains show off the grain but reveal flaws more readily. Always test any stain on a small, hidden area first regardless of what the can promises.
Timing For Staining: New Vs. Weathered Cedar
New, freshly milled cedar can be stained right away if you’re using a stain specifically formulated for new wood and the moisture content already tests low enough – mill-dried lumber sometimes qualifies, but lumber straight off a truck often doesn’t. If you’re using a traditional oil or water-based stain not rated for immediate application, the more reliable approach is to let new cedar weather outdoors for several weeks (commonly 4-8 weeks, though it varies by climate and humidity) so the mill glaze wears off naturally and surface moisture drops. Either way, clean the wood and confirm it’s genuinely dry – not just dry to the touch – before applying anything, and always test a small area first.
Weathered cedar that’s already turned gray needs a different kind of prep. Clean it thoroughly with a dedicated wood cleaner or a power washer on a gentle setting, let it dry completely, and sand any rough or fuzzy areas so the new stain has a sound surface to grip. Once prepped, staining restores the wood’s color and rebuilds the protective layer that’s worn away.
Application Methods
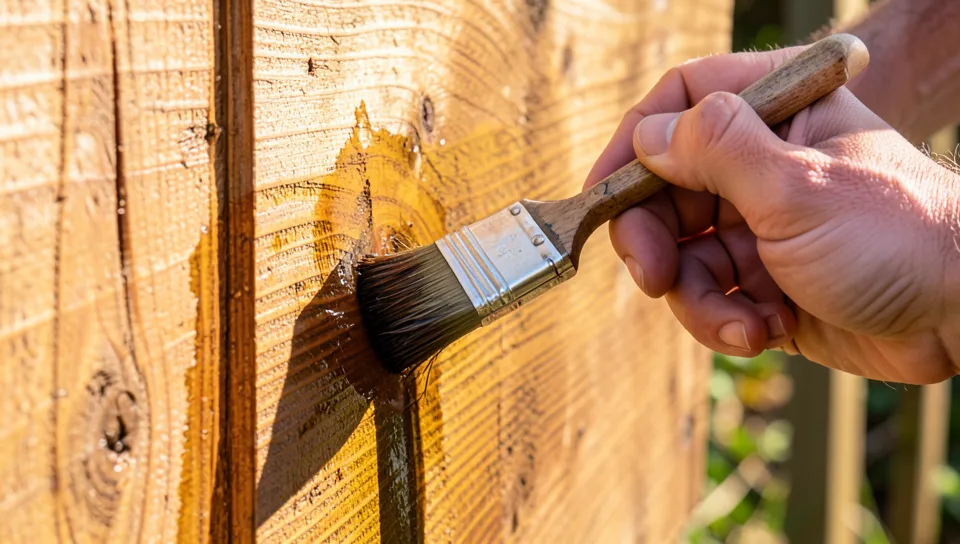
A brush gives you the most control – it spreads stain evenly and reaches into crevices a sprayer or roller can miss. Use a quality brush, load it evenly, and always work with the wood grain rather than across it for a smoother, more consistent finish. A second thin coat, once the first has dried per the label, deepens the color without the risk of pooling that one heavy coat carries.
Spraying covers large areas faster, which matters on a full deck or fence run. Use a sprayer rated for the stain type, hold it at a consistent distance from the surface, and move in steady, overlapping passes so you don’t leave thin or missed spots – a sprayed coat still benefits from a light back-brush pass on rough or vertical surfaces to work the stain in evenly. Let each coat dry fully before deciding whether a second is needed.
Drying And Curing
Optimal Conditions
Between coats, most stains need at least 24-48 hours to dry enough for a recoat, though full cure – the point where the finish reaches its actual final hardness and water resistance – typically takes longer and varies by product, so check the label rather than assuming. A well-ventilated space, a temperature around 70°F, and humidity below 50% all speed drying and give the most even result. Rushing a recoat before the prior one has genuinely dried traps solvent underneath and can leave a soft, tacky finish that never fully hardens.
Common Mistakes
Staining wet wood is the single most common mistake – water in the wood physically blocks stain from penetrating, so it beads up or sits on the surface instead of soaking in. Skipping the cleaning step is a close second: dirt, pollen, and surface oils sit between the wood and the stain and prevent proper bonding no matter how good the product is. The third is impatience – rushing dry time between coats or before the piece goes back into service undermines an otherwise correct process. Always follow the specific manufacturer’s instructions for dry and cure times rather than a generic rule of thumb, since formulas genuinely vary.
Maintenance And Care
Clean cedar at least twice a year to keep dust and dirt from building up – a soft brush for loose debris, then a mild soap-and-water wash, rinsed well and left to dry completely. Watch for fading, graying, or a rough, dry-feeling surface, all signs the protective stain layer is wearing through; a light sanding followed by a fresh, even coat of stain restores both the look and the protection before the underlying wood actually starts to weather.
Expert Tips
If you’re staining new cedar with a traditional (not new-wood-rated) product, resist the urge to rush – those natural oils in fresh cedar genuinely do repel stain until the wood has had time to weather. Clean the surface well and sand lightly regardless of how long it’s been sitting; both steps measurably improve absorption. A stain with built-in UV protection holds its color meaningfully longer in direct sun than one without, which matters more for cedar than for shaded applications.
Beyond the initial application, routine yearly inspection and reapplying stain as it wears is what actually extends cedar’s life – a single good staining job doesn’t last indefinitely no matter how well it was applied.
Frequently Asked Questions
Can Cedar Be Stained Immediately?
Sometimes – it depends on the stain. A product specifically rated for new wood can go on right away as long as the wood is clean and its moisture content is low enough. A traditional stain not rated for new wood generally performs better if the cedar weathers for several weeks first.
How Long Should Cedar Dry Before Staining?
For already-wet or recently rinsed cedar, at least 24-48 hours in dry conditions before staining. For brand-new milled cedar being stained with a traditional product, several weeks of outdoor weathering is the more reliable approach – a moisture meter reading below roughly 15-19% is a better indicator than any fixed number of days.
Do I Need To Sand Cedar Before Staining?
Yes, if the surface has any roughness, mill glaze, or old finish. Sanding along the grain with a fine grit opens the wood’s surface so stain absorbs more evenly, and it’s especially worthwhile on weathered cedar being restained.
What Type Of Stain Is Best For Cedar?
Oil-based stains are generally the best fit for cedar – they penetrate deeply, enhance the wood’s natural color, and hold up well outdoors. If you need to stain new cedar without waiting weeks, look specifically for an oil-based product rated for application to new wood.
Conclusion
Whether cedar can be stained right away really comes down to the product in your hand and the wood’s actual moisture content – not a single universal rule. Clean the surface, test in a hidden spot, and either confirm your stain is rated for new wood or give fresh cedar time to weather before committing the whole project.
Get that part right and the rest – even application, full cure time, and a routine maintenance schedule – is what keeps the finished result looking good for years instead of fading within a single season.
Sponsored / affiliate links. As an Amazon Associate I earn from qualifying purchases. I may earn additional commission from eligible campaigns.