DIY Small Cedar Wood Projects: 3 Builds With Real Cut Lists
Cedar is the easiest wood for a first build because its natural oils resist rot and insects without any chemical pretreatment — but that same softness means pilot holes are non-negotiable, or the boards split. Skip that step and you’ll redo a corner joint from scratch. This guide covers three complete cedar builds with real cut lists, the fasteners that won’t rust-streak your wood, and a few more quick projects to try next.
Quick Answer
This guide walks through three beginner cedar builds — a planter box, wall shelf brackets, and a monogram décor piece — each with a real cut list. Use nominal 1×4 or 1×6 cedar, corrosion-resistant screws (never plain steel), and pre-drill every joint near a board’s end to stop splitting before it starts.
Why Cedar Dominates Beginner DIY Small Wood Projects
Best Cedar Project Fastener Pick
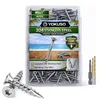
304 Stainless Exterior Deck Screws (80-Pack) – $8.99
Matches the “General Assembly Outdoors” row in the Fasteners Breakdown table above — corrosion-resistant so it won’t leave green streaks down your planter box or shelf brackets.
- Best for: Securing planter box and shelf-bracket joints without rust streaks
- Why we picked it: True 304 stainless resists the corrosion plain steel suffers in damp cedar
- Main drawback: Costs more per box than plain galvanized, and the included bits are Torx, not Phillips
Compare more cedar-project supplies
 Option 1 Gorilla Ultimate Waterproof Glue – $5.50
|
 Option 2 Swanson Speed & Combo Square Set – $19.47
|
 Option 3 Thompson’s WaterSeal Clear, 1 Gal – $19.94
|
As an Amazon Associate we earn from qualifying purchases.
When selecting material for outdoor or indoor decorative items, cedar is the gold standard for approachable DIY woodworking. Great cedar stock means results last longer and look naturally better with less upkeep — browse more cedar projects and guides once you’ve finished your first build here.
Natural Abilities: Less Coddling the Wood
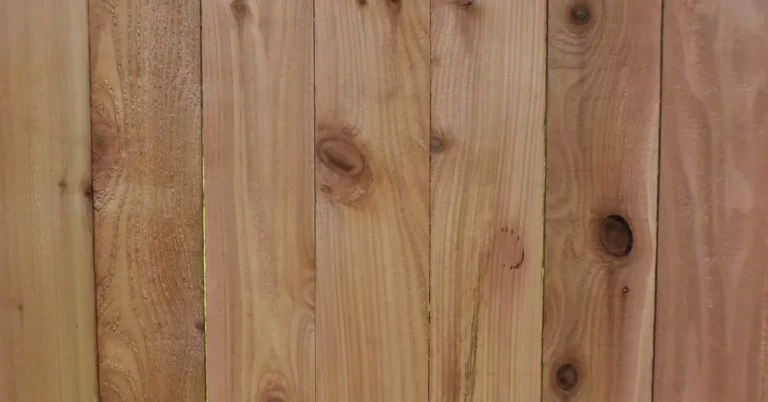
Cedar is a lightweight softwood whose heartwood contains natural preservative compounds called thujaplicins, which give it lasting resistance to rot and insects without any chemical treatment. This oil does two wonderful things for little projects:
- Natural Preservative: Thujaplicins fend off most common wood-boring insects. You skip steps that normally involve strong chemical treatments. This is good for your wallet and your yard!
- Rot Resistance: Cedar manages moisture much better than, say, pine. This high decay resistance means those adorable porch bird feeders or window boxes will survive seasons outdoors without turning mushy.
📊 Wood-science testing has isolated thujaplicins — not just “cedar oil” in general — as the specific tropolone compounds most responsible for western red cedar heartwood’s decay resistance. — Source: Wood Science and Technology, 2011
Work Smarter, Not Harder: Finishing Touches
Cedar’s lighter density means it isn’t as tough as oak, which eases the strain on your beginner saw blades. For assembling diy small cedar wood projects, precision driving screws is easier.
- It holds finish beautifully, but you don’t strictly need most finishes! A simple yearly gentle cleaning might be all it needs to maintain its beautiful reddish-brown hue.
- Sanding and shaping are generally straightforward. You won’t fight hard grain patterns that try to splinter tools — a massive confidence boost for newbie builders!
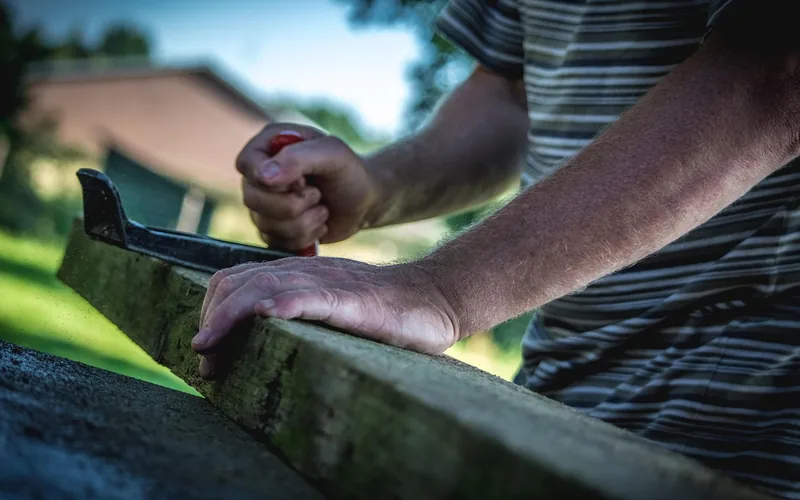
Essential Gear: Keeping Your Toolset Beginner-Friendly
You don’t need a whole cabinet saw setup for effective diy small cedar wood projects. Keeping tools simple dramatically reduces the overhead and the frustration. You need the right measuring capability, decent cutting power, and sound fastening supplies.
The Tool Trustworthy List (Essential for Starters)
If you invested in one or two reliable items, here is where that first budget should go. Focus quality over specialized quantity for now.
- Measuring: A quality tape measure (must lock tight) and a speed or combination square set. Precision wins ease of final assembly!
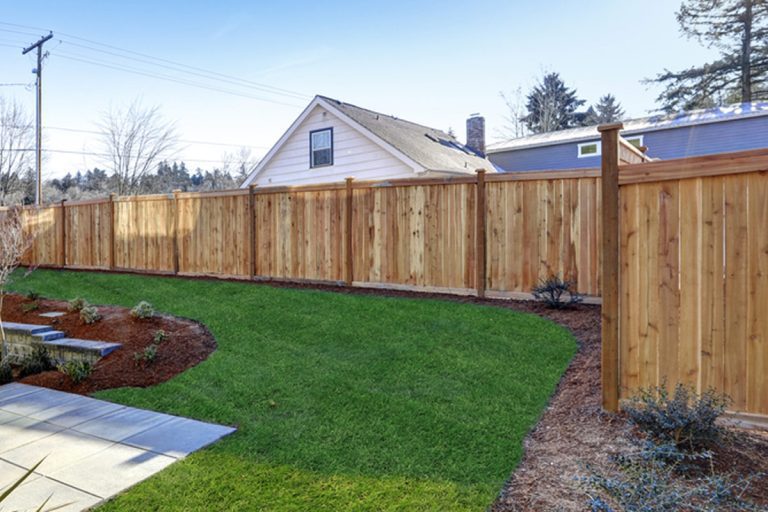
- Cutting: A reliable circular saw is transformative simplicity for fence boards or cutting boards to size quickly. If that feels large now, even high-quality hand saws work for tiny first-time pieces pending future budget comfort.
- Fastening: A cordless drill/driver is one indispensable 5-star tool. Lithium-ion batteries last long during these small jobs.
- Safety First: Get snug wraparound safety glasses ($5!) and some reliable ear protection suitable for longer work sessions. Never skip this part; it’s the most essential “tool” for longevity in this hobby.
Fasteners Breakdown
Because cedar expands and contracts softly (less sharply than many hard woods), standard fasteners often rust quickly, leaving nasty green streaks right down your beautiful wood.
| Purpose | Recommended Fastener | Why It Matters |
|---|---|---|
| General Assembly Outdoors | Hot-Dipped Galvanized Screws/Nails OR Stainless Steel | Resists rust which ruins the aesthetics and strength of cedar over time. |
| Small Connects (Decor) | Trim Head Screws (#6 or #8 size) with slightly tapered slot | The tiny heads reduce visual impact dramatically. Ideal for appearance-focused builds. |
Cedar Board Sizing: Nominal vs. Actual (Don’t Get This Wrong)
A “1×6” cedar board is not 1 inch by 6 inches — surfacing the rough-cut board on four sides removes material, and cedar shrinks slightly further as it dries. Every cut list in this guide uses actual dimensions, so measure your own stock before assuming it matches the label.
| Nominal Size (Label) | Actual Size (What You Cut) | Common Use in This Guide |
|---|---|---|
| 1×4 | 3/4″ x 3-1/2″ | Planter box sides, garden markers |
| 1×6 | 3/4″ x 5-1/2″ | Planter box walls, shelf bracket wall-anchor leg |
| 3/4″ stock (surfaced) | Confirm with calipers — mills vary | Shelf brackets (needs true 3/4″ for strength) |
Project 1: Cedar Starter Step Block or Small Planting Box
This is the perfect gateway project. A strong, square planter box is instantly useful — decorates the porch or deck, perhaps even holds kitchen herbs near the screen door. It introduces you gently to measuring, cutting a board straight, and secure fastening.
Materials Needed for the Cedar Planter Box (Example Size: roughly 16″ x 8″ x 10″ assembled)
- Dimensional Cedar Lumber (nominal 1×4 or 1×6 are great beginner sizes — see the actual-size table above).
- Outdoor Rated Fasteners (1 1/4″ corrosion resistant screws). Very important!
- Small amount of exterior wood glue allowed for outdoor application (optional — adds joint rigidity).
Step-by-Step Confidence Building Guide
We plan for square joints, meaning every piece relies on precise measuring from the single 4-foot master line on your tape measure. Remember: measure twice, cut perfectly once (my simplified workshop mantra!).
- Plan Measure & Mark: Decide your final four sides (two long, two short legs, one base width). We are making simple butt joints, no messy angles required for confidence building! For simple sizing, a 4-sided, open box.
- Target 2 Outer long sides @ 16 inches length.
- Target 2 Outer short sides @ 8 inches length.
- Crucially, if using the remaining stock space, cut a floor / bottom panel now, sized to sit perfectly inside your finished frame size.
- Cutting Accuracy: Slow down; let the saw do the work. Make straight, crisp cross-cuts at every marked line. Consistency across all five pieces is our single goal. Even slight gaps here encourage wobbling down the road when screws go through.
- Joint Dry Fit: Arrange all four walls flat. Hold them together. Do the two designated long pieces slightly overlap the very ends (widths) of the two short pieces? This ensures your box becomes exactly 16 inches long at the exterior measurement, not 16 inches plus two board thicknesses!
- Assembly – The Corner Secure: Put glue sparingly (just small dots) at one corner junction where a board tip meets a piece face. Drill very narrow pilot holes (even crucial for small boards) slightly smaller than your screw shank diameter to prevent cracking cedar fibers out as the screw bites hard. Drive two screws carefully into that joint point.
- Rinse and Repeat: Work slowly to the corners until the rectangle is rigid. Check aggressively on diagonal measurements for square by checking the dimensions from very opposite corners — if they match, your frame stage assembly is perfect — great success!
- Attach the Floor (If Using Base): Place your box down. Position your base piece (cut shorter earlier) so that it rests flush against the bottoms of the long-term side members right at the ground level. Fasten down through the sides right into the base on steady placements (every 5–6 inches).
“Skipping the diagonal check cost me a wobble I didn’t notice until every corner was already screwed tight. Now I check the A-to-B measurement before the second screw goes into any joint — it takes ten extra seconds and it’s saved me from redoing a frame more than once.”
A Note on Drainage (Critical for Planters!)
Even naturally resistant cedar slowly degrades if water is continuously trapped beneath the base or the planting floor.
- Drill six well-spaced holes across the bottom panel. Think large holes — at least 3/8 inch each — as this dramatically helps move lingering damp away, preventing premature decay spots.
Project 2: DIY Cedar Shelf Brackets (Under $5 A Pair)
When aesthetics meet pure function, these little carved-out L-brackets look like complex woodworking but use only simple cuts and minimal fasteners. These transform boring drywall! This project builds real feel for power tools without much risk.
Skills Highlighted
- Wasteful (but satisfying!) wood removal known as “notching” or “scroll cutting” to create clearance. This teaches blade control beyond simple straight lines.
- Understanding how leverage works through strong joint strength using only geometry.
Cut List Approximation (Use A Thicker Board: True 3/4 inch cedar for rock solid strength)
| Member Role | Approximate Final Size (Target L x H) | Notes |
|---|---|---|
| Wall Anchor Leg | 6 Inches (Height Vertical to receive shelf above) x 8 Inches (Depth Projecting Out) | This needs strength; cut stock needs excellent grain alignment. |
| Shelf Platform Angle | Shorter Side (Wall attachment side) approx. 2 Inches | This piece supports material at the wall, allowing for a decorative profile cutoff on the front plate. |
Two Key Cuts for Aesthetic Difference and Core Stability
Instead of just driving a screw through two boards mashed at 90 degrees (which allows too much wiggle room outdoors or with heavy items), these bracket solutions rely on interlocking cuts before fastening.
- The Slot Cut: On your wider 8-inch piece (the shelf support section), measure two points that fit your shelf width (e.g., if supporting a 3/4 inch piece of matching cedar wall liner lumber resting on it). Carefully cut two square slits (relying absolutely on square blade setting) matching that lumber thickness. This forms a small U-shaped slot allowing the shelf piece to slip half-way into the bracket for support leverage you wouldn’t otherwise get here cheaply.
- Angling the Lower Support Plate: The lower portion that crosses the 2″ mark needs structural integrity relative to holding weight against outward torque. Some classic bracket geometries employ deep diagonal cuts. For beginners, keep this simple: after the shelf slot is cut parallel to the top axis on the shelf arm, fasten securely, ensuring your securing screws into the final wall piece cross both members diagonally in a Z geometry. No fancy joining saws yet! We lean hard on excellent fastener alignment here.
- Wall Mounting: Always mount shelf brackets into solid framing members of your wall studs. Fastening only into drywall promises only sad, inevitable collapse over time. Use adequate length of exterior screws to confirm stud penetration past the drywall layer. Make sure studs are plumb using a level!
Project 3: The Essential Cedar Monogram Décor Piece
This truly maximizes that wonderful cedar aroma and is fantastic for indoor décor near a fireplace or exterior window, as few tools are required beyond a jigsaw, coping saw, or fine hand saw if an electric jigsaw feels intimidating.
Focus: The Grain Pattern and Visual Appeal
You are choosing a recognizable letter form. Letters like H, O, A, or simple block text are better starting shapes than curvy letters like “S” or highly ornate script. The density and straight grain of cedar handles these flat-dimension cuts incredibly well.
Design and Cutting for Great First Efforts
- Selection: Select a bold, legible typeface style (thick serifs are easiest!). Print the needed letter very large, often as large as your cedar offcut slab permits after trimming edge imperfections.
- Transferring: Carefully spray adhesive on a good, smooth printout and apply it to the usable side of your cedar piece. Make sure it lays entirely flat. Alternatively, thick ink trace works too if you are going fully manual.
- Saw Work Hierarchy: This is where feeling the saw blade connection shines. For simple internal gaps (like cutting out the center hole of an ‘O’ or the pocket within an ‘A’):
- Identify an anchor point near what you wish to remove.
- Carefully drill an initial wide entrance pilot hole completely through into a background scrap of plywood where that waste material will fall. This is crucial to initiate cutting inside the lines.
- Feed the corner of your choice jigsaw blade through that entrance hole into position. Work slowly. Follow traced lines exactly where the paper meets wood.
- Finishing Soft Touches: Once cut out, peel the white paper off gently. Use 120-grit sandpaper lightly over all surviving wood surfaces. A cedar surface looks marvelous in its natural state; rough edges look unfinished, but a light, even pass removes pencil marks cleanly before any finish is applied (if you apply any finish at all!).
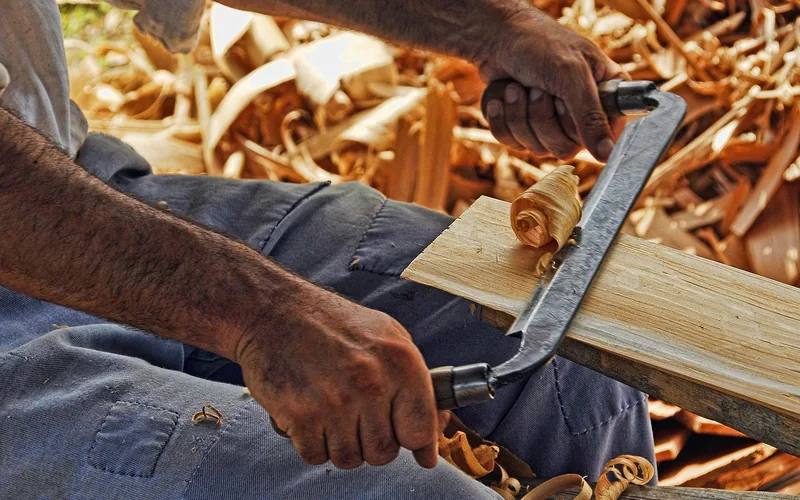
More Quick Cedar Project Ideas to Try Next
Once the three builds above feel comfortable, these three use the same skills — square cuts, pilot holes, corrosion-resistant fasteners — on a smaller scale, so they’re a natural next step rather than a bigger leap.
| Project | Beginner Time | Key Detail |
|---|---|---|
| Simple Cedar Birdhouse | 3–5 hours | Entrance hole 1 1/8″–1 1/2″ depending on the bird species; skip a perch below the hole so predators can’t use it |
| Cedar Garden Markers | 30–60 minutes | Rip scrap into 1–2″ strips, angle-cut one end for easy soil insertion |
| Cedar Deck or Table Caddy | 2–3 hours | A simple base-plus-four-sides trough; square the corners the same way as the planter box above |
All three use the same nominal-vs-actual sizing and fastener rules covered above — no new tools required.
Cedar Maintenance and Longevity Simplified for Amateurs
What secures that rewarding long-lasting glow of your diy small cedar wood projects? Generally, maintenance is less rigorous here than with construction lumber, but consistency helps its appearance and structural soundness.
Cedar Loves Natural Weathering
If you leave cedar untreated outdoors, wind and sun start stripping natural tannins and extracting oils slowly. This results in the highly desired silver-gray patina. This patina appearance does not mean weakness! It usually indicates durable material that has weathered, which many see as very attractive.
When to Seal or Treat (Option Check)
For projects where water doesn’t drain easily (like a flat garden bench without drainage spots) or if you live in heavy, damp coastal mist areas, a modest sealer application does protect wood strength.
- Exterior Project Preference: Skip harsh stains initially. Opt for mineral oil diluted heavily, or a specific penetrating waterproof protector that boasts UV blocking without heavy surface build-up. Applying sealer/protector every 2–3 years prevents over-commitment.
- Indoor Aesthetics: Light coats of sanding sealer followed by a rub-on polyurethane if you want the rich hue maintained for years longer. Cedar’s scent retention also improves with slight treatments of a clear shellac base coat.
Annual Care Checklist
These are super easy steps:
- Clean Dust and Debris: Use only a damp (not soaking wet!) cloth and possibly a very light vinegar cleanup solution. Ensure dirt and leaf tannins (which can trap moisture) are cleared from joints and corners.
- De-web for Growth: If any mildew appears (often green sludge appearing where water pools around planters), lightly scrub using a non-abrasive sanding screen or fine synthetic non-scratch pad. Cedar sheds mildew easily — it rarely develops deep spores.
- Check Fasteners Semi-Annually: Just look. Grab your project and nudge it. Screws/nails should feel firm. With a good initial fastener and drilling strategy, any movement reveals foundation issues before structural wood problems occur.
FAQ: Starting Safely and Smartly With Cedar
Do I really need to drill pilot holes in every single one of my cedar pieces before screwing them?
Pilot holes are highly recommended, especially nearer the end or edge of any cedar board, for two critical reasons: preventing splitting and making screw driving far smoother. Because cedar is medium in density, a pilot hole slightly narrower than your screw ensures the fibers separate gently rather than cracking under high torque load.
Can cedar trap bugs or pests once installed outdoors, even if it’s naturally resistant?
While superior in general, concentrated moisture or sitting directly on dark soil can invite certain unwanted company. The real threat comes if you paint cedar with an exterior latex paint that cracks or peels, allowing water into the heartwood. Keep joints clear of sludge — regular use helps keep insects away, while infrequent use invites damp, dark hideaways.
What is the easiest way to check if my board corner cuts are truly square (90 degrees) during assembly?
The easiest trusted method, besides a speed square or combination square, is the A & B diagonal measurement trick. Measure diagonally from corner A (top, furthest right) to corner B (bottom, furthest left) and write the measurement down. Then measure the opposing diagonal. If A-to-B matches B-to-A exactly (e.g. 15.25 inches both ways), your corners guarantee a 90-degree assembly. This builds real confidence when squaring up any box shape.
Where is the best place to buy cedar lumber for a small project like this?
For utility builds like these, dedicated small local lumberyards or reputable big box stores that maintain good stock levels usually work great for standardized cuts (like 1×4 or 1×6). Avoid scrap piles unless you already know precisely what natural defects or splits look like. For specialty trim pieces, a dedicated urban or specialty cedar/reclaimed wood shop is worthwhile for excellent grain matching.
Does unfinished cedar wood bleed sap when I place my planter outside right after finishing?
Newly cut cedar has more volatile compounds, and outdoor projects benefit from a curing period. It’s wise to let a completed cedar build sit on an old concrete slab or another sacrificial staging area outdoors for about one week before placing it near delicate pavers or carpeting. That first week lets the initial rush of surface oils and minor inconsistencies stabilize under normal outdoor exposure.
What wood glue strength is required for extra strength in outdoor cedar joints?
Skip standard PVA (yellow wood glue) entirely for anything exposed to the elements. Standard white or yellow glue has low shear strength when wet and fails outdoors by softening. Choose a weather-resistant Type II/III polyurethane (“PU”) or a certified exterior aliphatic resin formula instead — look for glues explicitly marked safe for outdoor decking assembly, since that category offers the water resistance these joints need.
What size is a nominal 1×6 cedar board, really?
A nominal 1×6 cedar board actually measures about 3/4 inch by 5-1/2 inches once it’s surfaced and dried — not a true 1 inch by 6 inches. The same shrink applies to a 1×4 (actual 3/4″ x 3-1/2″). Always measure your own stock with a tape measure before cutting to a cut list, since mills vary slightly.
Conclusion: Building Your Foundation, Project by Project
Congratulations on taking the leap! Starting right with cedar ensures that project success feels well-deserved rather than accidental. You’ve now got three skills professional builders use every day: measuring for square, choosing the right small fasteners, and checking corners with real geometry instead of guesswork.
Keep it sturdy over complicated by leaning on cedar’s unique qualities that resist weather naturally. Whether your next piece becomes a tray for serving drinks indoors or a planter box holding soil on your porch, the confidence you gained today is what carries into your fourth, tenth, and next big cedar project. Pick up your driver, measure twice, and build something that proves DIY craftsmanship fits into any weekend.
Sponsored / affiliate links. As an Amazon Associate I earn from qualifying purchases. I may earn additional commission from eligible campaigns.