How to Seal Glitter on Wood (Sprays, Poly, Resin Compared)
The short answer: let the glue dry fully, then seal glitter on wood with several thin coats of a clear spray made for crafts, such as Krylon Glitter Blast Clear Sealer, Mod Podge Clear Acrylic Sealer or Minwax Polycrylic spray. Start with a light mist coat so the flakes do not shift, and never brush a first coat over loose glitter.
Sealing glitter is really a finishing problem. You have a rough, loose layer of flakes on top of wood, and the topcoat has to lock it down without dissolving its color, dragging it around or clouding over it. Most advice online treats it as a craft question and stops at “spray something clear.” This guide covers the wood-finishing side: which finishes suit which job, what the product labels and data sheets actually say, and where each one fails.
Best Clear Coats for Sealing Glitter on Wood
Best Glitter Sealer Pick
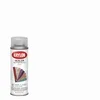 |
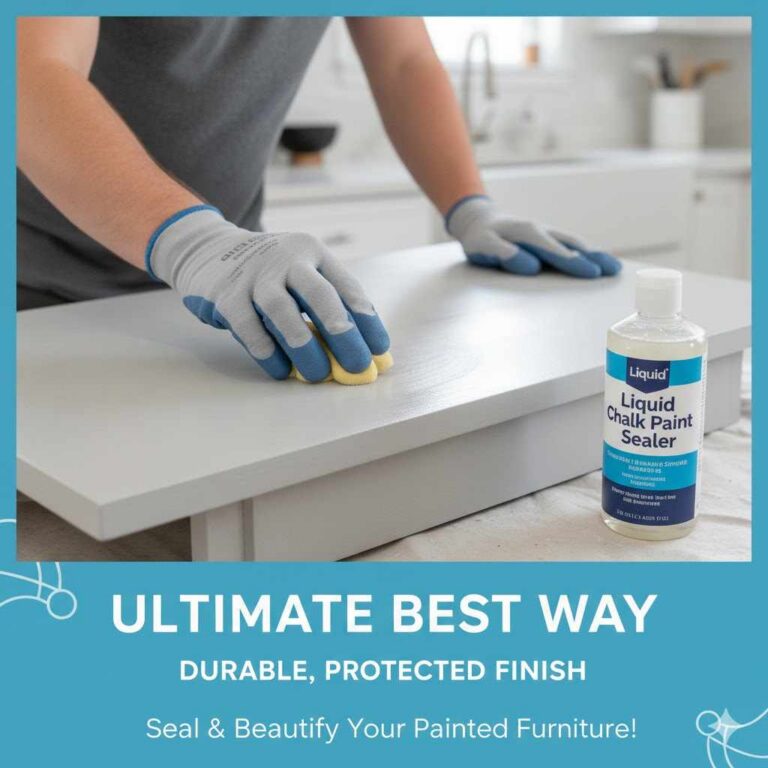
Krylon Glitter Blast Clear Sealer, 6 oz A clear aerosol made for one job: stopping glitter from flaking. Krylon lists wood among the surfaces it is meant for, which makes it the simplest one-can answer for signs and decor.
|
Here is how the common options compare, using figures from the manufacturers’ own data sheets and product pages:
| Sealer | Form | Dry to touch | Between coats | Where it is meant to be used |
|---|---|---|---|---|
| Krylon Glitter Blast Clear Sealer | Aerosol, cleans up with mineral spirits | 20 minutes or less (retailer listing) | Follow the can | Interior only |
| Mod Podge Clear Acrylic Sealer | Aerosol | About 15 to 20 minutes | 15 to 20 minutes; 2 to 3 thin coats | Mainly indoor; full cure 24 to 48 hours |
| Minwax Polycrylic Protective Finish (spray) | Aerosol | 30 minutes; handle after 1 hour | 30 minutes; at least 2 coats on finished surfaces, 3 on bare wood | Interior wood; 24 hours before heavy use |
| Minwax Polycrylic Protective Finish (brush-on) | Liquid, water cleanup | 3 hours before light handling after final coat | 2 hours; 3 coats recommended | Interior wood; 24 hours before normal use |
| Mod Podge Dimensional Magic | Squeeze bottle, domed epoxy-like layer | Dries in 24 hours | Single pour | Small flat areas, not whole surfaces |
Two things stand out. First, every mainstream glitter sealer above is rated for indoor use. If your glittered wood will live on a porch, in a garden or in a bathroom, none of these is an outdoor finish, and the wood itself needs a proper exterior coating (see our guide to the best finish for outdoor wood furniture). Second, dry-to-touch is not cured. Mod Podge quotes 24 to 48 hours for a full cure and Minwax says to wait 24 hours before heavy use, so do not stack books on a freshly sealed sign.
The Overlooked Problem: Solvent Versus Glitter
Here is the myth worth correcting: “acrylic” or “water-based” on a can does not mean the spray is gentle on glitter. Minwax’s own data sheet for Polycrylic aerosol lists aliphatic hydrocarbons and ketones in the can and marks it extremely flammable, even though the brush-on Polycrylic cleans up with soap and water. The Mod Podge Clear Acrylic Sealer listing carries a warning for methyl isobutyl ketone, another ketone solvent. Krylon’s glitter sealer needs mineral spirits for cleanup. Aerosols carry solvent and propellant so the coat flashes off fast.
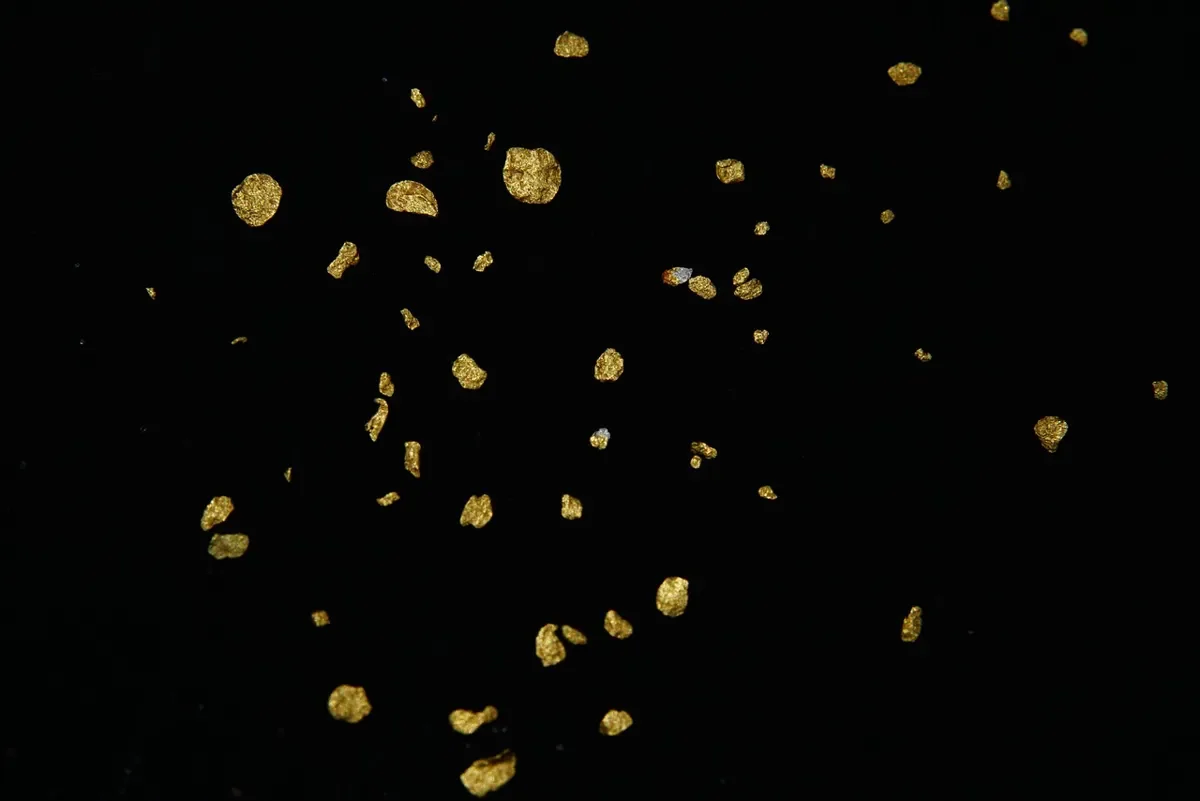
That matters because not all glitter is built the same. Sellers of cosmetic-grade glitter describe polyester (PET) glitter with a lacquered coating as solvent resistant, while cheaper PVC glitter is described as not solvent resistant, and some dyed glitter can leach color into solvents. Those descriptions come from retailers and nail-polish suppliers rather than woodworking sources, so treat them as a warning to test, not a guarantee.
The practical rule: before you spray a finished piece, glue a pinch of the same glitter to a scrap of the same wood, let it dry, and spray it with your chosen sealer. Wait for it to dry and look for color that has run, flakes that have curled or metallic glitter that has dulled. It costs a few minutes and saves a project.
How to Seal Glitter on Wood Step by Step
Step 1: Prep the wood and glue the glitter
Sand the wood smooth (180 to 220 grit is a sensible range for craft pieces) and wipe off the dust. The Polycrylic data sheet asks for a surface that is dry and free of wax, grease and polish, and that applies just as much here: if the board was ever waxed or oiled, the glue and sealer may not grip evenly. Apply glue or a decoupage medium in a thin, even layer, sprinkle the glitter generously, then tap off the excess.
Step 2: Let everything dry completely
If the glue is still soft under the flakes, the sealer solvent can loosen it and the glitter will slide. Leave the piece overnight at minimum (a rule of thumb, not a label figure), longer for a heavy glue layer or humid weather. Polycrylic’s data sheet notes that lower temperature, higher humidity and thick coats all extend drying times, and the same logic applies to your glue.
Step 3: Knock off loose flakes
Tip the piece over and tap it, then use a soft, dry brush to remove flakes that are not stuck. Anything left loose will get trapped in the sealer as a gritty bump or blow around during spraying.
Step 4: Spray a light mist coat
Shake the can as directed (Minwax says two minutes for Polycrylic spray, Mod Podge says at least one minute), hold it 6 to 8 inches away and keep it moving. The first pass should be a light mist, not a wet coat. A heavy blast of aerosol can physically push loose glitter around and pool in the recesses between flakes. Let it dry to the touch, which is roughly 15 to 30 minutes depending on the product.
Step 5: Build thin coats
Apply two to three more thin coats, waiting the between-coat time on your can. Minwax’s data sheet calls for at least three coats on unfinished wood and two on already-finished surfaces, which is a useful guide: raw wood soaks up the first coats, while painted or previously finished wood needs fewer. Stop when the surface looks uniformly sealed and no flakes lift when you brush your finger lightly across the surface.
Step 6: Cure before you use it
Keep the piece somewhere warm, dry and dust-free for the full cure period on the label: 24 hours before heavy use for Polycrylic and up to 48 hours for Mod Podge sealer. Do not sand between coats unless you have to. Mod Podge’s page suggests light sanding with 400-grit or finer between coats, but sanding scuffs glitter flakes, so on a glittered surface it is better to build thin coats and skip it (my judgment, not a manufacturer instruction).
Brush-On Polycrylic, Resin and Dimensional Magic
Brush-on Polycrylic or polyurethane
If you want a harder film than a craft spray gives, brush-on Polycrylic is the practical wood-finishing choice: it is described as non-yellowing and non-ambering, and Minwax says it is for interior wood such as furniture, doors and cabinets. Two cautions from the label. It should not go over red mahogany stain, and Minwax notes ambering can happen when the spray version is applied over white or light-colored paints and stains, so spot test on a hidden area. Minwax also says not to use it on floors. Because bristles can drag flakes, always seal with two or three spray coats first, then brush. Stir Polycrylic rather than shaking it, which the label says to avoid, to prevent bubbles. For a deeper comparison of water-based and oil-based topcoats, see our wood finishing guide and Danish oil versus polyurethane.
Epoxy resin
Epoxy gives the thickest, glass-like coat and buries the glitter completely, which is why it is used on tabletops and coasters. It is a two-part product that needs accurate mixing and a level, dust-free surface, and it cures far more slowly than a spray. Follow the resin manufacturer’s mix ratio and cure times exactly, since they vary by brand. For small wood pieces such as coasters, our guide on how to seal wood coasters covers finish choices that also hold up to heat and moisture.
Mod Podge Dimensional Magic
Dimensional Magic is a squeeze-bottle product that dries to a domed, epoxy-like layer in about 24 hours. It works for small accents like letters and borders, and it is not designed to coat a whole board.
Troubleshooting Glitter Sealing Problems
| Problem | Likely cause | Fix |
|---|---|---|
| Flakes slide or clump under the spray | Glue not fully dry, or the first coat was too heavy | Let it dry longer; on the next piece use a lighter mist and keep the can 6 to 8 inches away |
| Color runs or metallic flakes go dull | Glitter coating reacts with the sealer solvent | Scrap test first; switch glitter type (PET polyester) or seal with a different product |
| Cloudy or milky patches | Coat too thick, or humid air slowed drying (Minwax notes humidity extends dry times) | Let it cure fully, then apply a very thin coat; work in low humidity |
| Runs or drips | Spraying too close or too long in one spot | Stop, let dry, then correct with a thin coat; keep the can moving |
| Loose flakes still come off | Too few coats or glue layer too thin | Add coats; for the next piece, apply a thicker layer of glue |
| Yellow tint on a white or light piece | Some finishes can amber over light paint (noted on the Polycrylic aerosol data sheet) | Spot test; choose a non-yellowing clear and confirm on scrap |
Safety When Spraying Sealers Indoors
Aerosol sealers are flammable and give off solvent vapor. Minwax’s data sheet says to spray only in a ventilated area, away from sparks, heat and open flames, with no smoking, and to use NIOSH-approved respiratory protection if you get dizziness, headaches or watery eyes. Work outdoors or by an open door, and keep the can away from water heaters and pilot lights. A basic dust mask does not filter solvent vapor.
If your glittered wood is a kid’s craft, keep in mind that a sealed, fully cured surface still is not a food-safe or toy-safe finish unless the product label says so.
FAQ
Can I seal glitter on wood with hairspray?
Hairspray is not made as a protective finish. It may hold loose flakes for a while, but it stays tacky over time and does not give a durable film, so use a sealer meant for crafts or wood.
How many coats do I need to seal glitter?
Follow the can. Minwax calls for at least three coats on unfinished wood and two on finished surfaces, and Mod Podge suggests two to three thin coats. Thin coats matter more than the count.
Should I brush or spray a sealer over glitter?
Spray the first coats, because brushing drags loose flakes. Once two or three thin spray coats have locked the glitter, you can brush a clear finish such as Polycrylic on top for extra protection.
Will the sealer change my glitter color?
It can if the glitter uses dyes or coatings that react to solvents. Test the sealer on a scrap first, and pick a non-yellowing product; Polycrylic is described as non-yellowing and non-ambering, but Minwax still recommends a spot test over light paints.
Can I use sealed glitter wood outdoors?
The craft sealers covered here are rated for interior use, so they are not a reliable outdoor finish. For outdoor pieces, use an exterior-rated finish designed for the wood itself.
Related reading: sealing acrylic paint on wood, sealing painted rocks and removing glitter from a wood floor.
Sponsored / affiliate links. As an Amazon Associate I earn from qualifying purchases. I may earn additional commission from eligible campaigns.