How to Brand Your Woodwork: 5 Ways to Mark Your Pieces
To brand your woodwork, choose one simple, bold mark and one method to apply it. A heated brass branding iron gives a permanent one-press mark, laser engraving gives you the most design freedom, and stamp tips, burn pens or wooden tags cover small jobs and pieces you would rather not heat.
Most advice on this topic is about marketing. This guide is about the physical mark itself: which method fits which piece, what a logo has to look like to survive heat, and how to avoid ruining a finished project with a scorched or smeared brand. If you already own an iron and just need the technique, the step-by-step is in our guide to branding wood with an iron.
Five Ways to Brand Your Woodwork, Compared
Best Electric Branding Handle Pick
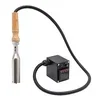 |
VPABES Electric Branding Iron, 300W, Digital Display (handle only, $106.99) If you plan to mark more than a handful of pieces, a handle with a real temperature readout beats guessing with an open flame.
|
Before you spend anything, decide what the mark has to do. A signature on the underside of a stool is a different job from a logo on a cutting board that will be photographed for a shop listing. This table lays out the five common methods side by side.
| Method | How it marks | Best for | Main limit |
|---|---|---|---|
| Heated branding iron | One press of a heated brass head burns the mark in | Repeating the same mark on many pieces | Custom head has a fixed design and size |
| Laser engraving | A laser burns or removes wood along a digital file | Changing designs, serial numbers, fine detail | Needs a machine or a service, plus eye protection and ventilation |
| Stamp tips on a burn pen | Letter or symbol tips are pressed one at a time | Initials, dates, short labels | Slow and hard to keep straight for long text |
| Freehand pen burning | A pen traces the mark by hand | One-off pieces and signatures | Every mark is slightly different (see our burning designs into wood tips) |
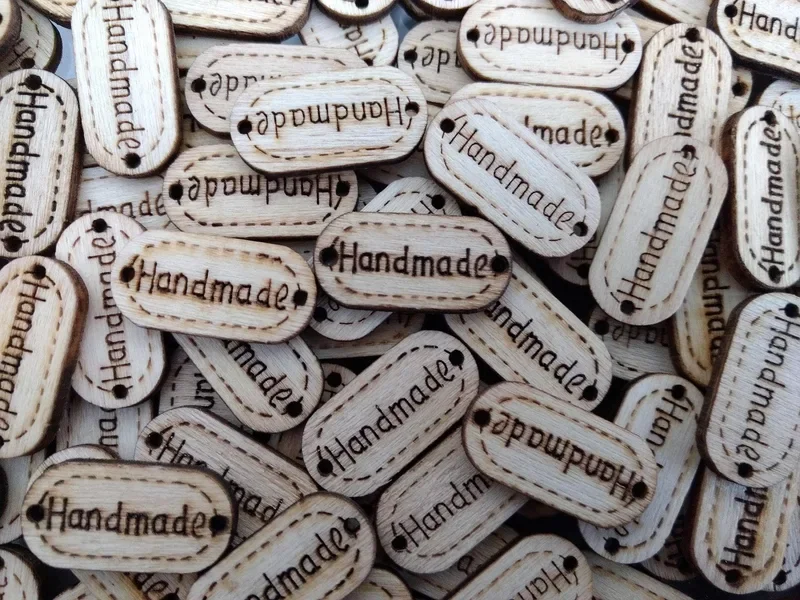
| Tags, labels or hangtags | The mark goes on a separate tag or sticker | Thin, finished, or delicate pieces | Can be removed, so it is not a permanent mark |
There is no rule that one method has to cover everything. Plenty of makers brand the underside of solid pieces with an iron and use a tag on anything too small, thin, or finished to take heat. The consistent part is the mark, not the tool.
Electric or Flame-Heated Branding Irons
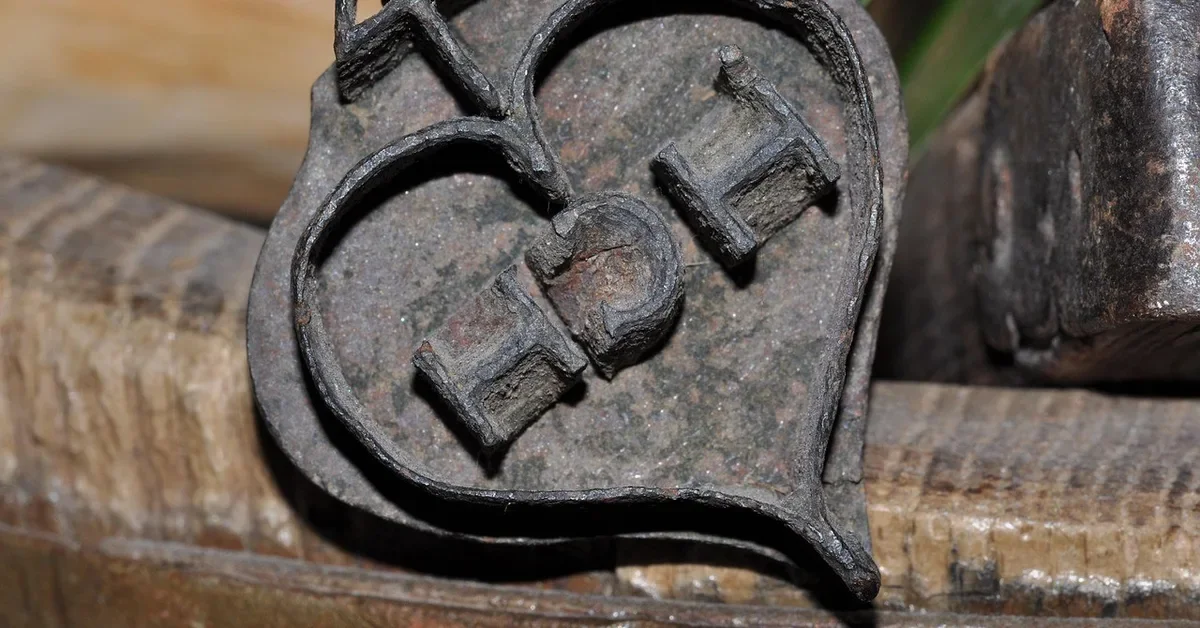
A branding iron is a brass head on the end of a handle. The head is heated and pressed into the wood, so the design is burned in by contact. Two heating styles dominate: electric handles that screw onto interchangeable heads, and one-piece irons that you heat over a flame.
Electric handles are the easier place to start because you can set the temperature and get the same result twice. The listing for the custom electric iron we checked describes the routine plainly: plug it in and let the head heat for 5 to 8 minutes, press for 3 to 5 seconds, then adjust the temperature to suit the material. Its custom heads come in seven sizes from 1 inch to 4 inches. The listing for the handle in our product box above gives a 32 to 752 F range and asks for 5 to 10 minutes of warm-up.
Flame-heated irons are simpler and cheaper, but there is no thermostat. You judge the heat by eye and by how the last mark looked, which is workable for one or two pieces and frustrating for a batch. The mark tends to come out darker when the head is hotter and lighter as it cools between presses, so expect more test burns on scrap.
One thing catches buyers out: some electric branding handles are sold without any stamp at all. The handle in our product box says so on its listing, and it takes M5 screw-thread heads. Check whether a listing includes the head you need before you order, and confirm the head thread matches the handle.
What a Branding Iron Actually Costs Per Mark
The upfront price looks steep until you spread it over your output. Using the $56.99 price shown on an in-stock custom electric iron listing on September 30, 2026, the iron cost alone works out like this. Prices change, and custom sizes and designs can change the total, so treat it as a way to think about volume rather than a quote.
| Pieces branded | Iron cost per mark |
|---|---|
| 25 | $2.28 |
| 100 | $0.57 |
| 500 | $0.11 |
Listings I checked the same day ran from $9.99 for a custom brass logo stamp to $106.99 for an electric handle with digital control and no head. If you brand a few pieces a year, a low-cost stamp or a tag is the sensible choice. If you brand every piece you sell, the iron pays for itself quickly.
Design a Mark That Survives the Heat
Here is the misconception that costs people the most: a logo that looks sharp on a screen or a printed label will burn cleanly. It usually will not. Heat spreads sideways into the grain, so hairline strokes blur, small enclosed spaces fill in, and tiny text turns into a smudge. A mark for wood has to be designed for wood.
- Use bold strokes. Ask the iron maker for their minimum line width and stay well above it. Thin serif type and delicate flourishes are the first things to fail.
- Keep it to one idea. A monogram inside a simple shape works. A monogram, a slogan, a tree and a border in the same 2-inch circle does not.
- Leave breathing room. Gaps inside letters like A, B and e close up if they are too tight. Open them up in the artwork.
- Size it to the piece. Iron heads commonly run from 1 to 4 inches, but a 4-inch mark on a small box looks like a shouting match. Pick the smallest size that reads clearly.
- Approve a proof. Custom heads are often non-returnable, so check that the proof reads the right way round and that nothing has been simplified beyond recognition.
If you want a mark with fine detail, laser engraving is usually the better fit because the laser follows a digital file and can hold thinner lines than a brass head. Our guide to the tools used for etching wood covers that route, and our page on wood burning stamps compares stamp tips with custom irons in more detail.
Where and When to Put the Mark
- Brand before finishing. Oil, varnish and lacquer can smoke, discolor and blur under a hot head, so mark bare wood and finish afterward.
- Test on a scrap of the same species. Dense hardwood and soft pine take heat differently, so a setting that looks right on pine can barely show on maple.
- Choose one consistent spot. The underside, the back edge or the inside of a drawer are the usual choices. Pick one and keep it, so buyers learn where to look.
- Use a flat, solid area. Avoid edges, end grain and heavy figure where the mark will distort.
- Skip the wrong materials. Do not brand MDF, plywood, painted wood or treated lumber. The glue in engineered boards and the chemicals in treated wood are not something to heat, and our page on burning treated wood explains why.
Burn and Fume Safety
A branding iron is a tool that sits at high temperature for minutes at a time, so give it the same respect as any other shop hazard.
- Rest a hot iron on a heat-proof stand, never on the bench or on a stack of offcuts, and let it cool fully before you put it away.
- Work with good ventilation, because burning wood and finishes gives off smoke.
- Keep rags soaked in oil-based finishes away from the work area and dispose of them properly. Those rags can heat up on their own.
- Wear leather or heat-resistant gloves and keep your free hand out of the path of the head.
- If you use a laser, follow the manufacturer instructions for eye protection and extraction. Laser modules carry class warnings for a reason, and the goggles need to match the laser wavelength.
Make the Mark Part of Your Brand
Once a mark works on wood, use it everywhere. Put the same symbol on hangtags, packaging, your shop listings and your social profiles so a buyer who finds a piece years later can trace it back to you. A physical mark also helps with repeat business: people who see it on the underside of a piece often remember who made it.
The rest of the work is ordinary marketing, and it is covered in our guide to promoting your woodworking business. Keep the story honest. Share how you actually build, which woods you use and how you finish, rather than claims you cannot back up.
Frequently Asked Questions
How do I put my maker’s mark on woodwork?
Pick a bold, simple design and apply it in one repeatable way. A heated brass branding iron is the most common choice for a permanent mark, while laser engraving, stamp tips and tags cover other cases. Mark bare wood before finishing and test on a scrap of the same species first.
What is the best way to brand wood permanently?
A heated branding iron or a laser engraver gives a permanent mark. An iron is a one-press method suited to repeating the same design, while a laser can handle fine detail and changing designs but needs a machine and eye protection.
Can I brand a finished piece?
It is not ideal. Finishes can smoke, discolor and blur under a hot head. Brand the wood before finishing, or use a tag or label on a piece that is already finished.
Is it safe to brand plywood or MDF?
It is best to avoid it. Engineered boards contain glues and binders, and burning them is not a good idea. Brand solid, untreated, unpainted wood instead, and use a tag on other materials.
Conclusion
Branding your woodwork comes down to a bold mark, a method that fits the piece, and consistency. Use an iron for repeatable permanent marks, a laser for fine detail, and tags for anything you would rather not heat. Test on scrap, brand before finishing, and keep the mark in the same place every time.
Sponsored / affiliate links. As an Amazon Associate I earn from qualifying purchases. I may earn additional commission from eligible campaigns.