Epoxy for a Live-Edge Table: Deep-Pour vs. Tabletop Formula
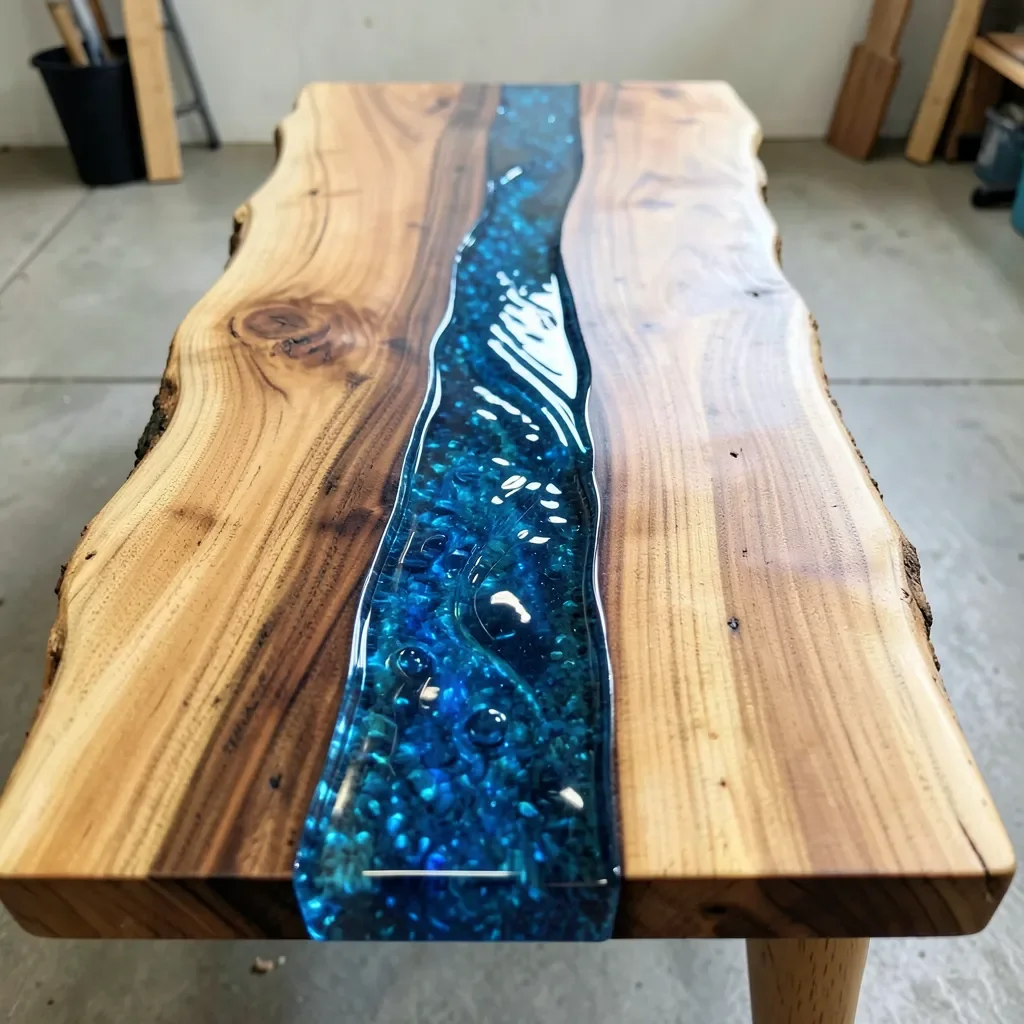
Deep-pour epoxy resin, not standard tabletop or coating epoxy, is what fills the gap in a live-edge table – a standard tabletop epoxy is only rated to cure properly in thin layers (usually under 1/2 inch), and pouring it deep to fill a river or bark-edge gap causes it to overheat, crack, or cure cloudy as the exothermic reaction traps heat in the thick pour.
Deep-Pour vs. Tabletop Epoxy
Best for Sealing Wood Before an Epoxy Pour
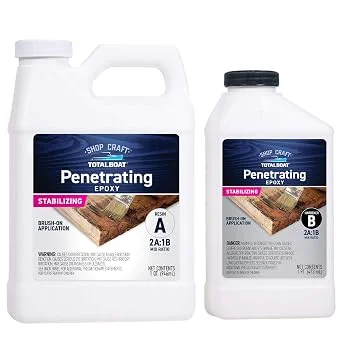 |
TotalBoat Clear Penetrating Epoxy Wood Sealer – $59.99 A penetrating wood sealer is exactly the seal-coat step this guide recommends before the main deep pour, trapping outgassing that would otherwise show up as bubbles.
|
Deep-pour formulas are engineered with a slower cure and lower peak exotherm specifically so they can be poured in layers up to 2 inches deep without cracking, while tabletop epoxy is optimized for a fast, crystal-clear thin coat. Using tabletop epoxy for a deep river-table pour is one of the most common and expensive mistakes in this project – the resin can crack days or weeks after it looks fully cured, once the table’s already assembled.
Mold Construction for the Pour
A leak-proof mold built from melamine board (which epoxy doesn’t stick to) sealed at every seam with silicone caulk contains the pour without leaking – a single unsealed gap can drain an expensive batch of epoxy across a workshop floor mid-pour, making mold preparation worth as much care as the pour itself.
Sealing the Wood Before You Pour
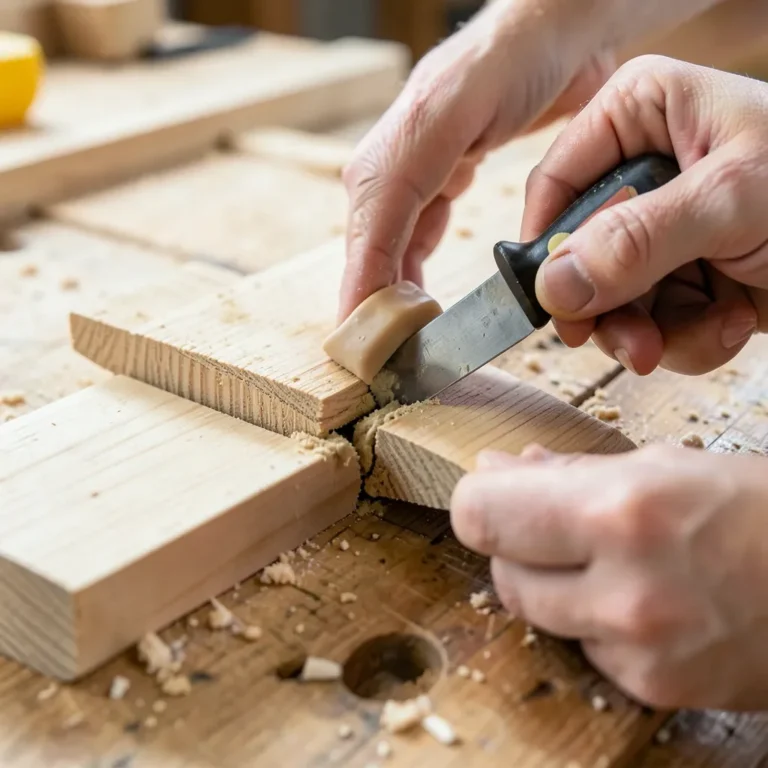
Unsealed live-edge wood, especially bark and punky or spalted sections, releases trapped air as bubbles into the epoxy during cure – a thin seal coat of epoxy brushed onto the wood and bark first, left to cure before the main pour, traps that outgassing in a layer you can sand away rather than leaving bubbles suspended in the final clear pour.
Choosing a Color for the River
Alcohol-based pigments or dedicated epoxy tints mix into deep-pour epoxy for a colored river effect, with blues and greens being the most popular choice for a water-like look, though the pigment amount needs care – too much can make the epoxy cure improperly or turn opaque instead of translucent. Test any new pigment in a small mixed batch on scrap before committing it to the full pour.
Working Time and Room Temperature
Epoxy cures faster in a warm room and slower in a cool one, which affects both working time (how long you have to remove bubbles and adjust before it starts setting) and total cure time before the surface can be sanded or used. A consistently 70-75°F room gives predictable results matching most product data sheets; a cold garage workshop in winter can extend cure time significantly beyond the label’s stated hours.
Pour in Layers Even With Deep-Pour Formula
Even deep-pour epoxy is usually poured in stages (typically 1/2 to 1 inch per layer, waiting for each to reach a tacky “green” stage before the next) for anything deeper than about 2 inches, rather than one single massive pour. This controls heat buildup layer by layer instead of all at once, which is the actual mechanism keeping the resin from cracking – not the total volume alone.
Sanding and Finishing the Cured Epoxy
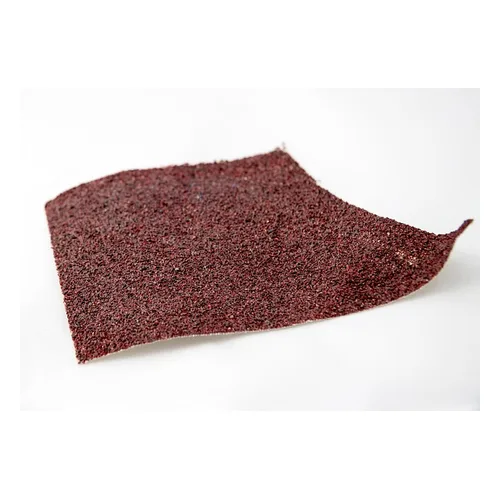
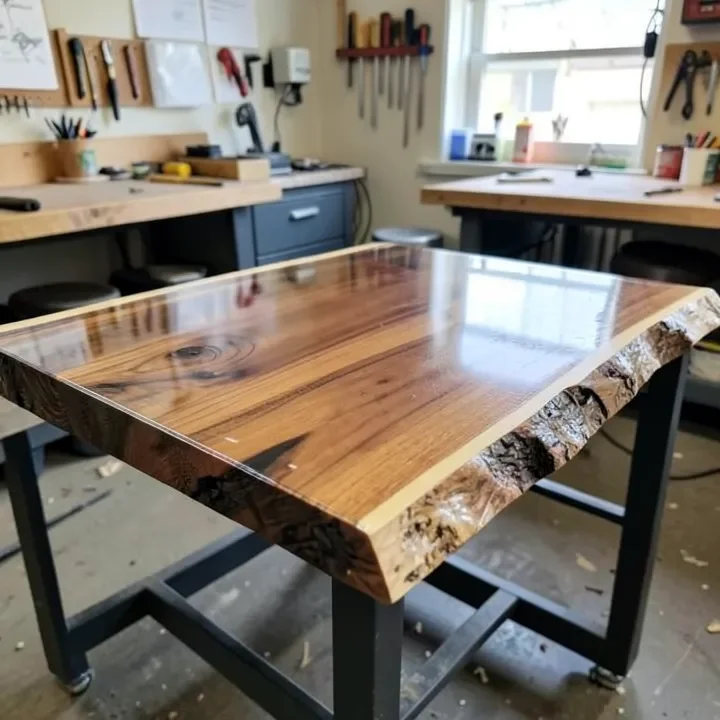
Once fully cured, epoxy is sanded progressively from coarser to finer grits (often starting around 120 and working up past 400) to level any high spots and remove the slightly tacky “amine blush” some epoxies develop on the surface during cure, followed by a wet-sand and polish for a glass-clear final finish. Skipping the blush removal step before applying a wood finish over the surrounding wood can leave a hazy film that never fully clears.
UV Stability of Cured Epoxy
Standard epoxy yellows over time with UV exposure, which matters for a table placed near a sunny window or used outdoors – a UV-stabilized topcoat or epoxy formula specifically rated for UV resistance prevents the amber discoloration that would otherwise develop within a year or two of regular sun exposure on an unprotected pour.
Budgeting for a Full Table Project
A deep-pour epoxy river table typically needs 1-3 gallons of resin depending on the river’s width and length, at $50-100+ per gallon for quality deep-pour formula – a real cost to budget for before starting, since running short mid-project and needing to color-match a second batch is a common and avoidable frustration.
Frequently Asked Questions
Can you use regular epoxy for a live-edge table?
No, not for a deep pour – standard tabletop epoxy is meant for thin coats and can crack or cure cloudy when poured deep enough to fill a river or bark gap.
How deep can you pour epoxy in one layer?
Even deep-pour formulas are typically limited to about 1/2 to 1 inch per layer for pours deeper than 2 inches total, to manage heat buildup during curing.
Why do bubbles show up in live-edge epoxy pours?
Unsealed wood, especially bark and porous or spalted sections, releases trapped air into the epoxy during cure. A pre-sealed base coat traps this outgassing before the final clear pour.
Sponsored / affiliate links. As an Amazon Associate I earn from qualifying purchases. I may earn additional commission from eligible campaigns.