How Is Veneer Made? Rotary, Plain, Quarter & Rift-Cut Explained
Veneer is made by softening logs in hot water or steam, then cutting them into sheets with a lathe or a slicing knife. The four common cuts (rotary, plain-sliced, quarter-sliced and rift-cut) set the grain look, the waste and the price. Finished leaves can be as thin as 1/40 inch. This guide walks through each stage, from log yard to dried, graded, backed sheet.
What Is Veneer Made From?
Veneer is made from real wood. Each leaf is a thin slice of a hardwood or softwood log, which is why a veneered tabletop has genuine oak or walnut grain on its face. The slice is then bonded to a more stable core such as plywood or MDF, and the core does the structural work.
Best Veneer Sheet Pick
 |
Edge Supply Red Oak Flat Cut Peel and Stick Wood Veneer Sheet (24 x 96 in), $79.99 A real flat cut (plain-sliced) red oak sheet shows the cathedral grain described in the cutting section below, and its 3M peel-and-stick layer is the pressure-sensitive backer type covered in the backing section.
|
As an Amazon Associate we earn from qualifying purchases.
Not every sheet you can buy is plain raw wood. According to Wikipedia’s wood veneer entry, the main forms are raw veneer with no backing, paper-backed veneer that can be joined into large sheets, phenolic-backed veneer, reconstituted veneer made from laminated blocks of dyed fast-growing species, and two-ply “wood on wood” sheets that pair a decorative face with a utility backer. The sections below cover how the wood itself becomes a sheet.
Veneer can be manufactured as thin as 0.64 mm (1/40 in), while historic sawn veneer was cut around 3 mm (1/8 in) thick. Source: Wikipedia, Wood veneer
Step 1: Choosing and Preparing the Log
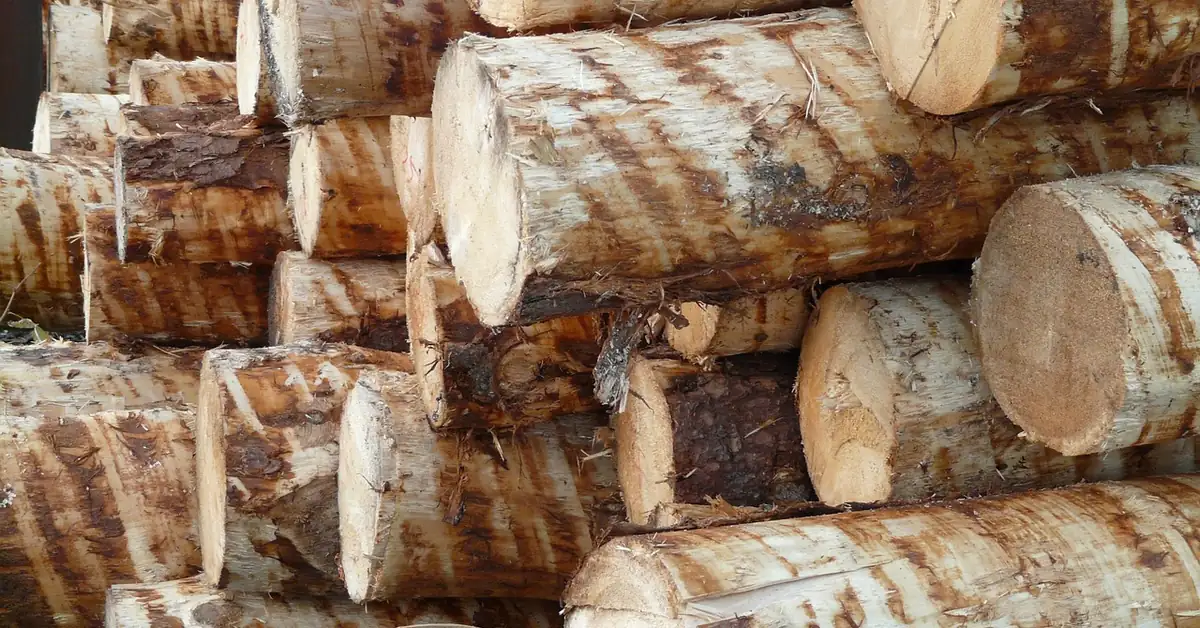
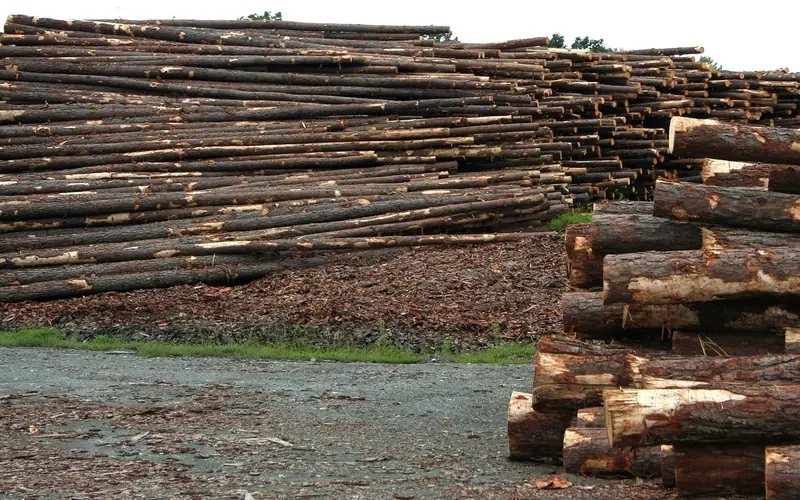
Veneer production starts with log selection. A sheet this thin shows every knot, stain and ring defect, so mills favor clean, straight logs for decorative faces and save lower-grade logs for cores and utility panels. Bark is removed, and logs are cut into shorter blocks or pieces (a piece of log destined for the slicer is called a flitch) that match the machine they will feed.
Step 2: Softening the Log With Hot Water or Steam
Before cutting, logs are heated, usually by soaking in hot water vats or by steaming. Research from the US Forest Service Forest Products Laboratory and Aalto University explains why: heating logs before peeling softens the wood, gives veneer with lower surface roughness and reduces the severity of knife checks (the fine cracks a blade opens in the sheet). It also reduces knife wear and the amount of adhesive consumed later.
Temperatures and times depend on species, mill and season. In Nordic plywood mills the soaking temperature commonly ranges from 20 to 70 degrees C (68 to 158 degrees F). One industry guide describes hot water vats at 140 to 180 degrees F for 24 to 72 hours. That is a wide spread, and it is one reason two mills can produce slightly different looking veneer from the same species.
Soaking temperature mattered more than peeling temperature. In a birch veneer study, logs soaked at 70 degrees C and peeled cold behaved much like logs soaked and peeled hot, because heat caused lasting changes in the wood surface that also affected glue bond strength. Source: Rohumaa et al., BioResources, 2016
Step 3: The Four Ways Veneer Is Cut
This is the stage that decides how a sheet looks. The same species can give four different faces depending on how the knife meets the growth rings. Wikipedia notes that the cutting process creates distinctive grain patterns while distorting the wood slightly, and that each pass of the blade leaves a “loose” side, where cells are opened by the knife, and a “tight” side.
Rotary-Cut Veneer
The log is turned against a very sharp blade and peeled off in one continuous or semi-continuous roll, a bit like unrolling paper. Rotary cutting is used mainly for plywood. Because the knife follows the rings around the log, the grain on the sheet is broad and irregular, and nearly the whole log becomes usable sheet.
Plain-Sliced (Flat-Cut or Crown-Cut) Veneer
A half log or flitch is raised and lowered against the knife, producing sheets that look like sawn boards. The blade runs parallel to a line through the center of the log, which exposes the looping “cathedral” arches. Oakwood Veneer describes plain slicing as the cut that produces the least waste and the most economical sheets, and also the one most likely to move with humidity changes.
Quarter-Sliced Veneer
The log is first cut into quarters, and each quarter is sliced at roughly 90 degrees to the growth rings. The result is straight, parallel grain. In oak, the knife cuts across the medullary rays and shows them as flake or “tiger” figure, which is the look associated with Arts and Crafts and Mission furniture.
Rift-Cut Veneer
In rift cutting the log is rotated during slicing so the knife avoids the medullary rays altogether. That leaves the straightest, tightest and quietest grain of any cut, with no flake. The price is yield: Oakwood Veneer calls rift cut the cut that produces the most waste, needs the most labor and costs the most, although it stays more stable through seasonal changes than plain-sliced veneer.
A fifth, older route is sawn veneer. Before slicing machines, veneers were sawn in layers around 3 mm (1/8 in) thick, which turned a large share of the wood into sawdust. Thin knife-cut veneer largely replaced it.
How the Cut Changes Cost, Waste and Stability
Product pages usually just list the cut name. This table puts the practical trade-offs side by side so you can match a cut to a job.
| Cut | How the knife meets the log | Grain you see | Waste and cost | Typical use |
|---|---|---|---|---|
| Rotary | Log spins against a fixed blade | Broad, wild, irregular | Lowest waste, lowest cost | Plywood faces and utility panels |
| Plain-sliced | Flitch moves up and down, parallel to center line | Cathedral arches | Low waste, economical | Cabinet doors, furniture faces, book-matched panels |
| Quarter-sliced | Quarter log, about 90 degrees to rings | Straight stripes, flake in oak | Higher waste and cost | Mission-style and traditional furniture |
| Rift-cut | Log rotated to avoid the rays | Tight, straight, no flake | Highest waste, labor and cost | Modern, uniform-look millwork |
Here is the practical angle most explainers skip: you can usually identify the cut from the face of a finished panel. Broad, swirling grain with no repeating pattern points to rotary. Repeating arches point to plain-sliced. Parallel stripes with shimmering flecks across them in oak point to quarter-sliced, and parallel stripes with no flecks point to rift-cut. If a listing does not name the cut, those cues tell you what you are buying.
Step 4: Drying, Clipping and Grading
Freshly cut sheets are wet from soaking and from the tree itself, so they go through a dryer. One veneer guide gives a drop from 50 to 80 percent moisture content down to 6 to 12 percent for most uses. In the birch study, sheets were dried at 160 degrees C in a laboratory-scale veneer dryer to an average 6 percent moisture. Sheets are cut slightly oversize because they shrink while drying, as Wikipedia’s plywood entry notes.
After drying, leaves are clipped to size and graded for knots, color and flaws. Sheets from one log are kept in the order they were cut, which is what makes matched sets possible later. Veneer that comes off the same flitch in sequence has nearly identical grain from one leaf to the next, so a mill can sell consecutive sheets together.
Matching and Backing: From Leaves to Usable Sheets
A single leaf is only as wide as the log or flitch, so wide faces are assembled from several. The common arrangements are:
- Book match: consecutive leaves opened like book pages, giving a mirror image at the joint.
- Slip match: leaves laid side by side in sequence, so the grain repeats rather than mirrors.
- Random match: leaves from different logs or places, with no attempt to line up the grain.
- End match: leaves matched in both directions for a larger pattern.
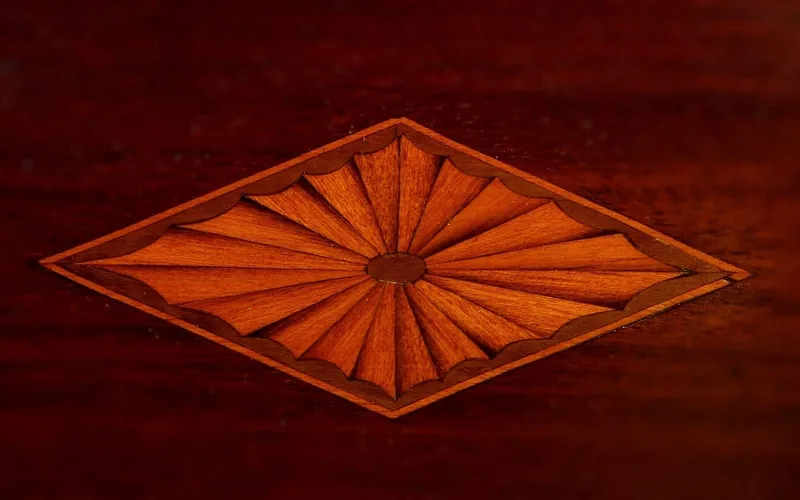
Because book-matched leaves are flipped like pages, one leaf shows its loose side and its neighbor shows its tight side. Under a stain the two halves can look slightly different in tone, so test the finish on a scrap pair first.
Backers make thin wood easier to handle. Paper-backed veneer comes in thicknesses such as 10 mil and 20 mil, pressure-sensitive adhesive (peel and stick) sheets skip the glue step, two-ply sheets use a wood backer, and phenolic-backed veneer is rigid and made for tougher conditions. Raw veneer is the most forgiving for curved work but needs the most skill, while backed sheets suit beginners and flat panels. For choosing glue, see our guide to the best glue for wood veneer.
How Veneer Becomes Plywood and Veneered Panels
Plywood is the biggest user of rotary veneer. According to Wikipedia’s plywood entry, plies in standard softwood plywood vary from 1.4 mm to 4.3 mm, and each layer is set with its grain perpendicular to its neighbors, a layout called cross-graining that reduces splitting and improves stability. Indoor panels use urea-formaldehyde glue, while outdoor and marine panels use phenol-formaldehyde or resorcinol-formaldehyde glue. Panels are pressed at temperatures of at least 140 degrees C (284 degrees F) and pressure up to 1.9 MPa (280 psi).
Formaldehyde is a real consideration with these glues. The same source notes that low-emission plywood carries an “E” rating and that E0 panels have effectively zero formaldehyde emissions, so if you are building indoor furniture for a bedroom or nursery, check the emission rating on the core panel, not just the veneer. Ventilate the room and wear a dust mask when sanding any veneered panel.
For decorative work the process is the same idea at a smaller scale: a thin sliced face is glued to a core and trimmed. Our guides on veneer core plywood versus MDF and lumber core and applying veneer to MDF cover what to put underneath it.
Three Veneer Myths, Corrected
- “Veneer is fake wood.” It is real wood. What differs from solid lumber is thickness, not material, and the slice can show the same grain and take the same finish as a board cut from that log.
- “All veneer is cut the same way.” Rotary-cut plywood face veneer and rift-cut oak are very different products, with the rift-cut sheet costing the most and wasting the most of the log.
- “Thin means flimsy.” A veneered panel is only as stable as its core and glue line. Cross-grained plywood and well-made MDF are stable cores, while the veneer layer mainly decides appearance. Because it is thin, though, heavy sanding can go through it, a point covered in our guide to refinishing wood veneer.
What to Do With Veneer Once You Have It
Knowing how veneer is made helps you pick the right sheet and avoid the usual mistakes. Match the cut to the look you want, check the backer type before you buy glue, and let the sheet acclimate before gluing so moisture does not curl it. For the application steps, read our guides to how to veneer wood and how to glue veneer to wood. If you need to estimate how much to order, the wood veneer calculator converts panel sizes into square footage, and if you plan to change the color, see how to paint veneer furniture.
Frequently Asked Questions
What Is Veneer Made From?
Veneer is made from thin slices of real wood, cut from logs by peeling or slicing. The slices are usually bonded to a core such as plywood or MDF. Some products add a paper, adhesive or wood backer, and reconstituted veneer is made from laminated blocks of dyed fast-growing wood.
How Is Wood Veneer Made Step by Step?
Logs are selected and cut to length, softened in hot water or steam, then cut into thin sheets by rotary peeling or by plain, quarter or rift slicing. The sheets are dried, clipped to size, graded and kept in sequence. They are then matched, backed if needed, and glued to a core panel.
How Thin Is Veneer?
Veneer can be made as thin as 0.64 mm, or 1/40 inch. Plies used for standard softwood plywood run from 1.4 mm to 4.3 mm. Older sawn veneer was around 3 mm thick, which is much thicker than modern knife-cut sheets.
Why Are Logs Steamed or Soaked Before Cutting Veneer?
Heating softens the wood so the knife cuts a smoother sheet with fewer knife checks, the fine cracks a blade can open. Research from the US Forest Service and Aalto University also found it reduces knife wear and adhesive use, and that hot soaking changes the wood surface in ways that affect glue bonding.
What Is the Difference Between Quarter-Sliced and Rift-Cut Veneer?
Quarter-sliced veneer is cut at about 90 degrees to the growth rings and shows flake in oak. Rift-cut veneer is cut with the log rotated to avoid the medullary rays, so it has straight grain without flake. Rift cut wastes more of the log, takes more labor and costs more.
Why Is Rotary-Cut Veneer Used for Plywood?
Rotary cutting peels a continuous roll off a spinning log, so it produces wide sheets quickly from nearly the whole log. That makes it the economical cut, and the broad irregular grain does not matter when the sheet is a ply inside a panel or a utility face.
Conclusion
Veneer making follows one chain: pick a log, soften it with heat, cut it by one of four methods, then dry, grade and match the sheets. The cut you choose sets the grain, the waste and the price, while the core and glue decide how stable the finished panel is.
Sponsored / affiliate links. As an Amazon Associate I earn from qualifying purchases. I may earn additional commission from eligible campaigns.