How to Build a Plywood Workbench: Double-Layer Top Method
To build a plywood workbench that won’t sag over time, laminate two 3/4-inch sheets face-to-face for the top instead of using one sheet, then build a 2×4 leg frame and attach the top with screws driven up through the frame’s top rails.
Most DIY workbench plans use a single sheet of 3/4-inch plywood for the top and call it done. The problem shows up six months later: set a vise or a bench grinder on one spot for a few weeks and that single sheet starts to dish and telegraph every seam underneath it. The fix woodworking shops actually use – gluing and screwing a second layer of plywood on top of the first, with the face grain running the opposite direction – is the one step most home guides skip. That’s the method this guide covers, along with the frame, the top, and the fasteners that keep it all together.
Plywood isn’t the only way to build a solid top, though – if you’d rather skip sheet goods entirely, laminating a top from 2×4 or 2×6 dimensional lumber gives you solid wood all the way through instead of veneer-faced plywood, at the cost of more clamps and a longer glue-up.
What You’ll Actually Need
Best Jig for Workbench Frame Joints
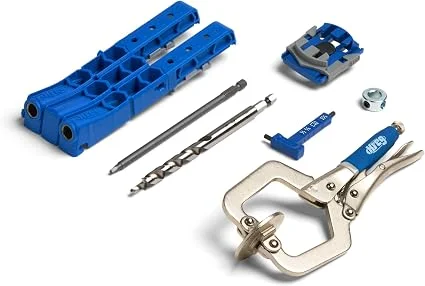 |
Kreg Pocket-Hole Jig 320 – $49.00 If you want the frame joints on this workbench to stay tight for years instead of racking loose, pocket screws through this jig beat toe-nailing or plain butt joints – it’s what most of the step-by-step below assumes you’re using for the leg-to-rail connections.
|
Here’s the full tools and materials list before you start cutting anything:
| Tools | Materials |
|---|---|
| Circular saw or table saw | Two 3/4″ plywood sheets (top) |
| Power drill/driver | 2×4 lumber (legs, rails) |
| Pocket-hole jig | 2×6 lumber (lower shelf, if adding one) |
| Square, tape measure, level | Wood glue and 1-5/8″ and 2-1/2″ wood screws |
| Clamps (at least 4) | 120-grit sandpaper |
Planning Your Workbench Dimensions
Measure the space you actually have before you cut a single board. A 4-foot by 2-foot top is a common starting size for a single-user bench against a wall; go 6 feet if you’ll be laying out full sheet goods on it. For height, match your own comfort rather than a generic number – stand naturally with your arms at your sides and set the top 1 to 2 inches below your wrist. For most adults that lands between 34 and 36 inches, which is also where hand-tool work (planing, chiseling) feels right without hunching.
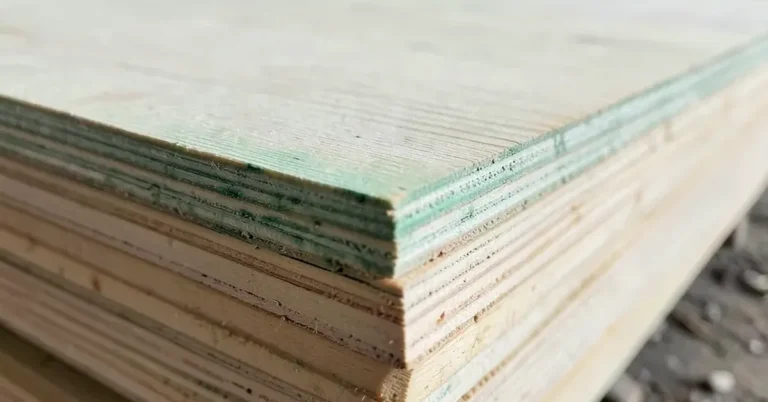
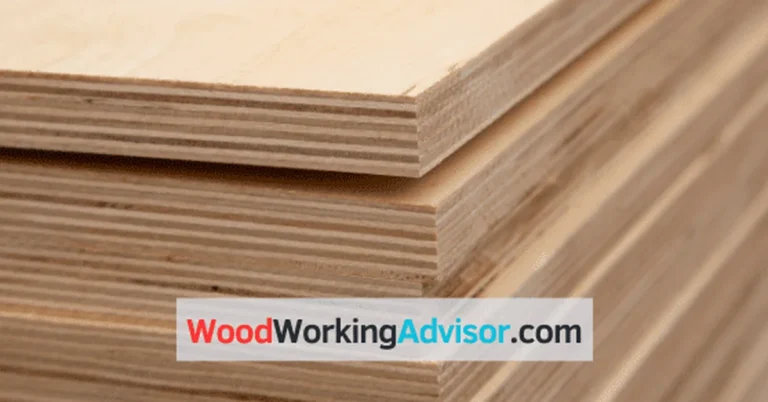
For the top itself, choose a plywood grade with a smooth, void-free face – cabinet-grade birch or a good exterior-rated plywood, not the cheapest sheathing-grade sheet at the lumberyard, which often has internal voids that telegraph through as soft spots. Buy one extra partial sheet; you’ll use the offcuts for the leg gussets and won’t need a second trip.
The Double-Layer Top Method That Stops Sagging
A single sheet of 3/4-inch plywood spanning an unsupported 24-inch gap between frame rails will visibly deflect under a concentrated load – a bench vise, a mounted grinder, a heavy assembly clamped down – because all of that sheet’s structural strength runs in one grain direction. Laminating a second 3/4-inch sheet on top, rotated 90 degrees so its face grain crosses the first sheet’s, turns the assembly into a plywood torsion box: each layer resists the other layer’s tendency to flex, the same principle full plywood I-beams and hollow-core doors use.
To do it: cut both sheets to identical final dimensions, spread wood glue evenly across the first sheet with a notched trowel or a scrap of cardboard, then set the second sheet on top rotated 90 degrees. Drive 1-1/4-inch screws through both layers on an 8-inch grid, working from the center outward to press out trapped air and squeeze-out. Clamp the edges while the glue cures. The resulting 1.5-inch top is dramatically stiffer than either sheet alone – in practice it will hold a stationary vise or a mounted bench grinder for years without developing the dish you’d see in a single-layer top.
Cutting and Assembling the Frame
Cut four legs to your target height minus 1.5 inches (to account for the top’s thickness) and square every cut with a speed square before you touch a drill. Cut the long and short rails that will connect the legs into two matching end frames, then a stretcher pair to tie the end frames together lengthwise.
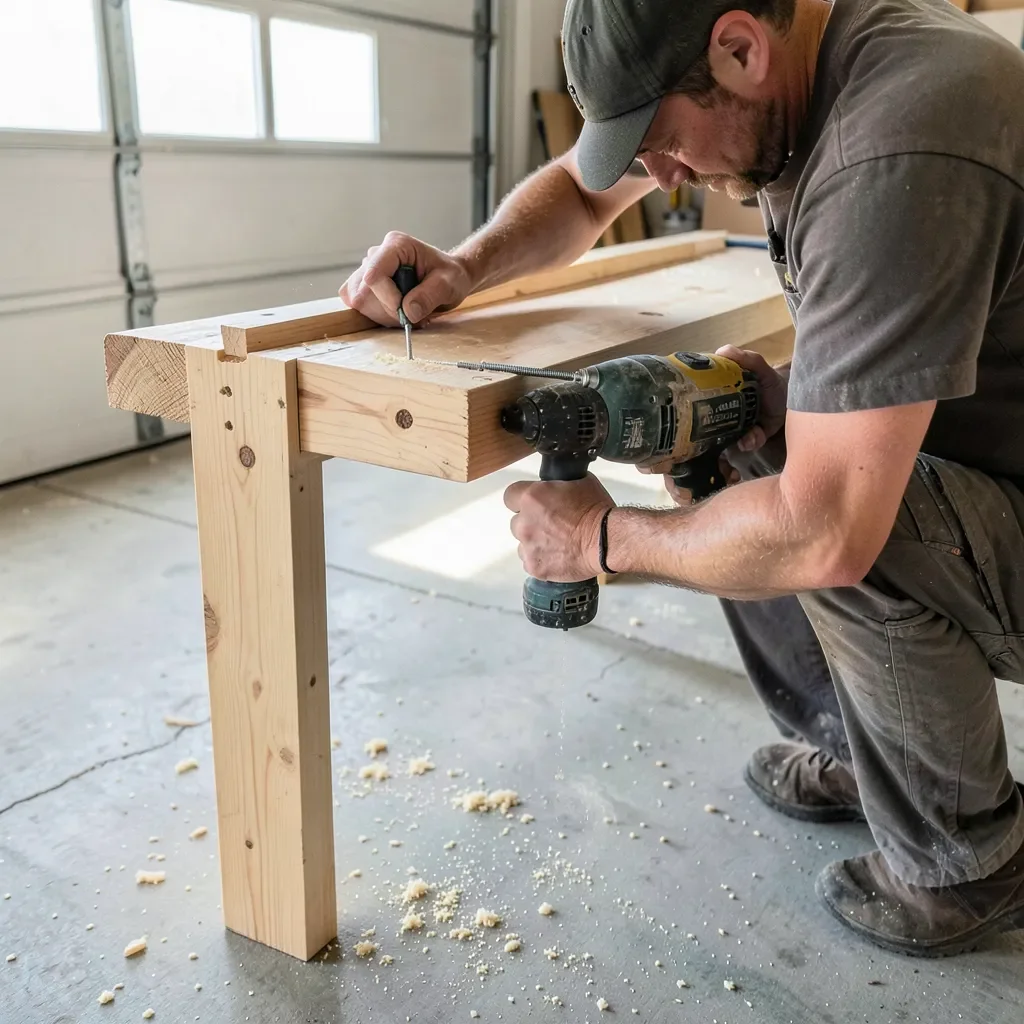
Use the pocket-hole jig from the materials list above to join rails to legs – two pocket screws per joint, angled so they pull the rail tight into the leg’s inside face. Pocket screws let you assemble the whole frame solo, without anyone holding pieces square while you drive fasteners, and the joint won’t show pilot holes on the outside face the way toe-screwing would.
Before moving on, check both end frames for square by measuring corner to corner in both directions – the two diagonal measurements should match within about 1/8 inch. If they don’t, clamp a diagonal brace and shift the frame until they do, then let the glue in the pocket joints set before you release the clamps.
Installing the Top
Set the finished double-layer top onto the assembled frame with an even overhang on all sides – 2 to 3 inches is standard, enough to clamp material to the edge without the clamp fighting a leg. Drive 1-1/4-inch screws up through the inside face of the top rails into the underside of the top; keep them short enough that they don’t punch through the visible top surface.
Check the top for level with a 4-foot level in both directions once it’s fastened. If one corner sits proud, it’s almost always a leg that’s a hair long rather than a warped top – shim under the short legs’ feet rather than trying to plane a corner of a 1.5-inch laminated top down.
Adding Support Beams and a Lower Shelf
A stretcher connecting the legs about 8 to 10 inches off the floor does two things: it stiffens the whole frame against racking, and it gives you a place to screw down a lower shelf out of the leftover plywood offcut from the top. Screw the stretchers directly into the legs, then rest the shelf on top of the stretchers rather than trying to notch it flush – it’s faster and the shelf still carries real weight.
If you want extra rigidity, add a diagonal corner brace at one or two corners underneath the top. It only takes a scrap triangle of plywood and four screws, and it stops the kind of slow racking that shows up after a year of leaning into the bench while planing or sanding.
Finishing Touches for Durability and Function
Sand the top with 120-grit, working through to 220-grit if you want a smoother surface for finish work. A coat of wipe-on polyurethane or a couple of coats of boiled linseed oil will keep glue squeeze-out and spilled finish from soaking permanently into the top – reapply once a year on a bench that sees regular use.
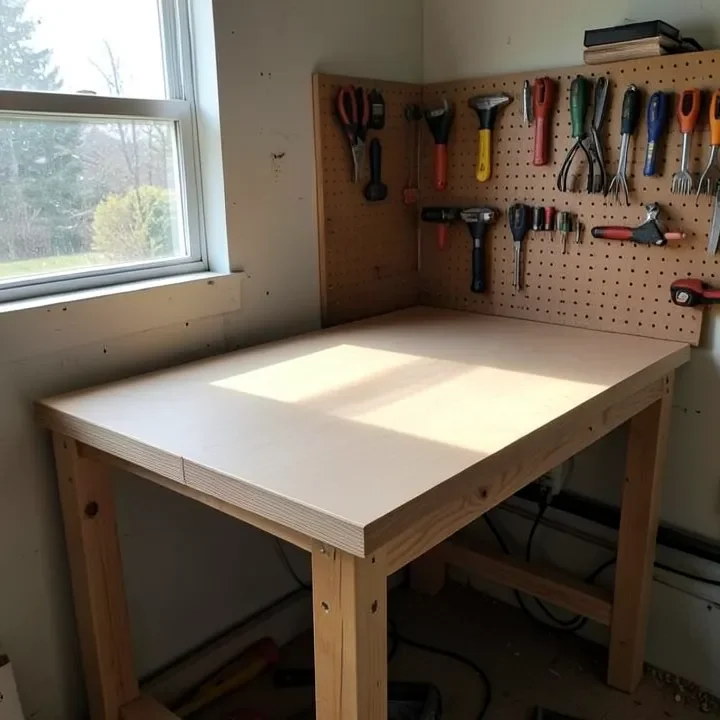
Mount a vise directly into the top near a corner (backed underneath by a block of scrap for extra screw purchase) and add a strip of pegboard or a French cleat above the bench for tool storage – keeping hand tools off the work surface is the single biggest thing that keeps a new bench from turning into a catch-all shelf within a month.
Maintenance Tips
Wipe the top down with a damp cloth and mild soap after messy projects, and check it every few months for scratches or dents while they’re still shallow enough to sand out. Tighten the pocket-screw joints and top fasteners once a year – wood movement loosens fasteners slowly even on a well-built frame.
Re-coat the finish annually if the bench sees regular use, and keep heavy stationary tools distributed rather than clustered on one corner of the top – even a torsion-box top has a practical limit, and spreading the load keeps it flat longer.
Frequently Asked Questions
How Much Plywood Do I Need For A Workbench?
The amount of plywood needed depends on your workbench size. A standard workbench often requires about 4 to 6 sheets of plywood. Measure your desired dimensions to calculate the exact amount. Consider thickness for durability; typically, 3/4-inch plywood is recommended for stability.
What Tools Are Required To Build A Plywood Workbench?
Essential tools include a circular saw, drill, and measuring tape. You’ll also need clamps, a square, and sandpaper for finishing touches. Safety equipment like goggles and gloves is crucial. Having the right tools ensures a smoother and more efficient building process.
Can I Customize My Plywood Workbench Design?
Absolutely! Customizing your plywood workbench design allows you to meet your specific needs. You can adjust the height, add drawers, or include a tool rack. Tailoring the design enhances functionality and makes the workbench more suitable for your projects.
Is Plywood Durable Enough For A Workbench?
Yes, plywood is quite durable and suitable for workbenches. High-quality plywood can withstand heavy loads and resist warping. Properly finished and maintained, a plywood workbench can last for years. Ensure you choose the right thickness for maximum strength and durability.
Conclusion
Building a plywood workbench comes down to three things: a square frame, a top that won’t flex under load, and fasteners you actually check once a year. The double-layer torsion-box top takes an extra hour of glue-up time over a single sheet, but it’s the difference between a bench that’s still flat in five years and one that’s visibly dished by the end of year one. Gather your materials, build the frame square, laminate the top, and you’ll have a bench that outlasts most pre-made options at a fraction of the cost.
Sponsored / affiliate links. As an Amazon Associate I earn from qualifying purchases. I may earn additional commission from eligible campaigns.