How to Protect a Plywood Workbench Top: 3 Finishes That Hold Up
A plywood workbench top holds up best with an oil-and-wax finish or a screwed-down hardboard sacrificial layer, not a hard film finish like polyurethane, which cracks the first time a chisel or clamp dents it. Once that film splits, moisture gets under the crack and the plywood veneer starts lifting within a season. This guide covers the best finish options, how to build a replaceable sacrificial top, and how often to reseal.
Note: Insert your Affiliate Disclosure reusable block here.
Why Film Finishes Crack on a Workbench Top
Best Workbench Top Finish Pick
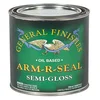
General Finishes Arm-R-Seal Oil-Based Topcoat
A wipe-on oil/poly hybrid that soaks into plywood instead of sitting on top like a film, so dings dent the wood instead of cracking a coating.
- Best for: a daily-use bench top that needs real wear resistance without the cracking risk of straight polyurethane
- Why we picked it: spot-repairable with another wipe-on coat, no stripping required between touch-ups
- Main drawback: needs 3-4 thin coats over a couple of days for full build, not a one-coat job
Compare more workbench top protection options
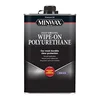 Option 1 Minwax Oil-Based Wipe-On Polyurethane
|
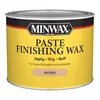 Option 2 Minwax Paste Finishing Wax
|
 Option 3 Tempered Hardboard Sacrificial Panel
|
As an Amazon Associate we earn from qualifying purchases.
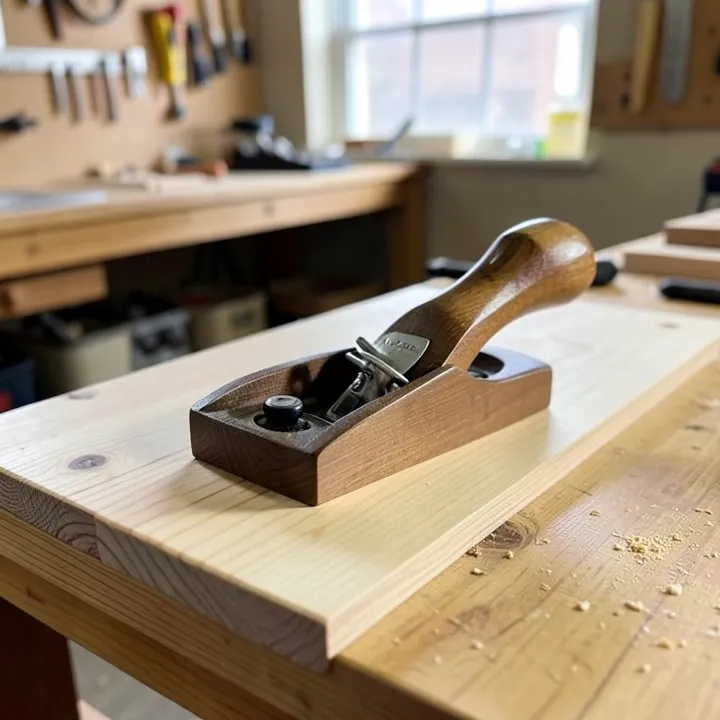
Polyurethane, varnish, and lacquer are film finishes — they cure into a hard layer that sits on top of the wood rather than soaking into it. That layer looks great on furniture, but a workbench takes direct hits from chisels, clamps, and dropped tools that furniture never sees. Once the film cracks or crazes, the damage spreads: moisture works under the broken edge, the surrounding finish starts lifting, and the only real fix is stripping the whole top back to bare wood.
Oil and wax finishes avoid that failure mode entirely because they never form a rigid shell. A ding just dents the wood; it doesn’t crack a coating. That’s why most experienced woodworkers on forums like Woodworking Talk and The Garage Journal steer builders away from straight poly on a bench top, even though it’s the first thing most guides recommend.
“A film finish is going to get dinged on a real workbench, and once it’s cracked, moisture gets underneath and the adjacent area starts to fail too. Oil and wax can’t crack – you just wipe on more.”
Finish Comparison: Oil & Wax vs. Wipe-On Poly vs. Sacrificial Layer
Here’s how the main protection methods stack up on repairability — the factor that matters most on a surface that takes daily abuse.
| Protection Method | Repairable? | Best For |
|---|---|---|
| Oil + paste wax | Yes – wipe on more, no stripping | A daily-use bench that takes real abuse |
| Wipe-on poly / oil-poly hybrid | Partly – light coats can be spot-recoated | Moderate moisture resistance without a thick film |
| Brushed polyurethane / varnish | No – cracks require full stripping | A display bench that won’t see chisels or clamps |
| Sacrificial hardboard layer | N/A – you replace the layer, not the finish | A heavy-use bench where dents and glue are constant |
How to Oil-and-Wax a Plywood Workbench Top
This is the most repairable option and the one most forum-tested benches use. Start with the surface fully sanded and free of dust.
- Sand to 150-220 grit: knock down mill marks and splinters so the oil can soak in evenly.
- Apply the first oil coat: flood boiled linseed oil or a plywood workbench top with a rag, let it sit 15-20 minutes, then wipe off the excess.
- Repeat 2-3 coats: let each coat dry 24 hours; the top stops absorbing oil once it’s saturated.
- Apply paste wax: rub on a thin coat of paste wax with a cloth once the final oil coat is fully cured.
- Buff: buff the wax to a low sheen with a clean cloth — this is what makes glue and paint wipe off instead of soaking in.
If you want more moisture resistance than oil and wax alone but still want to avoid a brittle film, a wipe-on oil/poly hybrid applied in thin coats is the middle ground — that’s what the pick below is built for.
📊 A 60/40 mix of oil-based polyurethane and mineral spirits soaks into plywood grain instead of sitting on top, and typically needs about 5 thin coats with a light sanding between each for a durable build. — Source: woodworking community consensus (Woodworking Talk, The Garage Journal forums)
Add a Sacrificial Hardboard Layer Instead
A sacrificial top skips the finish debate entirely: instead of protecting the plywood directly, you cover it with a cheap, replaceable layer that absorbs the damage. This is the method serious shop builders reach for when a bench sees daily glue-ups, cuts, and dropped tools.
- Material: 1/8″ or 1/4″ tempered hardboard (Masonite) is the standard choice; 1/4″ MDF also works.
- Attachment: screws spaced roughly every 8 inches around the perimeter, or brads if you want a cleaner look.
- When it’s worn out: unscrew it, flip it over for a second life, or swap in a fresh sheet for a few dollars.
- Alternative: a sheet of Formica or laminate glued down survives glue spills and finish drips and costs under $50 for a full top.
Builders who’ve run a replaceable hardboard top for over a decade report never needing to replace it — the layer just keeps absorbing damage that would otherwise go straight into the plywood.
Choosing Plywood That Will Actually Hold a Finish
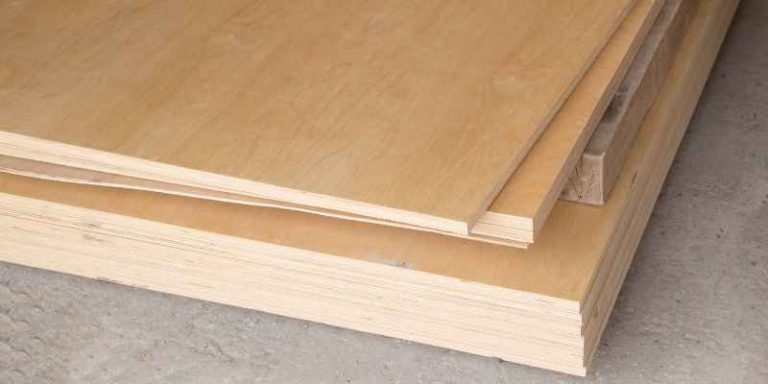
The finish only performs as well as the plywood underneath it. Void-free, cabinet-grade plywood (Baltic birch or marine-grade) takes oil and stain evenly because it has no internal gaps to trap moisture or telegraph through the surface. Big-box “sanded” plywood often has visible voids along the edges that show up as dark spots once oil hits them.
Go with at least 3/4-inch plywood for the top itself — anything thinner flexes under clamping pressure and telegraphs every dent straight through to the underside.
| Type of Plywood | Best For |
|---|---|
| Baltic birch (void-free) | Heavy-duty benches, finishes evenly |
| Marine plywood | Damp shops or outdoor-adjacent workspaces |
| Standard sanded plywood | Budget builds; expect visible voids |
Regular Maintenance and Spill Cleanup
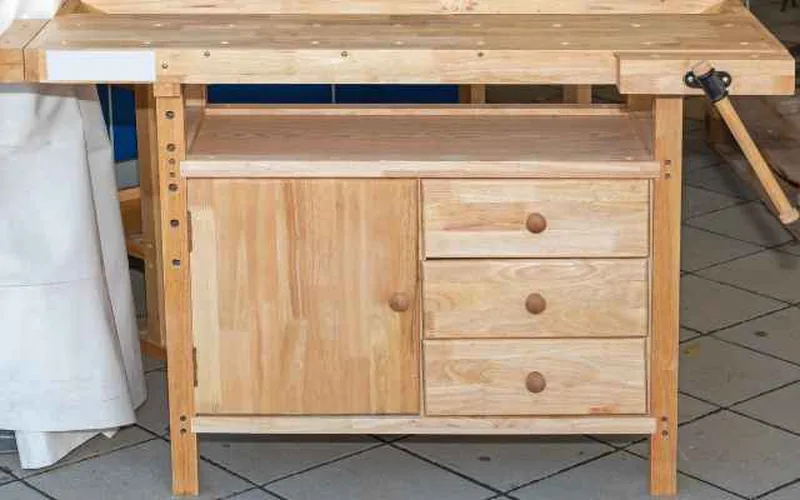
Wipe up glue, finish, and stain spills immediately — a waxed oil finish lets most of them lift off with a scraper and a damp rag before they soak in. Vacuum sawdust off the top at the end of a session rather than letting it grind into the finish under clamps and jigs.
Re-wax every few months if you’re using the bench heavily, and plan on a fresh oil coat once a year on high-traffic areas near a vise or assembly zone. For the rest of your shop’s wood surfaces, see this wood care and maintenance guide.
Common Mistakes to Avoid
- Skipping the sanding step: oil and wax over mill-glazed plywood just sits on the surface instead of soaking in.
- Applying poly straight from the can: unthinned polyurethane builds a thicker, more brittle film that cracks sooner than a thinned wipe-on coat.
- Leaving spills to dry: dried glue and finish drips telegraph through a later coat and are much harder to scrape off once cured.
- Choosing looks over repairability: a glossy film finish photographs well but turns a small ding into a full strip-and-refinish job.
Frequently Asked Questions
How do I seal a plywood workbench top?
Sand the surface first, then apply 2-3 coats of oil (boiled linseed or a wipe-on oil/poly hybrid), letting each coat dry fully. Finish with a thin coat of paste wax buffed to a low sheen. This combination protects against spills without the cracking risk of a straight polyurethane film.
What finish is best for plywood workbench tops?
An oil-and-wax combination or a wipe-on oil/poly hybrid is best for most workbenches because both stay repairable after dents and dings. Straight brushed polyurethane or varnish looks glossier but cracks under daily tool abuse and requires full stripping to fix once it fails.
How often should I maintain my workbench top?
Wipe up spills immediately and brush off sawdust after every session. Re-wax every few months with heavy use, and plan on a fresh oil coat about once a year on high-traffic areas near a vise or assembly zone. Regular upkeep is what keeps an oil finish from ever needing a full strip-down.
Can I use plywood for heavy-duty workbenches?
Yes. Use at least 3/4-inch void-free plywood such as Baltic birch, and back it with a solid frame so the top doesn’t flex under clamping pressure. Properly finished and, ideally, topped with a sacrificial hardboard layer, a plywood top can handle heavy daily use for years.
Is polyurethane or oil better for a workbench top?
Oil is generally better for a workbench because it soaks into the wood instead of forming a surface film, so it can’t crack or craze the way polyurethane does. Polyurethane offers a harder, glossier surface, but once it’s damaged, the whole top needs stripping and refinishing rather than a simple spot repair.
What is a sacrificial workbench top?
A sacrificial workbench top is a cheap, replaceable layer — usually 1/8″ or 1/4″ tempered hardboard — screwed or tacked over your main bench top to absorb cuts, glue spills, and dents. When it wears out, you flip it over or swap in a new sheet instead of refinishing the bench itself.
Conclusion
Protecting a plywood workbench top comes down to picking a finish you can repair without stripping the whole surface. Oil and wax, a thin wipe-on hybrid, or a replaceable hardboard layer all beat a glossy film finish that cracks the first time a tool dents it. Sand well, apply thin coats, clean up spills fast, and your top will outlast whatever you put it through.
Sponsored / affiliate links. As an Amazon Associate I earn from qualifying purchases. I may earn additional commission from eligible campaigns.