DIY Workbench Top: Laminated 2×4 Build (No Plywood Needed)
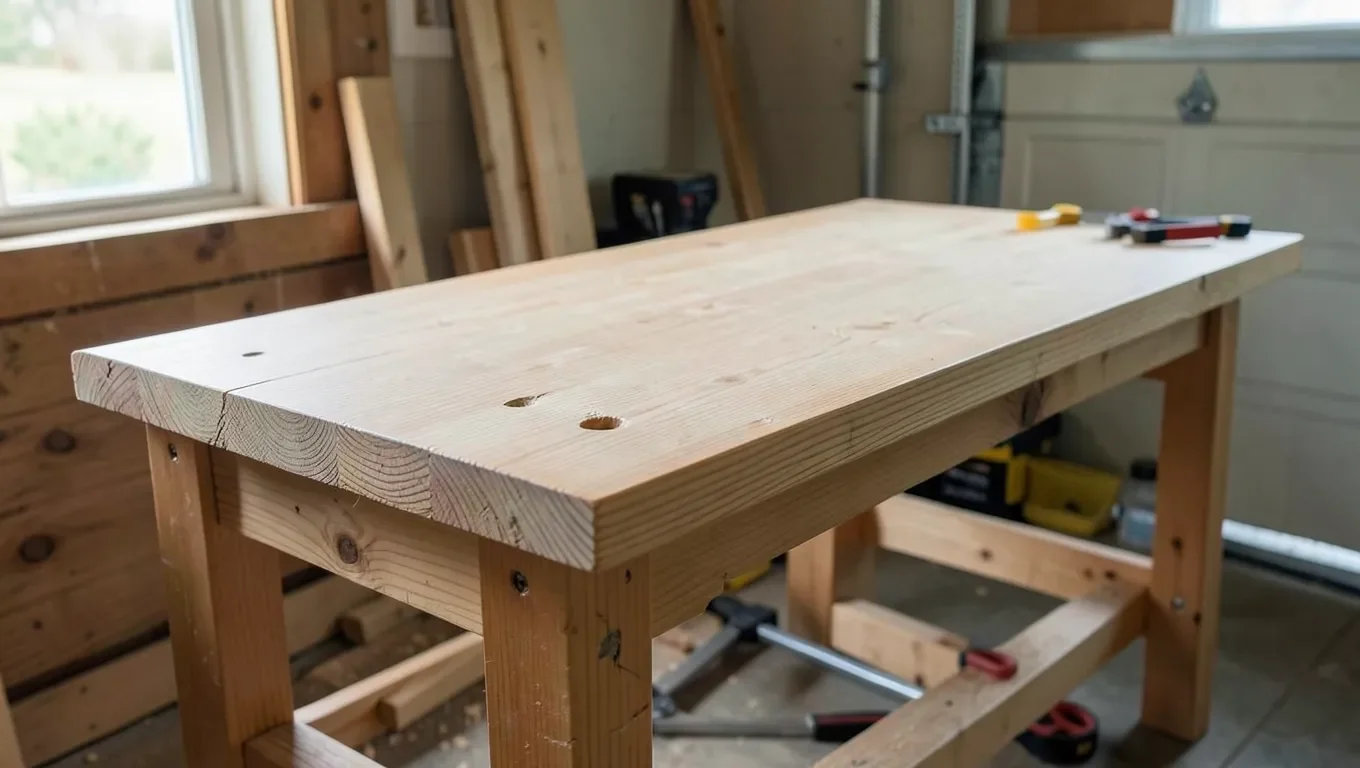
The strongest DIY workbench top isn’t plywood – it’s dimensional lumber laminated on edge. Ripping straight 2x4s or 2x6s and gluing them face-up, edge to edge, gives you solid wood all the way through: 1.5 to 3+ inches of mass that soaks up vibration instead of bouncing a chisel around, and a surface you can re-flatten for decades instead of replacing when it dishes. This guide covers the actual lamination method, real thickness numbers, and the tool that makes the flattening step manageable in an afternoon instead of a weekend.
Why Laminated Dimensional Lumber Beats a Single Sheet of Plywood
Best for Flattening a Laminated Top
 |
WEN 6530 6-Amp Electric Hand Planer, 3-1/4-Inch – $42.88 After the glue cures on a laminated top, you still need to knock the joints flush and true the surface – this planer handles that in minutes instead of hours of hand-planing or sanding.
|
A single sheet of 3/4-inch plywood flexes under a stationary vise or a clamped-down tool within months – the surface starts to dish, and every seam in the substrate telegraphs through the top layer. Laminating dimensional lumber sidesteps that problem structurally instead of patching it: when you glue up a stack of 2x4s or 2x6s on edge, you’re not relying on thin face veneers for strength, you’re building a slab that’s solid wood from top to bottom. That mass matters more than most guides admit – a heavier, denser top absorbs the shock of hand-planing, chopping mortises, or pounding in a joint instead of transmitting it back into your arms and rattling everything sitting on the bench.
It’s also the traditional method. Old European workbenches were built exactly this way, from thick slabs of laminated beech or maple, because 18th-century woodworkers already understood that mass and flatness – not a specific species – are what make a bench perform. That’s the myth worth correcting here: you don’t need exotic hardwood to get a bench that works like a real workbench. You need enough thickness, straight-grained lumber, and a glue-up done carefully enough that the top stays flat.
Choosing Your Material: Construction Lumber vs. Hard Maple Butcher Block
You have two realistic paths for a laminated top, and the difference is budget, not whether the bench works.
Doubled construction lumber (budget option). Standard SPF or Douglas fir 2x4s and 2x6s from the framing aisle laminate into a perfectly functional top for a fraction of hardwood pricing. The catch is that construction lumber comes wet and warped more often than not, so you need to hand-pick straight, dry-looking boards at the store, then let them acclimate in your shop for a week or two before you rip and glue anything. Skipping the acclimation step is the single most common reason a budget top ends up with gaps or a slight bow six months later – the wood was still moving when it got glued in place.
Hard maple butcher block (premium option). Hard maple is the traditional workbench standard because it resists dents, takes repeated flattening well, and wears evenly instead of developing soft low spots the way fir or pine can. You’ll pay several times more per board foot, and you’ll likely be ordering it from a hardwood dealer rather than a home center. If you’re building a bench you expect to use daily for years and want the surface to still look good after heavy use, maple earns the extra cost. If you’re building a first bench, a garage bench, or you’re not sure how much this hobby is going to stick, doubled construction lumber gets you a genuinely good top for a lot less money.
How Thick Should a Workbench Top Actually Be?
Most solid-wood workbench tops run 1.5 to 3+ inches thick, and the right number depends more on how you’ll use the bench than on any fixed rule. A 1.5-inch top – two laminated layers of 3/4-inch-equivalent stock – works fine for light hand-tool work or assembly tasks as long as the base underneath is rigid and well-braced. Push toward 2.5 to 3 inches, or beyond, if you plan to mount a vise, do serious hand-planing, or chop mortises directly on the surface; the extra mass keeps the top from bouncing or transmitting shock into the frame. Thickness and flatness do more for how a bench feels to work on than species selection ever will – a thin, dead-flat maple top can still feel less solid under a hand plane than a thick, dead-flat fir top.
Step-by-Step: Laminating a Solid-Lumber Workbench Top
Once your lumber has acclimated and you’ve sorted out the straightest boards, the glue-up itself is a controlled, methodical process:
- Rip to consistent width. Rip every board to the same width on a table saw so the laminated faces line up without extra planing later.
- Joint the glue edges straight. Run each board’s long edge over a jointer or against a straightedge with a hand plane. Gaps in the glue line from an uneven edge are the most common cause of a top that won’t pull tight under clamps.
- Dry-fit the whole stack. Clamp the boards together without glue first and check that the assembly sits flat and square. Fix any problem boards now, not after the glue is on.
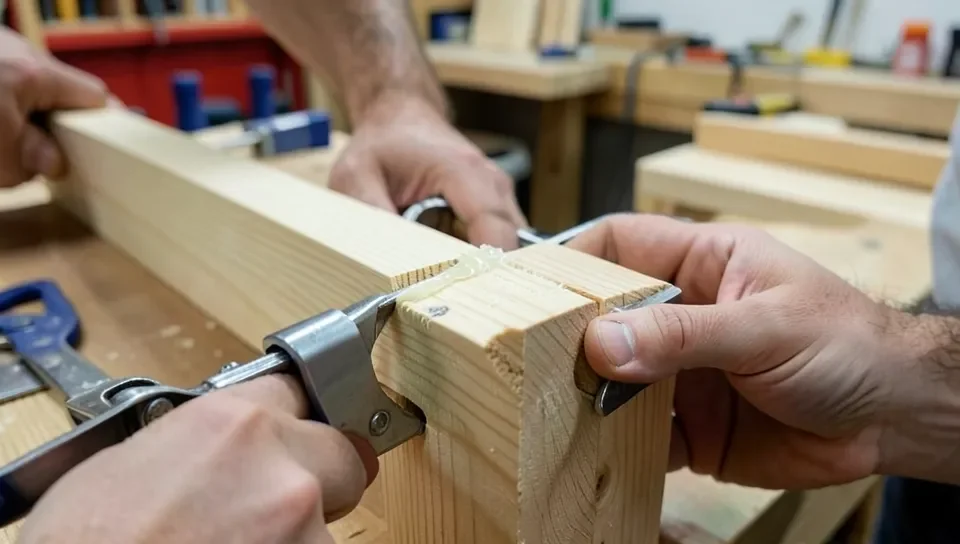
- Glue and clamp in stages. Working in sections of 4-6 boards keeps open time manageable. Alternate clamps above and below the stack as you go – clamping only from one side pulls the glue-up into a curve, which is the second most common cause of a top that isn’t flat once it’s dry.
- Let it cure fully before machining. Give the glue the full cure time on the label, not just the time until it feels dry to the touch – carpenter’s glue can feel set within an hour but still be soft enough inside the joint to move under a hand plane or belt sander.
- Scrape squeeze-out before it fully hardens. A paint scraper run along the joints 20-30 minutes after clamping removes most of the excess glue while it’s rubbery, which saves a lot of sanding later – dried glue skips over sandpaper and dulls plane blades instead of coming off.
Flattening and Finishing the Top
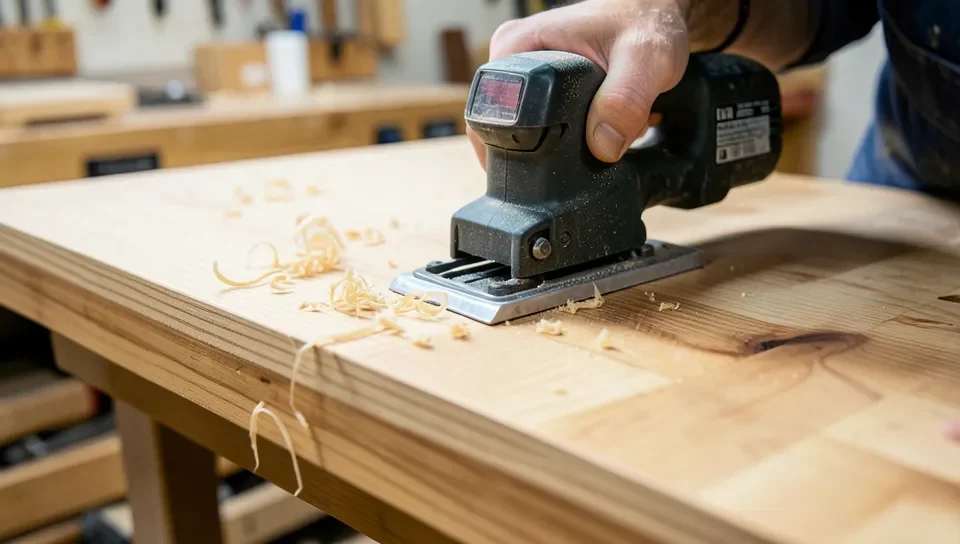
Even a careful glue-up usually comes off the clamps with the individual boards slightly out of alignment with each other – a few thousandths here and there adds up to a surface that needs to be trued before it’s actually flat. An electric hand planer makes quick work of knocking the high joints flush across a wide glue-up; a few light, overlapping passes with the grain get the surface level well before you’d finish the job by hand-planing or belt-sanding alone. Work down through the grits after that – 80, then 120, then 150 or so – checking with a straightedge along and across the top as you go.
For finish, stick with something the wood absorbs rather than a film finish that sits on top. Boiled linseed oil, pure tung oil, or a beeswax-and-oil paste soak into the surface, don’t chip or scratch the way a film does, and can be wiped on again in five minutes whenever the top starts looking dry. Skip polyurethane or varnish on a working surface – it looks glossy for the first few weeks, but once it scratches or gets gouged by a chisel slip, you’re stripping and refinishing instead of just wiping on more oil. Some woodworkers also add a sacrificial layer of 1/4-inch hardboard screwed (not glued) to the top of the finished slab – it takes the abuse from glue spills, paint, and stray drill bits, and you just unscrew and replace it every year or two instead of touching the actual top underneath.
Common Mistakes to Avoid
- Gluing up wet or warped lumber. Buying construction lumber and gluing it the same day is the #1 cause of gaps and bowing months later. Let it acclimate first.
- Clamping from only one side. This pulls the glue-up into a curve. Alternate clamps top and bottom.
- Rushing the cure time. Machining a top before the glue is fully cured can shift joints and open hairline gaps you won’t notice until the finish goes on.
- Skipping the dry-fit. Finding a bowed or twisted board after the glue is already on means fighting it into place under clamp pressure, which builds stress into the joint.
- Using a film finish. Polyurethane and varnish crack and chip under daily tool use and can’t be spot-repaired the way an oil finish can.
If you’d rather skip the lamination and glue-up entirely, building a double-layer plywood top is faster and lighter, and choosing between Baltic birch and standard plywood covers that material trade-off in more depth. Whichever top you build, set it at a height that matches how you actually work – see our guide to ideal workbench height before you cut your legs to length.
DIY Workbench Top FAQ
How Thick Should a Workbench Top Be?
Most solid-wood workbench tops run 1.5 to 3 inches thick. A thinner top works for light hand-tool work if the base is rigid, but 2.5 to 3 inches of laminated dimensional lumber adds enough mass to resist rocking under hand-plane strokes or a mounted vise.
Is Laminated Dimensional Lumber Stronger Than Plywood for a Workbench Top?
For resisting dishing under a stationary tool or vise, yes – laminated 2x4s or 2x6s glued face-up are solid wood all the way through, while plywood’s strength comes mainly from its face veneers and can still telegraph a seam under sustained point loads. Plywood stays lighter, cheaper, and faster to build, which makes it a reasonable choice for a secondary or portable bench.
Do I Need Hard Maple for a Workbench Top?
No. Hard maple is the traditional butcher-block choice because it resists dents and wears evenly, but doubled-up construction lumber like SPF or Douglas fir 2x4s and 2x6s makes a fully functional top for a fraction of the cost. Flatness and mass matter more to how a bench performs than the species you build it from.
What Finish Should I Use on a Workbench Top?
Boiled linseed oil, tung oil, or a beeswax-and-oil paste are the standard choices because they soak into the wood instead of building a film that scratches or gums up when you scrape off glue squeeze-out. Avoid polyurethane or varnish on a working surface – it looks better on day one but chips and needs full stripping instead of a quick reapplication.
A laminated dimensional-lumber top is one of the few workbench upgrades that pays off every time you use the bench afterward – more mass, a flatter working surface, and a top you can re-flatten instead of replace. Pick straight, dry lumber, take the clamping and cure time seriously, and the slab you glue up this weekend should still be flat and useful a decade from now.
Sponsored / affiliate links. As an Amazon Associate I earn from qualifying purchases. I may earn additional commission from eligible campaigns.