How to Build a Wood Deck Step by Step for Beginners
Building a deck can seem like a big job. The question, How to Build a Wood Deck Step by Step, is something many people want to know, and it can be a bit challenging at first. Don’t worry, though! We’ll break it down into simple steps that are easy to follow. We’ll show you how to do it without all the confusing jargon, so you can build your own deck. Get ready to explore the process!
Planning Your Deck Project
Before you start hammering nails, you’ll need a plan. This part is about figuring out where your deck will go, how big it will be, and what materials you’ll need. This means measuring your space, deciding on the shape and size, and choosing the right wood. Careful planning ensures your deck is safe, stable, and looks great. Plus, planning helps you stay within your budget and avoid costly mistakes later on. Proper planning is a key to success.
Choosing the Right Location
The location of your deck is very important. Think about how you’ll use it. Will it be for grilling, relaxing, or entertaining? You need a spot that gets enough sunlight if you want a sunny space. Consider the surrounding areas too. Are there any trees or structures that could get in the way? Make sure your deck is away from things like power lines and other hazards. Also, make sure that it meets your local building codes. These codes are in place to make sure that the deck is safe. Checking these ahead of time can save you time and headaches later.
- Sun Exposure: Think about how much sun and shade your deck needs.
- Obstacles: Clear the area of trees, roots, and other things.
- Accessibility: Make sure there’s easy access from your house.
- Local Codes: Check your local building codes and get any permits you need.
Designing the Deck
Deciding on the design is the fun part! You can draw a simple sketch or use a computer program to visualize it. Consider the shape – rectangular decks are common, but you could try something unique. Think about how the deck will connect to your house and the surrounding yard. The design will affect the overall look and usability of your deck. For example, a larger deck might be perfect for gatherings, while a smaller one can create a cozy space. The style of your home might help inform your choices. Don’t forget to consider how high you want the deck. High decks will need guardrails.
- Shape: Consider whether you want a square, rectangular, or more complex shape.
- Size: Measure your space.
- Height: Think about how high off the ground the deck will be.
- Features: Think about stairs, railings, and built-in benches.
Selecting Decking Materials
The type of wood you choose greatly affects your deck’s lifespan and look. Pressure-treated lumber is a popular choice for the framework because it’s resistant to rot and bugs. For the deck surface, you have several options. Consider the look, cost, and maintenance requirements. Some woods need regular staining or sealing. Each type of wood has its own pros and cons in terms of looks, durability, and cost. Research the options to make a good choice. Different materials can change the look of your deck. Choosing the right material ensures your deck will last for a long time.
- Pressure-Treated Wood: Good for the frame, strong and affordable.
- Cedar and Redwood: Naturally beautiful but can be more expensive.
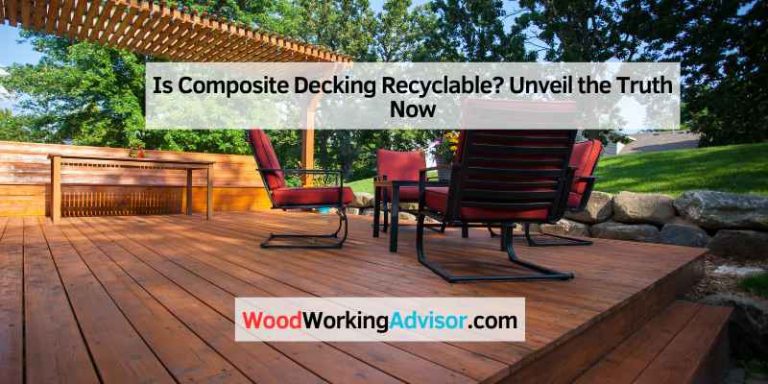
- Composite Decking: Made from wood fibers and plastic, requires little maintenance, and can cost more.
- Exotic Hardwoods: Ipe is very durable, but costs more.
Gathering Tools and Materials
Once your plan is finalized, it’s time to gather the tools and materials. This is a critical step because having everything ready makes the building process smoother. It’s best to create a detailed list to avoid running to the store in the middle of a project. Make sure you have all the necessary tools and the right amount of lumber, fasteners, and hardware. Check the weather forecast before you start. Prepare yourself for a safe, efficient building experience. Planning ahead saves you time.
Essential Tools
Having the right tools makes the project much easier. Some tools are necessities, while others make the job go faster. Make sure your tools are in good working order before starting. This includes safety equipment like safety glasses, work gloves, and a dust mask. You’ll need tools for measuring, cutting, drilling, and fastening. Many of these tools you might already have around the house. Safety is always a key factor. Using the right tools also improves the overall quality of your build.
- Measuring Tools: Tape measure, level, and square.
- Cutting Tools: Circular saw, miter saw, or hand saw.
- Drilling Tools: Drill/driver and drill bits.
- Fastening Tools: Hammer or nail gun, screwdriver, or impact driver.
- Safety Gear: Safety glasses, work gloves, and dust mask.
Calculating Material Needs
Correctly calculating the materials is essential for staying within your budget and completing the project efficiently. This means figuring out how much lumber, fasteners, and hardware you’ll need. Create a detailed list based on your deck design, considering the size and features. Overestimating a little can be better than running out. Think about things like the size of your posts, the spacing of the joists, and how many boards you’ll need for the decking itself. Accurate estimates prevent delays and waste. Taking the time to do this part correctly is time well spent.
- Lumber: Calculate the needed amount of lumber for the frame, posts, and decking.
- Fasteners: Determine how many screws, nails, or bolts you’ll need.
- Hardware: Consider any brackets, hangers, or other hardware needed.
- Waste: Always add extra materials for mistakes and cutting waste.
Safety Gear and Considerations
Safety should be your top priority during the entire process. Always wear safety glasses to protect your eyes from debris. Use work gloves to protect your hands from splinters and abrasions. A dust mask can keep you from breathing in sawdust. Consider using ear protection when using power tools. Use the right tools for the job and make sure to know how they work. Proper safety gear and procedures prevent injuries and ensure a safe, enjoyable building experience. Never rush and always be aware of your surroundings.
- Eye Protection: Always wear safety glasses.
- Hand Protection: Use work gloves.
- Respiratory Protection: Use a dust mask.
- Footwear: Wear sturdy shoes or work boots.
Building the Deck Frame
The frame is the skeleton of your deck. This step involves building the supporting structure that holds everything together. It involves setting the posts, attaching the beams, and adding the joists. A sturdy frame is key for your deck’s stability and safety. This is where you’ll make sure everything is level, square, and correctly spaced. A well-built frame ensures your deck will last for many years. It is worth taking your time with the process. The frame is the foundation for a good deck.
Setting the Posts
Setting the posts properly is essential for a stable deck. Posts provide support, so they must be strong and correctly placed. The posts attach to the footings or are secured using post anchors. Make sure the posts are level and plumb using a level. The spacing between posts will depend on your deck’s design and local building codes. Accurate post placement is the first step in building a strong foundation. Doing it right will provide the support your deck needs.
- Footings: Dig holes and pour concrete footings.
- Post Placement: Place posts in the footings and level.
- Post Height: Check the height and trim as needed.
- Post Anchors: Use anchors to connect posts.
Attaching the Beams
Beams provide horizontal support and connect to the posts. They transfer the load from the deck boards down to the posts. Attach the beams to the posts securely using nails, screws, or bolts. Make sure the beams are level and straight. The size and spacing of the beams depend on your design and local codes. Properly attached beams are crucial for load distribution. These beams also give support. They make the platform strong.
- Beam Placement: Position the beams on the posts.
- Fastening: Secure beams using nails, screws, or bolts.
- Leveling: Use a level to ensure the beams are even.
- Spacing: Follow your design plans.
Installing the Joists
Joists are the horizontal supports that the deck boards attach to. Space the joists according to your design, usually 12 to 16 inches apart. Make sure they are straight and level. Attach the joists to the beams using nails, screws, or joist hangers. Correctly spaced and attached joists provide a solid base for the decking. They also help distribute the weight across the frame. They are an important part of making the deck stable.
- Joist Placement: Space joists evenly.
- Attachment: Fasten joists to the beams.
- Leveling: Check for level and adjust as needed.
- Spacing: Make sure you have the spacing right.
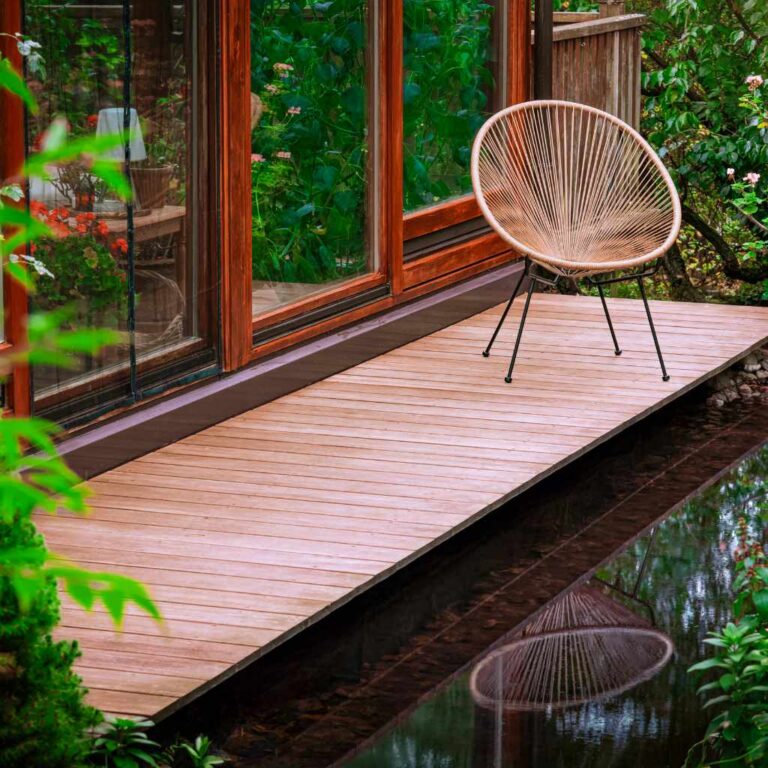
Installing the Decking
Putting the decking boards on is the fun part! This step is about attaching the surface of your deck. Start by laying down the decking boards, making sure they are parallel and have consistent spacing. Use spacers to maintain gaps between boards for expansion and contraction. Secure the boards to the joists using screws or nails designed for outdoor use. This step is about getting a smooth, even surface to walk on. Proper installation also helps with water drainage. The deck will start looking like the finished product.
Laying Decking Boards
Laying the decking boards requires careful planning and execution. Start at one edge and work your way across. Use a chalk line to keep your lines straight. Make sure the boards are parallel to each other. Use a spacer tool to maintain consistent gaps. Gaps are important for expansion and contraction with changes in temperature and humidity. Correct placement and spacing are key to both the look and durability of your deck. Carefully placed decking adds visual appeal and improves the overall quality of the deck.
- Starting Point: Begin at a straight edge.
- Board Alignment: Keep the boards straight.
- Spacing: Use spacers between boards.
- Securing Boards: Attach boards to joists.
Securing the Decking
How you secure the decking boards depends on the fasteners you are using. Deck screws are a good choice because they resist rust. Pre-drilling holes helps prevent the wood from splitting. If you are using hidden fasteners, follow the manufacturer’s instructions carefully. Fastening the boards securely prevents them from moving or warping. Proper fastening also extends the life of the deck by keeping it firmly in place. Proper attachment is important for a safe deck.
- Screw Selection: Use screws made for outdoor use.
- Pre-drilling: Pre-drill holes to prevent splitting.
- Screw Placement: Place screws in the center of the joists.
- Hidden Fasteners: Follow the manufacturer’s instructions.
Cutting and Finishing
Once all the decking boards are attached, you will need to cut the edges. Use a circular saw to get a clean, straight edge. You can also add a decorative border. Once the deck surface is installed, you can add finishing touches such as a stain, sealant, or paint. This protects the wood from the elements and enhances its appearance. It is a good idea to research the best finish for your deck type. It protects your investment and ensures your deck lasts for many years. It gives your deck its finished look.
- Cutting Edges: Use a saw to cut the edges neatly.
- Adding a Border: Consider a decorative border.
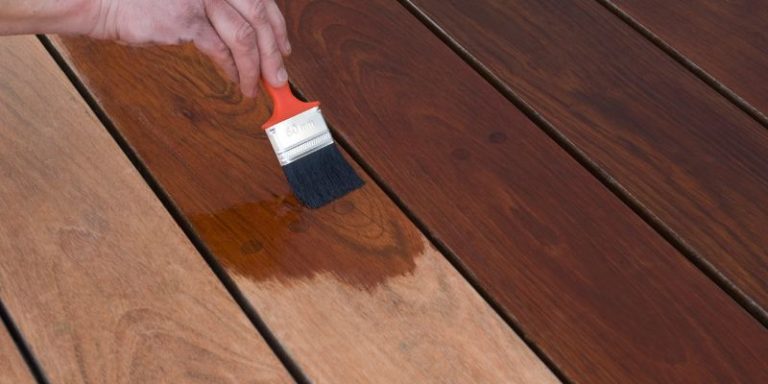
- Staining or Sealing: Protect the wood from weather.
- Finishing Touches: Add final details to enhance the look.
Adding Stairs and Railings
If your deck is elevated, stairs and railings are a must for safety and usability. These steps improve access and protect people from falls. They require careful planning, measuring, and construction. Building safe stairs and railings means following building codes and making sure everything is strong and secure. These additions are key for creating a safe and functional outdoor space. Building them correctly ensures a great looking and safe deck.
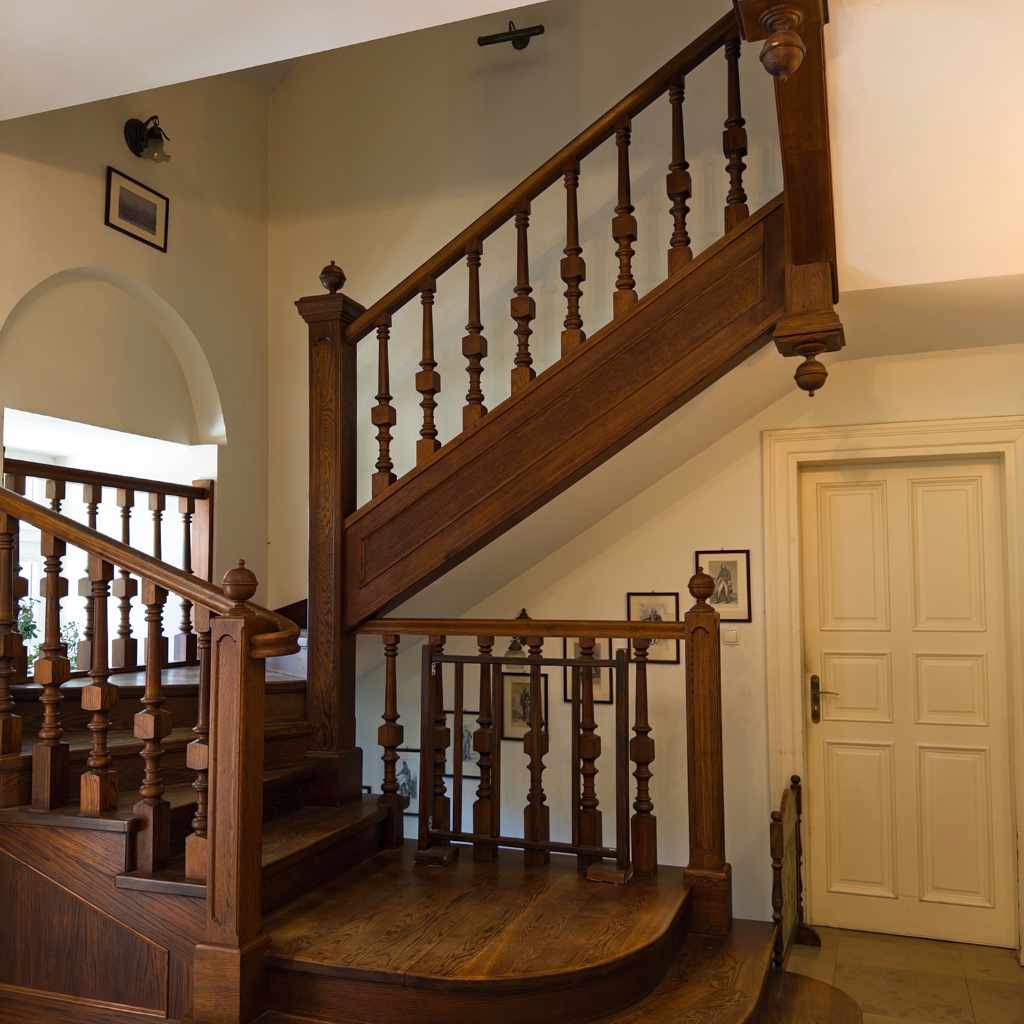
Building Deck Stairs
Building stairs is a critical task. It involves calculating the rise and run of each step to make sure they are comfortable to use. You’ll need to create stringers, which are the angled supports for the steps, and attach the treads. Make sure your stairs meet local building codes for safety and accessibility. Proper construction ensures the stairs are strong, safe, and easy to climb. Building a good set of stairs is a project that is worth taking the time to do right.
- Calculate Rise and Run: Figure out the measurements.
- Build Stringers: Cut and assemble the stringers.
- Attach Treads: Secure steps to the stringers.
- Handrails: Add handrails for safety.
Installing Deck Railings
Railings add safety and style to your deck. They provide a barrier to prevent falls and also add visual appeal. Railings have to be sturdy and meet specific height requirements, based on building codes. You can choose from various materials, including wood, metal, or composite materials. The design and installation of the railings should blend well with the deck’s overall aesthetic. Proper railing installation ensures a secure, safe, and attractive deck.
- Post Installation: Attach posts securely.
- Handrail Installation: Install the top rail.
- Balusters: Add balusters for infill.
- Code Compliance: Make sure it meets all building codes.
Safety and Building Codes
Safety is the most important part of adding stairs and railings. Always check local building codes for the correct height, spacing, and construction standards. Make sure the materials you use are rated for outdoor use and can withstand weather and wear. Double-check all measurements and attachments to avoid any issues. Following codes and prioritizing safety will protect you and your family. Proper attention to safety will keep your deck safe for everyone.
- Height Requirements: Make sure railings meet the height.
- Spacing Standards: Ensure the spacing between balusters is safe.
- Material Choices: Use durable and weather-resistant materials.
- Inspection: Have your deck inspected if required by local codes.
Finishing and Maintenance
The final steps involve finishing touches and ongoing maintenance. This includes adding a finish to protect the wood, cleaning the deck, and making repairs as needed. Regular maintenance keeps your deck in great shape and extends its life. Protect your deck with a finish to keep it looking nice. This ensures that your deck remains a beautiful and useful part of your home for many years. Regular upkeep keeps your deck looking good.
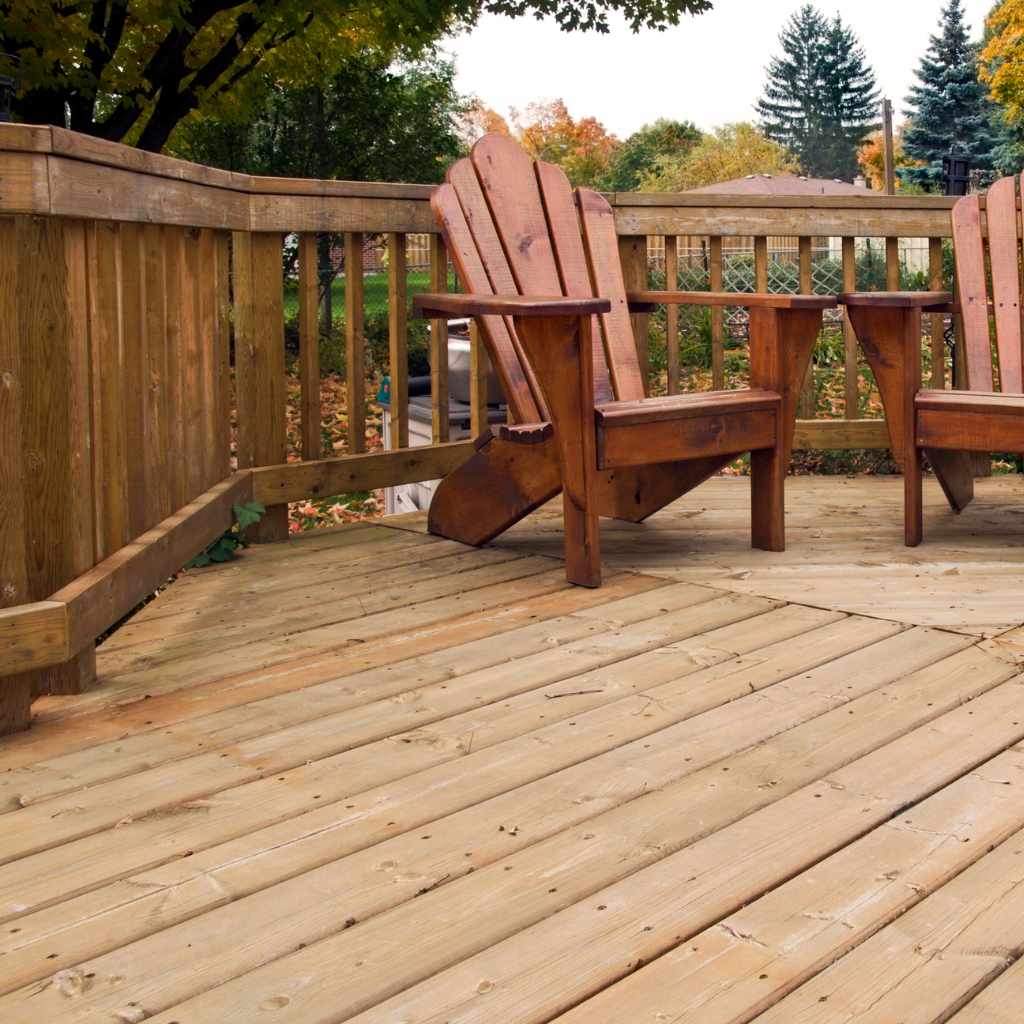
Protecting Your Deck
Protecting your deck from the elements is a must. This often means applying a stain, sealant, or paint. The finish protects the wood from water, UV rays, and other environmental factors. Choose a finish based on the wood type and the look you want. Reapply the finish every few years to maintain protection. Proper protection helps prevent rot, cracking, and fading. Protecting your deck will add years to its life.
- Staining: Adds color and protection.
- Sealing: Creates a barrier against moisture.
- Painting: Offers color and protection.
- Reapplication: Regular reapplication will keep it protected.
Regular Cleaning and Maintenance
Regular maintenance ensures your deck stays in great shape and lasts for a long time. This means regular cleaning to remove dirt, mildew, and other debris. Inspect the deck regularly for any signs of damage, such as loose boards or rotting wood. Make any necessary repairs promptly to avoid bigger problems. Proper cleaning and maintenance are key to keeping your deck in good condition. Taking care of your deck will ensure that it stays safe and beautiful for many years.
- Cleaning: Sweep the deck regularly.
- Inspecting: Check for loose boards and damage.
- Minor Repairs: Fix any small problems right away.
- Preventative Measures: Remove leaves and debris.
Dealing With Issues
Even with careful construction, problems might come up. This may mean dealing with warped boards, loose railings, or other issues. If you spot problems early, you can often fix them before they get worse. You might need to replace a damaged board, tighten screws, or reinforce a railing. Addressing issues as they arise will help to preserve your deck. Knowing what to do when problems occur can save you both time and money. Addressing problems promptly can keep them from getting worse.
Here are some of the typical problems you might face and how to deal with them:
| Issue | Solution |
|---|---|
| Warped Boards | Replace the boards. |
| Loose Railings | Tighten or reinforce the connections. |
| Rotting Wood | Replace damaged boards and treat the area. |
| Water Damage | Check the drainage. |
Frequently Asked Questions
Question: What’s the best wood for a deck?
Answer: Pressure-treated lumber is popular for the frame because it’s strong and affordable. For the decking, options include cedar, redwood, composite, and hardwoods like Ipe, with each having different looks, costs, and maintenance needs.
Question: How far apart should deck posts be?
Answer: The spacing between deck posts depends on the design and local building codes, but it’s typically between 6 to 10 feet. Always check your local building codes for specific requirements.
Question: How do you attach decking boards?
Answer: Decking boards can be attached with screws or nails. You can also use hidden fasteners for a cleaner look. Pre-drilling holes helps prevent splitting, and you must maintain proper spacing between boards for expansion.
Question: How often should I stain my deck?
Answer: It depends on the weather and the finish you are using. Generally, you should reapply stain every 2-3 years, and sealers or paint may last a bit longer.
Question: How do I build stairs for my deck?
Answer: You’ll need to figure out the right rise and run measurements. Build stringers, and attach treads and handrails. Make sure your stairs meet local building codes.
Final Thoughts
Building a deck is a rewarding project that you can accomplish. From the early planning stages to the final touches, each step brings you closer to enjoying your outdoor space. Careful planning and preparation are the keys to a successful build. The selection of materials, especially the right wood, sets the foundation for your deck’s longevity and look. By following the steps, you can create a sturdy frame, install beautiful decking, and add safe and stylish stairs and railings. Remember to take the time to choose the best finish and commit to regular maintenance. Start planning your deck today, gather your tools, and explore how to build a wood deck for your own home. It will enhance your living space. Building a deck offers you a chance to build something that you can take pride in!