How to Remove Stripped Deck Screws: 7 Methods, Fastest First
The fastest way to remove a stripped deck screw depends on what is left of the head: raised heads come out with locking pliers, rounded recesses respond to a wide rubber band or a bigger star bit, and flush, fully rounded heads need an extractor bit or a drilled-out head. Escalate in that order, because each step that fails makes the next harder.
This guide ranks seven methods by how much damage they risk, then covers what most guides skip: how to read how badly the head is stripped, what to do when the screw is buried below the board surface, and how to fill the hole and choose replacement screws that will not strip next time. If the screw snapped instead of stripping, see our guide to removing a broken wood screw.
Which Tool Removes a Stripped Deck Screw Most Reliably?
Best Stripped Deck Screw Pick
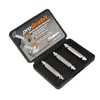 |
Alden 8430P Pro Grabit Broken Bolt and Damaged Screw Extractor 3 Piece Kit ($32.99) A double-ended bit that drills a seat into a chewed-up head and then grabs it in reverse, which is the bite step in the escalation ladder below. The listing describes a self-centering tip, so it should not wander across a rounded-out head.
|
As an Amazon Associate we earn from qualifying purchases.
For flush, rounded-out heads, a dual-ended extractor bit is the most dependable single purchase, which is why it is our pick above. Most stripped heads, though, can be saved with something already in your toolbox, so do not buy anything until you have run through the cheaper steps below.
Wear safety glasses and gloves for every method that follows. Extractors, drill bits and screws are hardened steel, and hardened steel that is forced past its limit can snap and throw fragments. Drilled metal also gets hot enough to burn bare fingers.
Read the Damage First: Which Stage Is Your Screw?
Stripping is not all-or-nothing, and picking the method that matches the stage is what separates a two-minute fix from a ruined board. Check the head with a flashlight before you touch it.
| Stage | What you see | Start with | If that fails |
|---|---|---|---|
| 1: Slipping | Recess still has crisp edges, bit just cams out | Correct, fresh bit plus firm pressure; rubber band | Larger star or square bit |
| 2: Rounded | Recess is smooth or shiny, bit spins freely | Rubber band, then impact driver in reverse | Extractor bit |
| 3: Raised head | Head is above the wood and rounded | Locking pliers | Cut a slot, then extractor |
| 4: Flush or sunk | Head is level with or below the board face | Extractor bit | Drill the head off, pull the board |
| 5: Headless | Head is gone, shank sits in the joist | Pry the board up, grip the shank | Cut the shank flush |
Deck screws also fail for a deck-specific reason: the head sits in a board that swells, shrinks and stays damp, so the steel can corrode and bind in the joist. That corrosion is why a screw that was fine to drive in can strip on the way out. Dense decking such as ipe and some composites hold screws tighter still, so expect to work through more stages there.
Method 1: Add Grip With a Wide Rubber Band
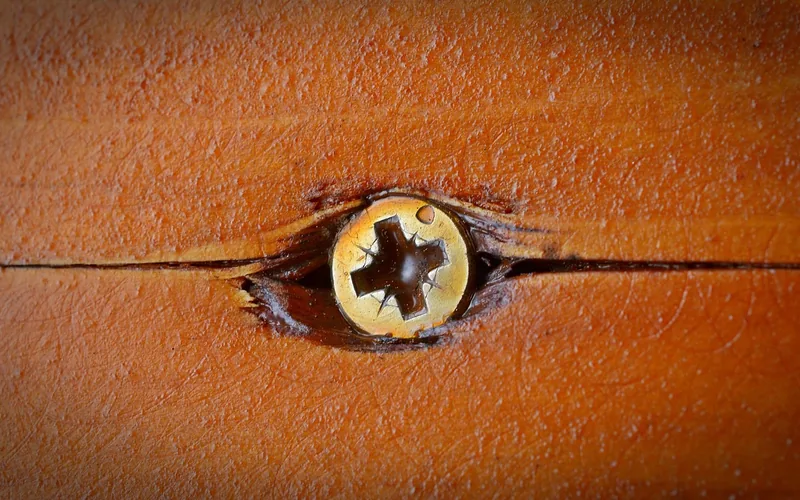
Lay a wide rubber band flat over the stripped recess, press your bit through it into the head, and turn counterclockwise slowly with heavy downward pressure. The rubber fills the gaps in the damaged recess and gives the bit more to push against. It works best on stage 1 and early stage 2 screws, and it costs nothing, so always try it first.
Method 2: Switch to a Larger or Different Bit
A bit one size up, or a different drive, can bite into whatever metal is left. Many name-brand deck screws use a T25 star recess, so a T30 star bit tapped lightly into a rounded recess, or a square bit tapped into a stripped Phillips, often finds fresh edges. Tap it in with a hammer so it seats, then turn slowly with the drill set to low speed. Also swap any worn bit for a new one: a rounded bit tip is a common cause of stripping in the first place.
Method 3: Use an Impact Driver in Reverse
An impact driver delivers short rotational blows rather than steady torque, which can break a corroded screw loose. Use it in reverse, press hard enough to keep the bit seated, and stop after a second or two if the bit slips. Here is the correction to a common tip: an impact driver does not rescue a loose-fitting bit. On a badly rounded head the hammering action grinds the bit and the head against each other, so use this method on stage 1 or 2 only.
Method 4: Grip a Raised Head With Locking Pliers
If any of the head stands above the board, clamp locking pliers around it, lock them tight, and turn counterclockwise. This only works on a head that is proud of the surface, which is rare on a deck screw driven properly, but it is common when a screw backed out or was left high. If the head is flush or low, move on to the next method rather than gouging the board.
Method 5: Cut a New Slot in the Head
For a raised or nearly flush head, cut a straight slot across it with an oscillating multi-tool metal blade or a rotary tool with a thin cutting disc, then back the screw out with a large flat screwdriver. Keep the cut shallow and straight, and clear sawdust away first, because sparks from a cutting disc can ignite dry sawdust. This is the most precise option near a finished board edge, but it is slow and risks scarring the surrounding wood.
Method 6: Drill a Seat With an Extractor Bit
This is the method for flush, fully rounded heads. A dual-ended extractor has a drilling end and a reverse-spiral end. Chuck the drilling end, run the drill in reverse, and bore a shallow seat into the center of the head. The bit bites in and, as it grips, turns the screw out. Standard single-purpose easy-out extractors do the same job in two steps: drill a pilot hole first, then tap in the extractor.
- Center the bit on the recess and start slowly so it does not walk.
- Use a drill with a variable-speed trigger set to reverse and low speed.
- Apply steady forward pressure; do not lean on it or rock the drill.
- Stop if the extractor stops turning: pushing harder is how extractors snap off inside the screw.
A snapped extractor is harder to deal with than the original stripped screw, because the extractor steel is harder than the screw. If it snaps, the realistic options are to pry the board up and work on the exposed shank from below, or to leave the screw in place and fasten beside it. Our guide to unscrewing a stuck screw covers the general case on furniture and interior wood.
Method 7: Drill the Head Off and Pull the Board
When nothing else works, remove the head. Drill into the center of the head with a bit slightly larger than the screw shank until the head separates, then lift the board with a flat bar. The board comes away and the shank is left standing in the joist, where you can grab it with locking pliers and turn it out, or cut it flush with a metal-cutting blade.
When the Screw Is Buried Below the Surface
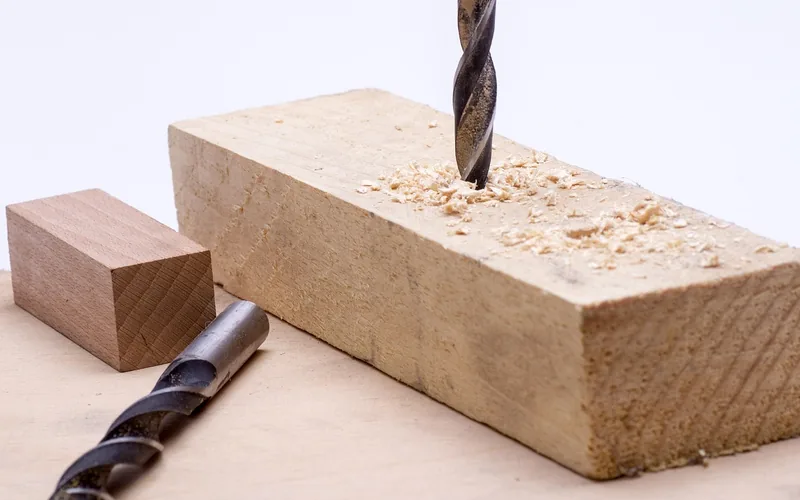
Decking screws are meant to sit flush or slightly countersunk, so many stripped heads are sunk into a small crater. Pliers and slot cutting are out. Start with Method 6, because the self-centering tip of a dual-ended extractor can start in a recess below the wood surface. If you cannot get a grip on it, drill the head off, then pry the board and deal with the shank from the side.
Pull the board slowly with a flat bar placed near the screw, so you lift against the joist rather than splitting the board. If you plan to reuse the board, protect the top face with a scrap of wood under the bar.
Fill the Hole and Choose Replacement Screws
A removed screw leaves an enlarged hole that will not hold a new screw of the same size. You have two real options. First, move the new screw about an inch along the joist: a standard 2x joist is only about 1-1/2 inches wide, so you can slide along its length but not much across it. Second, if the screw has to go back in the same position, glue a hardwood dowel or plug into the hole with exterior-rated glue, let it cure, trim it flush and drive the new screw into the plug.
Then choose a screw that will not strip again. A star (Torx) recess is much less likely to cam out than a Phillips, which is designed to let the bit slip out under high torque. See the best deck screws for pressure-treated wood and which screw coating suits your exposure for coating and size choices, and Trex fastener guidance for composite boards. For structural connections, check deck framing: screws or nails first, because not every connection should use a standard deck screw.
| Recess type | Cam-out risk | Notes |
|---|---|---|
| Phillips (cross) | Highest | Designed to slip out at high torque; strips easily in dense wood |
| Square (Robertson) | Low | Bit wedges in the recess; good for one-handed driving |
| Star (Torx, such as T25) | Lowest | Common on name-brand deck screws; check the box for the bit size |
Prevent the Next Stripped Deck Screw
- Use the exact bit the box specifies, and replace it when the tip looks rounded.
- Pre-drill near board ends and in dense hardwoods such as ipe, so the screw does not bind before it seats.
- Set your drill clutch low and let it click rather than driving at full torque; impact drivers add hammering, which can strip a head faster than a drill.
- Keep the drill square to the screw, and press firmly as you drive.
- Match the screw to the wood. Stainless screws are generally softer than hardened coated screws, so drive them slower and check the sizing on a wood screw sizes chart.
If you are also repairing fence boards, the same bit and pre-drilling habits apply; our fence screw guide covers size and material, and how to use wood screws covers driving technique.
Frequently Asked Questions About Stripped Deck Screws
What is the fastest way to remove a stripped deck screw?
If the head still sticks up, grip it with locking pliers and turn counterclockwise. If it is flush, a dual-ended extractor bit in reverse is usually the fastest: it drills a seat into the head and then grabs it. Try a wide rubber band or a larger star bit first, since both take under a minute and cost nothing.
Does an impact driver help with stripped deck screws?
Only if the bit still fits the recess. The hammering action helps break a stuck screw loose, but it also chews a loose-fitting bit through what is left of the head. Use it in reverse with firm forward pressure and a fresh, correctly sized bit, and switch to an extractor the moment the bit starts to slip.
Can you remove a stripped deck screw without an extractor?
Yes. Press a wide rubber band into the recess, tap a slightly larger star or square bit into the head, grip a raised head with locking pliers, or cut a straight slot across the head with an oscillating tool or rotary cutter and back it out with a flat screwdriver. Drilling the head off and pulling the board is the last resort.
What do you do when a deck screw head is below the surface of the board?
Drill a shallow starter seat with a dual-ended extractor, which works in a recess the surface of the wood is already covering. If the head is gone entirely, pry the board up with a flat bar, then grip the exposed shank with locking pliers or cut it flush with a metal-cutting oscillating blade.
How do you fill the hole after pulling a stripped deck screw?
Move the new screw about an inch along the joist, because a standard 2x joist is only about 1-1/2 inches wide. If the screw has to go back in the same spot, glue in a hardwood dowel or plug with exterior-rated glue, let it cure, trim it flush, and drive the new screw into the plug.
Start with the cheap grip fixes, move to an extractor bit only when the head is flush and rounded, and drill the head off as the last resort. Whatever you remove, refit the board with star-drive screws and the correct bit so the next repair is not another extraction.
Sponsored / affiliate links. As an Amazon Associate I earn from qualifying purchases. I may earn additional commission from eligible campaigns.