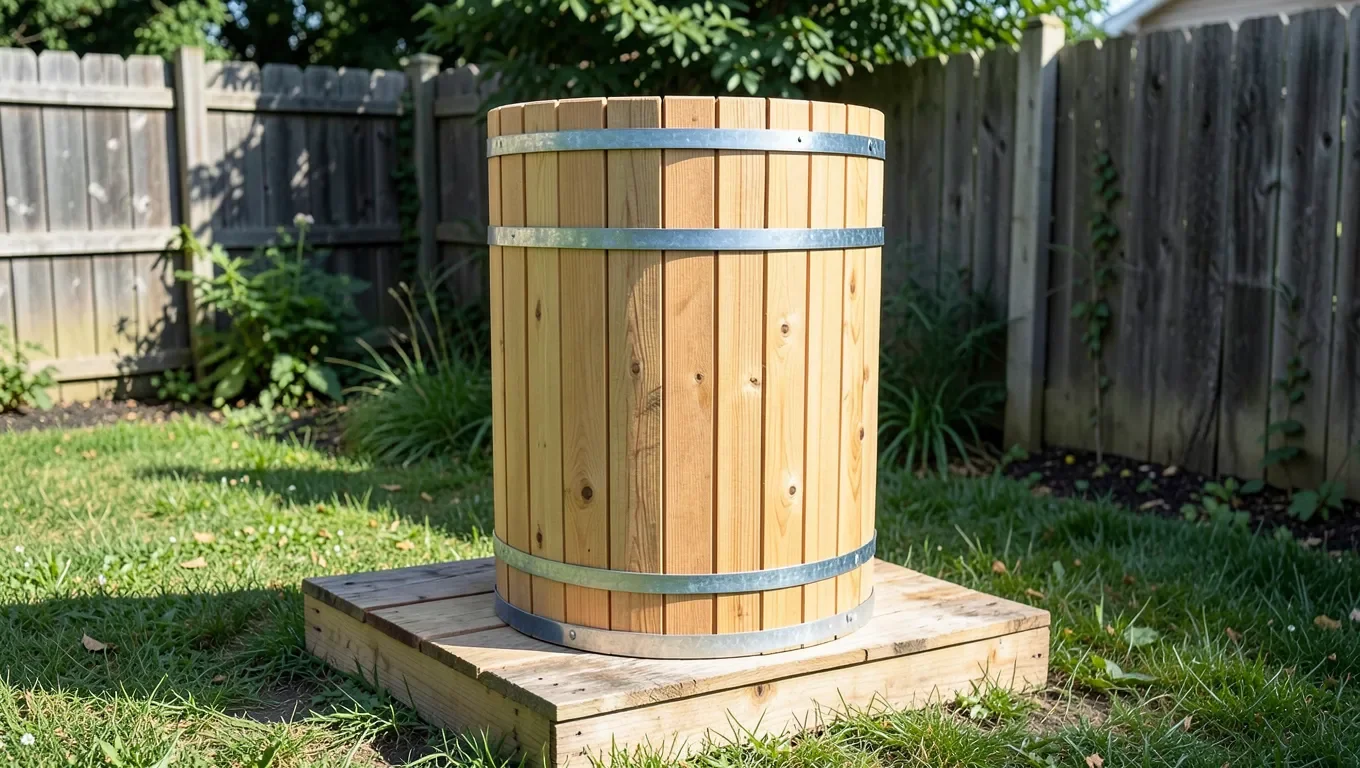
How to Build a Wooden Water Tank: Staved Construction That Won’t Leak
A wooden water tank that actually holds water is not built like a furniture box – it’s built like a barrel. Vertical wood staves with beveled edges are stood upright, drawn tight with galvanized or stainless steel hoops, and let the hydrostatic pressure of the water itself seal the seams. A flat-panel box with butt-jointed corners, the design many DIY guides still show, has weak corner joints that bow and leak once the tank is full – water pressure pushes outward in every direction, and a nailed or screwed box corner has nothing to resist that force the way a compressed, hooped stave joint does.
This guide covers real barrel-style (staved) construction, how to pick a wood species that’s actually safe if the tank will hold drinking water, and where flat-panel construction is acceptable (short, low, non-potable uses only). If you want a taller or larger design, cedar or redwood staves with steel hoops is the same method historic rooftop water towers and rainwater catchment tanks in Hawaii and the rural West have used for well over a century.
Why a Flat-Panel Box Won’t Hold Water
Water pressure increases with depth – a tank that’s 4 feet deep pushes noticeably harder on its lowest boards than on the boards near the top. A barrel-style tank resists this because the staves are compressed into a circle by steel hoops; the hoops near the base are tightened more (or spaced closer) than the ones near the top for exactly this reason, since that’s where the outward force is greatest. A flat, square box relies entirely on its corner joints and fasteners to fight that same pressure, and there’s no mechanism pulling the walls inward the way a hoop does – screws pull out, glue joints creep, and corners bow outward over weeks of being full. That’s the structural gap in most “build a box, line it with sealant” tutorials: the sealant can’t compensate for a joint that’s physically working itself loose.
Best Food-Safe Sealant for a Drinking-Water Tank
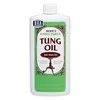 |
HOPE’S 100% Pure Tung Oil, Food Safe Wood Finish – $17.99 Once your staved tank is banded and swollen tight, this is the sealant to reach for if the tank will hold drinking water – it cures non-toxic, unlike marine varnish or standard epoxy.
|
Materials and Tools for Staved Construction
For the staves themselves you’ll want straight-grained 3/4″ to 1″ boards, ripped to identical width and with a slight bevel planed onto each long edge so the boards meet nearly edge-to-edge when curved into a circle – the same joint a cooper cuts for a wine barrel. You’ll also need:
- Galvanized or stainless steel hoop stock (band iron) or adjustable hose-clamp-style tank bands, sized to the tank’s circumference, with a turnbuckle or take-up bolt for tightening
- A circular saw or table saw with the blade tilted for the stave bevel, plus a hand plane for fine-tuning the joint
- A rubber mallet for driving hoops down snug without marring the wood
- A router or dado blade to cut the base groove (croze) the staves sit in
- Clamps, a tape measure, and a moisture meter if you want to confirm the wood is dry before assembly (green or wet lumber shrinks after the hoops are set, loosening the whole tank)
Choosing a Wood Species: Structural Durability vs. Drinking-Water Safety
Wood species matters differently depending on what the tank is for.
Non-potable use (irrigation, rain catchment for the garden, a decorative pond feature): cedar and redwood are the traditional choices because both are naturally rot- and insect-resistant without chemical treatment. Redwood in particular has decades of documented use in outdoor rainwater catchment tanks with no reported issues. Cedar works too, but its resins and tannins can tint the water and give it a noticeable “cedar” smell and taste – a non-issue for watering plants, but worth knowing before you build.
Potable (drinking) water: white oak is the traditional barrel-industry standard here – it’s the same wood used in wine and whiskey barrels because its tight, tylose-filled grain structure barely leaks and its tannin profile is well understood and manageable, unlike cedar’s. If you use oak, redwood, or any other species for a drinking-water tank, don’t rely on the bare wood alone: line the interior or seal it with a product explicitly labeled food-contact safe, since even “rot-resistant” doesn’t mean “safe to drink from” on its own. Never use pressure-treated lumber for any tank that will touch water you plan to drink – the preservative chemicals are the whole reason it resists rot, and they aren’t food-safe.
Step 1: Cut and Bevel the Staves
Decide on the tank’s finished diameter and stave count first – more, narrower staves make a tighter circle with less gap to seal than fewer, wide ones. Rip all staves to the same width, then tilt your saw blade to the bevel angle for your stave count (for example, 24 staves need roughly a 7.5° bevel on each edge so the total comes to 360° around the circle) and run every board through identically. Consistency here matters more than getting the exact angle perfect on paper; a hand plane can true up any board that doesn’t seat tightly against its neighbors during a dry fit.
Step 2: Cut the Base Groove and Fit the Floor
Rout a groove (a croze) roughly 3/4″ up from the bottom edge of each stave, deep enough to hold the floor panel but not so deep it weakens the stave. The floor itself is usually several boards edge-glued or biscuit-jointed into a disc slightly larger than the finished tank diameter, with its own bevel cut around the edge so it drops into the croze and seats flush. This floor-in-a-groove approach is what lets the base seal under pressure without a single fastener – the weight of the water above presses the floor down into the groove rather than relying on glue or screws to hold back a leak.
Step 3: Stand, Band, and Tighten the Staves
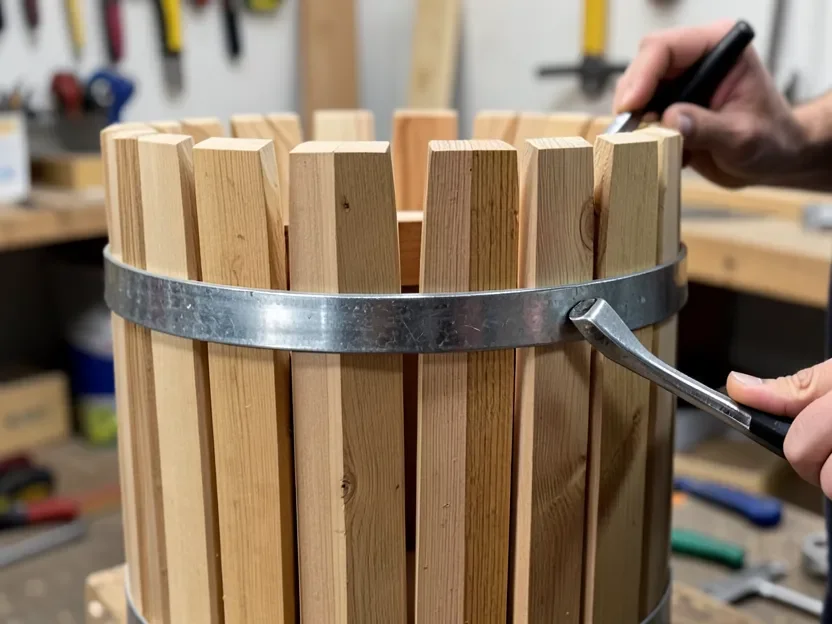
Stand the staves upright around the floor disc inside a temporary rope or ratchet strap to hold the circle roughly closed, then slide your hoops down over the top and work them into position – typically one hoop near the top, one near the middle, and at least two spaced closer together near the bottom, since that’s where hydrostatic pressure is highest. Tighten each hoop gradually and evenly, working around the circle in stages rather than cranking one hoop fully tight before moving to the next, the same way a cooper trues up a barrel. Once every hoop is snug, do a dry test: fill the tank partway with a hose and watch the seams. A well-built stave joint typically weeps slightly at first and then swells shut within a day as the wood absorbs moisture – that swelling is part of how the design seals, not a defect. Persistent running leaks mean a hoop needs another turn or a stave needs to come out and be re-planed.
Waterproofing and Food-Safe Sealing
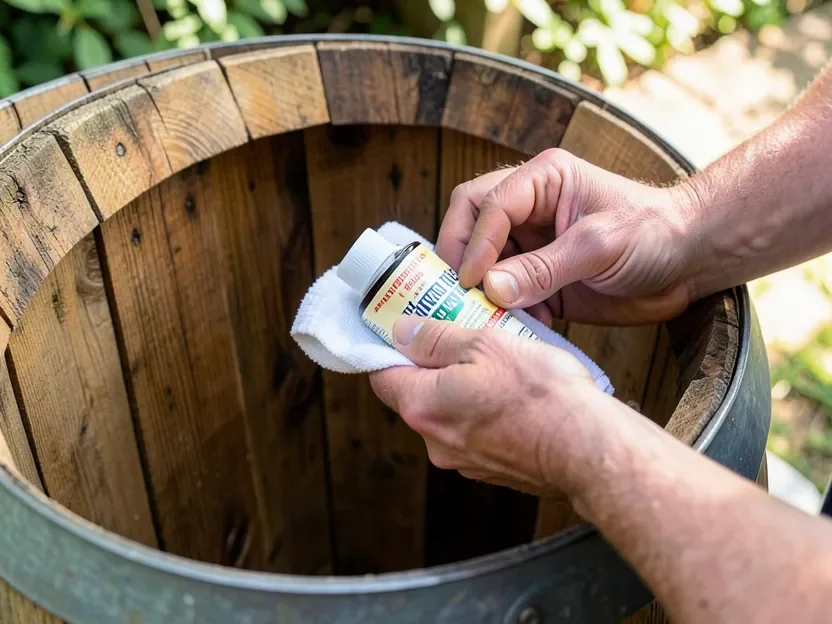
Hoop tension and swollen staves handle most of the sealing on their own, but a sealant coat still helps with long-term durability and, for drinking water, with actual safety. The distinction that matters: a general waterproofing product like marine spar varnish or a standard penetrating epoxy blocks water fine, but neither is rated for something you’ll drink from. For a potable tank, use only a product explicitly labeled food-contact safe once fully cured – pure tung oil, polymerized (not boiled) linseed oil, or a food-grade epoxy are the common choices. We cover the full method, cure times, and product differences in our guide to sealing wood to hold water. If you’d rather not rely on the wood/sealant boundary at all, a food-grade poly or EPDM liner dropped inside the finished tank removes the food-safety question entirely, at the cost of a less “natural wood” look on the interior.
Local Codes and Potable Water Considerations
If this tank will supply drinking water for a house, cabin, or livestock, check your local health department or building code before you rely on it – requirements for potable water storage (venting, screened overflow, a secure lid to keep out animals and debris, sometimes a minimum freeboard or setback distance) vary by jurisdiction and aren’t something to guess at for a system people will actually drink from. For a rainwater tank feeding only irrigation or a garden, the bar is lower, but a screened inlet and lid to keep out mosquitoes and debris is still worth building in regardless.
Maintenance and Care
Check hoop tension a few times in the first month, since staves continue to swell and settle as they take on moisture, then check twice a year after that – a hoop that’s worked loose is the most common cause of a tank that starts weeping again after years of holding tight. Rinse the interior with a soft brush and mild soap periodically to keep algae and mineral scale from building up, and inspect the floor and lowest staves yearly for soft or discolored wood, since that’s where standing water and pressure both concentrate. Reapply a food-safe sealant coat every one to two years if the tank holds drinking water; non-potable tanks can usually stretch that interval longer.
Frequently Asked Questions
Can I just build a wooden box instead of a staved barrel-style tank?
Not reliably for anything holding real water depth. A flat-panel box depends entirely on its corner joints and fasteners to resist hydrostatic pressure, and those joints tend to bow and leak once the tank is full. Staved construction with steel hoops uses the wood’s own compression against the hoops to seal, which is why it’s the method actual water tanks and barrels have used for centuries.
What wood should I use for a wooden water tank?
For non-potable use, cedar or redwood – both are naturally rot-resistant without chemical treatment. For drinking water, white oak is the traditional choice, the same wood used in wine and whiskey barrels, because it doesn’t leak or leach the way other species can. Never use pressure-treated lumber for a tank that will hold drinking water.
Is a wooden tank safe for drinking water?
It can be, but only with the right species and finish. Some woods, especially cedar, can leach tannins and resins that discolor water or affect its taste. For a potable tank, choose a species like white oak and finish the interior with a product explicitly labeled food-contact safe (pure tung oil, polymerized linseed oil, or food-grade epoxy) or add a food-grade liner, and check your local health code for any additional requirements before putting it into service.
How many hoops does a wooden water tank need?
It depends on tank height, but a typical small DIY tank uses at least three to four hoops – one near the top, one near the middle, and two spaced closer together near the base, since water pressure is highest at the bottom. Taller tanks need proportionally more, spaced tighter toward the bottom.
Conclusion
A wooden water tank that actually holds water comes down to the same construction principle coopers have used for centuries: staves compressed into a circle by steel hoops, not a box held together by screws. Pick your species based on what the tank will hold – cedar or redwood for irrigation and catchment, white oak with a food-safe finish for anything you’ll drink – band it correctly with more support near the base, and let the wood swell into its seal. Done this way, it’s a genuinely durable, repairable system that can outlast a plastic tank by decades.
Sponsored / affiliate links. As an Amazon Associate I earn from qualifying purchases. I may earn additional commission from eligible campaigns.