How to Engrave Letters Into Wood: 4 Methods That Work
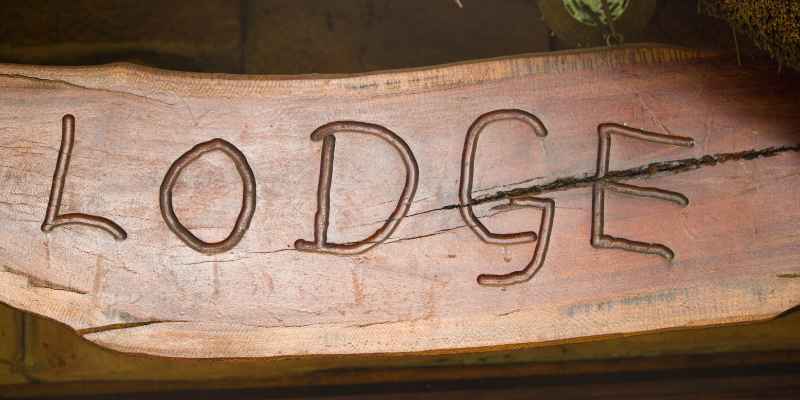
To engrave letters into wood, choose a method that matches your letter size and skill: a wood-burning pen for beginners, a rotary tool for freehand names, a laser for exact repeatable text, or a chisel for deep cut letters. Draw the letters on the wood, test on scrap of the same board, and keep your cuts about 1/16 to 1/8 inch deep.
Most guides treat these methods as interchangeable. They are not. The method decides what your letters look like, which woods will behave, and what safety gear you need. If you want the hand-carved route in more detail, our guide to carving a name in wood covers V-groove depths and letter sizing, and this page focuses on burning, rotary and laser lettering.
Which Method Should You Use to Engrave Letters Into Wood?
Best Beginner Letter-Burning Kit
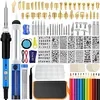 |
IVSUN 116-Piece Wood Burning Kit, about $29.99 A temperature-adjustable pen with alphabet and number stencils is the lowest-cost way to try burned lettering before buying a rotary tool or laser.
|
The table below compares the common ways to put letters into wood. Etching cream is on the list only to correct a common search mistake: it reacts with glass and does not cut wood.
| Method | What it does | Best for | Watch out for |
|---|---|---|---|
| Wood-burning pen (pyrography) | Scorches the letters into the surface with a heated tip | Dark, rustic lettering on flat boards; beginners | Hot tip, smoke, and scorch halos if you move too slowly |
| Rotary tool with engraving bit | Grinds a groove into the surface | Freehand names, curved text, small signs | Grain tear-out and slipping on cross-grain strokes |
| Laser engraver | Burns letters from a digital file | Repeatable, precise text and small production runs | Fumes and fire risk: ventilate and never leave it running unattended |
| Hand chisel or knife | Cuts V-shaped grooves by hand | Deep, traditional lettering on signs | Slips: clamp the work and cut away from your body |
| Etching cream | Reacts with glass only | Not for wood | Corrosive to skin; use it on glass only |
If you are not sure, start with a burning pen. It is forgiving and inexpensive, and a mistake can often be sanded out lightly before you try again. For more on the two heat-based options, see our guides to burning letters and numbers with stencils and burning letters with a torch.
Pick Wood That Holds Clean Letters
Wood choice changes the result more than tool choice does. Even, tight grain gives crisp edges. Wood with alternating soft and hard growth rings gives lines that wander, because the tool cuts or scorches the soft bands faster than the hard ones.
| Wood | How it engraves | Best method |
|---|---|---|
| Basswood | Soft, pale and even-grained, and a common choice for wood burning | Burning pen, rotary tool |
| Maple | Hard and smooth; holds fine detail but burns slowly and needs more heat or a slower pass | Laser, rotary tool |
| Cherry | Fine grain and rich color that darkens with age; good contrast | Laser, burning pen, chisel |
| Oak | Open, coarse grain that can chip out on fine strokes; better for larger letters | Chisel, rotary tool with a larger bit |
| Pine | Soft, but resin and hard/soft ring contrast make lines uneven and can leave sticky, scorched spots | Chisel or rotary tool; practice first |
| Plywood or MDF | Glue layers and binders burn differently and can add smoke; check the manufacturer before lasering it | Only if the maker says it is laser safe |
Sand to about 220 grit before you start. A rough surface catches the tool and scatters the line, and sanding after engraving can round over the edges of shallow letters.
Tools and Materials by Method
- Burning pen: a temperature-adjustable pen, a pointed or writing tip, graphite transfer paper, a pencil, and a ceramic tile or metal stand for the hot pen
- Rotary tool: a variable-speed tool, small engraving or ball-nose bits, a steady work surface, and clamps
- Laser: a wood-safe laser engraver, an exhaust or filtered vent, painter’s or transfer tape for masking, and eyewear rated for your laser’s wavelength
- Chisel or knife: a sharp knife or small V-gouge, a mallet for deeper cuts, and clamps
- For every method: safety glasses, a dust mask for sanding, scrap wood from the same board, pencil and ruler
Design and Transfer Your Letters
Single-stroke or simple block fonts are the easiest to burn or rout because the tool follows one line. Thin script fonts with hairline connections tend to blur when burned by hand, so save them for lasers. Print your text at the actual size you want and check that the strokes are wide enough for your tip or bit.
To transfer the design, tape the printout down, slide graphite paper underneath, and trace over the letters with a pen. For centered text, mark the center of the board and the center of the phrase, then work outward from the middle so the spacing stays even on both sides.
Step-by-Step: Burning or Rotary Engraving Letters
- Sand the board smooth and wipe off the dust. Practice on a scrap first.
- Transfer the letters and check spacing before any heat or cutting.
- Clamp the board or use a non-slip mat so it cannot slide.
- Set the tool low and make a test stroke on the scrap. Raise the heat or speed only until the line is clean.
- Work the strokes that follow the grain first, then the cross-grain strokes with a lighter, faster pass.
- Keep a consistent pace. Slowing down at corners is the most common cause of dark blobs and deep pits.
- Finish each letter before moving on so depth and darkness stay consistent from letter to letter.
- Lightly sand the surface with fine paper to remove smudged pencil and raised fuzz, then wipe clean.
Hand-Cut Letters With a Chisel or Knife
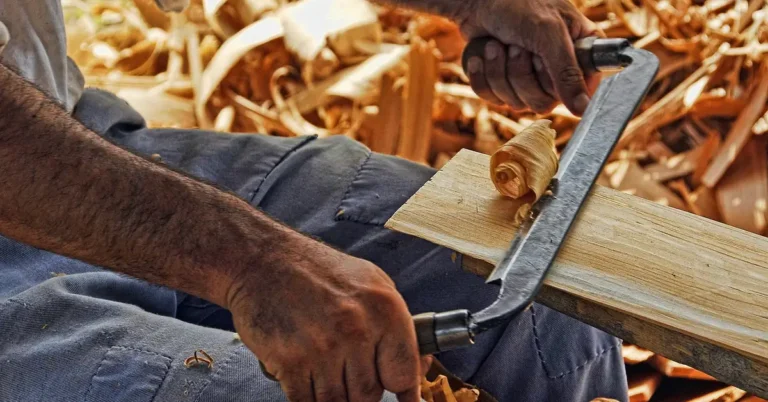
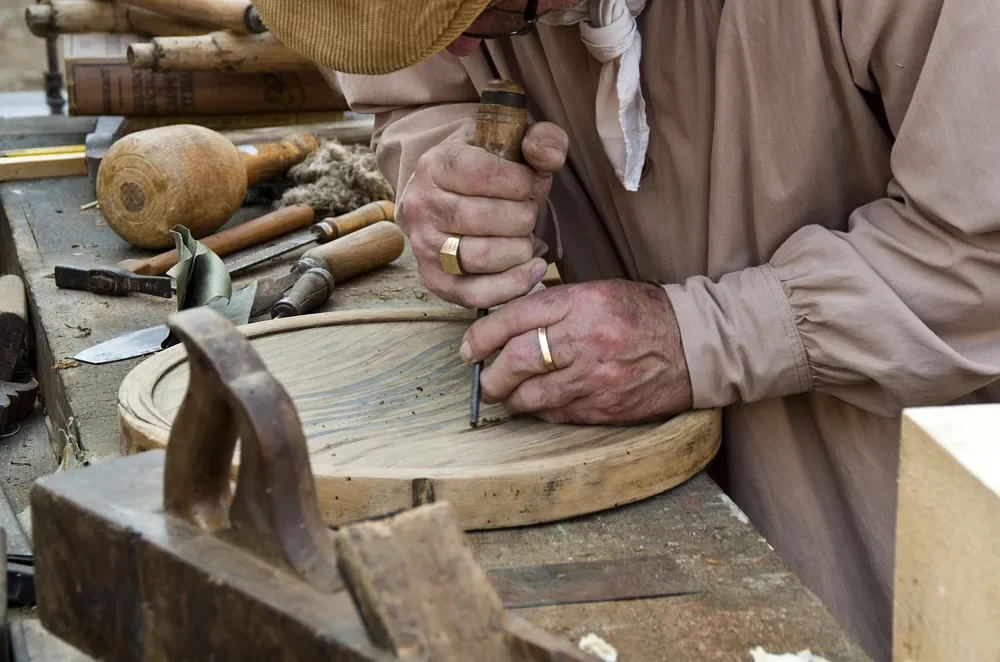
Hand cutting gives the deepest and most traditional letters. Clamp the piece, cut the outline of each stroke first, then remove wood toward the center in a V so the walls stay crisp. Always cut away from your hand and keep the off hand behind the blade.
Laser Engraving Letters: What to Set Up First
A laser repeats the same lettering perfectly, but the results depend on settings and ventilation. Run a small test grid on a scrap of the same wood, varying speed and power, and pick the darkest line that does not char through. Covering the surface with masking or transfer tape before engraving helps keep smoke residue off the surrounding wood, and you peel it off afterward.
Treat the laser as a fire source. Never leave it running unattended, keep the exhaust running, and use eyewear matched to your laser’s wavelength. Check your machine’s manual for the materials it says are safe.
Why the Same Letters Look Different Across a Board
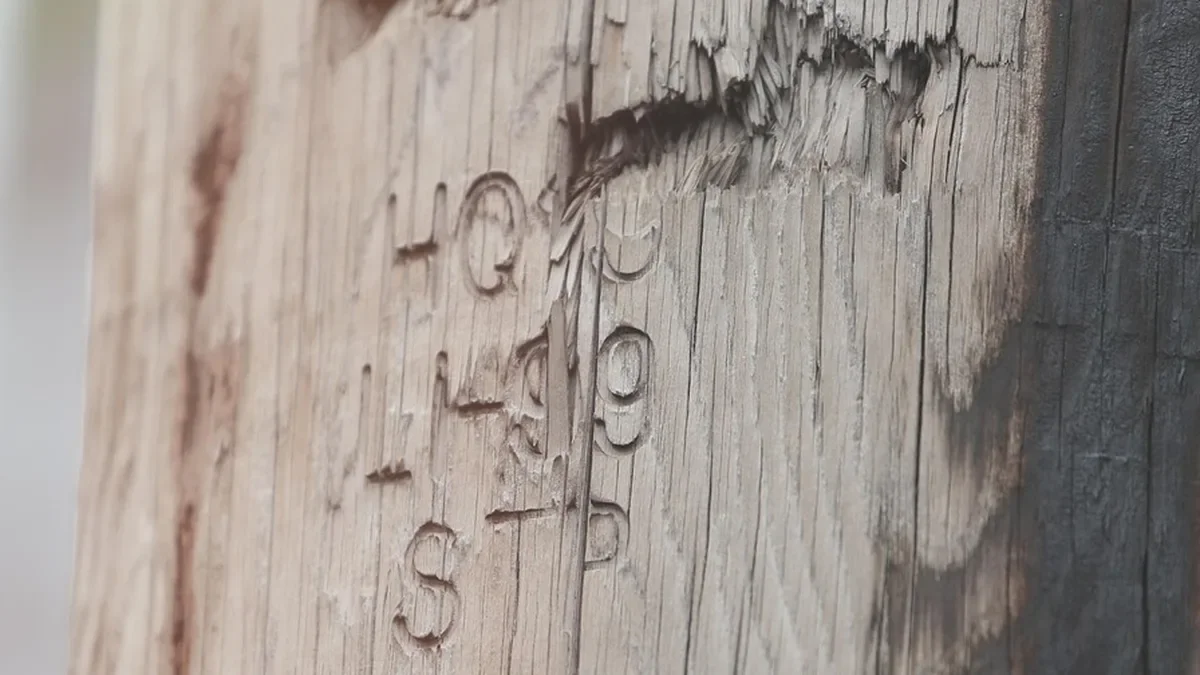
Strokes that run with the grain cut and burn cleaner but can drift along the grain lines. Strokes that cross the grain expose end fibers, so they look darker when burned and fuzzier when routed. This is why a word can look uneven even when your hand was steady. Two practical fixes help: use a lighter, faster pass on cross-grain strokes, and pick a letter style with thicker strokes so the difference is less visible.
A second common myth is that deeper is always better. Deep letters look bold, but on a thin board they weaken the wood and can split along the grain. Most lettering reads well at 1/16 to 1/8 inch, and paint or stain in the groove adds contrast without extra depth.
Safety: Fumes, Eyes, and Fire
- Ventilate. Burning wood produces smoke that irritates eyes and lungs. Work near an open window or a fan that moves the smoke away from your face, and consider a small fume extractor for long sessions.
- Know what you are burning. Avoid pressure-treated lumber, painted or varnished wood, and MDF or glued panels unless the maker says they are safe to heat. Treated and finished woods can release harmful fumes when burned.
- Protect your eyes and lungs. Wear safety glasses for rotary and chisel work and a dust mask when sanding.
- Control the heat. Rest a hot pen on a stand, never on the bench, and unplug it when you leave the room.
- Watch your rags. If you finish with an oil such as linseed oil, lay the rags flat to dry outdoors or soak them in water, because oily rags can self-heat and ignite.
Troubleshooting Common Problems
| Problem | Likely cause | Fix |
|---|---|---|
| Fuzzy or ragged edges | Cutting across the grain, or a dull bit or knife | Slow down, use a sharp bit, and score the outline first |
| Dark blobs at corners | Pausing the burning pen or moving too slowly | Keep moving at a steady pace and lower the heat |
| Lines wander with the grain | Soft growth rings guiding the tool | Practice on the same wood and use a bolder letter style |
| Smoke stains beside laser letters | Residue from burning wood | Mask the surface with tape before engraving, then lightly sand |
| Letters too faint | Heat or speed too low, or wood too hard | Test on scrap and raise the heat gradually, or make a second pass |
Finishing and Caring for Engraved Wood
Sand lightly with fine paper, blow off the dust, and wipe with a barely damp cloth. Let the wood dry completely, then apply a clear finish such as a wipe-on oil or a brush-on sealer. Test the finish on your scrap piece first, because some stains and oils darken burned lines differently than the surrounding wood. Keep engraved pieces away from constant moisture and direct sun. If the letters are shallow, avoid heavy scrubbing so you do not wear the edges down.
For related techniques, our guide on imprinting letters on wood covers stamping, the Dremel engraving guide goes deeper on rotary bits, and our overview of how to engrave wood compares tool types beyond lettering.
Frequently Asked Questions
How do I prepare wood for engraving letters?
Choose a fine-grained, even wood such as basswood, maple or cherry, sand it smooth to about 220 grit, and wipe off the dust. Transfer your letters with graphite paper, then test the tool on a scrap of the same board before touching the project.
What tools are best for engraving letters into wood?
For beginners, a temperature-adjustable wood-burning pen with letter stencils is the easiest start. A rotary tool with a small engraving bit suits freehand names, a laser engraver suits repeatable digital lettering, and a chisel or knife suits deep V-cut letters.
Can I engrave letters into pressure-treated wood?
It is better not to burn or laser pressure-treated wood, because heating treated lumber can release fumes from the preservatives. Hand carving is the safer route, and you should wear a dust mask and avoid breathing the sanding dust.
How deep should I engrave letters in wood?
Most lettering reads clearly at about 1/16 to 1/8 inch deep. Go shallow on thin boards and fine strokes, because deeper cuts along the grain can split. Deeper V-cuts suit large signs that will be painted or viewed from a distance.
Conclusion
The best way to engrave letters into wood is the method that fits your letter size, your skill, and your safety setup. Start on scrap, choose an even-grained wood like basswood, keep the depth shallow, and ventilate any time heat is involved. Once you see how your tool behaves with and across the grain, the letters start to look consistent.
Sponsored / affiliate links. As an Amazon Associate I earn from qualifying purchases. I may earn additional commission from eligible campaigns.