How to Change a DEWALT Jigsaw Blade (No Tools Needed)
DEWALT jigsaws use a keyless, tool-free blade clamp, so changing a blade takes about 30 seconds and doesn’t require an Allen wrench or screwdriver. Here’s the exact release-and-lock sequence, plus how to pick the right T-shank blade for wood, metal, or plastic before your next cut.
Safety First
Best Replacement Blade Set
 |
DEWALT DW3741C Jigsaw Blade Set (10-Piece) – $16.36 Once the old blade’s out, this keeps a full range of T-shank blades on hand for the next cut.
|
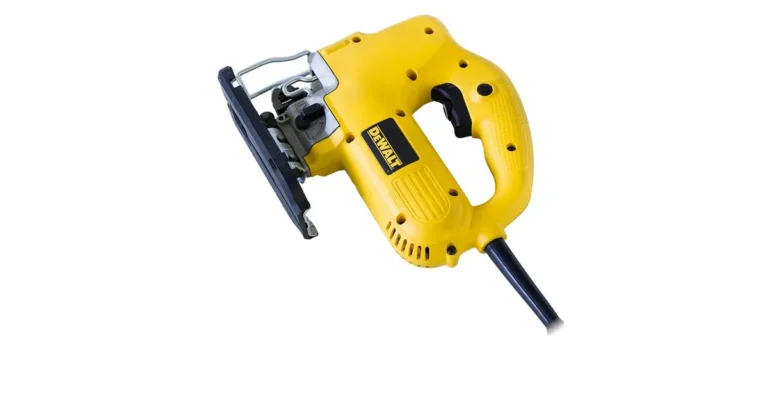
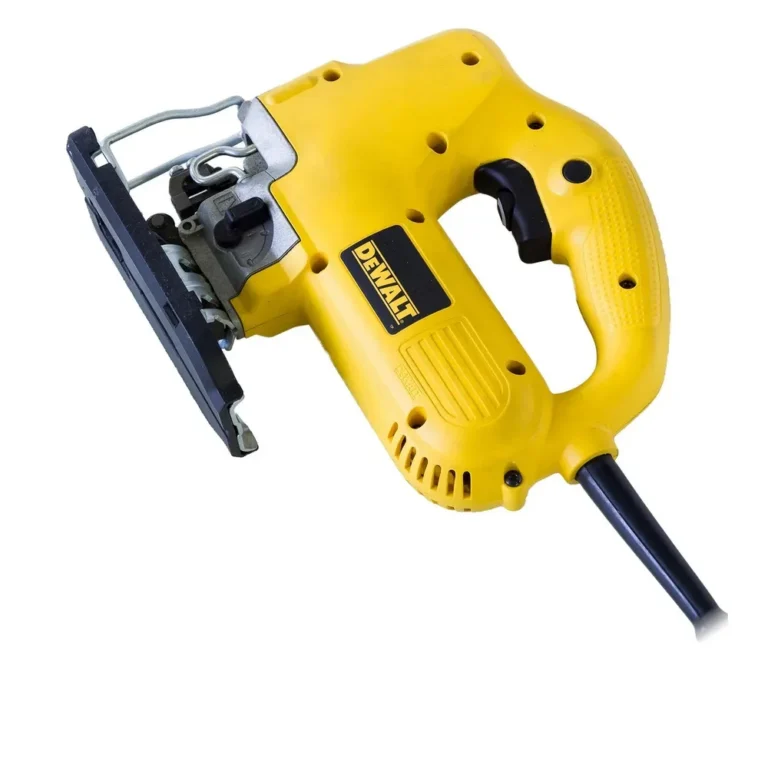
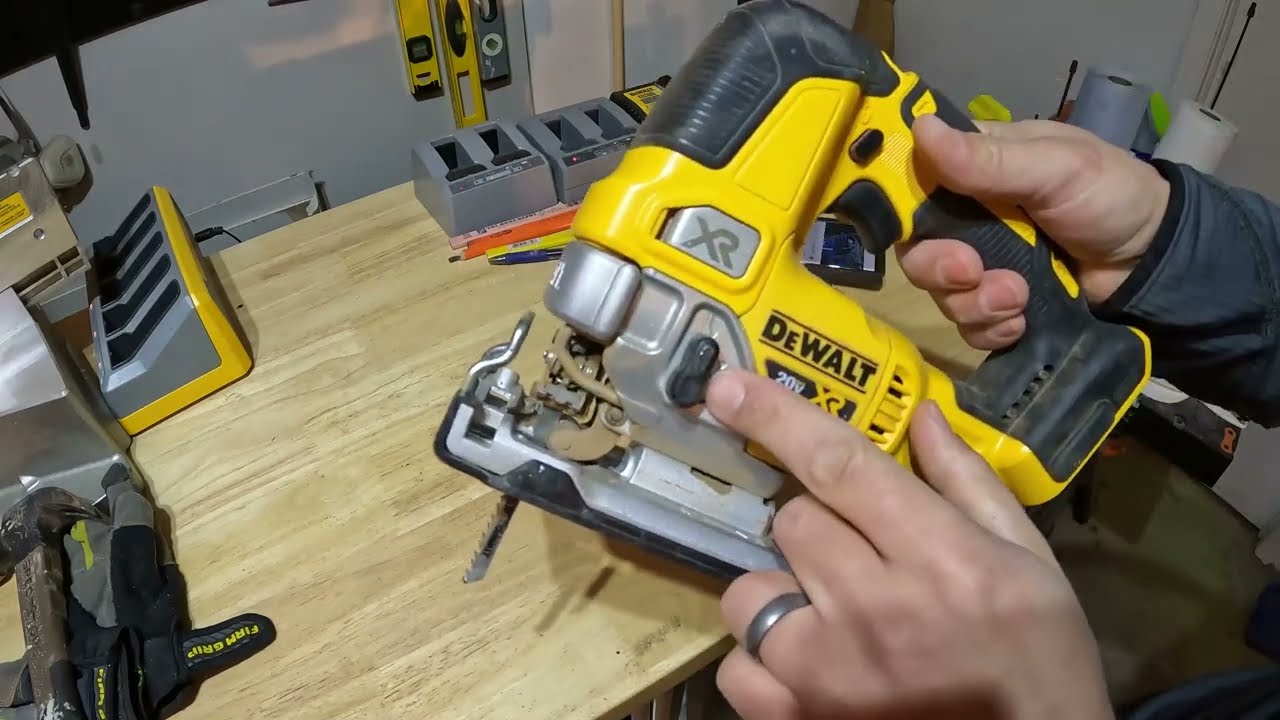
Every keyless DEWALT jigsaw — the 20V MAX DCS334, DCS335, and the corded DW331/DW341 line — uses the same basic mechanism: a spring-loaded lever on the front of the shoe that opens a set of jaws gripping the blade’s T-shank. There’s no hex key to lose and no set screw to strip. Before you touch the lever, though, pull the battery out or unplug the cord — the clamp releases with enough spring tension to eject a half-used blade, and you don’t want that happening with the motor live.
Beyond disconnecting power, keep three things in mind while you work: let the blade cool if you’ve just finished a cut (T-shank blades can hold heat for a minute or two after cutting metal or dense hardwood), clear sawdust and offcuts from around the shoe so nothing catches the mechanism, and set the jigsaw on a flat, stable surface rather than balancing it on your knee. Safety glasses are worth putting on here too — the clamp spring has enough force to flick a stuck blade a few feet if it’s been gummed up with resin or metal shavings.
Preparing the Jigsaw
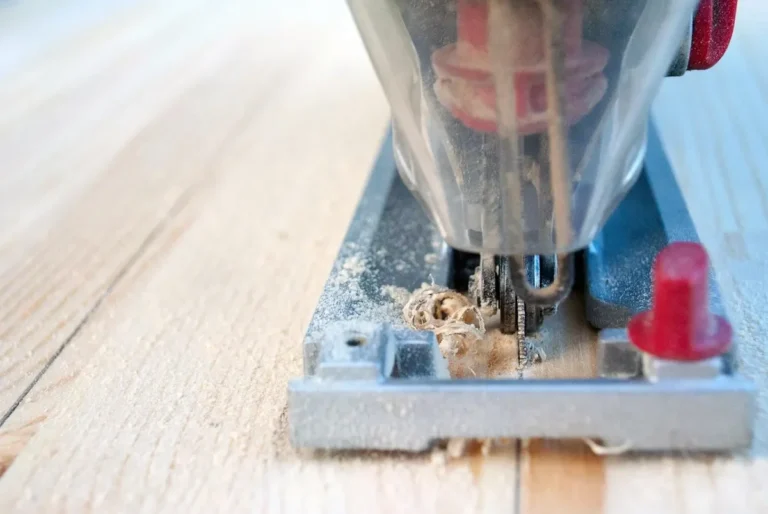
Set the jigsaw down on a workbench with the shoe facing up and clear of your work surface, or clamp the body if it’s the type that wants to roll. Confirm the battery is out (cordless models) or the cord is unplugged (corded models) — do this by trying the trigger once with the tool disconnected; if nothing happens, you’re clear. Wipe down the shoe and clamp area with a rag or brush; dust buildup around the lever is the most common reason a “stuck” blade clamp won’t open on the first try.
Removing the Old Blade
Find the lever at the front of the shoe, just above where the blade exits — on most DEWALT models it’s a black plastic tab you push forward or lift, not a rotating collar. Push it fully to its stop; you’ll feel the jaws release their grip on the blade’s T-shank. With the lever held open, pull the blade straight down and out of the slot. If it doesn’t slide free immediately, a slight side-to-side wiggle usually breaks it loose — don’t force it downward at an angle, which can bend the clamp’s retaining fingers.
Set the old blade teeth-down on your bench so it can’t roll off the edge, and dispose of it in a way that won’t puncture a trash bag — wrapping it in a scrap of cardboard or taping the teeth is standard practice. Once the blade’s out, take a second to look at the clamp jaws themselves: if you see a buildup of resin, aluminum shavings, or rust, clean it out now with a stiff brush before loading the next blade, since debris in the jaws is what causes a “loose” or wobbling blade later.
Choosing the Right Blade
Every DEWALT jigsaw takes standard T-shank blades, so the model doesn’t limit your options — the material you’re cutting does. Wood-cutting blades run anywhere from 6 to 10 teeth per inch (TPI): fewer teeth cut faster and rougher (good for framing lumber or rough rip cuts), while a 10 TPI blade leaves a cleaner edge in plywood or hardwood but cuts slower. Metal-cutting blades run much finer — 14 to 24 TPI — because the tool needs multiple teeth engaged in thin sheet metal at once to avoid snagging and snapping the blade. Plastic and laminate blades sit in between, usually 10-14 TPI with a reversed or down-cutting tooth pattern to keep the material from chipping on the top surface.
Blade material matters as much as tooth count. High-carbon steel (HCS) blades are the cheapest and fine for softwood, but they dull quickly in plywood’s glue lines or anything with embedded grit. High-speed steel (HSS) and bi-metal blades — HCS teeth welded to a flexible spring-steel body — hold an edge far longer and can flex without snapping, which is why most all-purpose and metal-cutting blades are bi-metal. Carbide-tipped blades cost the most but stay sharp through fiber-cement board, tile backer, and other abrasive materials that eat through steel blades in a handful of cuts. For general woodworking, a 6-8 TPI bi-metal blade covers the majority of cuts you’ll actually make.
Installing the New Blade
With the lever still open (or pushed open again), slide the new blade’s T-shank up into the slot until it seats fully against the roller guide behind it — you should feel it bottom out, not just touch the opening. Blade orientation matters: teeth face forward, away from the motor housing and toward the direction the shoe will travel when you push the saw into a cut. Installing it backward won’t damage the tool, but the saw will barely cut, if at all, since the teeth only engage material on the upstroke.
Release the lever and let the spring close the jaws — you’ll usually hear or feel a distinct click. Give the blade a firm downward and side-to-side tug by hand before plugging the tool back in; it shouldn’t move at all. If it slides even slightly, the blade wasn’t seated fully against the back roller — pull it back out and reinsert, making sure it goes in straight rather than at an angle.
Testing the Installation
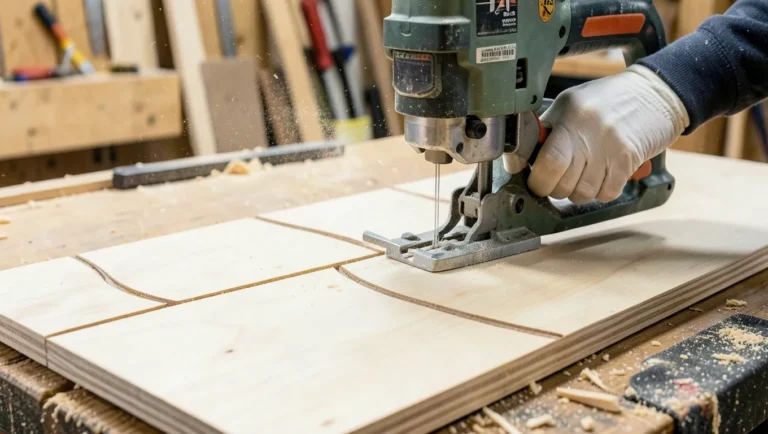
Reconnect power, put on safety glasses, and make a short cut on a piece of scrap wood before starting your real project. Run the saw at a moderate speed and watch the blade rather than the cut line — a properly seated blade tracks straight up and down with no visible side-to-side flex. If you see the blade whip or hear a rattling sound from the shoe area, stop immediately and recheck that it’s fully seated in the clamp.
Check the cut edge itself, too: a straight, even kerf with consistent width top to bottom means the blade is square to the shoe. A cut that widens or angles as it goes deeper usually points to a bent blade or a shoe that’s not sitting flat against the material, not a clamp problem — worth ruling out before you assume the installation is at fault.
Maintenance Tips
Wipe the clamp mechanism and roller guide with a dry brush after any project that produces heavy dust — MDF and drywall are two of the worst offenders for gumming up the lever spring. Every few months, put a single drop of light machine oil on the roller guide (the small wheel the blade rides against behind the clamp); it’s a wear point that’s easy to forget since it’s hidden behind the blade itself.
Store spare blades flat in their original case or a dedicated blade holder rather than loose in a drawer — T-shank blades nick each other’s teeth when they rattle around together, and a chipped tooth near the shank end can make a blade sit crooked in the clamp. Keep the jigsaw itself somewhere dry; surface rust on the shoe or clamp jaws is one of the most common reasons an otherwise-fine blade starts to feel loose.
Troubleshooting
Blade won’t go in at all: check that the lever is pushed fully to its stop, not just partway — a partially open clamp will block the T-shank from seating. Blade goes in but won’t lock: the clamp jaws are likely dirty or the blade’s shank is worn/rounded from age; try a brand-new blade before assuming the clamp itself has failed. Blade wobbles during cuts even though it felt tight going in: this is almost always the back roller guide, not the clamp — a worn or missing roller lets the blade flex side to side under load, and it’s a cheap replacement part rather than a reason to replace the whole tool.
If the saw won’t run at all once the blade’s installed, the problem usually isn’t the blade — check the battery charge or outlet, inspect the cord for nicks on corded models, and confirm the trigger lock (if your model has one) isn’t engaged. Keep a couple of spare blades of different tooth counts in your kit; running a fine-tooth metal blade through thick lumber, or vice versa, looks like a tool problem but is really just the wrong blade for the material.
Frequently Asked Questions
How do I change a DEWALT jigsaw blade?
Unplug the jigsaw or remove the battery, push the lever on the front of the shoe forward to open the keyless clamp, and pull the old blade straight out. Slide the new T-shank blade in with the teeth facing forward until it bottoms out against the back roller, then release the lever so the spring locks the jaws around it. Give it a firm tug by hand to confirm it’s seated before reconnecting power.
What tools are needed to change a jigsaw blade?
None. DEWALT’s keyless clamp is designed to be completely tool-free — no Allen key, screwdriver, or wrench required. The only thing you need is a new T-shank blade matched to whatever material you’re about to cut.
How often should I replace my jigsaw blade?
Replace it once cuts start requiring noticeably more force to push through, the cut edge gets rough or burns the wood, or you can see rounded/missing teeth under magnification. A blade used for occasional home projects in softwood can last for dozens of cuts; one used regularly on plywood, metal, or abrasive materials like fiber-cement may dull within a single project.
Can I use any blade with a DEWALT jigsaw?
Any standard T-shank blade fits DEWALT’s keyless clamp — it’s a universal shank style also used by Bosch, Makita, and most other major brands, so you’re not locked into DEWALT-branded blades specifically. U-shank blades (an older style with a U-shaped tang) will not fit and shouldn’t be forced into the clamp.
Conclusion
Once you’ve done it once, swapping a DEWALT jigsaw blade takes less time than finding a screwdriver would for a clamped model — push the lever, pull the old blade, seat the new one teeth-forward, and release. The habit worth building isn’t the swap itself but the ten-second inspection before and after: checking the clamp jaws for debris, confirming the blade is fully seated with a hand tug, and matching tooth count to the material before you start cutting. That’s what keeps cuts straight and keeps you from blaming the tool for what’s really just the wrong blade.
Sponsored / affiliate links. As an Amazon Associate I earn from qualifying purchases. I may earn additional commission from eligible campaigns.