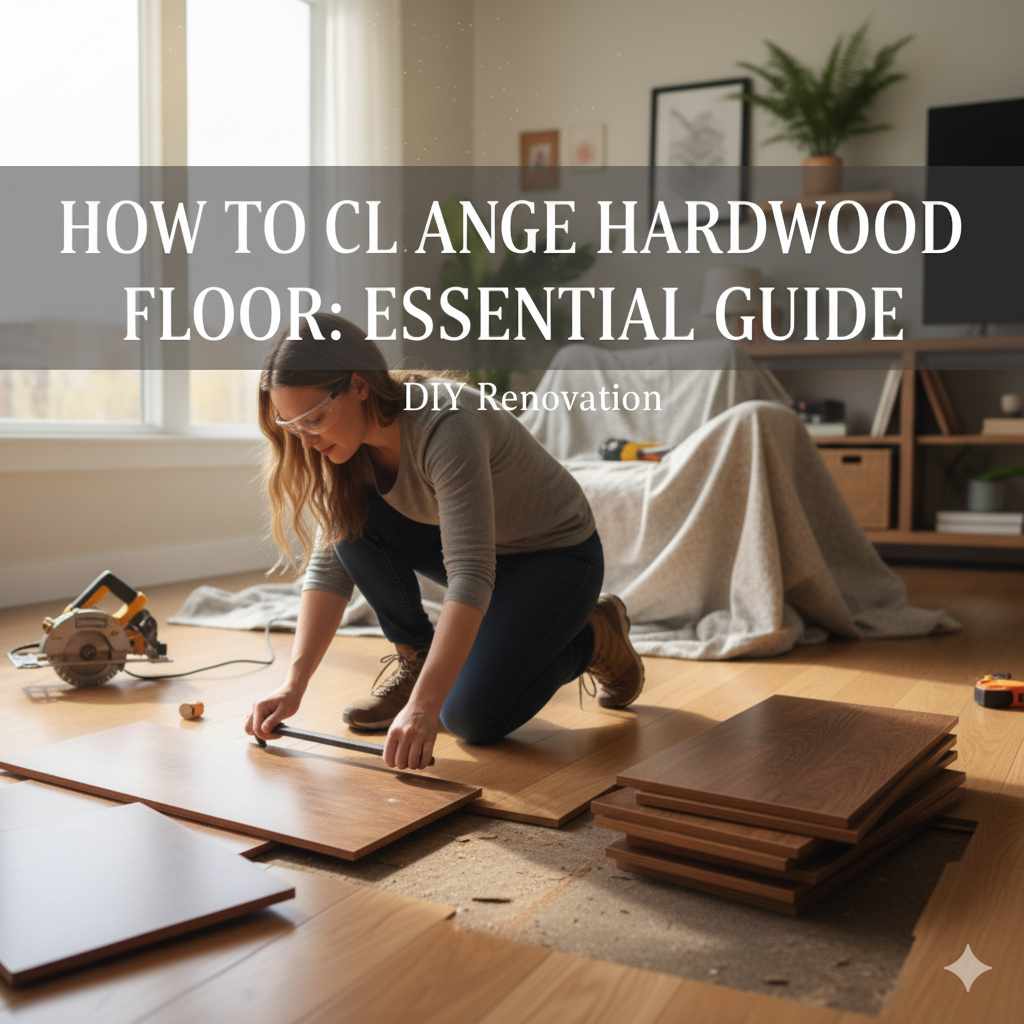
How To Change Hardwood Floor: Essential Guide
Changing your hardwood floor involves careful planning, preparation, and execution. This beginner-friendly guide breaks down the process step-by-step, from selecting new flooring to the final installation, ensuring a beautiful and durable result for your home. You can absolutely achieve professional-looking results with the right approach and tools!
Are you tired of your old, worn-out hardwood floors? Replacing them can seem like a huge, daunting project, right? Many homeowners feel the same way, imagining endless dust, complex tools, and the fear of making a costly mistake. But what if I told you that with a clear plan and some patient guidance, changing your hardwood floor is a totally achievable DIY task? We’ll walk through every single step together, from choosing your new look to laying the final plank. Get ready to transform your space and boost your home’s beauty and value.
Why Change Your Hardwood Floor?
Hardwood floors are beautiful, but over time, they can show wear and tear. Scratches, dents, fading, or even damage from moisture can make your floor look less than its best. Sometimes, it’s simply a matter of changing your home’s style. A new hardwood floor can:
- Enhance Aesthetics: Update the look and feel of any room.
- Increase Home Value: New flooring is a significant selling point.
- Improve Durability: Choose a wood species or finish that better suits your lifestyle.
- Fix Damage: Replace sections that are beyond repair or refinishing.
- Update Style: Modernize your home with current trends in wood species, plank width, and finish.
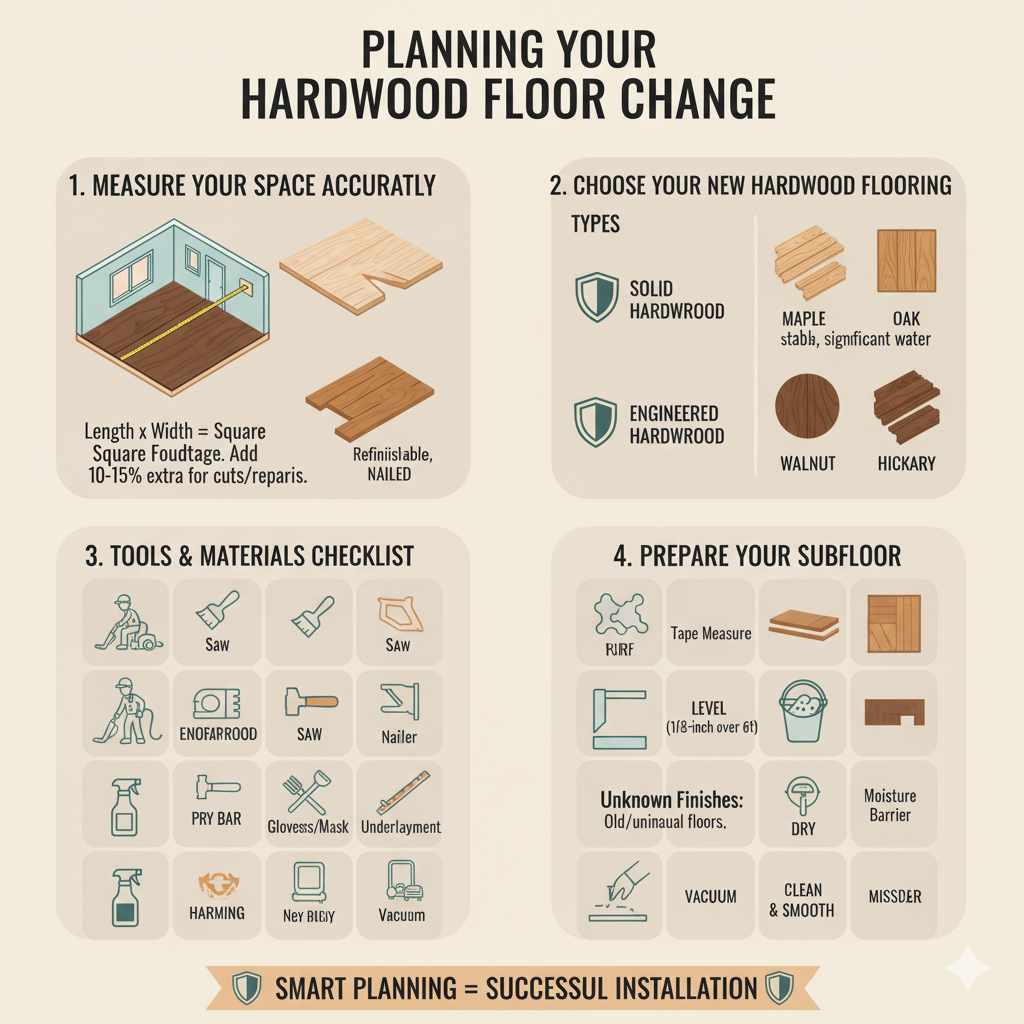
Planning Your Hardwood Floor Change
Before you even think about pulling up old boards, smart planning is key. This stage sets you up for success and saves you headaches later.
1. Measure Your Space Accurately
You need to know exactly how much flooring material to buy. Measure the length and width of the room and multiply them to get the square footage. It’s always a good idea to add about 10-15% extra for cuts, mistakes, and future repairs. For irregularly shaped rooms, break them down into simpler rectangles and add their areas together.
2. Choose Your New Hardwood Flooring
This is the fun part! There are many types of hardwood flooring, each with its own look, feel, and durability. Consider the following:
- Solid Hardwood: Made from a single piece of wood. It can be sanded and refinished many times. It’s best installed by nailing or stapling to a wood subfloor.
- Engineered Hardwood: Features a thin layer of real hardwood veneer on top of multiple layers of plywood or high-density fiberboard. It’s more stable than solid hardwood and can often be installed over concrete or in basements.
- Wood Species: Different woods offer different looks and hardness. Popular options include Oak (durable, classic), Maple (hard, light color), Walnut (rich, dark color), and Hickory (very hard, distinct grain).
- Plank Width and Length: Wider planks can make a room feel more modern and spacious, while narrower planks offer a more traditional look.
- Finish: Prefinished floors come ready to install with durable factory finishes. Site-finished floors are installed raw and then sanded and finished on-site, allowing for custom colors and finishes.
For beginners, prefinished engineered hardwood is often the easiest to work with due to its stability and simpler installation methods.
3. Tools and Materials Checklist
Gathering all your tools beforehand makes the process smoother. Here’s a general list:
- Tape measure
- Pencil
- Gloves
- Safety glasses
- Dust mask
- Utility knife
- Pry bar
- Hammer
- Flooring nailer/stapler (rentable)
- Miter saw or circular saw
- Jigsaw (for cuts around obstacles)
- Tapping block and pull bar (for nail-down installations)
- Underlayment (depending on flooring type and subfloor)
- New hardwood flooring
- Moisture barrier (if installing over concrete or in damp areas)
- Baseboards and shoe molding (optional, for clean edges)
- Nails or staples
- Vacuum cleaner
4. Prepare Your Subfloor
A clean, flat, and dry subfloor is crucial for a successful installation. The existing hardwood floor must be removed first. If you have carpet, remove that first. If you have old glued-down hardwood, you might need a scraper and a lot of effort. Make sure the subfloor is:
- Level: Use a long, straight edge to check for high spots or low spots. Sand down high spots or fill low spots with a leveling compound. Most manufacturers allow for about a 1/8-inch variation over a 6-foot span. The National Wood Flooring Association (NWFA) provides excellent guidelines on subfloor preparation.
- Clean: Vacuum thoroughly to remove all dust, debris, and old adhesive.
- Dry: Check for moisture content, especially if installing over concrete. A moisture meter can be helpful here.
- Smooth: Ensure there are no loose boards or protruding nails.
Step-by-Step Guide to Changing Your Hardwood Floor
Now, let’s get to removing the old and installing the new. We’ll focus on a common method: nail-down installation, which works well for both solid and some engineered hardwoods.
Step 1: Remove the Old Flooring
This is often the hardest part. Start by removing any baseboards around the perimeter of the room. Be careful not to damage the walls. Then, begin at one edge of the room and use a pry bar and hammer to lift and remove the old hardwood planks. Work in sections, and have a plan for disposing of the old flooring.
Step 2: Acclimate Your New Flooring
This is a critical step often overlooked by beginners! Before installation, let your new hardwood flooring sit in the room where it will be installed for at least 48-72 hours. This allows the wood to adjust to the room’s temperature and humidity, preventing expansion or contraction issues later. Keep the boxes sealed until ready to acclimate.
3. Lay Down Underlayment and Moisture Barrier (If Needed)
Depending on your new floor type and subfloor, you might need an underlayment. This can help with sound dampening, cushioning, and providing a vapor barrier. If you are installing over concrete or in an area prone to moisture (like a basement), a plastic moisture barrier is essential. Lay it down, overlapping the seams and taping them securely.
4. Plan Your Layout
Decide which direction your planks will run. Typically, planks run parallel to the longest wall in the room. Start your first row a specific distance from the wall. This distance depends on the thickness of your flooring and any expansion gap required by the manufacturer (usually 1/2 to 3/4 inch). This gap allows the wood to expand and contract naturally without buckling. You’ll cover this gap later with baseboards or shoe molding.
5. Start the First Row
Place the first plank with its tongue side facing the wall. Use spacers between the plank and the wall to maintain your expansion gap. You’ll likely need to cut off the tongue on the side of the plank facing the wall to get a snug fit against the starting wall. You can do this with a table saw or a circular saw using a guide.
Use your flooring nailer or stapler to secure the first row of planks. Aim to place nails through the tongue of the plank at an angle. You may need to hand-nail the first and last few boards where the nailer won’t fit.
6. Install Subsequent Rows
For the second row, place the plank next to the first, with its groove side against the tongue of the first row. You’ll need to use a tapping block and hammer to gently tap the plank into place, ensuring a tight seam. Continue this process, staggering the end joints of your planks by at least 6 inches to create a more natural and stronger floor. A good rule is to start a new row with the offcut from the previous row’s end cut, as long as it meets the staggering requirement.
Here’s a quick guide on staggering: If a plank in one row ends at the 3-foot mark, the planks in the next row to either side should not have their ends close to that 3-foot mark. Aim for at least 6 inches difference.
Example of Staggering:
| Row | Plank Lengths | Notes |
|---|---|---|
| 1 | 6ft, 4ft, 6ft | Start with a full plank (if possible). |
| 2 | 2ft, 5ft, 3ft | First plank is an offcut from Row 1. Stagger end joints. |
| 3 | 7ft, 5ft | Start with a full plank or a longer offcut. |
7. Making Cuts
As you approach walls, doorways, or other obstacles, you’ll need to make cuts. Use your jigsaw for curved cuts or intricate shapes. For straight cuts, a miter saw or circular saw is best. Always measure twice and cut once!
Tip: When cutting around door jambs, slide the plank underneath the jamb instead of cutting the jamb itself. This gives a much cleaner, professional finish.
8. The Last Row
The last row will likely need to be cut lengthwise. Measure the gap between the last installed row and the wall, remembering to account for your expansion gap. Cut your planks to the required width. You’ll likely need to use a pull bar and hammer to snug the last row into place.
9. Reinstall Baseboards and Trim
Once the floor is fully installed, you can reattach the baseboards. If your baseboards are too small to cover the expansion gap, you can install shoe molding (a thin strip of wood) along the bottom of the baseboard to cover the gap. Nail the baseboards and shoe molding into the walls, not into the new floor.
10. Clean Up and Enjoy!
Vacuum the entire floor thoroughly to remove all sawdust and debris. Be sure to sweep or vacuum any dust from the walls and other surfaces too. Now, step back and admire your beautiful new hardwood floor!
Alternative Installation Methods
While nail-down is common, other methods suit different situations:
Glue-Down
This method involves adhering the flooring directly to the subfloor using a special adhesive. It’s often used for engineered wood or parquet flooring, especially over concrete. It can be a bit messier and requires careful spreading of the glue. The floor needs to be protected from traffic until the glue cures.
Floating Floor
Many engineered and laminate floors can be installed as a floating floor. This means the planks are locked together but not attached to the subfloor. They rest on top of an underlayment. This is often the easiest method for DIYers, as it doesn’t require specialized nailing or stapling tools. The entire floor moves as one unit, allowing for natural expansion and contraction.
Here’s a quick comparison:
| Installation Method | Pros | Cons | Best For |
|---|---|---|---|
| Nail-Down | Very secure, traditional look. Can be sanded/refinished multiple times (solid wood). | Requires special tools (flooring nailer), only works over wood subfloors. | Solid hardwood, some engineered hardwood. Homes with wood subfloors. |
| Glue-Down | Secure, can be used over various subfloors (including concrete). | Messy installation, requires specific adhesive, drying time. | Engineered wood, parquet, sometimes solid wood in specific applications. |
| Floating | Easiest for DIY, quick installation, no special tools needed for nailing. VOCs are often lower in modern floating floors. | Less secure feeling than nailed. May require specific underlayment. Not all wood floors can be floated. | Engineered hardwood, laminate flooring. DIYers looking for speed and ease. |
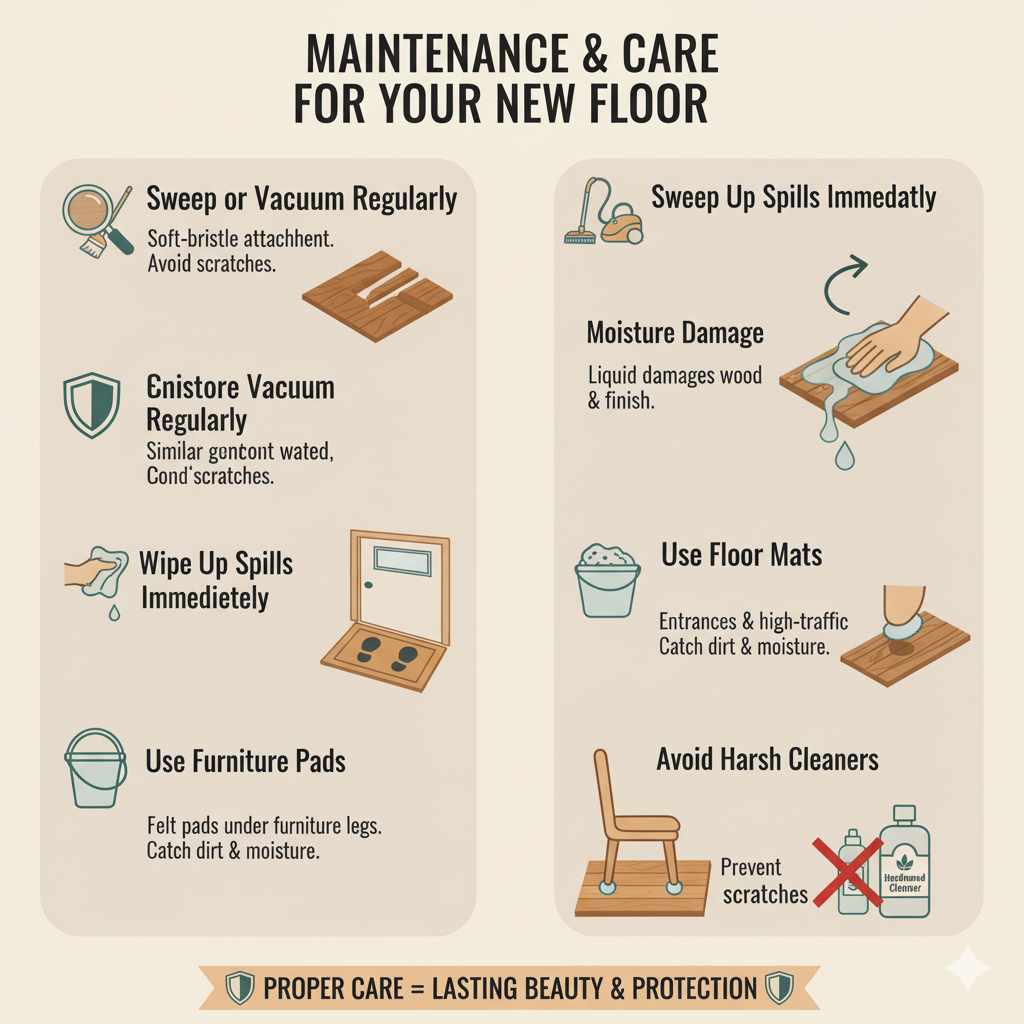
Maintenance and Care for Your New Floor
To keep your new hardwood floor looking great for years to come:
- Sweep or Vacuum Regularly: Use a soft-bristle attachment on your vacuum to avoid scratches.
- Wipe Up Spills Immediately: Liquid can damage the wood and its finish.
- Use Floor Mats: Place mats at entrances and in high-traffic areas to catch dirt and moisture.
- Use Furniture Pads: Place felt pads under furniture legs to prevent scratches.
- Avoid Harsh Cleaners: Use cleaners specifically designed for hardwood floors. Avoid steam mops or excessive water.
Frequently Asked Questions (FAQs)
Q1: How long does it take to change a hardwood floor?
A: For a typical medium-sized room (e.g., 12×15 feet), removing the old floor and installing a new one can take anywhere from 2 to 4 days for a DIYer. This includes time for preparation, acclimation, installation, and cleanup. This timeframe can vary significantly based on room size, complexity, and experience level.
Q2: Can I install hardwood flooring over my existing floor?
A: Generally, no. You must remove the old flooring first, especially if it’s another hard surface like old vinyl or tile. You can install some types of floating floors over existing well-maintained laminate or vinyl, but never over carpet. Always check the manufacturer’s recommendations.
Q3: What is the most DIY-friendly type of hardwood flooring?
A: Prefinished engineered hardwood flooring that can be installed as a floating floor is usually the most beginner-friendly option. It avoids the need for specialized nailing tools and is more forgiving with subfloor imperfections and moisture.
Q4: How do I deal with doorways and tricky corners?
A: For door jambs, you’ll want to undercut them using a handsaw or oscillating tool so the new plank slides underneath for a clean, professional look. For corners, measure carefully and use a jigsaw to cut precise shapes. Test fit your cuts before securing the plank.
Q5: Do I need to remove the baseboards?
A: Yes. Removing the baseboards allows you to get the flooring planks tight against the wall and ensures that the expansion gap is properly hidden. You’ll reinstall them or install new ones afterward. For a cleaner look, consider removing the baseboards carefully and reattaching them, or installing new, taller baseboards to cover any imperfections in the wall.
Q6: How do I ensure my planks are level and don’t squeak?
A: A flat and stable subfloor is the primary key to preventing squeaks. When installing, ensure each plank is tightly connected to the previous one using your tapping block. If you are nail-down installing, make sure the nails are properly spaced and driven into the subfloor to secure the plank. If you hear squeaks after installation, it might be due to the floor shifting slightly. Sometimes, screws from below (if you have access to a crawl space) can fix this. For floating floors, ensure the underlayment is even and properly installed.
Conclusion
Changing your hardwood floor is a significant home improvement project, but it’s definitely within reach for the dedicated DIYer. By carefully planning, selecting the right materials, and following these steps, you can achieve a beautiful, durable, and professionally finished result. Remember to prioritize safety, take your time, and don’t hesitate to consult manufacturer instructions. Enjoy the process and the incredible transformation it brings to your home!