How to Connect 2 Planks of Wood: 6 Methods Compared (Cost & Time)
Two planks of wood connect most reliably with an edge-glued joint reinforced by dowels or biscuits, since a plain butt joint without reinforcement tends to fail under stress. Titebond III forms its initial bond in as little as 30 minutes of clamping, but the joint needs 24 hours before it can handle real load. This guide compares six joining methods by cost, clamp time, and best use, then walks through the glue-up step by step.
How to Choose and Prepare Wood Planks for a Strong Joint
Start by matching the boards. Planks with similar grain pattern and the same species join almost invisibly, while mismatched grain telegraphs a visible seam even after finishing. Cut both boards about 1 inch oversize in length so you have room to trim a clean final edge after the glue-up.
Next, straighten the mating edges with a jointer or a hand plane until each edge is flat, square to the face, and free of gaps when the two boards are held together and checked against a light source. A curved or open edge is the single most common cause of a joint that looks glued but pulls apart under load.
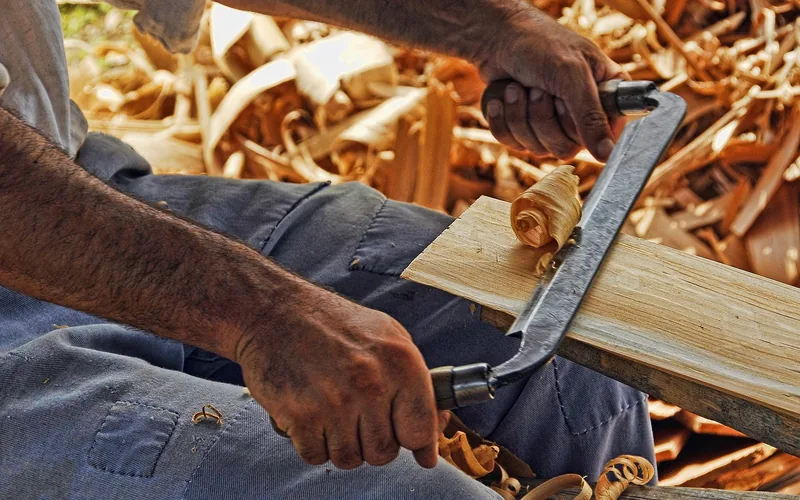
6 Ways to Join Two Planks of Wood (Cost & Time Compared)
The method you pick depends on the tools you already own and how much clamp time you can spare. The table below compares the six most common ways to join two planks by what the tooling costs, how long the joint needs to set, and where each one actually earns its place in a shop.
| Method | Tooling Cost | Clamp/Set Time | Best For |
|---|---|---|---|
| Edge-glued butt joint | $8–$12 (glue only) | 30–60 min clamp, 24 hr cure | Tabletops, panels, flat glue-ups |
| Dowel joint | $25–$50 (dowel jig) | 30–60 min clamp | Precise alignment, no visible hardware |
| Biscuit joint | $100–$700 (plate joiner) | 30–60 min clamp | Fast alignment on wide panels |
| Pocket-hole screws | ~$40 (basic jig kit) | None — usable immediately | Quick assembly, hidden inside cabinets |
| Spline joint | $5–$10 (wood strip + glue) | 30–60 min clamp | Extra strength on a butt joint, hidden fastener |
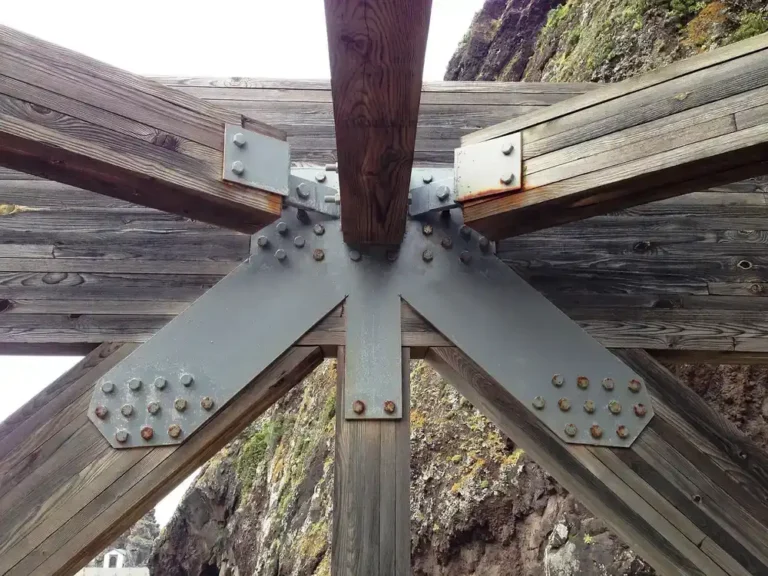
| Metal straps | $10–$20 | None — bolted, not clamped | Rustic/farmhouse style, reinforcing a repair |
📊 An unstressed PVA glue joint only needs 30 minutes to 1 hour of clamp time, but the manufacturer recommends waiting a full 24 hours before putting any load on it. — Source: Titebond (Franklin International) FAQs
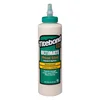 |
Best Wood Glue Pick Titebond III Ultimate Wood Glue, 16 oz – $9.58 The glue this guide’s comparison table is built around — a 30-minute clamp time for the edge-glued joint covered above, plus full waterproof strength for outdoor panels.
|
As an Amazon Associate we earn from qualifying purchases.
Tools and Materials You’ll Need
For a basic edge-glued joint you need a saw, a jointer or hand plane, wood glue, and clamps — bar clamps or pipe clamps spaced roughly every 8 to 12 inches along the seam, plus a couple of smaller C-clamps at the ends. Slip a scrap piece of wood between each clamp jaw and the workpiece so the clamp doesn’t dent the surface.
If you’re adding reinforcement beyond glue alone, a dowel jig, a biscuit (plate) joiner, or a pocket-hole jig are the three tools that cover almost every reinforcement method in the comparison table above.
How to Edge-Glue and Clamp Two Planks (Step by Step)
This is the core process behind the edge-glued butt joint from the comparison table — the method most tabletops and panel glue-ups use.
- Dry-fit first: Clamp the boards together with no glue and check the seam for gaps before you commit any adhesive.
- Apply glue to both edges: Spread a thin, even coat of wood glue on both mating edges, not just one — a starved joint is a weak joint.
- Press and align: Push the boards together and check that the faces sit flush; a slight offset now becomes a visible ridge after finishing.
- Clamp evenly: Alternate bar clamps above and below the boards every 8 to 12 inches to counter bowing, with smaller clamps at each end.
- Scrape squeeze-out early: Once the glue starts to rubberize (roughly 20 minutes in), scrape off the excess with a chisel or scraper before it fully hardens.
- Hold the clamp time: Leave the clamps on for at least 30 minutes to 1 hour, then let the joint cure a full 24 hours before sanding, trimming, or putting it under load.
“Boards with mismatched grain direction are the joints that come back to warp a season later — when face-gluing panels wider than about 10 inches, alternate the growth-ring orientation of each board before you ever pick up the glue bottle.”
Advanced Joinery Options for Extra Strength
Dowel joints use a self-centering dowel jig to bore matching holes in both boards, typically spaced every 6 to 8 inches along the seam — glued dowels add mechanical strength and help keep the boards aligned while the glue sets.
Biscuit joints use a plate joiner to cut crescent-shaped slots that a glued wood biscuit swells into, which is faster than drilling dowel holes on a long panel glue-up but requires the $100–$700 tool.
Spline joints route a groove into both mating edges and glue in a thin strip of wood (the spline) that spans the seam — a low-cost way to add strength to a plain butt joint without buying a dedicated jig.
For a tabletop or wide panel glue-up, join boards two or three at a time rather than clamping the whole width at once — it’s easier to keep the faces flush and catch a misaligned seam before the glue sets on the entire panel.
Common Joinery Mistakes to Avoid
- Skipping the dry-fit: gaps that show up after the glue is already on the edges are much harder to fix.
- Gluing before checking grain direction: alternating growth rings on adjacent boards resists warping; matching them all the same way doesn’t.
- Uneven clamp pressure: too few clamps, or clamps spaced too far apart, let the middle of a long joint lift or gap.
- Removing clamps too soon: under 30 minutes and the joint hasn’t reached even its initial set — see the clamp-time data above.
- Ignoring seasonal wood movement: a joint glued bone-dry in summer can telegraph a crack by winter if the boards weren’t acclimated first.
Maintaining a Wood Joint Over Time
Wood expands and contracts with humidity and temperature, so a joint that fit perfectly in a dry shop can show stress in a humid season. Leave a small allowance for movement across the width of a panel rather than gluing and clamping it bone-tight edge to edge.
Check glued joints once or twice a year for hairline gaps or movement, especially on furniture that sits near a heat vent or an exterior wall. A small crack caught early can be re-glued; one left to widen usually needs the whole joint taken apart and redone.
Frequently Asked Questions
How do you join two wooden planks together?
Apply wood glue to both mating edges, press the boards together so the faces are flush, and clamp them for at least 30 minutes to 1 hour. For a joint that will bear real weight, reinforce it with dowels, biscuits, or a spline before or during the glue-up.
How do you join two pieces of wood lengthwise?
Straighten both edges with a jointer or hand plane so they sit flat against each other with no gaps, then edge-glue and clamp the full length of the seam. Alternating bar clamps every 8 to 12 inches keeps a long joint from bowing in the middle.
How do you join two boards without visible screws or seams?
Use dowels, biscuits, or a spline joint instead of surface screws, since each hides its reinforcement inside the joint rather than on the face of the board. A tight, well-clamped glue line with matched grain is what actually makes the seam disappear.
How long does wood glue need to clamp before you can move the boards?
A standard PVA wood glue like Titebond III needs 30 minutes to 1 hour of clamp time for an unstressed joint, but the manufacturer recommends waiting a full 24 hours before the joint carries any real load, per Titebond’s own product guidance.
What’s the strongest way to join two boards without a biscuit joiner?
A dowel jig costs roughly $25 to $50 and produces a joint nearly as strong as a biscuit joint once it’s glued. Drill matching holes every 6 to 8 inches, add glue to the dowels and both edges, then clamp as usual.
Can you join two planks without glue?
Yes, pocket-hole screws or bolted metal straps join boards mechanically with no clamping or cure time, though neither hides as cleanly as a glued joint and pocket screws leave visible holes unless they’re on a hidden face.
Conclusion
A plain edge-glued butt joint is the cheapest and most common way to connect two planks, and it’s strong enough for most tabletops and panels once you give it the full 30-minute clamp and 24-hour cure. Reach for dowels, biscuits, or a spline when the joint needs to resist more stress or you want extra alignment insurance while the glue sets — pick the method from the comparison table that matches the tools you already own.
Sponsored / affiliate links. As an Amazon Associate I earn from qualifying purchases. I may earn additional commission from eligible campaigns.