How to Connect 3 Pieces of Wood: The Right Joint for Every Configuration
How you connect three pieces of wood depends on how they actually meet: end-to-end in a line, in a T-shape, edge-to-edge as a panel, or three-way at a right-angle corner. Each configuration calls for a different joint.
“Connecting three pieces of wood” sounds like one question, but it is really four different woodworking problems wearing the same sentence. A leg meeting two rails at a corner needs a different approach than three boards being glued edge-to-edge into a wider panel, and both of those are different again from a middle piece meeting the ends of two others in a T. Below, we will help you identify which of the four common configurations you are actually building, then walk through the right joint, tools, and technique for each one.
Identify Your Configuration First
Before picking a joint, figure out which of these four setups actually matches your project:
- End-to-end (inline): three boards joined in a straight line to make one longer piece – a fence rail, a long shelf edge, a baseboard run.
- T-junction: one piece meets the middle of another, forming a T – a shelf divider, a stud running into a top plate, an internal partition.
- Edge-to-edge (panel glue-up): three boards laid side by side and glued along their long edges to build a wider panel – a tabletop, a cutting board, a door panel.
- Three-way corner: three pieces meet at a single right-angle point, like two rails framing into one leg – the classic table-leg or chair-frame scenario. We cover this specific case in much more depth, including reinforcement options for load-bearing furniture, in our dedicated guide to joining three pieces of wood at a corner.
Best for Aligning Dowel Joints
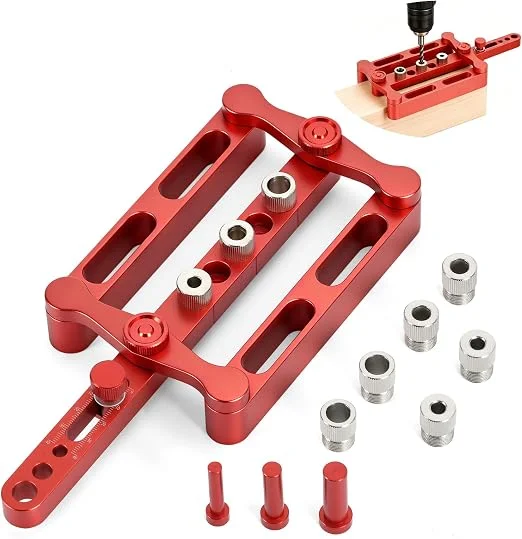 |
Gickbusus Self-Centering Dowel Jig Kit – $18.99 Works across three of the four configurations below (inline, T-junction, and panel glue-up) since dowels need holes centered accurately in the board's edge or face.
|
Configuration 1: End-to-End (Inline) Connections
When three boards need to become one continuous run – a long shelf edge, a baseboard, a fence rail spanning more than one board's length – you are joining them end-to-end. A plain butt joint (the ends simply pressed together) has almost no glue surface and will flex or crack under any real load, so it needs reinforcement.
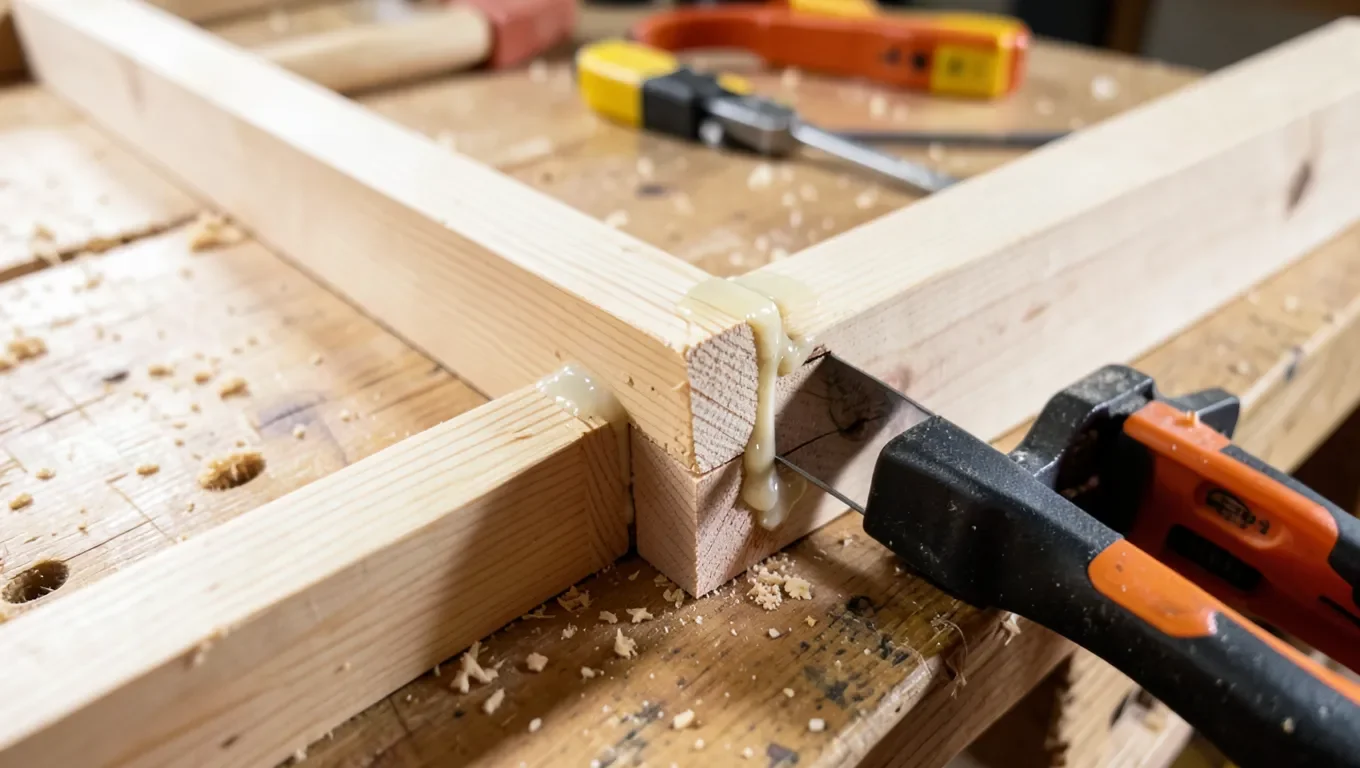
For most inline connections, drill two 8mm dowel holes about an inch in from each edge of the board, centered in the thickness, using a self-centering dowel jig so both halves of the joint line up without eyeballing it. Apply wood glue inside each hole and on the board faces, insert the dowels, and clamp until the glue sets. For a joint that will carry real structural load (a long fence rail spanning a gap, for example), a scarf joint – where each board end is cut at a matching long diagonal angle and glued – gives far more glue surface area than a square-cut butt joint and resists snapping at the seam.
Space dowels roughly 1.5 to 2 inches apart along the joint for anything wider than a couple of inches. A single center dowel will let the boards twist relative to each other; two or more dowels keep the faces flush.
Configuration 2: T-Junction Connections
A T-junction is what you have when the end of one board meets the flat middle of another – a shelf divider meeting the shelf, an internal stud running into a horizontal plate. Because one piece is meeting a flat face rather than another end, you have three realistic options, and which one is right depends mostly on whether the joint will be visible.
- Pocket-hole screws: drill two angled holes near the end of the piece that is meeting the flat face, then screw through into the other board. Fast, strong, and the screw holes end up on the back or underside where they will not be seen – see how to keep the wood from splitting when driving screws this close to an end grain.
- Dado joint: cut a groove the width of the crossing piece into the face of the board it is meeting, then glue the piece into the groove. Stronger and cleaner-looking than pocket screws since the joint is partly mechanical, but it needs a table saw or router and precise measuring.
- Dowels: drill matching holes into the end of one piece and the face of the other, glue, and clamp. A reasonable middle ground when you don't want visible screws but also don't want to cut a dado.
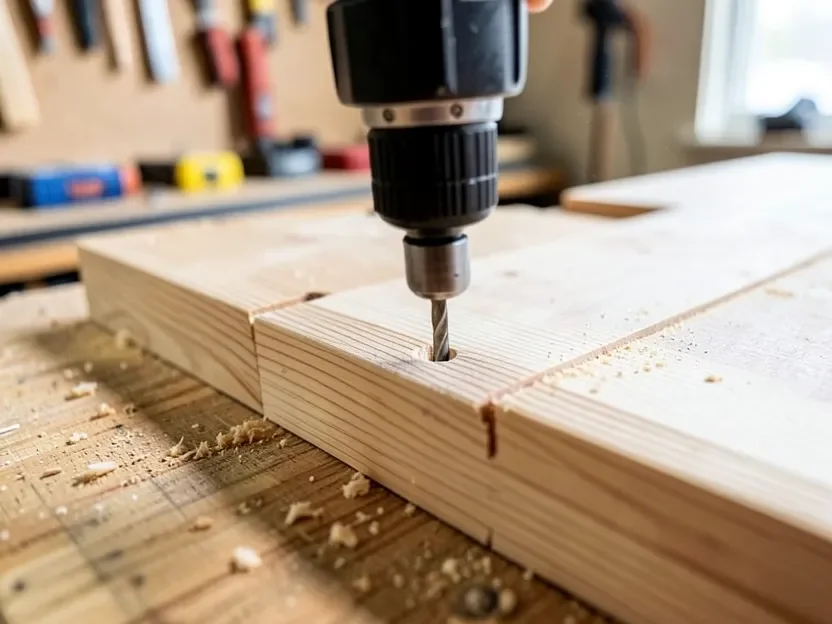
Pocket-hole screws are the fastest of the three and the easiest to get consistently right without much practice, which is why they show up so often in shelving and cabinet-carcass builds. If the joint will be under real weight (a shelf that will hold books, for instance), add wood glue to the mating faces before driving the screws – the screws alone will hold, but the glue is what keeps the joint from working loose over months of load-unload cycles.
Configuration 3: Edge-to-Edge Panel Glue-Ups
When you need a board wider than anything sold at the lumberyard – a tabletop, a cutting board, a door panel – you glue three (or more) narrower boards together along their long edges. This is a different problem from the other three configurations because the glue joint itself, not a screw or dowel, is what actually holds the panel together. A properly glued edge joint in solid wood is often stronger than the wood fibers around it.
Start by jointing each board edge dead flat and square – a jointer or a hand plane and a straightedge both work, but the edges need to meet with no gap along their full length or the glue joint will be starved in spots. Apply glue along the entire edge of each board, not just in patches, and rub or clamp the boards together immediately so the glue doesn't skin over before contact.
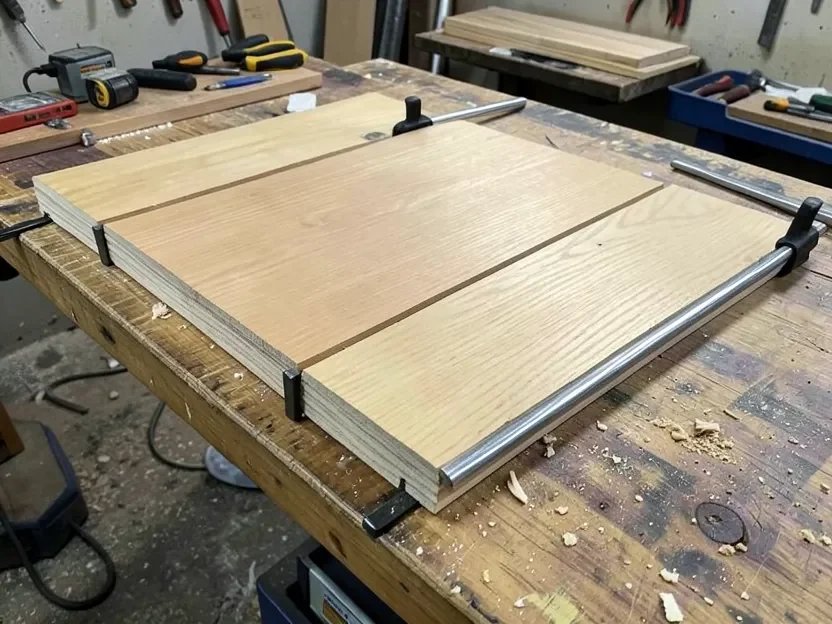
Biscuits or dowels placed every 8 to 10 inches along the seams are worth adding, but understand what they actually do here: they keep the boards from sliding out of alignment while you clamp, they are not what makes the joint strong – the glue does that. Use clamping cauls (straight scrap boards clamped across the panel, above and below) to keep the panel flat while the glue cures, and alternate the direction of your bar clamps across the width so the clamping pressure doesn't bow the panel upward or downward.
Configuration 4: Three-Way Corner Connections
A three-way corner – two pieces meeting a third at a single right-angle point, like two rails framing into one table or chair leg – is really two separate seams that both need to stay square to each other, which makes it a meaningfully harder problem than the three configurations above. The short version: pocket-hole screws driven from each rail into the leg handle most furniture cases cleanly, a glued and screwed triangular corner block adds real reinforcement for anything that takes repeated stress, and metal corner braces work fine when speed matters more than appearance.
Because this configuration has enough of its own detail – screw length matching leg thickness, keeping both seams square before the glue sets, when a corner block is actually worth the extra step – to deserve its own walkthrough, we cover it in full, with step-by-step photos for each method, in our guide to joining three pieces of wood at a corner.
Tools You Will Need
- Tape measure and a square for accurate marking
- Bar clamps (inline and panel work) and smaller C-clamps or spring clamps (corner and T-junction work)
- A drill/driver and a self-centering dowel jig or pocket-hole jig, depending on your configuration
- PVA wood glue (Titebond II or similar) – the actual strength source in three of the four configurations above
- Sandpaper for final smoothing after the glue cures
Common Mistakes That Weaken The Joint
- Skipping glue and relying on screws or dowels alone – mechanical fasteners hold initially but tend to work loose under repeated stress; glue is what keeps the joint tight long-term.
- Not dry-fitting before applying glue – test-fit every joint with clamps but no glue first, since a misaligned dowel hole or a gap in an edge joint is far easier to fix before the glue is on.
- Over-tightening clamps – excessive clamp pressure can squeeze nearly all the glue out of the joint, starving it. Snug is enough; you should see a thin, even bead of squeeze-out, not a flood.
- Ignoring grain direction on cross-grain joints – wood expands and contracts across the grain with humidity changes. A T-junction or corner joint that traps cross-grain wood rigidly on all sides can crack over a season as the wood moves.
- Using screws too long for the material – a screw that pokes through the far face ruins an otherwise clean joint. Match screw length to actual board thickness, not a guess.
Frequently Asked Questions
How Do I Connect Three Pieces Of Wood?
Start by identifying how the pieces actually meet: end-to-end in a line, in a T-shape, edge-to-edge as a panel, or three-way at a corner. Each configuration calls for a different joint – dowels or a scarf joint for inline connections, pocket screws or a dado for a T-junction, glued edges with biscuits for a panel glue-up, and pocket screws or a corner block for a three-way corner.
What Is The Strongest Way To Join Three Pieces Of Wood?
For an edge-to-edge panel, a properly glued edge joint is often stronger than the surrounding wood fibers. For a three-way corner under real load, such as a chair or table leg, pocket-hole screws combined with a glued corner block resist racking stress far better than screws alone.
Can I Connect Three Pieces Of Wood Without Screws?
Yes. Edge-to-edge panel glue-ups rely on glue alone for strength, with biscuits or dowels only used for alignment. Inline and T-junction connections can also be done with glued dowels instead of screws if you want to avoid visible fasteners.
Do I Need Special Tools To Connect Three Pieces Of Wood?
A drill, a square, and clamps cover the basics for any of the four configurations. A self-centering dowel jig or a pocket-hole jig makes inline, T-junction, and panel glue-up joints faster and more consistently accurate, but they are not strictly required for a single one-off project.
Conclusion
The fastest way to pick the right joint for connecting three pieces of wood is to stop thinking about it as one question. Identify whether your pieces meet end-to-end, in a T, edge-to-edge, or at a corner, and the right method follows from there – dowels or a scarf joint for a straight run, pocket screws or a dado for a T-junction, glued edges for a panel, and pocket screws with a corner block for a load-bearing corner. Dry-fit before you commit to glue, and match your fasteners to the actual thickness of the wood in front of you.
Sponsored / affiliate links. As an Amazon Associate I earn from qualifying purchases. I may earn additional commission from eligible campaigns.