What Is Refinishing Hardwood Floors? Sanding to Bare Wood, Explained
Refinishing hardwood floors means sanding the wood down to bare grain — through 40, 60, 80, then 120 grit — before applying new stain and 2–3 coats of finish, unlike a quick recoat that skips sanding entirely. Skip the grit sequence and the new finish won’t bond, causing peeling within months. This guide covers what refinishing involves, how it differs from recoating, how long it takes, and when a floor is too worn or too thin to refinish.
This post contains affiliate links. As an Amazon Associate we earn from qualifying purchases.
Quick Answer
Refinishing hardwood floors means machine-sanding the boards down to bare wood in stages (40 to 120 grit), then restaining and applying 2–3 coats of polyurethane or water-based finish. It typically takes 3–5 days to dry with a water-based finish, or 5–7 days with oil-based, and a solid floor can usually be refinished up to about 10 times over its life.
What Does Refinishing Actually Involve?
Refinishing is a hardwood floor restoration process that removes the existing finish and the top layer of wood by sanding to bare grain, then reapplies stain and finish. It differs from recoating, which only adds a new finish layer over a floor that’s still in good shape underneath. Refinishing only makes sense on solid hardwood with enough wear layer left to sand — not on most engineered floors, where the veneer is too thin.
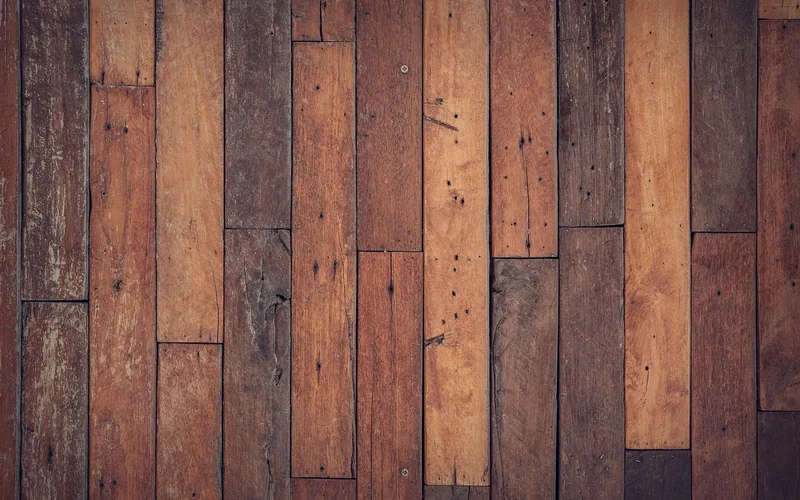
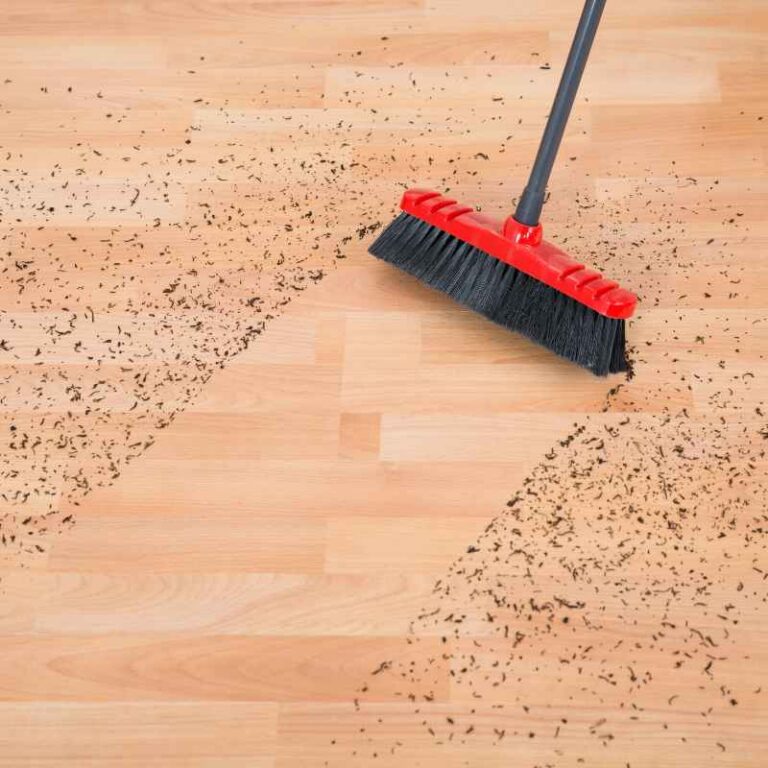
A full refinish runs through a fixed sanding sequence: a coarse 40-grit pass strips the old finish and levels the boards, 60-grit removes the deeper scratches that pass leaves, 80-grit smooths the surface, and a final 120-grit pass preps the wood to accept stain evenly. Skipping the coarse grit and starting fine is the most common DIY mistake — fine sandpaper just clogs on old polyurethane instead of cutting through it, and you end up re-sanding the whole floor a second time. After sanding, the crew vacuums and tacks the dust, applies stain (if the color is changing), and lays down 2–3 coats of finish with light scuff-sanding between coats.
Signs Your Hardwood Floor Needs Refinishing
Refinishing is the right call once damage has gone past what a cleaner or a coat of wax can fix — see our full wood flooring guide for care and maintenance that can delay the need for it. Look for these signs before scheduling a crew or renting a sander.
Visible Wear and Deep Scratches
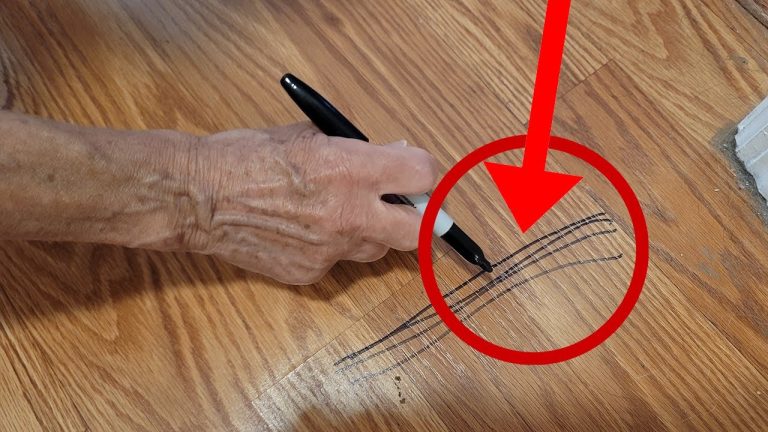
Scratches that catch a fingernail, gouges from furniture legs, and worn traffic paths near doorways have gone through the finish layer into bare wood. Once wood fibers are exposed, cleaning products and wax sit on top instead of sealing the surface, so the damage keeps spreading.
Graying, Fading, or Water Spots
A gray or dull cast — especially in sun-exposed areas — means UV has broken down the finish and started oxidizing the wood underneath. Cloudy white rings from spills sit in the finish and usually sand out; black water stains that have penetrated the wood itself sometimes don’t, and may need board replacement instead.
Choosing a Floor Finish for Refinishing
Oil-based polyurethane amber-tones over time and dries slower but self-levels well for a DIY roller job. Water-based finish stays clear, dries faster, and off-gasses less — the tradeoff is it usually needs an extra coat to match oil-based durability. A gloss floor finish shows more scratches over time than satin, but hides fewer than people expect once it’s been walked on for a year.
Best Floor Finish Pick
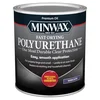
Minwax Fast-Drying Polyurethane, Warm Satin (1 Qt)
A fast-drying oil-based polyurethane that self-levels well with a roller or brush — the standard choice for a DIY refinish.
- Best for: First-time DIY refinishers who want forgiving self-leveling
- Why we picked it: Dries fast enough to recoat same-day, satin hides minor sanding marks
- Main drawback: Ambers slightly over time like all oil-based finishes
Compare more floor finish options
 Option 1 Varathane Triple Thick Polyurethane, Gloss
|
 Option 2 Minwax Hardwood Floor Reviver, High Gloss
|
 Option 3 Varathane Ultra Thick Floor Finish, Gallon
|
As an Amazon Associate we earn from qualifying purchases.
Refinishing vs. Recoating vs. Resurfacing
These three terms get used interchangeably, but they’re different jobs at different price points. The table below is a quick summary — see our full recoating vs. refinishing comparison and refinishing vs. resurfacing breakdown for the complete decision guide.
| Term | What Happens | Best For |
|---|---|---|
| Recoating | Light screen-and-buff, new finish coat, no sanding to bare wood | Dulled finish, floor still has its wear layer intact |
| Refinishing | Full sand to bare wood (40–120 grit), restain, new finish | Deep scratches, graying, or a color change |
| Resurfacing | New wood veneer or planks laid over the existing floor | Floors too thin or damaged to sand again |
How Long Does Refinishing Take?
📊 Water-based finish: 3–5 days start to finish. Oil-based finish: 5–7 days. — Most of that time is dry-between-coats and cure time, not active work; a room is typically walkable in socks within 24 hours but not safe for rugs or furniture until the finish fully cures.
Sanding and staining a typical room takes a crew one day. The rest of the timeline is waiting: each coat of finish needs to dry before the next goes on, and water-based finish dries faster (hours) than oil-based (closer to a full day per coat). Full cure — the point where the finish reaches its final hardness — takes another 2–4 weeks beyond the dry time, which is why installers recommend waiting 30 days before laying down rugs.
Can Every Floor Be Refinished?
No. Two things rule a floor out: how it’s built, and how many times it’s already been sanded.
Solid hardwood typically has ¾ inch of wood above the tongue-and-groove, enough for roughly 8–10 refinishes over its life, losing a small amount of thickness each time. Engineered hardwood is different — its top wear layer is often just 0.6–4mm of real wood glued over plywood, so most engineered floors can survive only one light sanding, if that, before the sander cuts through to the plywood core underneath.
If a floor has already been sanded down close to the nail line (visible as nail heads showing through worn spots), refinishing again isn’t possible — replacement or resurfacing with new veneer is the only option left.
DIY or Hire a Pro?
Renting a drum sander and doing it yourself is realistic for a single room if you’re comfortable with the learning curve — see our full DIY feasibility breakdown and step-by-step refinishing guide before renting equipment. A drum sander that’s tilted or left running in one spot gouges the floor in seconds, and that damage usually means an extra sanding pass to fix, which is the single biggest reason first-time DIYers end up calling a pro halfway through. For cost comparisons between doing it yourself and hiring a crew, see our refinishing cost breakdown.
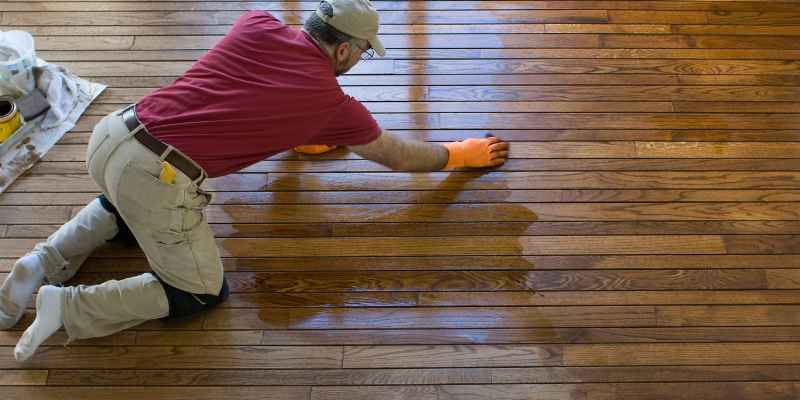
“Skipping the coarse 40-grit pass and starting at 100-grit is the most common DIY mistake we see — fine sandpaper just glazes over old polyurethane instead of cutting through it, so the floor still looks unfinished after an entire afternoon of sanding.”
Frequently Asked Questions
What’s the difference between refinishing and recoating hardwood floors?
Recoating adds a new finish layer over an existing floor without sanding to bare wood — it only works if the wear layer underneath is undamaged. Refinishing sands the entire floor down to bare grain (40 to 120 grit) before restaining and applying new finish, which is necessary once scratches or graying have gone through the existing finish.
How long does it take to refinish hardwood floors?
A typical room takes one day to sand and stain, then 3–5 more days for a water-based finish to dry between coats, or 5–7 days for oil-based. Full cure to final hardness takes another 2–4 weeks, which is why installers recommend waiting 30 days before placing rugs or heavy furniture back down.
Can you refinish engineered hardwood floors?
Only if the wear layer is thick enough — most engineered floors have just 0.6 to 4mm of real wood over a plywood core, so they typically survive one light sanding at most, if any. Check the product spec sheet or ask the manufacturer before sanding; going too deep exposes the plywood core underneath.
How many times can hardwood floors be refinished?
Solid hardwood with a standard ¾-inch wear layer can typically be refinished 8 to 10 times before the boards get too thin to sand safely. Each refinish removes a small amount of wood, so a floor already sanded close to the nail line can’t be refinished again.
Is refinishing hardwood floors worth it?
Yes, on solid hardwood with wear layer left — it’s far cheaper than replacing the floor and restores it to like-new condition. It’s not worth it on floors that are already too thin to sand, or on most engineered floors, where replacement or resurfacing is usually the better option.
Conclusion
Refinishing means sanding a hardwood floor down to bare wood through a fixed 40-to-120-grit sequence, then restaining and applying new finish — a bigger job than recoating, but one that solid hardwood can typically handle 8 to 10 times over its life. Check your floor’s wear layer and sanding history before starting, choose a finish that matches your timeline, and if the floor is engineered or already sanded thin, resurfacing or replacement is the safer call.