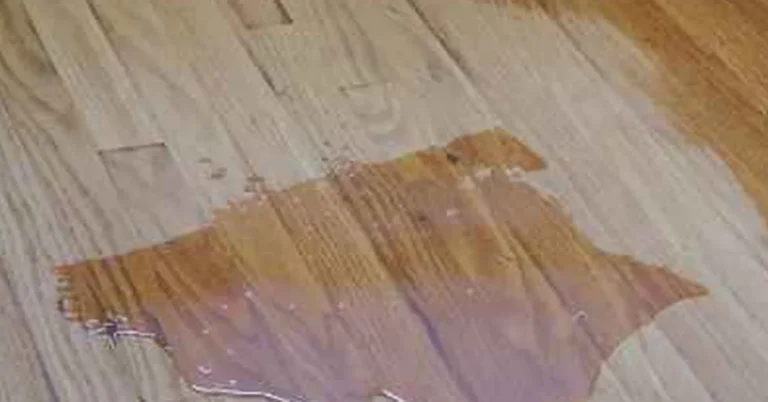
How to Stack Solid Hardwood to Acclimate It (NWFA’s 2-4% Rule)
Solid hardwood should be sticker-stacked in crisscross layers on 3/4-to-1-inch spacers, elevated at least 4 inches off the subfloor on a 2×4 or pallet — never left flat in sealed boxes. Skipping this is why floors cup or gap within months, even after the standard wait. This guide covers the correct stacking method, how long to wait, and the NWFA moisture-content target that tells you the wood is actually ready, not just rested.
Specifically installing solid strip flooring with nails rather than glue or a floating click-lock system? See our nail-down acclimation timing guide for the exact day counts and moisture targets for that installation method.
Why Acclimation Matters Before You Stack a Board
Best Acclimation Check Pick

General Tools MMD4E Pin-Type Moisture Meter
Checks actual wood and subfloor moisture % instead of guessing by feel or by the calendar.
- Best for: confirming the NWFA 2-4% moisture match before installing
- Why we picked it: reads both wood and drywall/subfloor so you can compare the two numbers directly
- Main drawback: pins leave small marks, so test on scrap or hidden edges
Compare more acclimation-check and stacking options
 Option 1 Klein Tools ET140 Pinless Moisture Meter
|
 Option 2 Adjustable Flooring Spacers, 1/4″-1″
|
 Option 3 Socpuro 40-Pack Flooring Spacers
|
As an Amazon Associate we earn from qualifying purchases.
Hardwood keeps absorbing or releasing moisture until it matches the room it sits in. Skip acclimation and that adjustment happens after installation instead — as cupping, gapping, or boards that lift at the seams. Bringing the wood into the install room and stacking it correctly is what lets that movement happen before the nails or adhesive go down, not after.
Stacking matters as much as the waiting itself. Spacers between courses keep air moving around every board, not just the ones on top and bottom of a sealed box. A board that never gets that airflow can still look fine on delivery day and warp weeks after install.
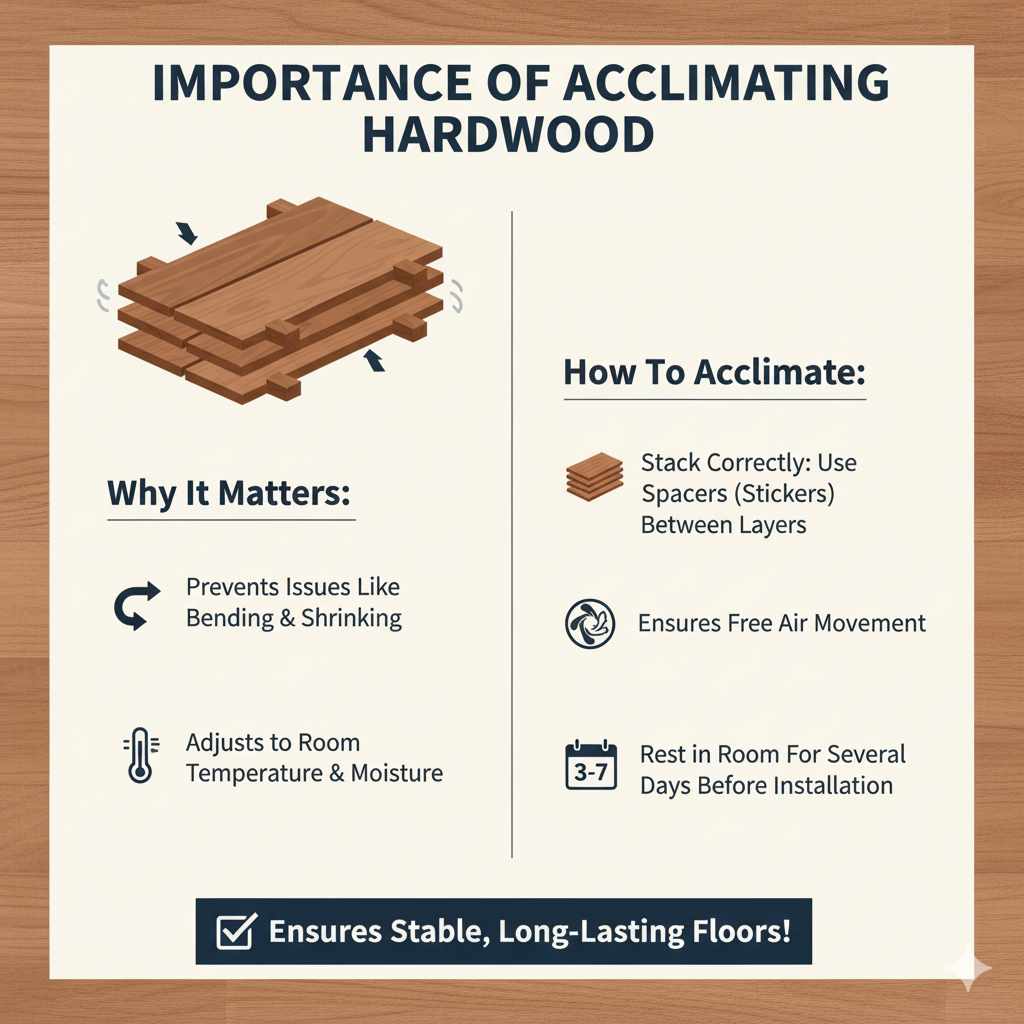
Ideal Temperature and Humidity for Acclimation
Acclimation is the process of letting hardwood adjust to a room’s temperature and moisture level before it’s fastened down. It works best between 60°F and 80°F, with relative humidity of 30% to 50% — roughly normal, lived-in home conditions, not a job site with the HVAC still off.
Wood needs to breathe on every side. Stack it with space between planks so air can reach each board, not just the ones on the outside of the pile. Don’t rush the process by shortening that gap to fit more boards into a smaller stack.
📊 NWFA’s actual pass/fail number: wood is considered acclimated when its moisture content is within 4% of the subfloor’s for strip flooring under 3 inches wide, or within 2% for wider planks. — Source: National Wood Flooring Association installation guidelines
Most guides only give a day count. The day count is a rough proxy — the moisture-content match is the actual target, which is why a meter reading matters more than the calendar once you’re past the first few days.
How to Stack Hardwood for Acclimation, Step by Step
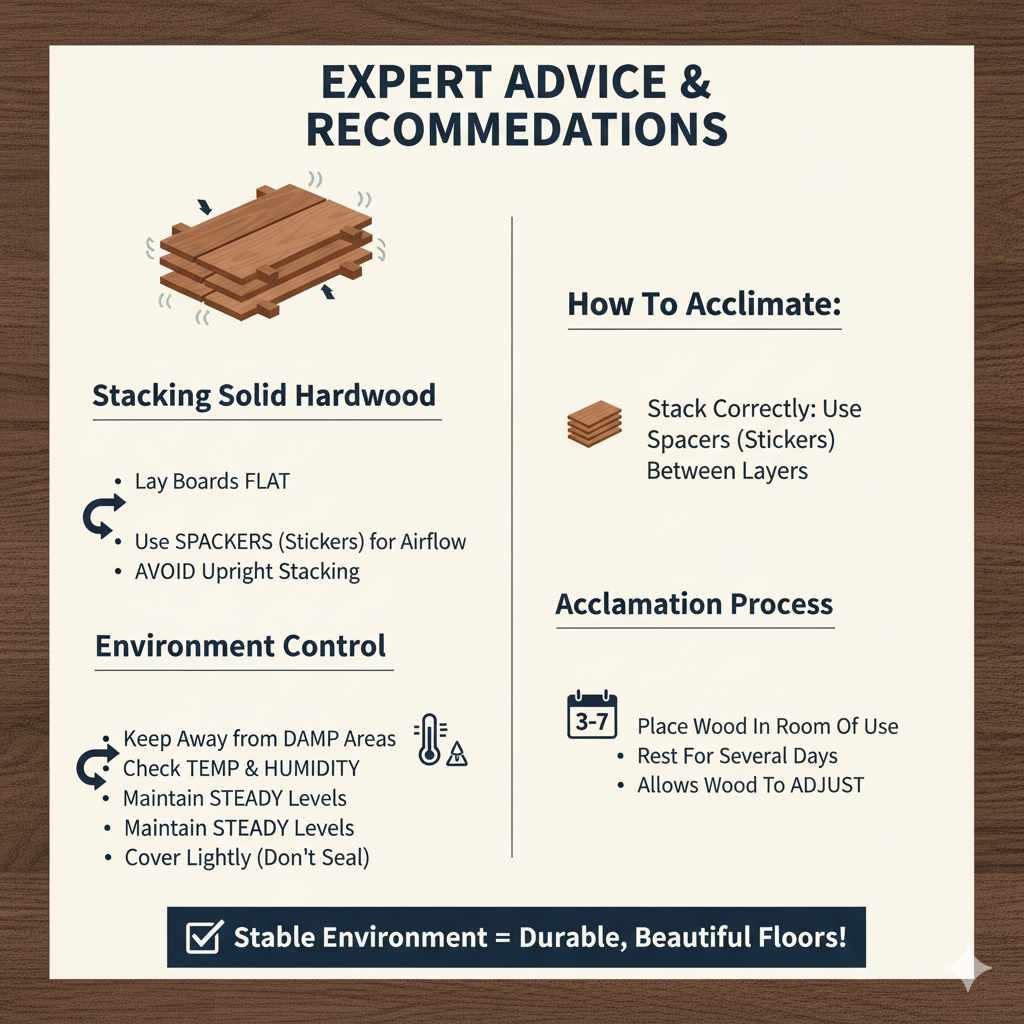
Horizontal, sticker-stacked layers — not a vertical lean and not a sealed box — is the method that actually works. Follow these steps in order:
- Unbox and remove wrapping: Open every box and pull off the plastic wrap and paper banding — sealed packaging blocks the airflow acclimation depends on.
- Elevate the base: Set a 2×4 or a pallet down first so the bottom layer sits at least 4 inches off the subfloor, clear of slab or joist moisture.
- Sticker-stack crosswise: Lay one course of boards flat, set 3/4-to-1-inch spacers across it, then lay the next course on top running the opposite direction, like a stack of hashtags.
- Cap the stack height: Keep stacks to roughly 4-5 courses high so air can still move through the middle, not just the top and bottom boards.
- Add airflow if the room is slow to dry: Point a box fan at the stack if the room is humid or poorly ventilated — moving air cuts acclimation time noticeably versus still air.
- Test with a moisture meter, don’t just count days: Check both the wood and the subfloor with a moisture meter. Per NWFA guidelines, strip flooring under 3 inches wide is ready within 4% of the subfloor reading; wider planks need to be within 2%.
Vertical stacking or leaning boards against a wall concentrates weight unevenly and lets planks bow or crack under their own weight. Horizontal, elevated, spaced stacking is what keeps every board flat and lets it acclimate at close to the same rate as its neighbors.
Tools You Need to Stack and Check It
A pin or pinless moisture meter is the only tool that tells you the wood is actually ready, rather than just rested. Test both the flooring and the subfloor, then compare the two readings against the NWFA 2-4% target above.
Spacers keep boards apart so air can circulate evenly. A 2×4 or pallet keeps the bottom course off the subfloor. Together, a meter and a set of spacers cost less than a single box of flooring and remove the guesswork from the whole process.
Mistakes That Slow Down or Ruin Acclimation
Two mistakes account for most acclimation failures: stacking too tight, and ignoring the room’s environment.
Overcrowding the Stack
Packing boards tightly with no spacers blocks airflow to everything but the outer edges. The boards in the middle of a crowded stack can still be far from the subfloor’s moisture content on install day, even after a full week. Keep the 3/4-to-1-inch gap between every course, not just the top and bottom.
Ignoring Room Temperature and Humidity
An unheated job site or a room with the HVAC still off doesn’t match the conditions the floor will actually live in, so acclimation there doesn’t count. Keep the room between 60°F and 80°F with 30-50% humidity for the entire acclimation period, and run a dehumidifier if levels spike.
Signs the Wood Has Actually Acclimated
Boards that were slightly cupped or bowed on delivery should lay flatter. Measure a sample board’s width in two or three spots — readings should be consistent, not still shrinking or swelling day to day. A moisture meter reading within the NWFA range is the confirmation; everything else here is a supporting sign, not proof on its own.
If It’s Not Acclimating Fast Enough
Increase airflow around the stack with a box fan. If the air is too dry, add a humidifier; if it’s too wet, run a dehumidifier — either extreme slows the wood down. Recheck the stacking method itself: pieces packed too close together is the most common reason acclimation stalls past the expected week.
Care and Handling While the Stack Sits
Keep the stack away from damp basements, exterior walls, or anywhere standing moisture could reach it. Set it in the room where it will actually be installed, not a garage or hallway with different conditions. Cover it loosely with a breathable drop cloth to keep dust off — never plastic sheeting, which traps moisture against the same faces you’re trying to let breathe.
Once the meter confirms the wood is within range, move quickly to installation. Hardwood that sits fully acclimated for weeks can start drifting again if room conditions change, so treat the moisture-meter pass as a install-soon signal, not a permanent state.
Frequently Asked Questions
How Do You Stack Hardwood Flooring for Acclimation?
Remove the flooring from its boxes and sticker-stack it: lay one course flat, place 3/4-inch spacers across it, then lay the next course crosswise on top. Elevate the whole stack 4 inches off the subfloor on a 2×4 or pallet so air reaches the bottom layer, not just the top.
How Long Should Solid Hardwood Acclimate Before Installing?
Plan on 5 to 7 days in the room where it will be installed, longer in very dry or very humid regions. Always check the manufacturer’s specific guideline first — some solid species and wider planks need up to 14 days to reach a stable moisture content.
Can Hardwood Flooring Acclimate in the Box?
No. A sealed box blocks airflow, so the boards inside barely move toward the room’s humidity. Open every box, remove the wrapping, and sticker-stack the boards loose so air reaches every face.
How High Off the Ground Should Hardwood Be Stacked to Acclimate?
Keep the stack at least 4 inches above the subfloor, on a 2×4 or pallet. Concrete slabs especially hold residual moisture, and boards resting directly on that surface pull it in unevenly, which throws off the very moisture balance acclimation is supposed to fix.
Do You Need Spacers Between Hardwood Boards While They Acclimate?
Yes. Without spacers, boards packed flat against each other only exchange air at the stack’s outer edges. 3/4-to-1-inch spacers between every course let air reach each board’s full face, so the whole stack acclimates at close to the same rate.
How Do You Know When Hardwood Has Fully Acclimated?
Measure the wood’s moisture content with a meter and compare it to the subfloor’s reading — NWFA guidelines call it ready when the two are within 4% for strip flooring under 3 inches wide, or within 2% for wider planks. Waiting a fixed number of days without checking is a guess; the meter reading is the actual answer.
Conclusion
Correct stacking is what makes acclimation actually work: sticker-stack the boards crosswise on 3/4-to-1-inch spacers, elevate the stack 4 inches off the subfloor, and give it 5-7 days in the install room. Then confirm it with a moisture meter against the NWFA’s 2-4% target instead of just trusting the calendar. A solid hardwood floor installed on wood that never really acclimated is the most common cause of cupping and gapping seen months later — get this step right and the rest of the installation has a real chance of staying flat.
For the full range of flooring types, costs, and care beyond acclimation, see our wood flooring guide, or browse more hardwood flooring guides.
Sponsored / affiliate links. As an Amazon Associate I earn from qualifying purchases. I may earn additional commission from eligible campaigns.