How to Cut Triangular Wood Strips: 4 Angle Settings That Work
A right-triangle wood strip needs a 45° bevel-rip cut on a table saw, flipped after the first pass — an equilateral strip needs the fence angled to 60° from the blade instead. Using the wrong angle wastes stock and leaves an uneven apex that won’t glue up flat. This guide covers the exact angle for each triangle type, a table saw jig for repeat cuts, and the miter saw alternative.
Insert your Affiliate Disclosure reusable block here
Quick Answer
For a right-triangle (45-45-90) strip, rip your board to width, then set the table saw blade to 45° and bevel-rip it in two flipped passes. For an equilateral triangle, clamp an angled fence at 60° to the blade (30° off the miter slot), add a stop block, and flip the stock top-to-bottom between cuts. A miter box preset to 30° or 45° works for hand-cut strips.
Tools and Materials You’ll Need
Best Angle-Gauge Pick
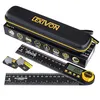
LEXIVON Aluminum Digital Angle Finder Gauge (7-inch)
Reads the exact blade or fence angle directly, so you’re not trusting a saw’s factory scale for a 60° or 45° setting.
- Best for: setting precise bevel and fence angles before a cut
- Why we picked it: the 7-inch aluminum arm reaches across a table saw fence better than a small pocket protractor
- Main drawback: needs a flat reference edge to zero out accurately
Compare more angle-gauge options
 Option 1 Klein Tools 935DAF Digital Angle Finder
|
 Option 2 GemRed 82305 Digital Angle Finder Protractor
|
 Option 3 General Tools T-Bevel Gauge and Protractor
|
As an Amazon Associate we earn from qualifying purchases.
- Table saw with a rip blade, or a miter saw / miter box for hand cuts
- Digital angle finder or a bevel gauge for transferring exact angles
- Featherboard or a De-Sta-Co style hold-down for narrow stock
- Push stick — never feed thin strips past the blade with bare fingers
- Straight, knot-free stock: pine, poplar, or birch cut cleanly and hold an edge well
- Sandpaper (120 then 220 grit) and your chosen finish
For the saw itself, our saws and blade/TPI guide covers which blade tooth count gives the cleanest rip on thin strips.
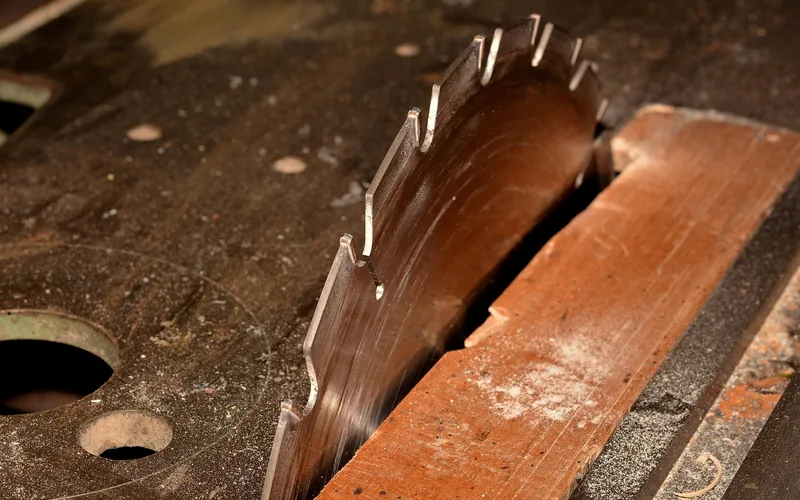
Table Saw Method: Bevel-Rip for Right-Triangle Strips
A right-triangle strip (45-45-90) is the most common shape for corner trim and shelf brackets, and it comes from a single bevel setting cut in two passes.
- Rip the board to width first: square-cut your stock to the finished strip’s longest dimension before angling anything.
- Set the blade to 45°: use a digital angle finder against the blade, not just the saw’s built-in scale — factory scales drift a degree or more over time.
- Make the first bevel rip: run the board through with the fence set so the offcut is the strip you want.
- Flip the board along its long axis: align the top of the existing bevel to the strip width plus one blade kerf, then make the second bevel rip. This produces a clean triangular cross-section without a third cut.
- Support thin offcuts: as the strip narrows, use a push stick and featherboard — a triangular offcut this thin can pinch or kick back if it isn’t controlled to the very end of the cut.
Cutting Equilateral Triangle Strips (60° Method)
An equilateral triangle — all three sides and angles equal — needs a different setup than a right-triangle strip, because a single 45° bevel won’t produce equal sides.
Clamp an angled auxiliary fence to the saw table at 60° to the blade (equivalently, 30° off the miter slot — check either angle with a digital angle finder, since the two readings should agree). Add a stop block along that fence set to the length of one triangle side. Make the first cut, then flip the board top-to-bottom and push it against the stop for each following cut. Flipping keeps every side the same length without re-measuring.
Every triangle shape used in strip-cutting reduces to one of a small number of angle settings. This table saves the trigonometry:
| Triangle Type | Blade/Fence Angle | Cut Method |
|---|---|---|
| Right (45-45-90) | 45° bevel, 2 passes | Flip bevel-rip |
| Equilateral (60-60-60) | 60° from blade (30° from miter slot) | Angled fence + stop block, flip each cut |
| 30-60-90 | 30° then 60° fence settings | Two angled rips, no flip |
| Custom isosceles | Half the apex angle, each side | Adjustable-angle jig |
Building a Table Saw Jig for Repeat Triangle Cuts
If you need more than a handful of identical strips, a dedicated jig beats resetting the fence angle for every board. Our table saw jigs guide covers several builds, but the version that works for triangle strips is simple: a plywood base that rides in the miter slot, with an angled fence screwed on at your target angle and a stop block clamped to set consistent length.
- Use a De-Sta-Co style hold-down or a toggle clamp — pieces this narrow are too small to safely hold with just your hand near the blade.
- Add stops on both sides of the jig board to stop the stock from twisting mid-cut.
- Test the jig on scrap first and check the resulting angle with a digital angle finder before cutting your good stock.
Miter Saw and Miter Box Method (No Table Saw Needed)
A miter saw handles crosscut angles well but can’t bevel-rip a narrow strip safely the way a table saw can — use it for shorter triangular pieces cut across the board width rather than long strip rips.
- Set the miter saw to 45° for a right-triangle end cut, or use the saw’s bevel function combined with the miter angle for a compound cut.
- For hand-cutting, use a miter box with 30°, 45°, and 60° preset slots — guide a hand saw through the slot that matches your target angle.
- Clamp the stock; a miter box only controls the saw’s angle, not the wood’s position, so an unclamped board will shift mid-cut.
- Cut slowly on the final pass to avoid tear-out at the thin apex of the triangle.
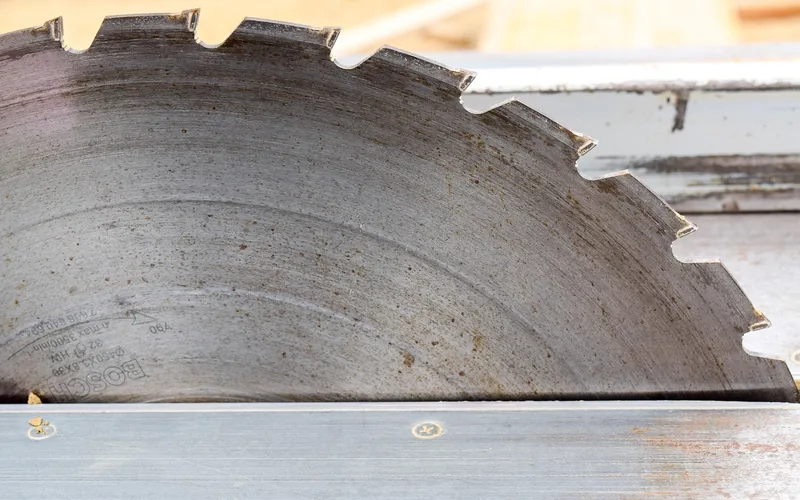
Safety Notes for Cutting Thin Triangular Strips
Triangular strips get thin toward the apex, and thin offcuts are exactly the shape that catches between a spinning blade and a rip fence. In our shop, the strips that kicked back hardest were always the ones we tried to finish by hand instead of switching to a push stick for the last few inches — keep a push stick or a table saw gripper within reach before you start the cut, not after the strip gets narrow.
- Keep hands at least 6 inches from the blade at all times — use a push stick to close that gap, never your fingers.
- A featherboard clamped ahead of the blade keeps thin strips pressed flat against the fence, preventing the wobble that causes kickback.
- Wear safety glasses and hearing protection; a dust mask is worth it for extended sanding sessions afterward.
- Unplug the saw before changing the blade angle or adjusting a jig — a stray foot on the switch during setup is a real, common cause of shop injuries.
Sanding and Finishing Triangular Strips
Start with 120-grit sandpaper along the grain to remove saw marks, then move to 220-grit for a smooth surface before finishing. The sharp apex edge of a triangular strip is fragile — a couple of light passes with 220-grit at that edge prevents it from splintering later when the strip is handled or installed. Apply paint, stain, or varnish evenly with a brush or cloth, covering the two angled faces and the apex edge, and let it cure fully before use.
Common Mistakes to Avoid
- Trusting the saw’s built-in angle scale: factory scales can drift a degree or more; check the actual angle with a digital gauge before cutting good stock.
- Skipping the sacrificial cut: test your jig or fence setting on scrap first — a wrong angle on an equilateral strip throws off every following side since each cut uses the previous one as a reference.
- Feeding thin strips by hand near the blade: switch to a push stick well before the offcut narrows, not once it’s already thin.
- Using a dull or wrong-tooth blade: a low tooth-count crosscut blade on a rip cut increases tear-out and burning on angled cuts.
Frequently Asked Questions
What angle do you cut wood for a triangle strip?
It depends on the triangle shape. A right-triangle (45-45-90) strip needs a 45° bevel cut in two flipped passes. An equilateral triangle needs the fence angled to 60° from the blade. A 30-60-90 strip uses two separate angled rips at those two settings.
Can you cut triangular wood strips with a hand saw?
Yes. Use a miter box with 30°, 45°, or 60° preset slots to guide a hand saw at the correct angle, and clamp the stock so it can’t shift mid-cut. It’s slower than a table saw and takes more practice to keep the cut straight, but it works well for short pieces.
What wood works best for triangular strips?
Pine, poplar, and birch are common choices because they’re straight-grained, affordable, and hold a clean edge at a sharp apex angle. Cedar is a good option for outdoor trim since it resists moisture, but it’s softer and more prone to chipping at the thin point of a strip than birch.
Why does my triangular strip keep splintering at the point?
Splintering at the apex usually means the blade is dull, the tooth count is too low for the cut, or the final pass was run too fast. Make a sacrificial scoring pass first, use a sharper rip blade, and slow the feed rate as the strip narrows toward its thinnest point.
How do you measure a triangle strip’s angle without a protractor?
A combination square set to 45° covers right-triangle cuts, and a speed square’s marked degree scale can set most common angles including 30° and 60°. For anything in between, or to double-check either tool, a digital angle finder reads the exact angle directly off the blade or fence.
Cutting triangular wood strips comes down to matching the angle to the triangle shape — 45° for a right triangle, 60° for equilateral, and a preset miter box slot if you’re working by hand. Set the angle with a gauge rather than trusting the saw’s printed scale, test on scrap first, and keep a push stick ready before the offcut gets thin. With the right setup, repeat cuts stay consistent from the first strip to the last.
Sponsored / affiliate links. As an Amazon Associate I earn from qualifying purchases. I may earn additional commission from eligible campaigns.