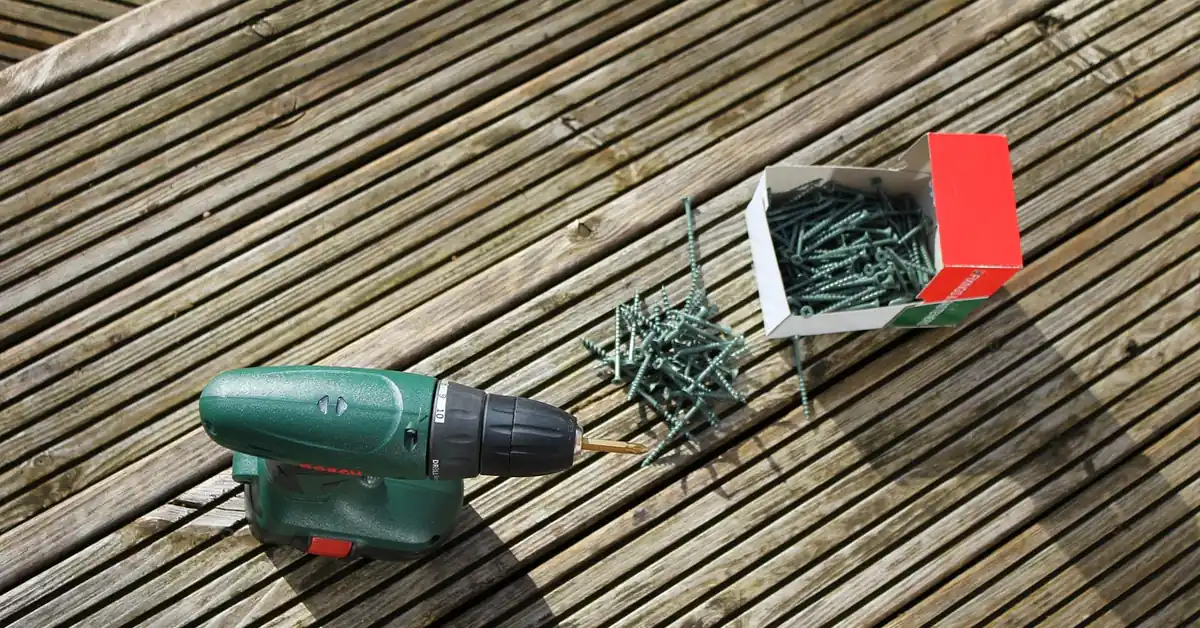
How to Repair Decking Boards (Patch vs. Full Replacement)
Not every damaged deck board needs full replacement — small cracks and holes patch with exterior epoxy filler, while lifted or loose boards just need re-screwing into the joist below. Skip the screwdriver-probe test and you risk driving new screws into wood already too soft to hold them, so the board lifts again within a season. This guide covers testing for rot, patching small damage, re-securing loose boards, and full replacement.
This post contains affiliate links. As an Amazon Associate we earn from qualifying purchases at no extra cost to you.
Quick Answer
Probe suspect boards with a screwdriver first — if it sinks in easily, the wood is past roughly 19% moisture and needs replacing, not patching. Small cracks, holes, and surface rot repair fine with exterior epoxy filler. Loose or lifted boards usually just need a new corrosion-resistant screw driven into solid joist, not a full board swap.
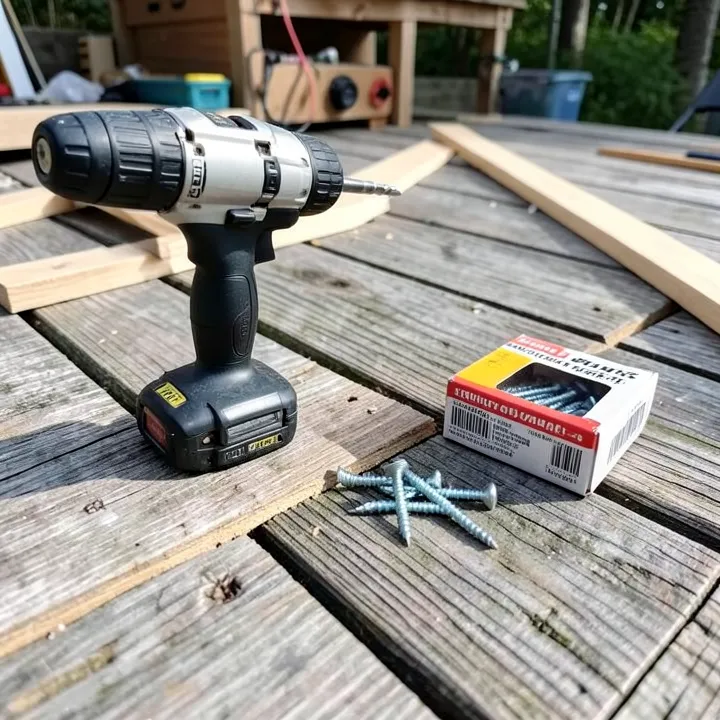
How to Tell If a Board Needs Patching, Re-Screwing, or Full Replacement
Best Deck Repair Pick
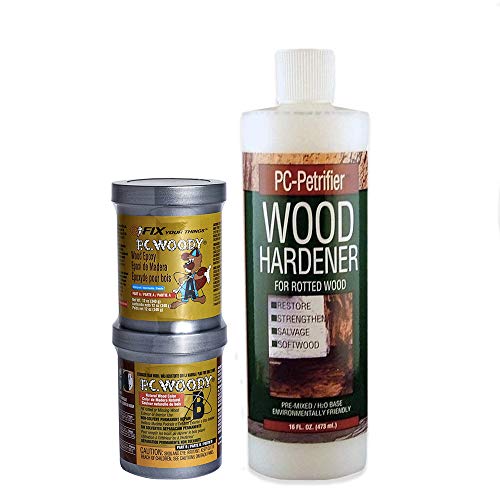
PC-Woody Wood Repair Epoxy Paste (12 oz) – $18.89
A two-part exterior epoxy sized for the crack- and hole-patching method covered above — enough to fill several popped-knot holes or a full crack run on one board.
- Best for: cracks, popped-knot holes, and shallow surface rot on boards that still test solid
- Why we picked it: cures hard enough to sand and stain flush, matching the patch method in this guide
- Main drawback: won’t rebuild a board that fails the screwdriver-probe test — that’s a full-replacement job
Compare more deck repair options
 Option 1 304 Stainless Deck Screws, #10×3″ (150-Pack) – $24.99
|
 Option 2 Spec Ops Cat’s Paw Nail Puller Pry Bar – $9.69
|
 Option 3 J-B Weld KwikWood Epoxy Putty Stick (1 oz) – $6.19
|
As an Amazon Associate we earn from qualifying purchases.
Deck boards fail for different reasons, and each one has a different fix. Confusing a loose-board problem with a rot problem is the most common mistake DIYers make — screwing down a rotted board just delays the same repair by a season. This is one repair in the broader work of deck maintenance and wood decking care, alongside cleaning, staining, and structural upkeep.
- Cracks or surface splits: the board is still structurally sound — fill with exterior wood epoxy filler.
- Small holes from popped knots: fill with epoxy putty, sand flush, and re-stain.
- Loose or lifted boards: the board itself is fine; the fasteners have backed out or missed the joist — re-screw, don’t replace.
- Soft, spongy, or discolored wood: this is rot — the board needs to come out, no exception.
Rot is wood fiber breakdown caused by fungus feeding on cellulose once moisture content stays above roughly 19% for an extended period. It cannot be reversed with filler or sealant once the wood has gone soft — only cut out and replace it. Press a flat-head screwdriver into the suspect area at a 45-degree angle: solid wood resists, rotted wood lets the tip sink in with little pressure.
📊 About 90% of deck collapses involve decks 20 to 30 years old, and rot is the second most common cause of structural failure after ledger-board attachment problems — and unlike a creaking board, a rotted structural connection often gives way with no warning. Source: U.S. Consumer Product Safety Commission (NEISS injury data)
Fixing Loose or Lifted Deck Boards (No Replacement Needed)
A board that rocks underfoot or has visibly lifted at one end is almost never a rot problem — it’s a fastener problem, and it’s the fastest repair on this list.
- Locate the joist: lifted boards usually pull loose where the original screw missed the joist or backed out over time — probe nearby boards to find the joist line.
- Pre-drill a pilot hole: drill a new pilot hole about 1 inch from the old fastener, angled slightly away from it, so the new screw bites fresh wood instead of the same stripped hole.
- Drive a corrosion-resistant screw: use a stainless or coated deck screw matching the original fastener type — mixing metals on treated lumber accelerates corrosion.
- Countersink flush: set the screw head just below the surface so it doesn’t catch bare feet, but not so deep it splits the board.
- Remove the old fastener: pull the original loose nail or screw once the new one is holding — a protruding old fastener is a trip hazard even if the board is now secure.
If you have crawl-space access underneath the deck, you can often re-secure a lifted board from below without disturbing the surface finish at all — drive the new screw up through the joist into the board rather than down through the face.
Patching Small Cracks, Holes, and Surface Damage
Cracks, popped-knot holes, and shallow surface rot don’t require pulling the board — a two-part exterior epoxy filler restores the surface and the structural bond in about 30 minutes of work.
- Clean out the damage: scrape away any loose or spongy wood fiber with a screwdriver or chisel until you reach solid material — for shallow soft spots that are borderline, a wood hardener applied first gives the epoxy filler a firmer base to bond to.
- Mix the epoxy: combine the two-part filler in equal amounts per the label — most brands set in 15–30 minutes, so mix only what you’ll use.
- Press into the damage: pack the epoxy into the crack or hole with a putty knife, slightly overfilling since it shrinks a little as it cures.
- Sand flush: once fully cured (check label — often 24 hours for full cure), sand level with the surrounding board using medium then fine grit.
- Re-stain or seal: match the surrounding finish so the patch doesn’t stand out lighter than the rest of the board.
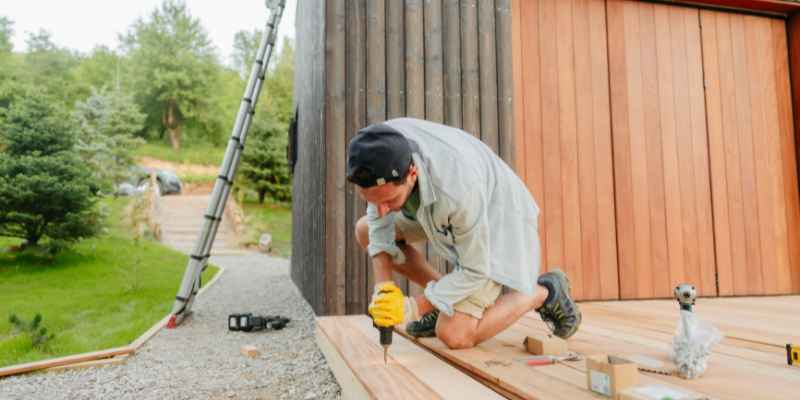
Removing a Rotted or Cracked Board for Full Replacement
Once a board tests soft with the screwdriver, patching won’t hold — cut it out and swap in a new board. Two removal methods work, depending on whether the boards are nailed or screwed and whether you have access underneath.
From Above: Pry Bar and Hammer (Nailed Boards)
1. Locate each nail along the board’s length. 2. Wedge a cat’s paw pry bar under the nail head and tap it with a hammer to lift the head clear of the wood. 3. Pull each nail fully before lifting the board, working end to end so it doesn’t bind — see our full guide to removing nails from wood if any snap off flush. 4. Once every nail is out, the board lifts free.
Drill-Out Method (Screwed Boards)
1. Back out each visible screw with a drill set to reverse. 2. If a screw head is stripped — common on older exterior screws — drill straight through the head with a slightly larger bit to separate it, then pull the shank with pliers; our stripped deck screw removal guide covers a few backup methods. 3. Lift the board once every fastener is cleared.
From Underneath (Fastest When You Have Access)
If there’s crawl space below the deck, skip pulling individual fasteners — strike the board upward near each joist with a hammer or maul until the nails or screws punch through, then finish removing them from above. This is significantly faster than the pry-bar method on long boards with a dozen or more fasteners.
Installing the Replacement Board
Measure the gap and cut the new board to length, leaving the same expansion gap (typically 1/8” to 3/16”) as the surrounding boards. Set it in place, check it sits flush with its neighbors using a level, then drive corrosion-resistant screws into every joist it crosses — matching the screw spacing pattern already used on the rest of the deck. Sand any rough-cut edges, then apply stain or sealant to match — if the new board sits tight against its neighbors, our guide on how to paint or stain in between deck boards covers the technique for getting an even finish in narrow gaps.
Repair-or-Replace Decision Table
| Symptom | Fix | Time Needed |
|---|---|---|
| Hairline crack, no give when pressed | Epoxy filler patch | ~30 min + cure time |
| Popped knot hole | Epoxy putty fill | ~15 min + cure time |
| Board rocks or one end is lifted | Re-screw into joist | ~10 min per board |
| Soft/spongy when probed, discolored | Full board replacement | 30–60 min per board |
| Multiple adjacent boards soft or joist itself feels spongy | Stop — call a structural inspector | N/A — safety issue |
Safety and Personal Protective Equipment
Wear safety glasses, a dust mask, and gloves any time you’re cutting, sanding, or prying — treated lumber dust and old fastener splinters are the two most common injury sources in this repair. Clear the work area of furniture and foot traffic, and if you’re working from underneath the deck, confirm the support posts and ledger board are solid before you put weight anywhere near them — ledger-board failure is a leading cause of full deck collapse, separate from the board-level repairs in this guide.
Preventing the Next Repair
- Inspect the deck twice a year (spring and fall) — probe any discolored or soft-looking boards with a screwdriver.
- Re-apply stain or sealant every 1–3 years; UV and moisture exposure is what eventually pushes wood past the 19% rot threshold.
- Keep planters, grills, and standing water off the deck surface — trapped moisture underneath is the most common cause of early rot in an otherwise sound board.
- Trim back nearby foliage so leaves and debris don’t collect in the gaps between boards.
The rotted-wood repair guide covers the epoxy consolidant method in more depth if you’re dealing with rot on a post or beam rather than a flat board, and our wood rot epoxy guide walks through consolidant-plus-filler repairs step by step. If you’re weighing whether repair is even worth it versus a bigger project, see our breakdown of the average cost of a wood deck for comparison.
Frequently Asked Questions
What is the best way to fix decking boards?
Match the fix to the damage: patch cracks and small holes with exterior epoxy filler, re-screw boards that are loose or lifted but otherwise solid, and fully replace any board that tests soft or spongy with a screwdriver probe. Trying to patch a rotted board only delays the repair.
How do you fix a lifted or rising deck board?
Drive a new corrosion-resistant screw about an inch from the original fastener, angled into solid joist, then pull the old loose nail or screw once the new one is holding. This works as long as the board itself is still solid — if it’s soft, replace it instead of re-screwing it.
Can you repair a deck board without replacing it?
Yes, for cracks, popped-knot holes, and surface rot — clean out loose material, pack the area with two-part exterior epoxy filler, sand flush once cured, and re-stain. This does not work once the wood has gone soft all the way through; a screwdriver that sinks in easily means the board needs to come out.
How to fix rotted deck boards?
Remove all nails or screws with a pry bar or drill, cut out the damaged board, cut a replacement to size with the same expansion gap as the surrounding boards, and secure it into every joist with corrosion-resistant screws. Sand and stain to match once installed.
How often should you inspect a deck for rot?
Twice a year — spring and fall — is enough for most decks under 10 years old. Decks over 10 years old, elevated decks, or decks in wet climates benefit from a professional structural inspection every 2–3 years, since rot at a support post or ledger board isn’t always visible from the surface.
Conclusion
Most deck board problems don’t need a full replacement — the screwdriver-probe test tells you in seconds whether you’re dealing with a quick epoxy patch, a re-screw job, or a board that has to come out. Save the pry bar and jigsaw for boards that actually fail the test, and your deck stays in good repair with a fraction of the material cost of swapping boards that were never rotted in the first place.
Sponsored / affiliate links. As an Amazon Associate I earn from qualifying purchases. I may earn additional commission from eligible campaigns.