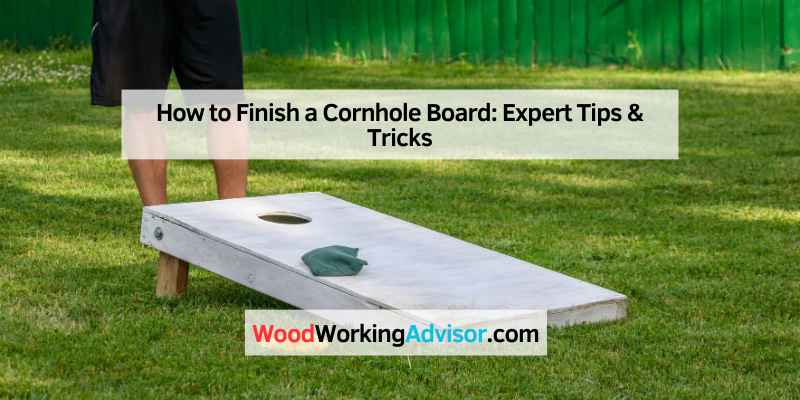
How to Finish a Cornhole Board: Expert Tips & Tricks
To finish a cornhole board, start by sanding the surface smooth and applying a primer. Next, paint your desired design and seal it with a protective finish.
Creating a cornhole board is a rewarding DIY project that brings fun to any gathering. A well-finished board enhances gameplay and adds a personal touch. Proper finishing not only improves aesthetics but also increases durability. Whether you choose a classic look or a custom design, attention to detail will elevate your board.
This guide will walk you through the essential steps for finishing your cornhole board efficiently. From surface preparation to sealing, each step ensures that your board remains vibrant and functional for years to come. Let’s dive into the finishing process and make your cornhole board stand out.
Introduction To Cornhole Board Finishing
Finishing a cornhole board enhances its look and durability. A good finish protects the wood from moisture and wear. It also gives your board a smooth surface for better gameplay.
The Importance Of A Good Finish
A quality finish is essential for several reasons:
- Protection: It guards against water damage and scratches.
- Aesthetics: A polished look makes your board stand out.
- Longevity: Proper finishing extends the life of your board.
- Gameplay: A smooth surface improves bag sliding.
Investing time in finishing pays off. Players notice the difference in quality. A well-finished board attracts attention at gatherings and tournaments.
Tools And Materials Needed
Gather these tools and materials for finishing:
| Tools | Materials |
|---|---|
| Sandpaper (various grits) | Wood stain or paint |
| Paintbrush or roller | Clear sealant or polyurethane |
| Cleaning cloth | Drop cloth or newspaper |
| Safety goggles | Mask for fumes |
Ensure you have everything ready. This preparation makes the process smoother. Follow safety guidelines while using tools and materials.
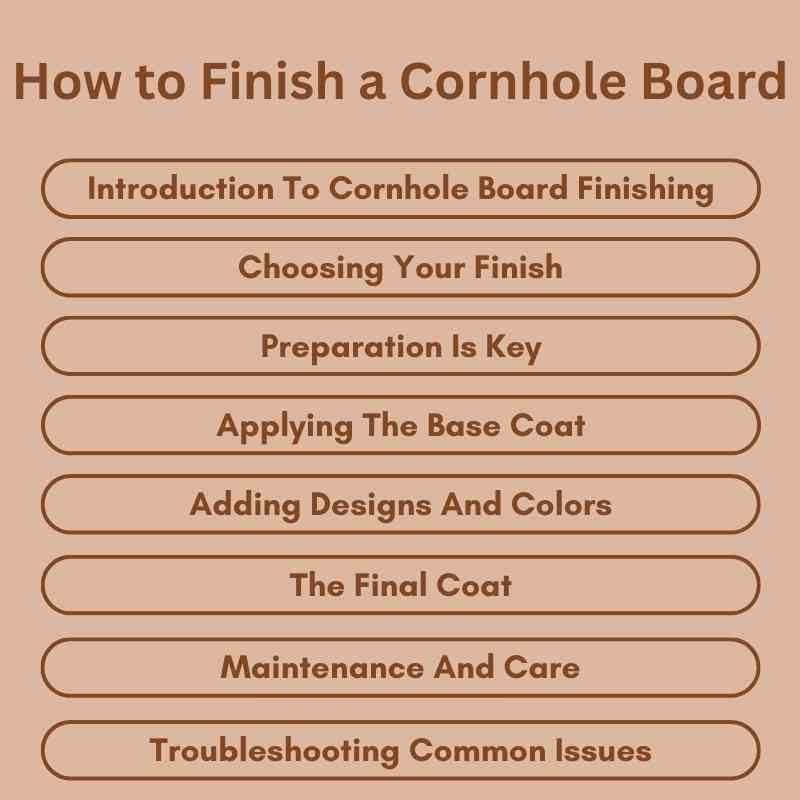
Choosing Your Finish
Choosing the right finish for your cornhole board is essential. A good finish protects the wood. It also enhances the board’s appearance. Two popular options are polyurethane and polycrylic. Each has its own benefits and drawbacks.
Polyurethane Vs. Polycrylic
Polyurethane is a durable finish. It withstands wear and tear. Use it for outdoor boards. It comes in oil-based and water-based forms.
- Oil-based polyurethane offers a rich, amber color.
- Water-based polyurethane dries quickly. It has less odor.
Polycrylic is another option. It is less durable than polyurethane. Use it for indoor boards. It dries clear and does not yellow over time.
Here’s a quick comparison:
| Feature | Polyurethane | Polycrylic |
|---|---|---|
| Durability | High | Medium |
| Best for | Outdoor use | Indoor use |
| Drying time | Longer | Shorter |
| Odor | Stronger | Less |
Selecting The Right Sheen
The sheen of your finish matters. It affects the board’s look and feel. Common sheens are matte, satin, semi-gloss, and gloss.
- Matte: Flat finish, hides imperfections.
- Satin: Soft sheen, balances durability and appearance.
- Semi-gloss: Slight shine, easy to clean.
- Gloss: High shine, very durable.
Choose a sheen based on your preference. Consider how the board will be used. A gloss finish offers more protection. A matte finish provides a rustic look.
Keep the following in mind:
- Choose a sheen that fits your style.
- Think about the board’s location.
- Test a small area before finalizing.
Finding the right finish enhances your cornhole board. It adds beauty and longevity.
Preparation Is Key
Preparing your cornhole board is essential for a great finish. Proper preparation ensures the surface is smooth and ready for staining or sealing. Follow these steps to achieve the best results.
Sanding For Success
Sanding is a crucial step in the finishing process. It helps create a smooth surface and removes any imperfections. Here’s how to do it:
- Start with coarse sandpaper (80-grit) to remove rough spots.
- Progress to finer sandpaper (120-grit) for a smoother finish.
- Always sand in the direction of the grain to avoid scratches.
- Pay special attention to edges and corners. They often need extra care.
- Vacuum or wipe down the board to remove dust after sanding.
Cleaning Before Finishing
Cleaning the board is just as important as sanding. Dust and debris can ruin the finish. Follow these cleaning steps:
- Use a damp cloth to wipe the surface.
- Make sure to remove all dust from sanding.
- Allow the board to dry completely before applying any finish.
Proper preparation makes a huge difference. Invest time in these steps for a beautiful cornhole board.
Applying The Base Coat
Applying the base coat is crucial for a smooth finish. This step protects the wood. It enhances the board’s appearance too. A well-applied base coat makes your cornhole board look professional.
Techniques For Even Application
Even application of the base coat ensures a perfect finish. Follow these techniques:
- Use a high-quality paintbrush or roller.
- Work in thin layers to avoid drips.
- Apply in straight strokes for uniform coverage.
- Paint in one direction to reduce brush marks.
- Check for missed spots as you work.
Drying Time And Sanding Between Coats
Allow the base coat to dry completely. This usually takes 1-2 hours. Check the paint can for specific times.
Sanding between coats improves adhesion. Use fine-grit sandpaper for best results. Follow these steps:
- Lightly sand the dry base coat.
- Wipe off dust with a damp cloth.
- Apply the next coat once dry.
Repeat as needed for a smooth finish. Enjoy your beautifully finished cornhole board!
Adding Designs And Colors
Transforming a plain cornhole board into a stunning piece is exciting. Designs and colors add personality. They make your board stand out at every game.
Stenciling Basics
Stenciling allows for easy, clean designs. Follow these steps for great results:
- Choose Your Design: Select a simple image or pattern.
- Prepare Your Materials: Get stencil sheets, spray adhesive, and a craft knife.
- Cut Out the Design: Carefully cut along the edges of your stencil.
- Secure the Stencil: Use spray adhesive to hold it in place.
- Paint Over the Stencil: Use spray paint or a sponge for even coverage.
- Remove the Stencil: Peel it off gently while the paint is wet.
Painting Tips For Sharp Lines
Sharp lines make your design pop. Use these tips for the best results:
- Use High-Quality Paint: Choose acrylic or outdoor paint for durability.
- Apply Tape: Use painter’s tape to create straight edges.
- Use a Brush or Roller: A brush gives control, a roller covers large areas.
- Layer for Depth: Apply multiple thin coats instead of one thick coat.
- Let It Dry: Wait for each layer to dry before adding more.
| Tip | Description |
|---|---|
| Choose Colors Wisely | Use contrasting colors for better visibility. |
| Test Paint on Scrap Wood | Check how colors look before applying them to the board. |
| Seal the Design | Use a clear coat to protect your artwork. |
Adding designs and colors enhances your cornhole board. Use stenciling and painting techniques to create a unique look.
The Final Coat
The final coat is essential for a durable cornhole board. It protects the surface and adds a polished look. The right finish enhances gameplay and makes your board stand out.
Achieving A Smooth Finish
A smooth finish improves the board’s appearance and performance. Follow these steps to achieve it:
- Use fine-grit sandpaper (220-grit) for initial sanding.
- Clean the surface with a damp cloth.
- Apply the finish in thin, even layers.
- Use a foam roller or brush for application.
- Lightly sand between coats for a smoother texture.
Allow each coat to dry completely before applying the next one. This prevents imperfections and ensures a flawless look.
Curing Time And Conditions
Curing is crucial for the finish to harden properly. Here are tips for optimal curing:
| Condition | Recommended Value |
|---|---|
| Temperature | 70°F to 80°F |
| Humidity | 40% to 60% |
| Curing Time | 24 to 48 hours per coat |
Ensure good ventilation during curing. Avoid direct sunlight to prevent bubbles. Wait at least a week before heavy use for the best results.
Maintenance And Care
Keeping your cornhole board in top shape ensures great playability. Regular maintenance protects the finish and enhances durability. Follow these simple guidelines to care for your board.
Regular Cleaning Practices
Cleaning your cornhole board is essential for longevity. Use these steps to maintain its condition:
- Dust regularly: Use a soft cloth to remove dust.
- Wipe spills: Clean any spills immediately with a damp cloth.
- Avoid harsh chemicals: Use mild soap and water only.
- Inspect for damage: Check for cracks or scratches often.
These simple steps keep your board looking fresh. Regular maintenance ensures a smooth surface for play.
When To Reapply Finish
Reapplying finish extends your board’s life. Here are signs it’s time to refresh:
- Fading color: If the color looks dull, it’s time.
- Rough texture: A rough surface indicates wear.
- Water damage: If water beads, it needs a new coat.
Follow this schedule for reapplication:
| Condition | Frequency |
|---|---|
| Light use | Every 6 months |
| Moderate use | Every 4 months |
| Heavy use | Every 2 months |
Check your board regularly. Timely reapplication keeps it ready for fun.
Troubleshooting Common Issues
Finishing a cornhole board can be rewarding. Yet, issues may arise during the process. Knowing how to troubleshoot these problems is essential. Below are common issues and their solutions.
Avoiding And Fixing Bubbles
Bubbles can form in your finish. They ruin the smooth surface. Here’s how to avoid and fix them:
- Choose a Good Environment: Work in a dust-free area.
- Check the Temperature: Ideal temperature is between 70°F and 80°F.
- Mix Carefully: Avoid vigorous mixing to prevent air bubbles.
- Use a Foam Roller: It reduces bubble formation.
If bubbles appear:
- Let the finish dry completely.
- Sand the area with fine-grit sandpaper.
- Apply a new coat smoothly.
Dealing With Drips And Runs
Drips and runs can spoil your cornhole board’s appearance. Follow these steps to manage them:
- Use the Right Brush: A high-quality brush helps.
- Apply Thin Coats: Thin layers dry evenly.
- Work Quickly: Don’t let the finish sit too long.
To fix drips:
- Allow the finish to dry.
- Sand the affected areas gently.
- Reapply the finish carefully.
| Issue | Solution |
|---|---|
| Bubbles | Mix slowly and use a foam roller. |
| Drips | Apply thin coats and work quickly. |
By following these steps, you can achieve a flawless finish. Troubleshooting ensures your cornhole board looks great.
Frequently Asked Questions
How Do You Seal A Cornhole Board?
To seal a cornhole board, use a clear polyurethane finish. Apply it after sanding the surface to create a smooth base. Use a foam brush or roller for even application. Allow it to dry completely before using the board. This protects the wood and enhances durability.
What Type Of Paint Is Best For Cornhole Boards?
Use exterior latex paint for cornhole boards. This type of paint withstands weather and wear. Choose a matte or semi-gloss finish for better gameplay. Ensure the paint is non-toxic and safe for outdoor use. Properly priming the wood will enhance paint adhesion.
How Long Does It Take To Finish A Cornhole Board?
Finishing a cornhole board can take 2-3 days. This includes time for sanding, painting, and sealing. Each layer should dry completely before applying the next. Rushing may lead to imperfections. Plan ahead to ensure a smooth and professional finish.
Can I Use Oil-based Finishes On Cornhole Boards?
Yes, oil-based finishes can be used on cornhole boards. They provide a durable, glossy finish that enhances the wood’s beauty. However, they take longer to dry and may emit strong odors. Ensure proper ventilation during application. Choose an oil-based product suited for outdoor use.
Conclusion
Finishing a cornhole board adds style and durability. Choose the right materials for a professional look. Proper sealing ensures longevity and weather resistance. With attention to detail, your board will stand out at any gathering. Enjoy your game and impress friends with your craftsmanship.
Happy cornhole playing!