How to Refinish a Butcher Block Table: Food-Safe Steps
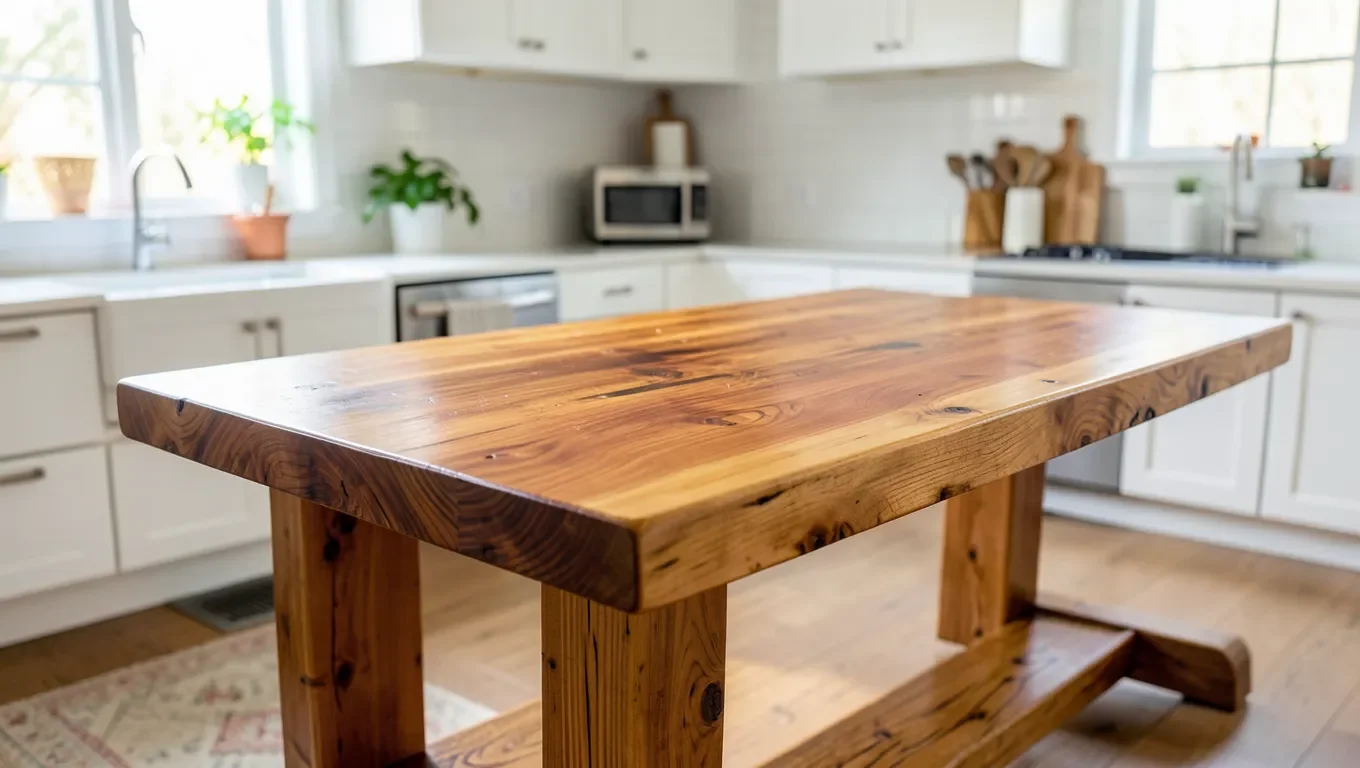
To refinish a butcher block table, first decide whether it’s a real food-prep surface or a decorative piece – that choice determines which finish is actually safe to use. Strip any old glaze or film finish completely, sand through progressively finer grits, then apply a food-grade mineral oil or beeswax conditioner for a surface you’ll actually cut or prep food on.
Most refinishing guides treat every butcher block table the same way, but a table you actually chop vegetables and carve roasts on needs a different finish than one that’s purely a kitchen island centerpiece. Get that wrong and you end up with a hard, cracked coating sitting directly under a knife blade – not just a cosmetic problem, but a real food-safety one. This guide walks through both paths, plus the step most tutorials skip: what to do when the table already has an old glaze or varnish that has to come off before anything new goes on.
Decorative Piece or Real Food-Prep Surface? Decide This First
This is the single most important decision in the whole project, and it’s the one most refinishing articles skip entirely. A butcher block table used as an actual cutting and food-prep surface has fundamentally different requirements than one that functions as a kitchen island or dining table you never put a knife to.
If you cut, chop, or prep raw food directly on the surface, it needs a food-safe, oil-based finish – period. Film-forming finishes like polyurethane, standard varnish, or lacquer are not food-safe once cured film is exposed to knife contact, and there’s a practical mechanical reason beyond the “not food-safe” label on the can: a hard film finish doesn’t self-heal. Every knife stroke leaves a cut in the coating. Over time those cuts network into a web of cracks, and a cracked film finish traps moisture and food residue in ways bacteria can survive in – exactly the opposite of what you want on a food-contact surface. An oil-only finish behaves completely differently under a blade: the wood itself gets cut, but there’s no brittle coating to crack and flake, and a fresh coat of oil re-seals the wood every time you maintain it.
If the table is decorative only – a kitchen island you use for staging dishes, a farmhouse dining table, a piece that never meets a knife edge – a film finish like polyurethane or varnish becomes a legitimate option. It’s more durable against water rings and everyday wear, and it doesn’t need re-oiling every few weeks. The food-safety concern only applies when the surface is actually used for food contact and cutting.
Be honest about which category your table falls into before you buy a single product. A table that gets “occasional” chopping duty should be treated as a real food-prep surface – occasional knife contact is still knife contact.
Best Food-Safe Butcher Block Finish
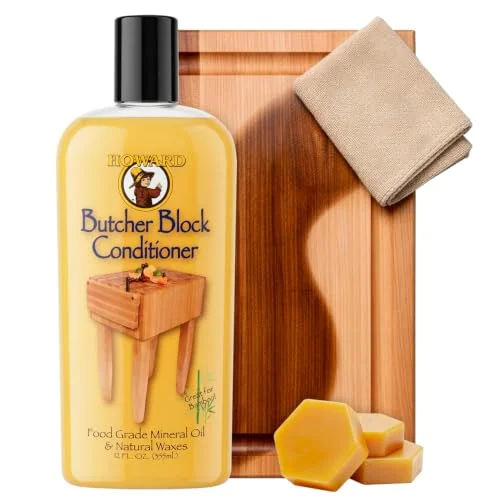 |
Howard Butcher Block Conditioner, 12 oz – $9.18 A food-grade mineral oil and beeswax blend built specifically for the food-prep surfaces this guide covers below.
|
Removing an Old Glaze or Film Finish First
If your table already has a glossy, hard coating on it – a glaze, varnish, or polyurethane applied at some point in the past – you can’t just sand lightly and add oil on top. Oil needs to soak into open wood grain, and a film finish blocks that completely. Skip this step and the new oil will just sit on the surface in a blotchy, uneven sheen instead of absorbing.
How To Tell What You’re Dealing With
Run a fingernail across the surface. A film finish feels glassy and uniform, and you’ll usually see a slight amber or yellowed tint pooling in the wood grain lines. An oiled surface feels more like bare wood – slightly textured, matte to satin, with no plasticky sheen. If you’re not sure, dab a hidden spot (the underside near an edge) with acetone on a rag. A film finish will soften or go tacky; bare or oiled wood won’t react.
Removing It
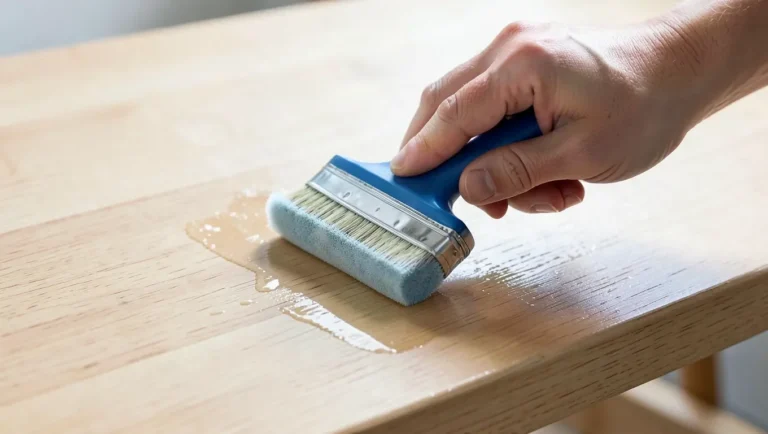
- Chemical stripper: Fastest for a heavy glaze or multiple old coats. Apply with a brush, let it sit per the can’s instructions, then scrape with a plastic (not metal) scraper so you don’t gouge the wood.
- Heat gun: Works well on varnish but takes practice – hold it too close or too long and you’ll scorch the wood, which then needs to be sanded out anyway.
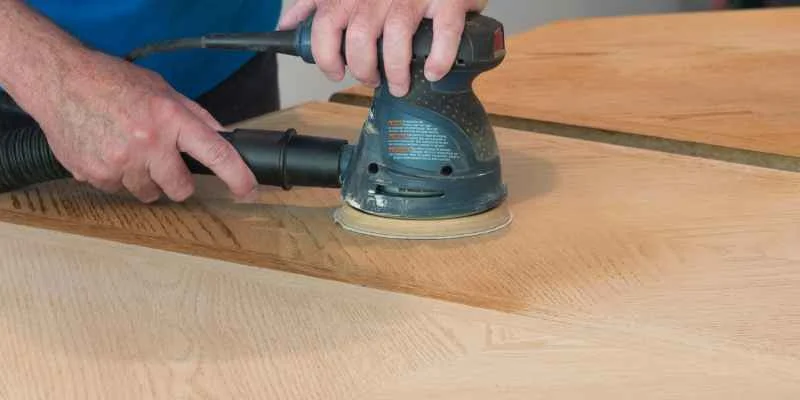
- Coarse sanding: Slower, but the most controllable option and the one most home users should default to. An 60-grit belt or disc sander will cut through most film finishes in a reasonable amount of time.
Whichever method you use, the surface needs to look and feel like raw wood again – no shiny patches, no color variation from leftover coating – before you move on to sanding.
Tools And Materials You’ll Need
Gather everything before you start so you’re not mid-project searching for a missing grit of sandpaper.
| Item | Purpose |
|---|---|
| Sandpaper (60, 120, 220 grit) | Strip old finish, then progressively smooth the wood |
| Food-grade mineral oil or a beeswax/mineral-oil conditioner | The finish itself, for any surface used with food |
| Wood filler | Fills deep gouges or cracks before final sanding |
| Lint-free cloths | Applying and buffing the oil |
| Plastic scraper | Removing softened chemical stripper without gouging |
| Dust mask, safety glasses | Sanding dust and stripper fumes |
Cleaning And Sanitizing Before You Start
Even before sanding, clean the table so you’re not grinding trapped grease and grime into the wood grain.
- Mix warm water with a few drops of mild dish soap and wipe down the whole surface with a soft cloth.
- For a food-prep table, follow with a sanitizing wipe-down: equal parts white vinegar and water, worked into any seams or cracks where bacteria can hide.
- Let the table air-dry completely before you pick up any sandpaper – sanding damp wood clogs the paper and leaves the surface uneven.
Sanding Through The Grits The Right Way
Once the old finish is off and the wood is dry, work through the grits in order rather than jumping straight to fine sandpaper – each grit removes the scratch pattern left by the one before it.
| Grit | What It’s For |
|---|---|
| 60-80 | Removing remaining old finish and deep scratches or gouges |
| 100-120 | Smoothing the surface and blending any filled repairs |
| 220 | Final pass for a smooth surface that will accept oil evenly |
Sand with the direction of the wood grain, not across it – cross-grain scratches show up clearly once oil goes on and darkens the wood. Vacuum or wipe away dust between grits so you can actually see what you’re sanding, and run a bare hand across the surface periodically; it will tell you about rough spots faster than your eyes will.
Applying A Food-Safe Oil Finish
For any table that touches food, skip film finishes entirely and use a pure food-grade mineral oil or a beeswax/mineral-oil conditioner blend. If your table is decorative only, this is also still the lower-maintenance, more forgiving option compared to committing to a poly topcoat.
- Wipe away all sanding dust with a slightly damp, lint-free cloth, then let the surface dry fully.
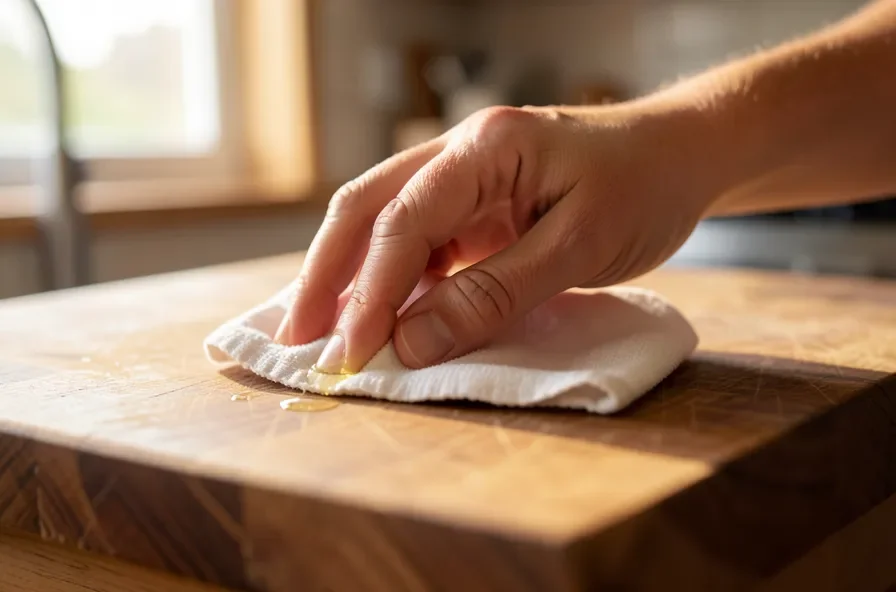
- Apply the oil generously with a clean cloth, working with the grain. The wood should look almost wet.
- Let it soak in for 20-30 minutes – dry, thirsty wood will pull in noticeably more oil during this window.
- Wipe off any excess that hasn’t absorbed. Leftover surface oil turns tacky and attracts dust instead of curing properly.
- Repeat 2-3 coats, waiting a few hours between each, until the wood stops visibly absorbing oil and starts to sheen instead.
- Buff lightly with a clean cloth for a soft, even shine.
A Realistic Maintenance Schedule
An oiled food-prep surface needs more upkeep than a film finish, but it’s what keeps the food-safety advantage intact – the oil is what lets the wood keep self-sealing after every cut.
- Daily: Wipe down with a damp cloth after use. Avoid soaking the wood or leaving standing water.
- Weekly to monthly (depending on use): A light coat of oil on a table that sees regular knife contact. A purely decorative table needs this far less often.
- As needed: If water no longer beads on the surface, that’s your sign it’s time to re-oil – the wood has dried back out.
- For stains: A baking soda and water paste, worked in gently, lifts most surface staining without needing to re-sand. See our guide on whether baking soda damages wood before using it on a finished surface.
Keep the table out of direct sunlight where possible – UV exposure dries and fades wood finishes faster than normal use does. And if you need a separate cutting surface you can lift and wash in the sink rather than working directly on the table, our guide to choosing wood cutting boards for the kitchen covers that alongside this.
Troubleshooting Common Problems
| Problem | What’s Happening / What To Do |
|---|---|
| Oil looks blotchy or uneven | Usually leftover film finish blocking absorption in spots – go back and confirm every area is sanded to bare wood. |
| Surface still feels rough after oiling | The wood grain raised slightly from the oil. Let it fully cure, then very lightly buff with 220-grit and re-oil. |
| Deep gouges or cracks | Fill with a matching wood filler before sanding, or for structural cracks, consult a pro rather than filling cosmetically. |
| Persistent dark stains | Try the baking soda paste first; if it’s set deep into the grain, light localized sanding followed by re-oiling that spot is usually needed. |
Frequently Asked Questions
Can I use polyurethane on a butcher block table?
Only if the table is purely decorative and never touches food or a knife. On a real food-prep surface, polyurethane forms a hard film that knife cuts crack over time, and a cracked film finish can trap moisture and bacteria in ways an oiled surface doesn’t. For anything you actually cut on, use a food-grade mineral oil or a beeswax/mineral-oil conditioner instead.
How do I remove an old glaze or varnish before refinishing?
Confirm it’s a film finish first by checking for a glassy, uniform sheen, then strip it fully with a chemical stripper, a heat gun, or coarse 60-grit sanding before applying any new finish. Oil won’t absorb into wood that still has a film coating blocking the grain, so partial removal isn’t enough – the surface needs to look and feel like bare wood.
How often should I refinish or re-oil my butcher block table?
A food-prep table used regularly needs a light re-oiling every few weeks to a month, and a full sand-and-refinish every 1-3 years depending on wear. A decorative table with a film finish needs far less frequent attention. The simplest test: if water no longer beads on the surface, it’s time to re-oil.
Does it matter if my table is decorative versus used for food prep?
Yes, and it’s the first decision to make before choosing a finish. A decorative table can safely use a film finish like polyurethane for extra durability against everyday wear. A table used for actual cutting and food prep needs a food-safe oil finish, since a hard film coating isn’t food-safe once it cracks under knife use, and it doesn’t self-heal the way an oiled surface does.
Conclusion
The right way to refinish a butcher block table depends entirely on how you actually use it. Strip any old glaze completely, sand through the grits with the grain, and finish with a food-safe oil if the table ever meets a knife – it’s the only finish that keeps working, and stays safe, after years of real use.
Sponsored / affiliate links. As an Amazon Associate I earn from qualifying purchases. I may earn additional commission from eligible campaigns.