How to Fix a Stripped Anchor Hole With Gorilla Glue (Step by Step)
Are you tired of dealing with that stubborn stripped anchor hole that just won’t hold? You’re not alone.
Stripped anchor holes can be frustrating, especially when they disrupt your DIY projects or home repairs. But what if I told you there’s a simple solution that doesn’t involve calling in a professional or spending a fortune? Enter Gorilla Glue—the trusty adhesive that can save your day.
In this guide, you’ll discover how to fix a stripped anchor hole using Gorilla Glue. This easy, cost-effective method will have your fixtures secure and your peace of mind restored in no time. Stick around to learn how this powerful glue can transform your repair woes into a DIY victory!
Assessing The Damage
The Glue This Guide Uses
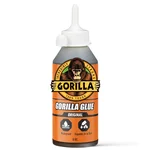 |
Gorilla Original Glue, 8 oz – $9.98 This is the actual polyurethane Gorilla Glue this guide’s fill-and-expand method relies on — it foams and expands slightly as it cures, gripping the hole’s rough edges.
|
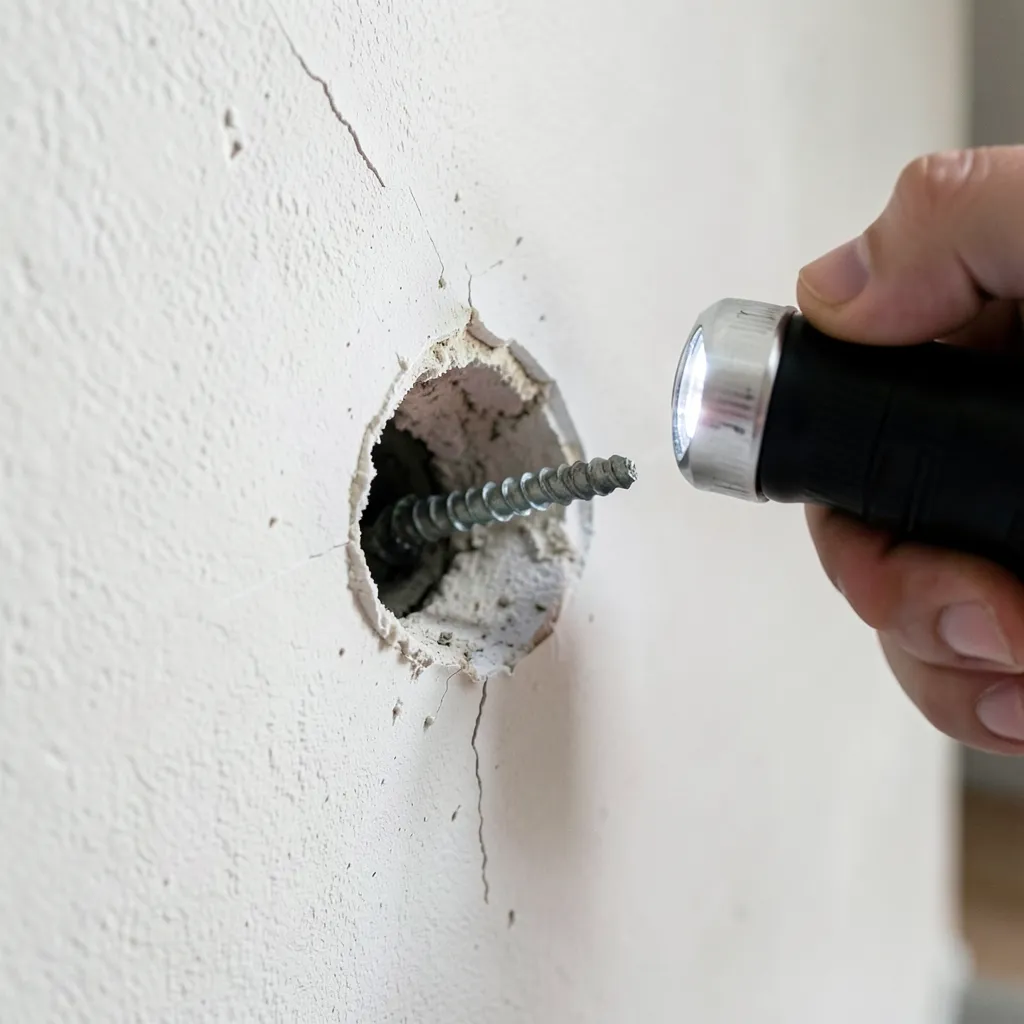
A stripped hole is easy to identify: the screw spins freely without biting, the fixture wobbles even when the screw looks fully driven, or the screw backs partway out under load within days of installing it. Shine a flashlight into the hole at an angle and look at the edges — a healthy hole has crisp, defined threads or a tight drywall-anchor grip, while a stripped one shows torn, rounded-over, or crumbled material where the fastener used to bite.
Most stripping comes down to one of a few causes: the screw size didn’t match the anchor or pilot hole, the fixture was overtightened past the point the material could hold, or the screw has been removed and reinserted enough times that the original threads wore away. In drywall specifically, repeated stress from a heavy picture or shelf can also gradually enlarge the hole even without any of those mistakes. If the surrounding wall feels soft or damp rather than just worn, check for water damage before repairing the hole — gluing a plug into water-softened material won’t hold regardless of the adhesive.
Gathering Necessary Materials
This fix specifically calls for original Gorilla Glue — the polyurethane formula, not Gorilla Wood Glue or Gorilla Super Glue, which don’t expand or gap-fill the same way. Polyurethane glue cures through a reaction with moisture rather than air alone, which is exactly why it foams and pushes outward as it sets, filling irregular voids that a non-expanding glue would leave as gaps.
Beyond the glue itself, gather a few flat wooden golf tees or round toothpicks (these become the actual anchor structure the glue bonds to), a drill with a bit slightly smaller than the stripped hole, 120-grit sandpaper, a clean rag, a small cup of water, and a cotton swab or spray bottle for dampening the hole. Having everything within reach matters more with polyurethane glue than with most adhesives, since it starts curing the moment it contacts moisture in the air and doesn’t offer much working time once the hole is dampened.
Preparing The Anchor Hole
Dust and old anchor debris left inside the hole keep glue from reaching bare material, so start by clearing it out completely. A stiff-bristle brush or a can of compressed air works better than a cloth here, since a cloth mostly pushes debris around rather than removing it from a hole you can’t fully see into. A clean surface gives the glue direct contact with structural material instead of bonding to loose dust that will eventually crumble away on its own.
Once the loose material is out, tap gently around the hole’s rim with a screwdriver handle to knock any remaining crumbled bits free, then vacuum the hole with a crevice-tool attachment if you have one. Finish by wiping the surrounding surface with a dry rag so stray dust doesn’t end up in the glue joint when you fill the hole in the next step.
Applying Gorilla Glue
Polyurethane Gorilla Glue cures through a reaction with moisture, so the real trick most guides skip is dampening the hole slightly before applying it — dab the inside of the hole with a wet cotton swab (just damp, not dripping) to give the glue something to react with immediately rather than waiting to slowly absorb ambient humidity over hours. Too much water will cause excess foaming and a weaker bond, so a light touch is what you want here, not a soaked hole.
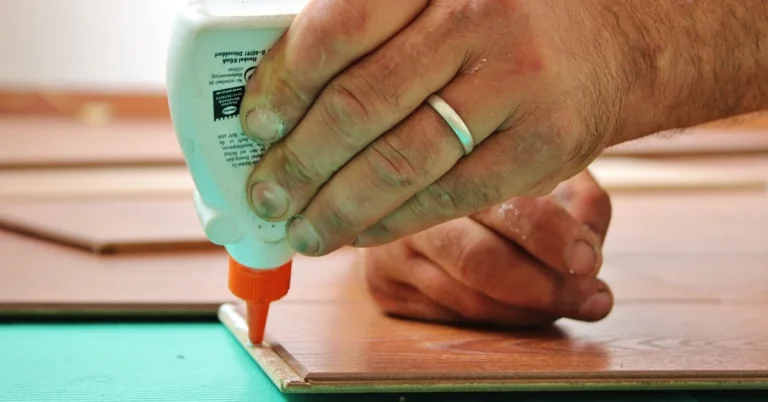
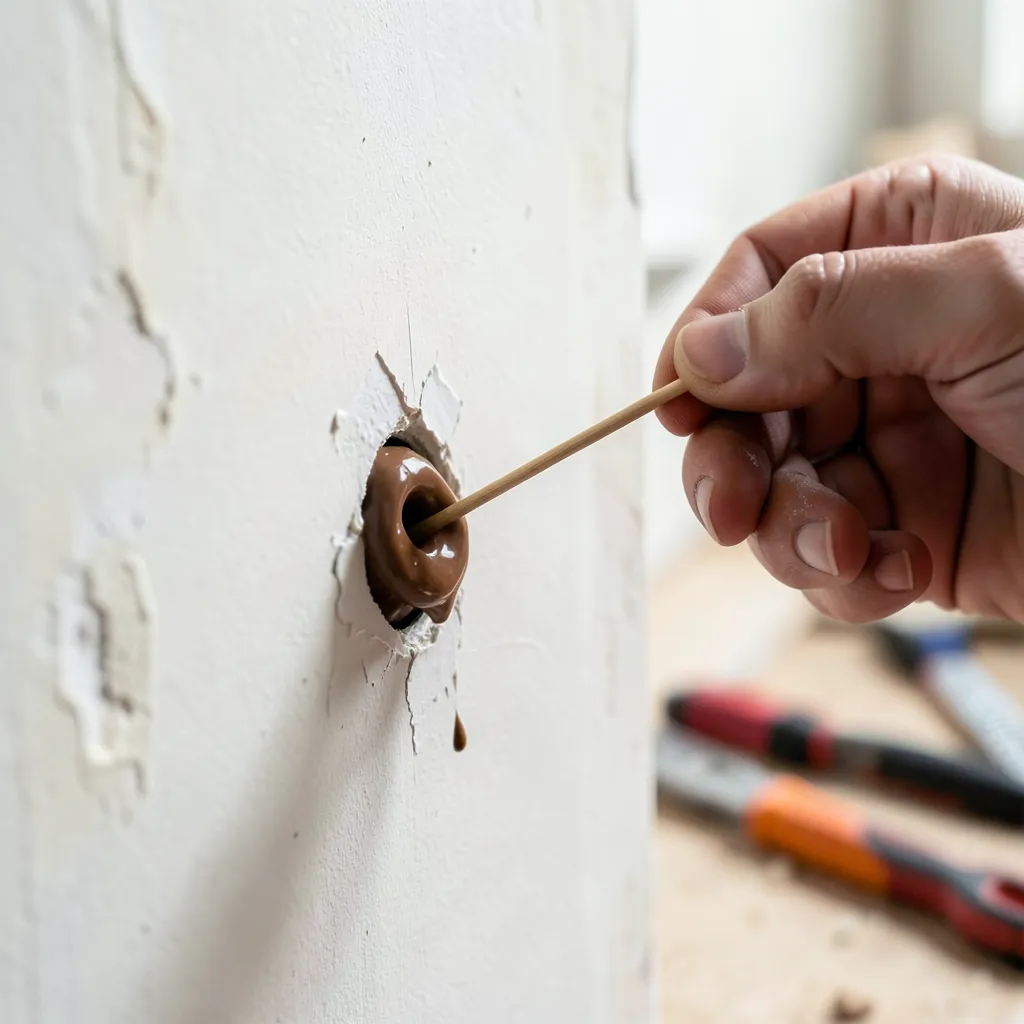
Squeeze a small bead of glue around the inside of the hole rather than filling it solid — remember it expands roughly two to three times its applied volume as it cures, so overfilling means a mess pushing back out of the hole. Immediately insert two or three wood golf tees or toothpicks, points down, packed in snugly; these give the expanding glue something rigid to bond to and grip, turning a crumbly hole into a solid wood plug once cured. Let the assembly sit undisturbed; you’ll see slight foaming push out around the tees within a few minutes, which is the glue doing exactly what it’s supposed to.
Securing The Anchor
Once the glue has fully cured for the full 24 hours (don’t shortcut this — polyurethane glue reaches a fraction of its final strength in the first few hours, and testing it early is the most common reason this repair fails), use a flush-cut saw or utility knife to trim the protruding tees level with the surrounding surface. What’s left is a solid plug of wood and cured glue exactly where the stripped hole used to be.
Drill a fresh pilot hole through the center of that plug, sized for the screw or anchor you’re actually reinstalling — slightly undersized so the fastener still has real material to bite into rather than just spinning in a hole that’s too large again. Drive the screw or insert the new anchor at this point, checking with a level if it’s supporting something like a shelf bracket, and confirm the fixture sits flush and doesn’t wobble before loading any real weight onto it.
Allowing Glue To Set
Recommended Drying Time
Gorilla Glue’s polyurethane formula skins over and feels dry to the touch within about an hour, but that’s not the same as being cured — the full cross-linking reaction that gives it its final strength takes a complete 24 hours at room temperature. Keep the repair area dry and undisturbed during that window; humidity swings won’t hurt it once it’s curing, but physical movement or load before it’s fully set can crack the bond before it ever reaches full strength.
Signs Of Proper Adhesion
A properly cured repair feels rock-hard with no give when you press on it, and the trimmed plug should be flush and immovable rather than shifting slightly under finger pressure. If a gentle test pull on the reinstalled screw or anchor produces any wobble, grinding, or a faint squeak, the glue likely didn’t fully bond to the surrounding material — usually from insufficient moisture during application — and the repair should be redone rather than loaded further.
Testing The Repair
Before hanging anything of real weight, apply firm hand pressure to the fixture and check for any flex or movement at the anchor point. For something like a shelf bracket or curtain rod, a light shake test — gently rocking the installed hardware side to side — reveals a marginal repair faster than static pressure alone will.
If you feel any give, don’t add weight and hope it holds; back the screw out, inspect whether the plug itself failed or just the screw threads stripped again, and either redrill and refill with more glue and tees, or step up to a slightly larger screw that bites into fresh material inside the same plug. A repair that passes a firm shake test with zero movement is ready for normal use.
Preventing Future Stripping
The single biggest cause of repeat stripping is over-torquing a screw with a drill on too high a clutch setting — once the fastener bites, hand-tighten the last quarter turn or drop the drill’s clutch to a lower setting so you feel resistance instead of powering straight through it. For anything load-bearing, matching anchor type to wall material matters more than anchor quality: a plastic expansion anchor rated for 20-30 lbs will strip out under a heavy mirror no matter how carefully it’s installed, while a toggle bolt or metal self-drilling anchor rated for that load will hold reliably.
Periodically check any anchor point that sees regular use or vibration — a towel bar, a curtain rod, a shelf near a frequently-slammed door — for early wobble before it fully strips, since catching looseness early often means a quick re-tightening rather than a full glue-and-tee repair. Buying anchors rated with a real weight limit printed on the packaging, rather than the cheapest unmarked assortment pack, is a small upfront cost that avoids most of this problem entirely.
Frequently Asked Questions
Can I Use Gorilla Glue On A Striped Screw?
Gorilla Glue is not ideal for fixing stripped screws. It can’t restore the screw’s grip effectively. Instead, try using a screw repair kit or filling the hole with wood filler before reinserting the screw. This provides a better hold and prevents future stripping.
What Is The Best Glue For A Stripped Screw Hole?
Epoxy glue works best for fixing stripped screw holes. It provides a strong bond and fills gaps effectively. Clean the hole first, apply epoxy, and let it cure before reinserting the screw. This ensures a durable and secure repair.
How To Fix Drywall Anchor Pulled Out?
Remove the damaged anchor and clean the hole. Use a larger anchor or fill the hole with a wall repair compound. Drill a new hole if necessary. Insert a new anchor and ensure it’s secure. Reattach your fixture carefully.
What Is The Best Glue For Drywall Anchors?
Epoxy glue works best for securing drywall anchors. It provides strong adhesion and durability. Ensure surfaces are clean and dry before applying. Consider brands like Gorilla Epoxy or J-B Weld for reliable results. Always follow manufacturer instructions for optimal performance.
Conclusion
A stripped anchor hole doesn’t mean patching the whole wall or calling in a pro — dampen the hole, fill it with polyurethane Gorilla Glue, pack in a couple of wood tees, and let it cure the full 24 hours before drilling a fresh pilot hole through the plug. The moisture-activated expansion is what makes this method work better than a plain filler: it physically grips the rough, torn edges of the old hole instead of just sitting in it.
Test the repair with a firm shake before trusting it with real weight, and treat the 24-hour cure time as a hard minimum rather than a suggestion. Done this way, the repaired spot often ends up stronger than the surrounding, undamaged material.
Sponsored / affiliate links. As an Amazon Associate I earn from qualifying purchases. I may earn additional commission from eligible campaigns.