How to Remove Wax From Furniture (Without Damaging the Finish)
Wax removes cleanly from most furniture with heat and a plastic scraper – never metal, which gouges the finish. Candle wax, old paste-wax buildup, and crayon marks each need a slightly different approach, and using the wrong solvent on a shellac or lacquer finish can strip the color along with the wax. This guide covers candle wax, fabric and upholstery, old wax buildup, and how to tell if your piece has a wax finish before you paint it.
Quick Answer
Chill or heat the wax to change its texture, scrape it off with a plastic edge (never metal), then wipe with a cloth dampened in warm water and mild soap. For old, grayed paste-wax buildup or wax you need gone before painting, follow up with a solvent like odorless mineral spirits, which dissolves wax without harming most finishes underneath.
What You’ll Need
Gather these before you start – having everything ready keeps you from spreading softened wax further into the grain while you hunt for a rag. This is part of general wood furniture care and maintenance, so keep the supplies on hand for future spills too.
- A plastic scraper or an old credit card (never a metal blade or putty knife)
- Soft cotton cloths or microfiber towels, plus a brown paper bag or plain paper towels
- A hairdryer or a clothes iron set to low heat
- A resealable bag of ice cubes
- Warm water and a few drops of mild dish soap
- Odorless mineral spirits for old buildup or pre-paint stripping (see the pick below)
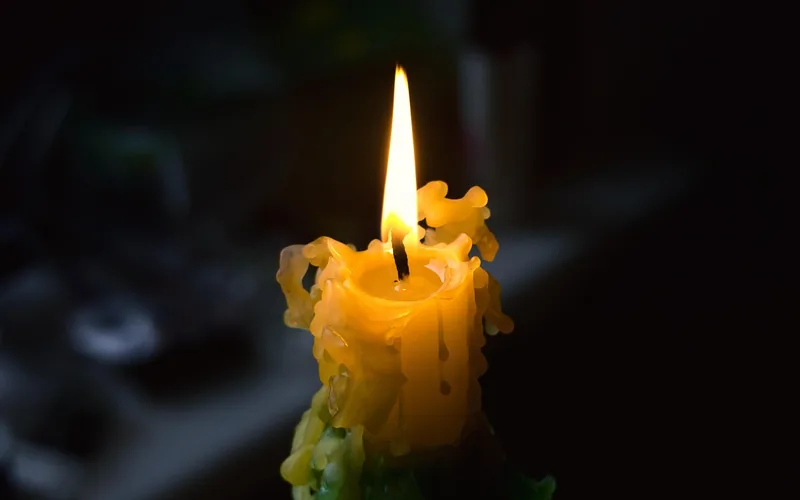
How to Remove Candle Wax From Wood Furniture
Candle wax on wood comes off in three stages: harden it, lift it, then clean the residue. Working the wax while it’s still soft just pushes it deeper into the grain, so resist the urge to wipe it away right after the spill.
- Harden the wax: Press an ice cube in a sealed plastic bag against the wax for 2–3 minutes until it turns brittle and dull.
- Scrape gently: Use a plastic scraper or credit card at a low angle to lift the hardened wax, working in one direction with the grain.
- Heat what’s left: Lay a brown paper bag or paper towel over the remaining residue and press a warm iron (low setting, no steam) over it for a few seconds – the wax melts into the paper instead of the wood.
- Move to a clean section: Shift the paper as soon as a spot darkens with absorbed wax so you’re not just smearing it back onto the surface.
- Clean the residue: Wipe with a cloth dampened in warm water and a drop of mild dish soap, then dry and buff with a second clean cloth.
If the wax was colored (red, blue, or scented candles are the usual culprits), a faint tint can remain even after the wax is gone. Dab – don’t rub – the spot with a cloth barely dampened in rubbing alcohol, testing an inconspicuous area first, since alcohol can dull shellac.
How to Get Wax Off a Sofa or Fabric Furniture
Fabric holds heat differently than wood, so the ice-first approach matters even more here – a warm iron directly on fabric without a barrier layer can scorch it or melt synthetic fibers.
- Freeze it solid: Hold an ice pack on the wax until it’s completely hard and brittle, usually 5 minutes on upholstery (fabric insulates better than wood).
- Break it up: Crack the hardened wax with your fingernail or a dull spoon edge, then brush the pieces away.
- Draw out the rest with heat: Sandwich the fabric between two layers of plain paper towel and press with a warm iron, checking every few seconds and moving to a clean section of paper as it absorbs wax.
- Treat any dye stain: Blot with a mix of one part dish soap to two parts warm water, working from the outside of the stain inward so it doesn’t spread.
Never use a scraper on upholstery, and skip solvents like mineral spirits on fabric entirely – they can bleed dye or leave a permanent ring on synthetic weaves.
Removing Old Paste Wax Buildup and Cloudy Haze
Wax separation is the cloudy, grayish haze that forms when old paste wax (used for polishing, not spilled) breaks down over years of dusting, humidity swings, and reapplication without ever stripping the old layer first. It’s a build-up problem, not a stain, and it needs a solvent rather than heat.
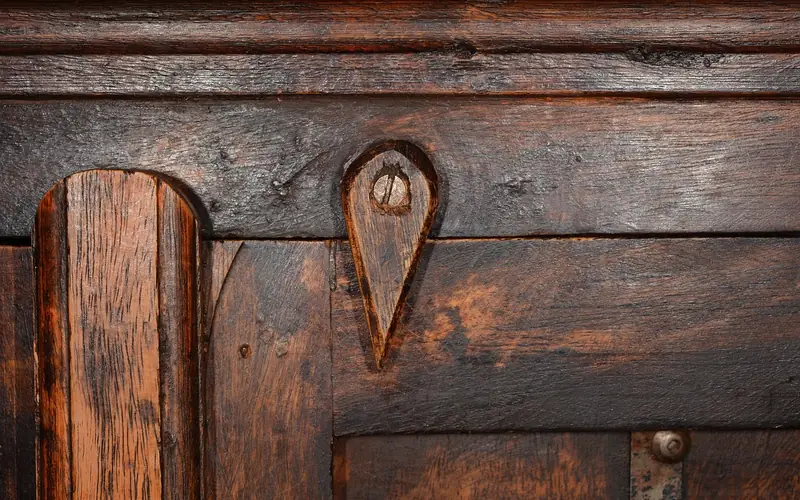
Dampen a cloth with odorless mineral spirits and rub with the grain in small sections, wiping with a dry cloth immediately after each pass so the dissolved wax doesn’t just resettle. Always test in a hidden spot first – mineral spirits are safe on most finishes but can soften shellac if left sitting too long.
Best Wax Remover Pick
 |
Klean-Strip Odorless Mineral Spirits, 1-Gallon – $21.98 This is the solvent this guide uses for dissolving old paste-wax buildup and for stripping wax before painting or refinishing – low odor so it’s workable indoors.
|
As an Amazon Associate we earn from qualifying purchases.
How to Tell If Your Furniture Has a Wax Finish Before Painting
A wax finish is a soft, non-film surface coating made from carnauba or paraffin wax that sits on top of the wood rather than bonding to it the way lacquer or polyurethane does. That difference is exactly why it matters before painting: paint and even most primers won’t adhere to a waxy surface, and skipping this check is one of the most common reasons a fresh coat of paint on furniture peels within weeks.
In my own shop, the fastest way to check is the fingernail-drag test: run a fingernail firmly across the surface. On a wax finish it leaves a visible line that buffs back out with a cloth. On lacquer, shellac, or poly, your nail won’t leave a mark at all. A denatured alcohol rub is the more reliable follow-up – wax won’t dissolve in it, but shellac will start to soften and tack up within a few seconds.
📊 If the furniture does have a wax finish, wipe the entire surface with mineral spirits or naphtha and let it dry fully before priming – a partial wax removal is worse than none, since primer will adhere unevenly and show through the topcoat. Source: General Finishes FAQ (generalfinishes.com)
Removing Crayon Marks and Colored Wax Stains
Crayon wax responds to the same heat-and-lift method as candle wax, with one extra step for the pigment. Scrape off what you can with a plastic edge, then heat the rest through a paper towel with a warm iron so it transfers off the wood. For the color that’s left behind, a dab of non-gel toothpaste worked in with an old soft toothbrush, then wiped clean, lifts most crayon dye without needing a stronger solvent. If it’s wax on a wood floor instead of a piece of furniture, the flatter surface actually makes the ice-and-scrape method easier since there’s no edge or leg to work around.
Common Mistakes to Avoid
- Scraping with metal: A butter knife or putty knife digs into the finish and leaves permanent gouges – plastic only.
- Wiping wax while it’s soft: This smears it into the grain and pores instead of lifting it off.
- Using a hot iron directly on the wood: Always work through a paper barrier; direct heat can blister veneer or soften old glue joints.
- Skipping the finish test before solvents: Mineral spirits are generally safe, but shellac and some old varnishes can soften or go cloudy – test a hidden spot first, every time. If the finish itself is already damaged, that’s a separate furniture finish repair job, not a wax-removal one.
Frequently Asked Questions
How do I remove wax from wood furniture?
Harden the wax with ice, scrape it off with a plastic edge (never metal), then heat any residue through a paper towel with a warm iron so it lifts into the paper. Finish with a cloth dampened in warm water and mild soap to remove leftover film.
What home remedy removes wax from furniture?
A mixture of equal parts vinegar and warm water works well on light residue after the bulk of the wax has been scraped off. Apply it with a soft cloth and rub gently – it won’t touch hardened wax on its own, so scrape first.
Can I use a hair dryer to remove wax?
Yes. A hairdryer on low heat softens wax gently enough to wipe it away with a soft cloth, and it’s a safer option than an iron for delicate or antique veneer since there’s no direct contact heat.
How do you get wax off a couch or sofa?
Freeze the wax hard with an ice pack, crack it off with your fingernail or a dull edge, then draw out any remaining residue by ironing through a paper towel on low heat. Never use a scraper or solvent like mineral spirits directly on fabric – both can damage the weave or bleed dye.
Is vinegar safe for wood furniture?
Diluted vinegar (equal parts vinegar and water) is safe for most sealed wood finishes when used sparingly, but it can dull wax or oil finishes with repeated use. Wipe it off and dry the surface promptly rather than letting it sit.
How can I tell if my furniture has a wax finish before painting?
Drag a fingernail across the surface – a wax finish leaves a visible line that buffs back out, while lacquer or poly won’t mark at all. A denatured alcohol rub confirms it further: wax stays put, while shellac softens and tacks up within seconds.
Conclusion
Fresh candle wax comes off with ice, a plastic scraper, and a warm iron worked through paper – the same basic method works on wood and, with fabric-safe adjustments, on upholstery. Old paste-wax buildup and wax you need gone before painting call for a solvent like odorless mineral spirits instead of heat. Whichever method you use, test an inconspicuous spot first and never reach for a metal scraper. Careful, gradual heat and gentle scraping preserve the finish underneath – rushing it is what turns a five-minute cleanup into a bigger repair.
Sponsored / affiliate links. As an Amazon Associate I earn from qualifying purchases. I may earn additional commission from eligible campaigns.