How Can I Refinish Hardwood Floors? Check This First
Yes, in most cases you can refinish hardwood floors yourself by sanding down to bare wood and applying a new stain and finish — but only if your floor can actually take it. Solid hardwood usually can. Engineered hardwood, which has only a thin real-wood veneer glued over plywood, sometimes can’t be sanded at all without ruining it. Before you rent a sander or buy a single can of polyurethane, the first job is figuring out which one you actually have and how much wood you have left to work with.
This guide covers that check first, then the real sanding-to-finish process, what it costs in time and money versus hiring a pro, and the situations where refinishing is the wrong move entirely.
Solid or Engineered? Do This Test Before You Sand
Best For DIY Edge & Finish Sanding
 |
SKIL 5" Random Orbital Sander, SR211601 – $37.00 Once you’ve confirmed your floor can take a full sand, most DIYers still need a smaller sander like this for edges, corners, and the final smoothing pass a rented drum sander can’t reach.
|
Look at a floor vent register, a heating grate, or a spot where a transition strip lifts up — anywhere you can see the plank’s cut edge. Solid hardwood shows continuous wood grain running straight through the entire thickness, top to bottom. Engineered hardwood shows a distinct thin layer of real wood on top (the veneer) glued over several thinner layers of plywood or high-density fiberboard running in alternating directions, visible as a striped cross-section. If you can’t find an exposed edge, a doorway threshold or the closet floor under a removed piece of trim usually works.
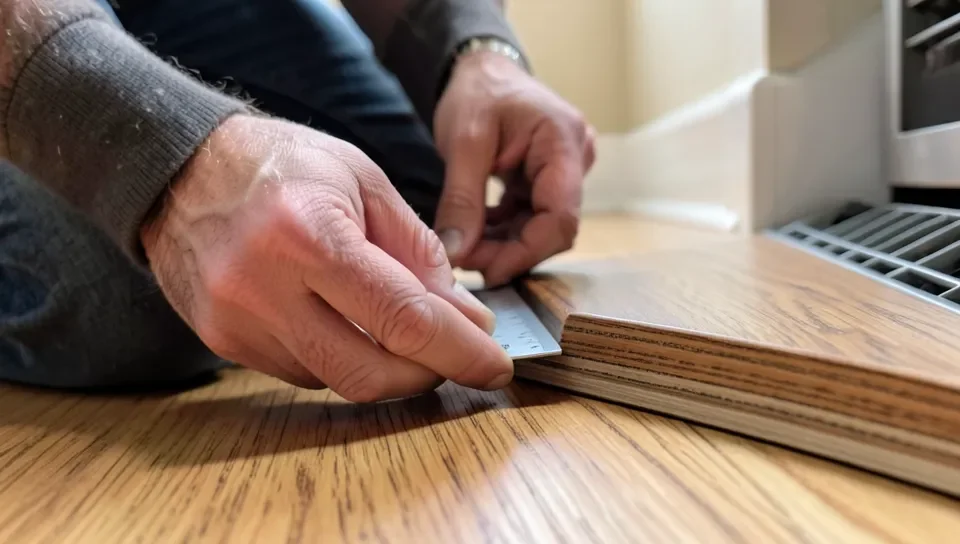
Once you know which type you have, thickness decides whether refinishing is realistic at all. Solid hardwood is typically 3/4-inch (about 19mm) thick all the way through, and a full sand-down only removes roughly 0.5–1mm of surface wood each time — which is why a solid floor can usually handle several refinishes over its lifetime, often 4 to 6 times before you’re anywhere near the tongue and groove. Engineered floors are the opposite story: the real-wood veneer on top typically runs anywhere from 0.6mm to 6mm, and once a sanding pass cuts through it, you hit the plywood core, which can’t be stained or refinished and will look wrong (and often delaminate) if exposed. Flooring associations generally treat about 2mm of remaining veneer as the practical minimum needed to safely sand and refinish once more — below that, a full refinish isn’t a safe bet, though a polish or light screen-and-recoat may still be an option instead. If you’ve already had the floor refinished before, or you’re not sure how many times, our refinish-limit breakdown walks through how to estimate what you have left.
| Floor Type | Can It Be Refinished? | What To Check First |
|---|---|---|
| Solid hardwood (3/4″ typical) | Almost always, several times over | Total thickness above the tongue and groove |
| Engineered, thick veneer (3–6mm) | Usually, 1–3 times | Veneer thickness at an exposed edge |
| Engineered, thin veneer (0.6–2mm) | Rarely, often not at all | Whether any veneer remains above the core |
| Laminate or wood-look vinyl plank | No — there’s no real wood layer | Confirm it’s actually wood before sanding |
What Full Refinishing Actually Involves
Once you’ve confirmed the floor can take it, the process itself follows the same basic sequence whether a pro or a DIYer does it. Start with a rented drum or orbital floor sander loaded with coarse 36–40 grit paper to strip the old finish and level the boards, working with the grain in overlapping passes. Switch to 60 grit for a second pass, then 80–100 grit to remove the scratches the coarser paper left behind — skipping grits is the single most common reason a DIY sanding job looks streaky once the stain goes on. An edge sander or a handheld random orbital sander handles the perimeter and corners the drum sander can’t reach.
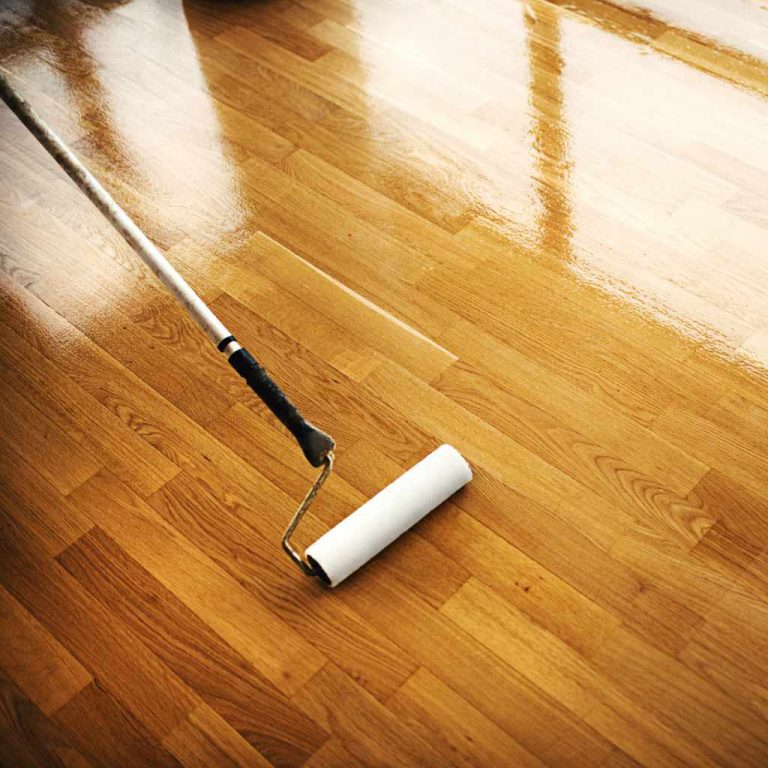
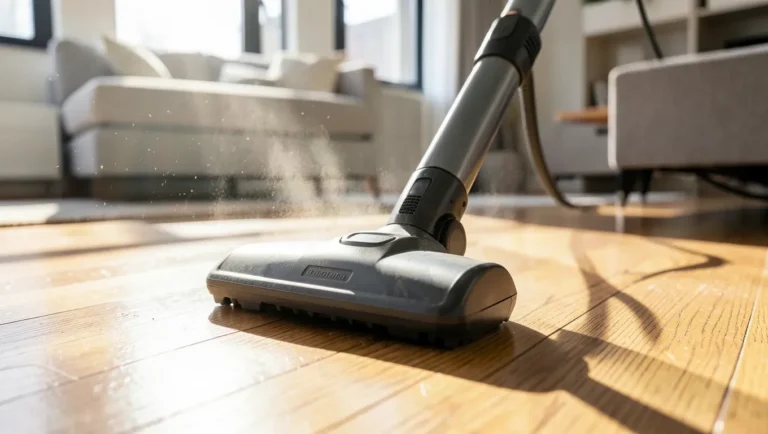
After sanding, vacuum thoroughly and wipe with a tack cloth before applying stain (optional) and then a protective finish — usually two to three coats of oil-based or water-based polyurethane, lightly scuff-sanding with 220-grit paper between coats. Water-based poly dries fast enough to recoat in a few hours but shows fewer amber tones; oil-based poly takes closer to a full day between coats but deepens the wood’s color more. This is a condensed version of the process — if you want the full grit-by-grit walkthrough, dust-control tips, and drying-time specifics, see our complete step-by-step sanding and refinishing guide.
DIY or Hire a Pro? What It Actually Costs
A DIY refinish on an average room usually runs $200–$600 in sander rental, sandpaper, stain, and finish, spread across 2–4 days once you count sanding, cleaning between grits, staining, and finish dry time between coats. Hiring a professional crew typically costs $3–$8 per square foot (often $1,500–$3,500+ for a whole floor), but they’ll usually finish in 1–2 days with commercial-grade equipment and none of the learning-curve mistakes — uneven sanding, sander burn marks, or missed spots — that cost a first-time DIYer time and materials to fix. If you’re weighing whether this is realistically a weekend project for your skill level and the size of the room, our honest difficulty breakdown goes into the physical demands and common mistakes in more detail than fits here.
When You Should NOT Refinish
- The veneer is too thin or already gone on engineered wood — sanding through it exposes the plywood core and can’t be undone. A polish or restorer product is the safer move here instead of sanding.
- The floor is cupped, crowned, or has water damage — sanding a wet or moisture-swollen floor locks in an uneven surface once it eventually dries flat again. Fix the moisture source and let the floor fully acclimate first.
- You count visible tongue-and-groove edges or gaps opening between boards — that’s a sign a solid floor is near or past its remaining refinish limit; another full sanding risks going through the boards themselves.
- It’s actually laminate or vinyl plank, not real wood — these have a printed wood-look layer with no real wood to sand, and a drum sander will destroy them in seconds.
- The damage is only in the finish, not the wood — if scratches don’t catch a fingernail and there’s no discoloration in the wood itself, a screen-and-recoat or a deeper clean may fix it without sanding away any wood at all.
Keeping It Looking Good Between Refinishes
Since every full sanding permanently removes wood, the fastest way to protect the refinish you just paid for (in money or a weekend) is to avoid needing another one too soon. Use rugs or mats at exterior doors to catch grit before it acts like sandpaper underfoot, add felt pads under furniture legs, and keep pets’ nails trimmed. Routine cleaning matters more than people expect too — the wrong cleaner or a soaking-wet mop can dull or even etch a fresh finish within months. See our guide to cleaning hardwood floors without damaging the finish for the specific products and methods that won’t undo the work you just did, and if your floor is engineered, our engineered hardwood care guide covers the extra moisture precautions that thin-veneer floors need.
Frequently Asked Questions
Can I refinish hardwood floors myself without renting a drum sander?
For light wear, yes — a screen-and-recoat using a buffer and a fresh coat of finish can restore shine without removing wood or needing a drum sander. But if you need to remove deep scratches, old stain, or get down to bare wood, a drum or large orbital sander is the only realistic way to do it evenly across a full room.
How do I know if my floor is solid or engineered hardwood?
Check an exposed plank edge at a vent register, closet threshold, or under a removable transition strip. Solid hardwood shows continuous grain all the way through. Engineered hardwood shows a thin real-wood layer on top glued over several thinner plywood layers running in alternating directions, visible as a striped cross-section.
Can engineered hardwood floors be refinished?
Sometimes, but only if the top veneer is thick enough — roughly 2mm or more of remaining wood above the core is considered the practical minimum. Thinner veneers (common on budget engineered flooring) often can’t survive even one sanding. When in doubt, a polish or surface restorer is the safer option than sanding.
How long does it take to refinish hardwood floors yourself?
Plan on 2 to 4 days for an average-sized room, factoring in sanding through multiple grits, cleanup between passes, staining if you’re using it, and dry time between two to three coats of finish. Water-based polyurethane can cut the finish stage down to a single day; oil-based needs closer to 24 hours between coats.
Conclusion
Most solid hardwood floors can be refinished by sanding down to bare wood and applying a new finish, and can typically handle it several times over their lifespan. Engineered hardwood is the floor type to slow down on — check the veneer thickness at an exposed edge before you sand anything, since going through it can’t be undone. Once you’ve confirmed your floor qualifies, the full sanding and refinishing process is a genuinely doable weekend project for most DIYers with patience and the right grits.
Sponsored / affiliate links. As an Amazon Associate I earn from qualifying purchases. I may earn additional commission from eligible campaigns.