How to Glue a Box Joint Without Creep or Misalignment
Use a dry clamp-up first, apply glue to the fingers, seat the joint with light pressure, then tighten in a couple of stages from the center outward. Skip that order and the fingers can creep out of register, with corners ending up out of square. I use this box-joint glue-up order to lock alignment before full clamp pressure goes on.
This guide is part of our Wood glue essentials: types, uses, and cure times series.
What you’ll need

- PVA wood glue for the main glue-up
- Glue comb or applicator comb
- Backing board or sacrificial caul
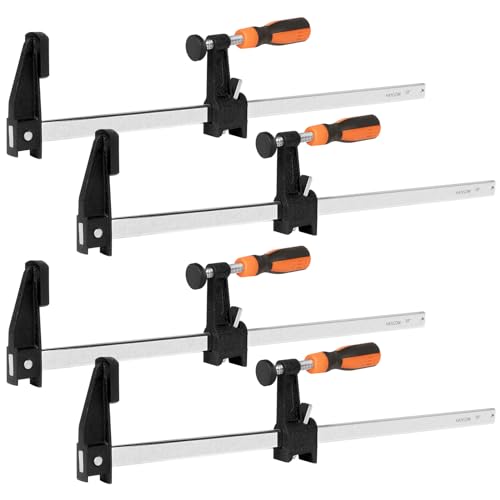
- Two clamping cauls and bar clamps
- Square
- Painter’s tape
- Damp rag
- Scrap board for dry-fit checks
For many box joints, PVA is a common adhesive choice because it offers fairly predictable working time and easy cleanup. I reach for it first. Polyurethane is trickier here because it needs moisture to cure, expands as it dries, and can foam out of the joint. That expansion can lift thin fingers and add cleanup work right when the joint should be locking into square. (familyhandyman.com)
According to More on making box joints — The example box used 18 mm thick material.
How do you keep a box joint from creeping out of alignment?
Dry-fit the joint, mark the outside faces, and set the clamping gear before glue touches the fingers. Then bring the box together with only enough pressure to hold the parts in register. If the pieces can slide under full pressure, they usually will.
Lock the setup before the bottle opens
- Dry-fit the box joint and confirm the fingers and slots match cleanly.
- Mark the outside faces on every corner so each part returns to the same orientation.
- Set the backing board, cauls, clamps, square, tape, and damp rag within reach.
- Check that the fingers are made a millimeter longer than needed, then plan for flush trimming later.
That last point matters. A box joint depends on a clean fit, and the fingers and slots need to register before the glue starts lubricating the contact faces. The example box used 18 mm thick material, measured 50×70 cm, and was 30 cm deep; larger or deeper panels only make alignment control more important.
Glue the joint in a controlled sequence
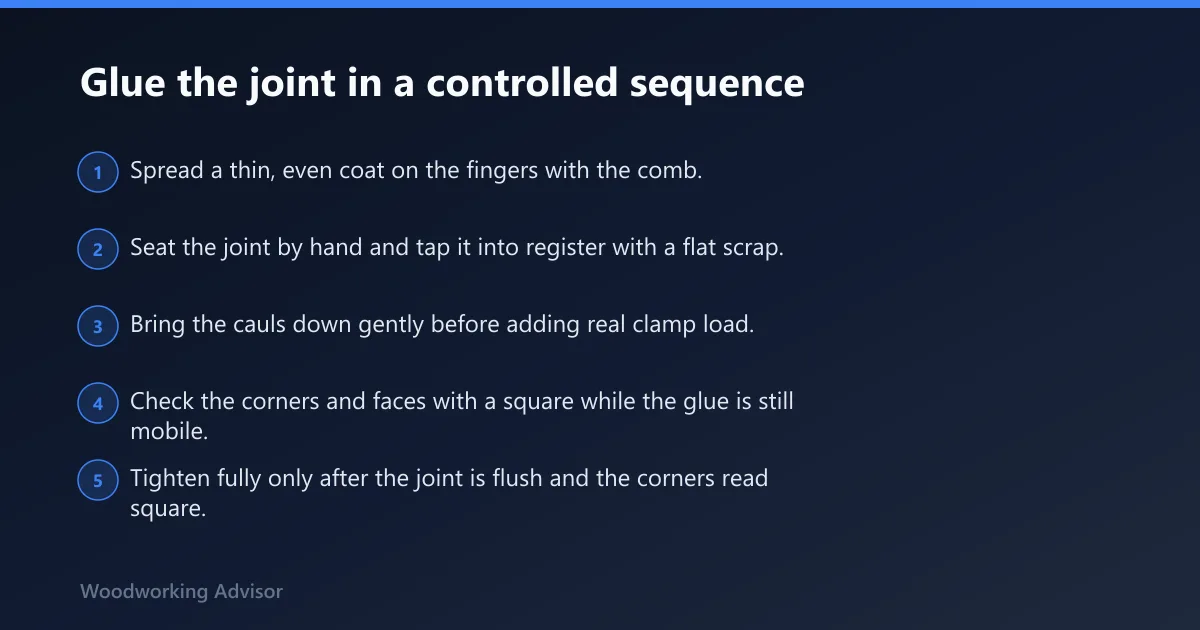
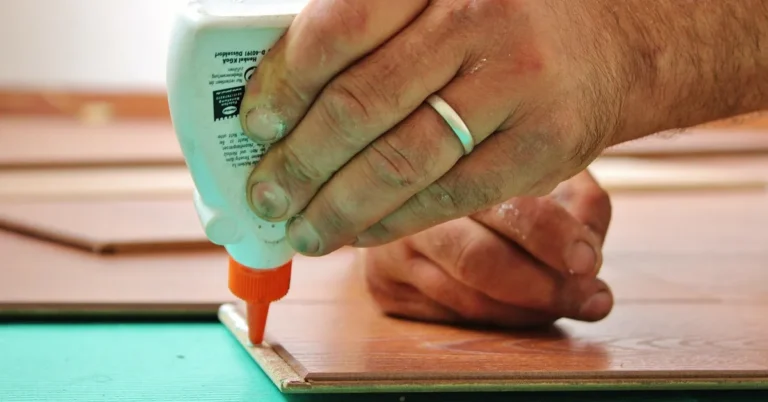
- Spread a thin, even coat on the fingers with the comb.
- Seat the joint by hand and tap it into register with a flat scrap.
- Bring the cauls down gently before adding real clamp load.
- Check the corners and faces with a square while the glue is still mobile.
- Tighten fully only after the joint is flush and the corners read square.
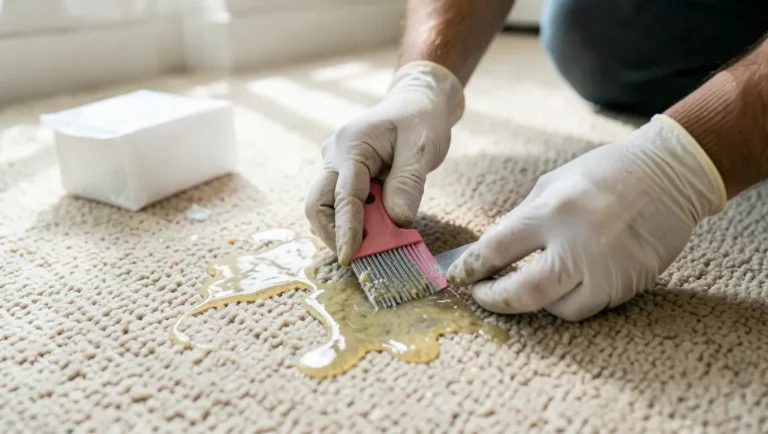
I dip the comb into a tray of glue, then pull it through the fingers so every side gets a light coating. That goes faster than brushing each face one by one, and it keeps the glue where it belongs. The goal is wet coverage, not a flooded joint.
How much glue should I put on a box joint?
Use enough to wet both mating faces of each finger, but stop before puddles form in the corners. Thin fingers usually need a lighter coat because extra glue has less room to go; deeper fingers can take a somewhat fuller coat because there is more surface area to wet. Flooding the joint only increases slip and cleanup.
| Box-joint clamp stage | Pressure level | What to check | What to fix before moving on |
|---|---|---|---|
| Stage 1: Initial capture | Light | Finger register and corner position | Tap high fingers into line |
| Stage 2: Partial pressure | Moderate | Face flushness and square | Shift cauls if a face bows |
| Stage 3: Final pressure | Firm | Stable corners and even squeeze-out | Back off if the joint drifts |
What is the best clamp setup for box joints?
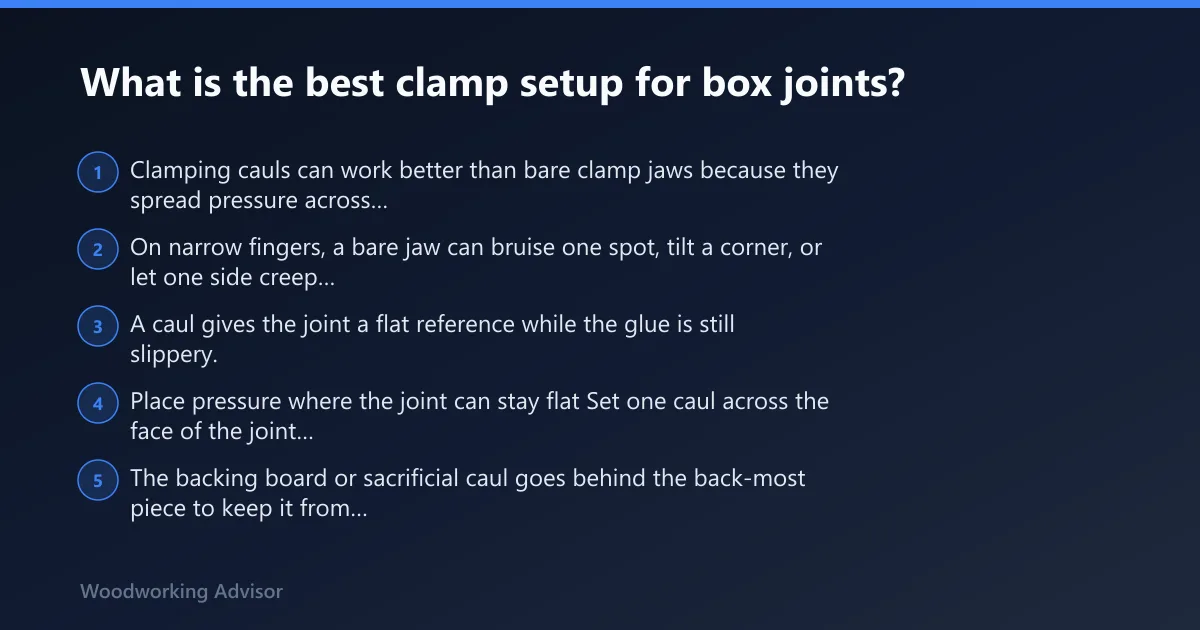
Clamping cauls can work better than bare clamp jaws because they spread pressure across multiple fingers at once. On narrow fingers, a bare jaw can bruise one spot, tilt a corner, or let one side creep ahead of the others. A caul gives the joint a flat reference while the glue is still slippery.
Place pressure where the joint can stay flat
Set one caul across the face of the joint and one across the back. The backing board or sacrificial caul goes behind the back-most piece to keep it from chipping out during the squeeze. That support matters on the last finger, where unsupported end grain can split or break away.
For a small box, tape can help hold the corner closed while the clamps are positioned. A light band clamp can also work, but only if it does not pull the box out of square. If the box starts to rack, stop and return to cauls and bar clamps.
Should I use PVA or polyurethane glue for box joints?
PVA is usually the better choice because it is the go-to adhesive for woodworkers, it stays controllable during assembly, and it is water-soluble when wet. Polyurethane needs moisture to cure, expands as it dries, and often foams out of the joint, which creates more cleanup than benefit on a tight box joint.
| Adhesive | Open time behavior | Slip risk | Cleanup load | Best use here |
|---|---|---|---|---|
| PVA wood glue | Predictable working window | Lower when clamped in stages | Moderate, easy while wet | Most box joints |
| Polyurethane adhesive | Less forgiving once moisture activates it | Higher because of expansion | High, due to foaming squeeze-out | Only when a specific need justifies it |
With polyurethane, the foam can push through the fingers and make the corners harder to read during clamp-up. In a box joint, that matters more than it does in a loose assembly. The cleaner choice is usually the one that gives the least movement while the joint is being brought into square.
Three-stage clamping checklist for box joints
Use this checklist during the glue-up, not after it. Catch slip before the glue starts grabbing.
Stage 1: Initial capture and alignment check
- Bring all corners together by hand.
- Apply light clamp pressure only.
- Check that the outside faces still match the marks.
- Tap any proud finger back into line.
Stage 2: Partial pressure and corner correction
- Snug the clamps a little more.
- Read the corner with a square.
- Shift the cauls if one face bows outward.
- Wipe the first squeeze-out before it hardens.
Stage 3: Final pressure, squeeze-out control, and square check
- Tighten fully only after both diagonals look true.
- Confirm all fingers remain flush across the face.
- Remove heavy squeeze-out with a damp rag.
- Leave the box clamped until the joint stops moving under light touch.
| Failure mode | What it looks like | Likely cause | Fast correction |
|---|---|---|---|
| Slip | One corner opens or shifts off the layout line | Too much pressure before register was set | Back off, tap into line, then re-tighten in stages |
| Bowing | A face crowns between the clamps | Pressure concentrated at one point | Add or reposition cauls to spread load |
| Starved joints | Dry-looking shoulders or weak spots | Too little glue on the fingers | Increase glue coverage on the next glue-up |
| Squeeze-out cleanup issues | Hardened glue in corners and between fingers | Too much adhesive or delayed cleanup | Wipe while wet and pare residue after cure |
What causes box joints to creep during glue-up?
Creep usually comes from too much clamp force too soon, too much glue acting like a lubricant, or fingers that are already loose in the slots. If the joint fit is sloppy or the fingers are cut too short, the parts move before the glue can lock them together.
If that didn’t work, try this next
- Reset the box with a dry fit and confirm the fingers and slots meet cleanly.
- Reduce clamp pressure and rebuild the assembly in two stages from the center outward.
- Add clamping cauls if the faces bow or the fingers stagger under load.
- Switch to PVA if polyurethane foam is pushing the joint apart.
Glue cannot make up for a bad fit for long. Accurate box joints can be strong enough to support weight on edge, but that strength depends on the fingers staying in register while the glue cures. If the fit is off, clamping force only makes the problem worse.
How long do you have to clamp a box joint?
Keep the box clamped until the glue has enough grab that the fingers no longer drift when checked lightly by hand. With PVA, that usually means leaving the assembly alone long enough for the joint to stop creeping under gentle pressure. Polyurethane needs extra caution because the expanding foam can keep moving the parts as it cures.
Temperature can change the working window. A cool shop gives more time; a warm shop shortens it. The safe habit is to keep the box in the clamps until the squeeze-out has skinned and the corners still read square after a light touch.
Common mistakes
These are the errors that most often throw a box joint out of square during glue-up.
- Putting on too much glue. It makes the fingers slippery and invites drift.
- Skipping cauls or a backing board. That raises the risk of bowing and chip-out.
- Clamping too hard too soon. The joint can rack before the fingers seat.
- Ignoring one finger that starts to drift. Small movement becomes a crooked corner fast.
- Leaving squeeze-out in the corners. It hardens where the saw or chisel needs a clean path later.
Prevention: make the dry fit part of the glue-up, not a separate step. If the fingers do not assemble cleanly without force, the clamp stage will not fix them.
How do you glue a box joint without it slipping out of alignment?
Dry-fit first, mark the outside faces, then glue and clamp in two stages so the fingers can seat before full pressure goes on. Use cauls to hold the faces flat, and check the corners while the adhesive is still mobile. That sequence keeps the joint from drifting under load.
How much glue should I put on a box joint?
Use a thin, even film on all mating finger faces. Thin fingers need less because they can flood quickly; deeper fingers can take a slightly heavier coat. The right amount wets the wood without pooling, which keeps the joint from sliding while the clamps are being brought up.
Can you glue box joints without a clamp caul?
Yes, but the risk of bowed faces and offset fingers goes up quickly. A caul spreads load across several fingers and helps keep the box square while the glue cures. Without one, the clamp jaws concentrate pressure and can press one corner deeper than the others.
Sponsored / affiliate links. As an Amazon Associate I earn from qualifying purchases. I may earn additional commission from eligible campaigns.