How to Strengthen a Wood Glue Joint: Fixes That Hold
To strengthen a weak wood glue joint, first find why it failed, then use the least invasive fix: clean and re-clamp glue-starved or dirty joints, add epoxy or splines for gaps, and rebuild bad joint geometry when movement keeps breaking it. Miss the cause and the joint usually fails again, sometimes taking nearby wood with it. This guide shows how I diagnose the weak joint, choose the right repair, and make it hold.
What you’ll need


- Bar clamps or pipe clamps
- Cauls and wax paper
- Scrapers, chisels, and abrasive pads
- Drill, bits, dowels, screws, and pilot-hole tools
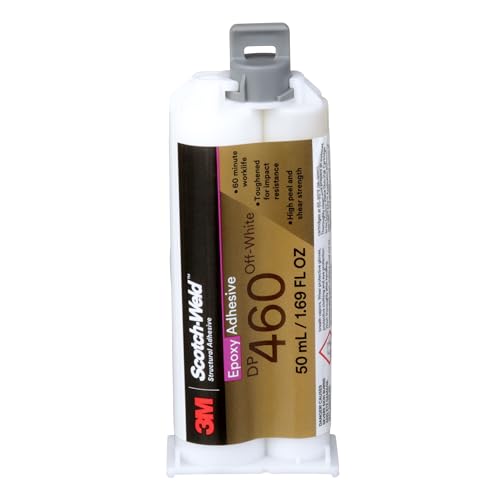
- PVA wood glue, liquid hide glue, polyurethane glue, and two-part epoxy
- Cloth, solvent for cleanup, and masking tape
According to Wood Glue: The Best Wood Glue and How to Glue Wood Together — Polyurethane glue has a long open time of up to 15 minutes. (source)
How to strengthen a weak wood glue joint without rebuilding the whole piece
Start by removing the load, opening the joint as far as it will safely go, and cleaning it back to bare wood. If the break is clean and the joint still fits well, regluing is usually enough. If the joint has a gap, movement, or end grain exposure, move to epoxy, dowels, screws, or a rebuild.
What this repair can and cannot fix
Glue works best when wood meets wood across a well-fitted joint. A properly made PVA bond on long grain can exceed 3,500 PSI, and the glue line may hold while the wood fibers tear. That does not mean every loose chair rung or cracked apron should get the same fix.
If the original joint geometry is poor, the repair may hold for a while and fail again. I see that often with joints that rack, joints with end grain exposed, and joints that moved because the wood was too wet or too dry during assembly.
What is actually failing in the joint?
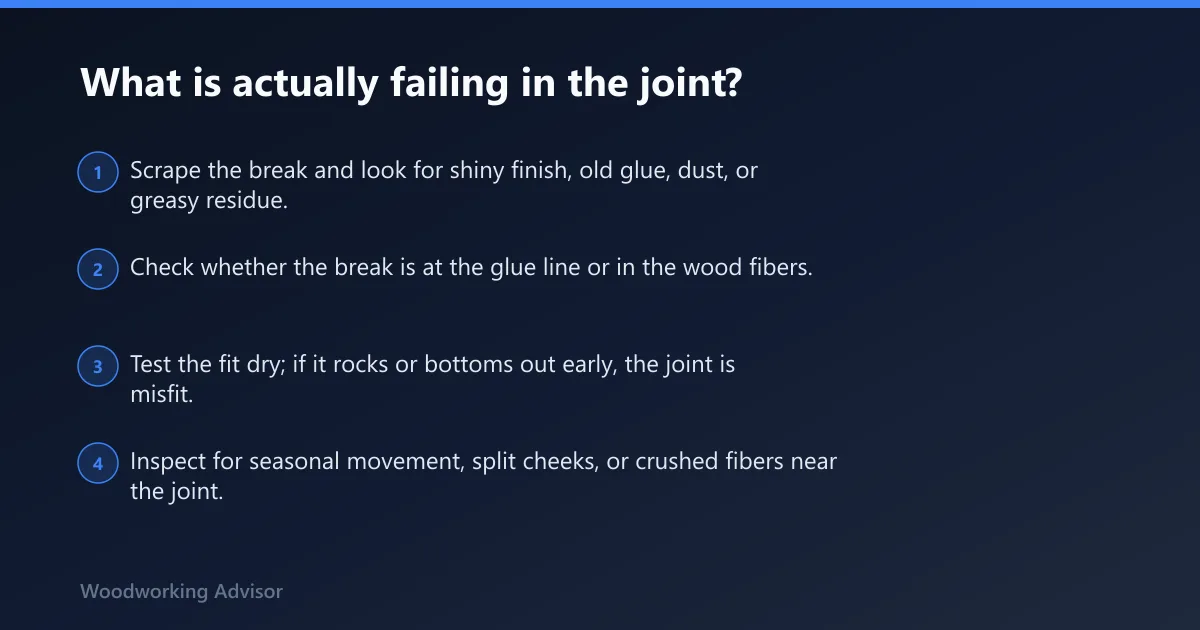
Find the failure mode first. If the glue failed because of dust, finish, oil, or old adhesive on the surface, cleaning and re-gluing may solve it. If the wood split beside the joint or the glue line is intact but the part still loosens, the design or the fit is the real problem.
Check for contamination, glue-line failure, or wood-fiber failure
- Scrape the break and look for shiny finish, old glue, dust, or greasy residue.
- Check whether the break is at the glue line or in the wood fibers.
- Test the fit dry; if it rocks or bottoms out early, the joint is misfit.
- Inspect for seasonal movement, split cheeks, or crushed fibers near the joint.
Long-grain bonds are the strongest. End grain is weak on its own because the fibers drink adhesive without giving much bonding area, so the joint needs a different design or added reinforcement.
How grain direction changes strength
Wood grain direction matters more than many repairs admit. Long grain gives the glue more surface and better fiber interlock. End grain exposes straws, so glue penetration is uneven and the joint tends to fail under shock or racking.
That is why a chair rung, table apron, or leg shoulder can look glued up correctly and still loosen later. The problem is often the joint shape, not the label on the bottle.
Repair decision table: choose the right fix
Match the repair to the failure mode. That saves time, avoids oversized repairs, and keeps you from burying a bad joint under more adhesive.
| Symptom | Likely cause | Recommended adhesive | Reinforcement | Clamp time | Risk level |
|---|---|---|---|---|---|
| Loose joint, clean fit, no gap | Glue starvation or dirty surface | PVA wood glue | None if fit is tight | 30 minutes to 1 hour | Low |
| Loose joint with small gap | Wear, shrinkage, minor misfit | Epoxy | Dowels if access allows | Follow epoxy set time; do not load early | Medium |
| Chair, apron, or leg keeps racking open | Movement or weak geometry | PVA or liquid hide glue | Dowels or hidden screws | 30 minutes to 1 hour; 24 hours before stress | Medium |
| Oily wood, mixed material, or tough cleanup zone | Surface chemistry and contamination | Polyurethane glue or epoxy | Dowels for alignment | Up to 15 minutes open time; up to five hours cure for polyurethane glue | Medium |
| Historic furniture repair | Restoration needs and reversibility | Liquid hide glue | Minimal, unless structure demands more | Longer curing time than PVA | Low to medium |
| Cracked joint, crushed wood, repeated failure | Joint design failure | Epoxy for rebuild, or new parts | Rebuild the joint | Full cure before loading | High |
How do you strengthen the joint step by step?
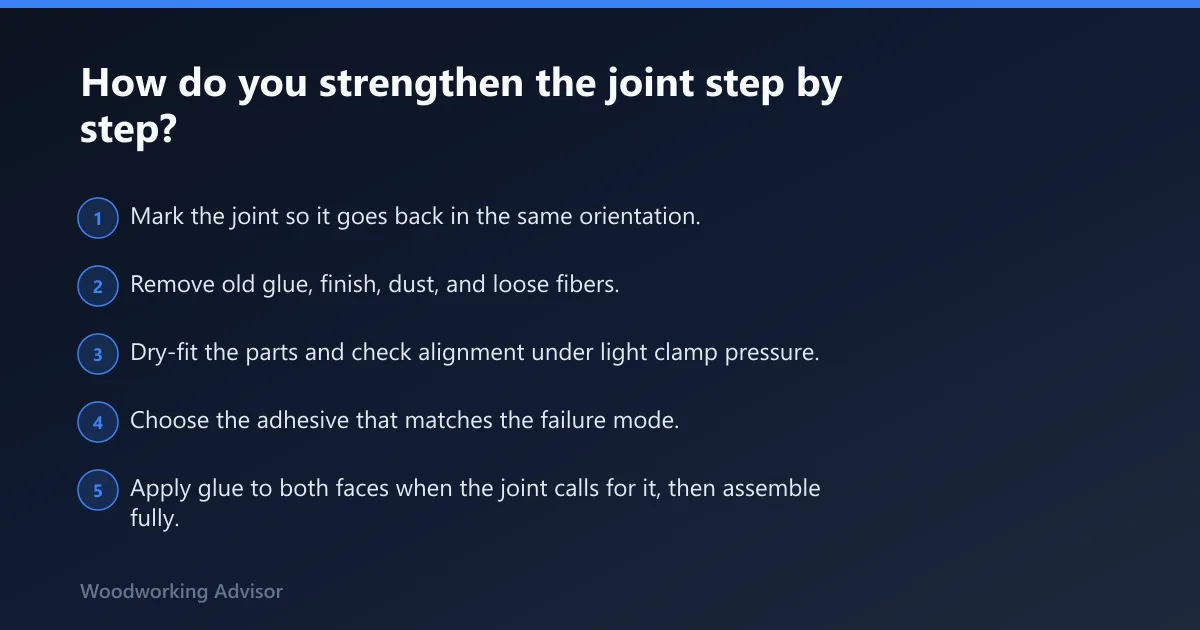
Disassemble what you safely can, clean the surfaces to bare wood, and dry-fit the parts before any adhesive goes on. If the fit is poor, fix that first. A strong adhesive does not rescue a joint that rocks, bottoms out, or has visible contamination on the bonding faces.
Follow this repair sequence
- Mark the joint so it goes back in the same orientation.
- Remove old glue, finish, dust, and loose fibers.
- Dry-fit the parts and check alignment under light clamp pressure.
- Choose the adhesive that matches the failure mode.
- Apply glue to both faces when the joint calls for it, then assemble fully.
- Clamp just enough to close the joint; add cauls to keep it aligned.
- Protect visible faces with wax paper, then clean squeeze-out before it hardens.
- Leave it clamped for 30 minutes to an hour for unstressed PVA joints, and do not load stressed joints for at least 24 hours.
Which adhesive fits which repair
PVA wood glue is often a good choice for raw wood-to-wood joinery. It is the common yellow or white carpenter’s glue, and it generally sets faster than liquid hide glue. It is not the right answer for submerged outdoor use or for wide gaps.
Liquid hide glue is often favored for furniture repair because it has a relatively long open time and can be reversed later. Polyurethane glue can expand as it cures, may bond some metal and plastics, and can be useful on oily woods, but the squeeze-out can be messy. Epoxy is often used as a gap-filling choice for structural repairs and mixed-material bonds.
Should you add screws or dowels?
Use screws or dowels when the glue joint needs help carrying load, not as a reflex. Dowels spread load across the joint and stay hidden. Screws add mechanical hold, but only if the pilot holes are drilled correctly and the fastener will not split or strip the wood.
When screws help
- Drill pilot holes before driving screws to reduce splitting.
- Use screws where they will pull the joint tight without crushing the fibers.
- Stop if the wood starts to bulge, crack, or strip.
- Cover visible heads only after the glue has cured.
Screws are best as added reinforcement in stressed joints. They are not a cure for a weak glue surface, and overtightening can ruin the repair faster than the original failure.
When dowels help more
- Drill matching holes with accurate alignment on both parts.
- Dry-fit the dowels before gluing.
- Coat the dowels and hole walls with glue, then assemble.
- Clamp until the parts stop shifting, then leave the joint alone.
Dowels are a good hidden fix when the break is clean and the joint has enough meat to drill. They help when the original glue line is too small or the part has loosened from repeated use.
How do moisture content and grain direction affect glue joint strength?
Moisture content and grain direction decide how long the repair lasts. Interior stock is often kept at a lower moisture content, while exterior stock is commonly kept somewhat higher. If the wood is outside that range, the parts move after the glue cures and the joint starts working loose.
Watch for movement, not just glue failure
Seasonal expansion can open a joint even when the adhesive is sound. That is common in table aprons, frames, and chair parts that move across the grain. If the design has no room for that movement, the repair needs a stronger joint shape, not more adhesive alone.
For outdoor use, Titebond II is cited as a yellow exterior glue option, and Titebond III is presented as waterproof glue for outdoor use. For furniture repair, liquid hide glue remains the better choice when reversibility matters.
What if that didn’t work?
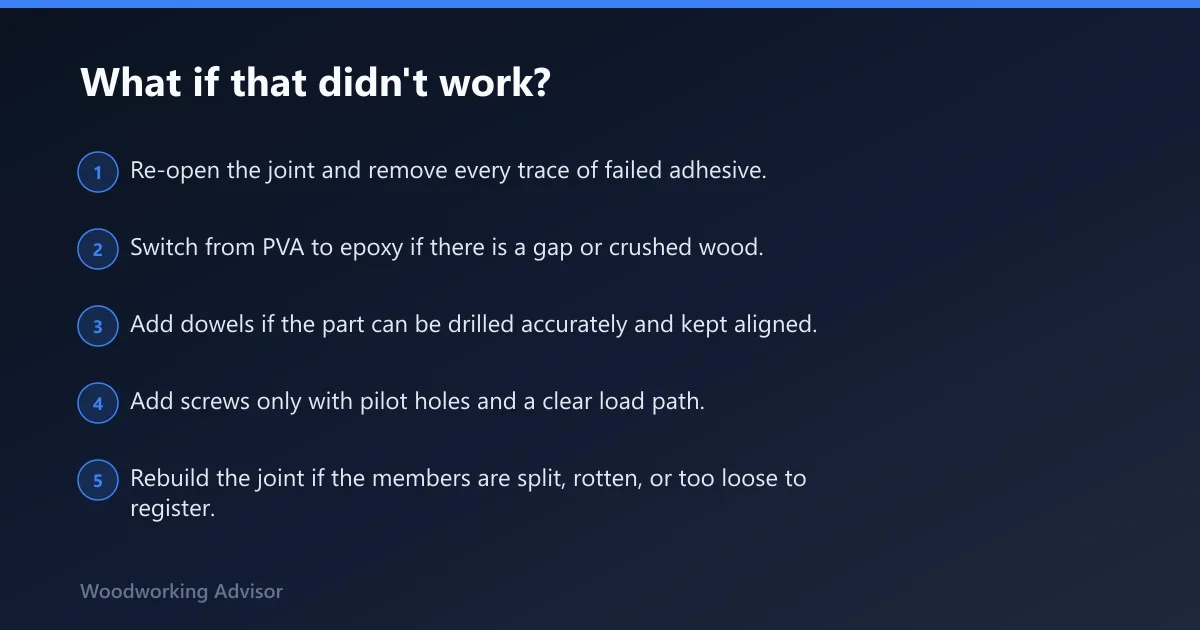
If a reglued joint loosens again, step up from adhesive repair to joint repair. A recurring failure usually means the original geometry is wrong, the parts move too much, or the wood is too damaged to hold a normal glue bond.
Escalation ladder
- Re-open the joint and remove every trace of failed adhesive.
- Switch from PVA to epoxy if there is a gap or crushed wood.
- Add dowels if the part can be drilled accurately and kept aligned.
- Add screws only with pilot holes and a clear load path.
- Rebuild the joint if the members are split, rotten, or too loose to register.
For partially failed chairs, aprons, and legs, full disassembly is not always practical. In that case, a carefully injected repair, combined with dowels or screws, is often the best compromise. When the joint keeps opening after that, the part itself is the problem.
Common mistakes that weaken the repair
Most weak repairs fail for the same reasons: dirty surfaces, too much clamp pressure, the wrong adhesive, or loading the joint too early. Fix those first and the bond has a much better chance of lasting.
- Overclamping: too much pressure can starve the glue line. Close the joint; do not squeeze it dry.
- Leaving finish or old glue in place: glue bonds poorly to finish and dust.
- Using the wrong adhesive: PVA is the best option for raw wood-to-wood joinery, but not for gaps or submerged outdoor use.
- Ignoring moisture: wood that is too wet or too dry will move after repair.
- Stressing too soon: clamp time is not the same as full cure.
Prevention: fit the joint dry, check moisture content before assembly, and keep end grain out of the primary glue path whenever the design allows it.
Frequently asked questions
What is the best glue for strengthening an existing wood joint?
For raw wood-to-wood repairs, PVA wood glue is the first choice. Liquid hide glue is better for furniture repair where reversibility matters. Epoxy fits gaps and damaged wood. Polyurethane glue is useful for oily woods and mixed materials, but the foam cleanup is messy.
Should I add screws or dowels to a glued wood joint for extra strength?
Add them when the joint needs load sharing, not as a substitute for bad fit. Dowels are better for hidden reinforcement and load distribution. Screws are useful where clamp access is poor, but pilot holes are mandatory to reduce splitting and stripping.
How long should a glued wood joint stay clamped before it can be stressed?
Unstressed PVA joints are commonly clamped for 30 minutes to an hour, then left alone. Stressed joints should not be loaded for at least 24 hours. Epoxy and polyurethane follow their own cure schedules, and both need a full cure before the part sees real use.
Why do some wood glue joints fail even when the glue is strong?
Strong adhesive cannot fix bad contact, finish on the surface, end grain exposure, or movement from moisture changes. A poor joint can fail while the glue itself is still intact. In many repairs, the wood design or fit is the real weakness.
Can you strengthen an end grain glue joint?
You can improve it, but end grain should not be treated like a strong glue surface. Use a better joint design, add dowels or splines, or switch to epoxy when a gap or damage is present. If the part keeps opening, rebuilding is usually the better repair.
When should I use epoxy instead of regular wood glue for a repair?
Use epoxy when the joint has a gap, damaged fibers, mixed materials, or a repair that needs waterproof performance. Regular wood glue is better for tight raw-wood joints. Epoxy is not the default for every fix, but it is often the right answer for structural damage.
Sponsored / affiliate links. As an Amazon Associate I earn from qualifying purchases. I may earn additional commission from eligible campaigns.